GRILLED FLAVORS
where delicious ideas come to life, from stovetop to backyard. Warm, simple, and always satisfying. 🍽️✨
BEST CATEGORIES
TRENDING
![- Zucchini: Fresh vs. Frozen Fresh zucchini gives the best taste and texture. It adds moisture to the muffins. Frozen zucchini can work, too, but make sure to drain excess water. This helps avoid soggy muffins. - Flour Types: All-Purpose and Whole Wheat I like using a mix of all-purpose and whole wheat flour. All-purpose flour makes muffins light and fluffy. Whole wheat flour adds a nutty flavor and extra fiber. The blend creates a great texture. - Sweeteners: Granulated vs. Brown Sugar Granulated sugar gives sweetness and lightness. Brown sugar adds a rich, caramel flavor. Using both sweeteners in this recipe creates a balanced sweetness. It enhances the overall taste of the muffins. Here's the Full Recipe for your convenience: - 1 medium zucchini (about 1 cup grated) - 1 cup all-purpose flour - 1/2 cup whole wheat flour - 1 teaspoon baking soda - 1/2 teaspoon baking powder - 1/2 teaspoon salt - 1 teaspoon ground cinnamon - 1/2 cup granulated sugar - 1/4 cup brown sugar, packed - 1/2 cup vegetable oil - 2 large eggs - 1 teaspoon vanilla extract - 1 cup semi-sweet chocolate chips - 1/2 cup chopped walnuts (optional) Start by preheating your oven to 350°F (175°C). This temperature helps the muffins rise well and bake evenly. While the oven heats up, line a muffin tin with paper liners. This makes it easy to remove the muffins later. If you don’t have liners, grease the tin with cooking spray or butter. This keeps the muffins from sticking. Next, take out a bowl and mix the dry ingredients. Use 1 cup of all-purpose flour and ½ cup of whole wheat flour. Add 1 teaspoon of baking soda, ½ teaspoon of baking powder, ½ teaspoon of salt, and 1 teaspoon of ground cinnamon. Sifting the flour is important. It helps remove lumps and makes the muffins lighter. Measure the ingredients carefully for the best results. In another large bowl, mix together the sugars and oil. You need ½ cup of granulated sugar and ¼ cup of brown sugar. Add ½ cup of vegetable oil and blend well. Next, add 2 large eggs, one at a time, mixing well after each. Stir in 1 teaspoon of vanilla extract. Slowly add the dry mix to the wet mix. Stir until just combined. Do not overmix, as this can make the muffins tough. Finally, gently fold in 1 cup of grated zucchini and 1 cup of semi-sweet chocolate chips. If you like, add ½ cup of chopped walnuts for a nice crunch. Now, it’s time to bake! Fill each muffin cup about ¾ full with batter. Bake the muffins for 18-22 minutes. Check them by inserting a toothpick into the center. If it comes out clean, they are done. Let the muffins cool in the pan for 5 minutes. Then, transfer them to a wire rack. This helps them cool completely and keeps the texture perfect. For the best taste, enjoy your muffins warm. For the full recipe, refer to the detailed instructions above. Avoiding Soggy Muffins Soggy muffins can ruin the fun. To avoid this, use fresh zucchini. Grate it and remove excess water by squeezing it in a clean cloth. This keeps your muffins fluffy. Also, don't overmix the batter. Mixing just until combined helps maintain the right texture. Adding More Zucchini: Pros and Cons You can add more zucchini for extra moisture. But too much can make muffins dense. Start with a cup and see how you like it. If you want to add more, reduce some oil to balance it out. This keeps the muffins tasty but not too wet. Spice Variations and Add-ins Spices can take your muffins to the next level. Try adding nutmeg or ginger for warmth. You could also mix in dried fruits like raisins or cranberries for a sweet twist. Each spice gives a unique taste, so experiment and find your favorite. Choosing the Right Chocolate Chips Not all chocolate chips are the same. Semi-sweet chips work best in this recipe. They balance well with the sweetness from the sugars. If you want a richer flavor, dark chocolate chips are a great choice. They add depth to each bite. Displaying Your Muffins Creatively Presentation matters. Use a wooden board or a colorful plate for serving. Arrange the muffins in a circle or stack them high for a fun display. This adds appeal and makes your muffins the star of the table. Garnishing Ideas for Serving Garnish can elevate your muffins. A light dusting of powdered sugar adds charm. You can also top them with a dollop of whipped cream or a sprinkle of chopped nuts. Fresh mint leaves make a bright touch too. This adds color and freshness to your dish. For the full recipe, check the [Full Recipe]. {{image_2}} You can make these muffins gluten-free. Start by using gluten-free flour blends. Look for a blend that includes xanthan gum. This helps the muffins hold together. If your blend does not have it, add 1 teaspoon of xanthan gum to the mix. This will keep your muffins from crumbling. To make the muffins vegan, swap out the eggs and dairy. Use 1/4 cup of unsweetened applesauce for each egg. This keeps the muffins moist. For the oil, replace it with melted coconut oil or a vegan butter. Use coconut sugar instead of granulated sugar for a richer taste. If you want nut-free muffins, just leave out the walnuts. You can replace chocolate chips with carob chips for a different flavor. Always check labels for allergens in all your ingredients. This helps keep everyone safe. For a more classic muffin, use seeds like sunflower seeds instead of nuts. You can explore these variations, and get the full recipe for the best chocolate chip zucchini muffins to start baking! To keep your chocolate chip zucchini muffins fresh, store them in an airtight container. This helps keep moisture in. You can place them on the counter for up to three days. For longer storage, put them in the fridge. This extends their life to about a week. If you want to freeze muffins, wrap each one in plastic wrap. Then, place them in a freezer bag. This will help prevent freezer burn. You can freeze them for up to three months. When you’re ready to eat, just thaw them overnight in the fridge. To enjoy your muffins warm, you can reheat them in the oven or microwave. If using the oven, preheat it to 350°F (175°C). Place the muffins on a baking sheet and heat for about 10 minutes. This will keep them nice and soft. If you choose the microwave, heat each muffin for 15 to 20 seconds. Check to see if it’s warm enough. Be careful not to overheat them; they can become tough. Enjoy these simple reheating tips to savor every bite of your delicious muffins! Store your muffins in an airtight container. They last about 3 to 5 days at room temperature. For longer storage, keep them in the fridge for up to a week. You can also freeze them for up to 3 months. Just make sure to wrap them tightly in plastic wrap. Yes, you can make these muffins ahead of time. Prepare the batter and store it in the fridge for up to 24 hours. This helps the flavors blend better. Alternatively, bake the muffins and freeze them. Thaw them overnight in the fridge, then reheat them in the oven. You can swap all-purpose flour with gluten-free flour for a gluten-free option. For the sweeteners, use coconut sugar or maple syrup instead of granulated sugar. If you have egg allergies, applesauce or flaxseed meal can replace eggs in the recipe. Absolutely! You can add mashed bananas, shredded carrots, or even applesauce. Each option will give your muffins a unique twist. You can mix and match these add-ins based on what you have at home. These chocolate chip zucchini muffins are easy and fun to make. We talked about key ingredients, like using fresh zucchini and the right types of flour. Then, I shared steps to mix and bake them perfectly. Remember, you can try different flavors and options. Whether you go gluten-free or vegan, there’s a way for everyone. Store them well to keep them tasty. Now, it’s your turn to bake and enjoy these healthy treats!](https://grilledflavors.com/wp-content/uploads/2025/06/b637b67f-efae-47c6-81de-6225dee89905.webp)
. - Heat 2 tablespoons of olive oil in a large pot over medium heat. Add the finely chopped onion. Sauté for about 5 minutes until it turns soft and clear. - Next, add 2 cloves of minced garlic. Cook for another minute. This step adds a rich flavor to your chowder. - Pour in 4 cups of vegetable broth. Bring the mixture to a rolling boil. - Add 3 medium diced potatoes. Reduce the heat and let it simmer for about 10 minutes. The potatoes should be soft and tender by now. - Stir in 3 diced zucchinis and 1 cup of corn. Let the chowder simmer for another 5-7 minutes. This helps the zucchinis cook through without losing their crunch. - Now, add 1 cup of coconut milk, 1 teaspoon of dried thyme, and 1 teaspoon of smoked paprika. Season with salt and pepper to taste. Allow it to simmer for another 3-5 minutes. This melds the flavors together beautifully. - Use an immersion blender to blend the chowder. You can blend it until creamy or leave it chunky, depending on your preference. Check out the Full Recipe for detailed cooking times and tips! For the best zucchini chowder, focus on cooking temperatures. Sauté the onion on medium heat. This helps it become soft and sweet. When simmering, keep the heat low. This allows the flavors to blend well without burning. To achieve the perfect blend consistency, use an immersion blender. Blend until it’s creamy but still have some chunks. If you like it chunkier, blend less. Adjust the texture based on your taste. Presentation matters. Serve the chowder in deep bowls. Garnish with fresh parsley and a drizzle of olive oil. This adds flavor and brightens the dish. A sprinkle of smoked paprika also looks nice. Pair the chowder with crusty bread or a light salad. A fresh green salad balances the chowder's warmth. Bread soaks up the delicious broth, making each bite enjoyable. If the chowder tastes bland, adjust the seasoning. Add more salt or pepper a little at a time. Taste as you go to avoid overdoing it. Fresh herbs can also boost flavor. If your chowder is too thick, add more vegetable broth or coconut milk. Stir well and heat through. This keeps the flavors intact while adjusting the texture. Enjoy your creamy, comforting bowl of zucchini chowder! For the full recipe, check out the Zucchini Chowder Delight section above. {{image_2}} You can easily swap out some veggies in your zucchini chowder. Try carrots, celery, or bell peppers. These add more color and taste. If you want a different creamy texture, use heavy cream or yogurt instead of coconut milk. A non-creamy chowder works well too! You can skip the coconut milk for a lighter version. To spice things up, add cayenne pepper or red pepper flakes for heat. A little goes a long way! Fresh herbs can brighten your chowder. Try basil, dill, or cilantro for a refreshing twist. They add depth and make your bowl look beautiful. You can make this chowder vegan by using only vegetable broth and skipping any dairy. For a vegetarian option, stick to the coconut milk. If you need it gluten-free, just check your broth for any hidden gluten. Most vegetable broths are safe, but it's always good to verify. Enjoy your bowl of chowder, no matter your diet! Store your zucchini chowder in airtight containers. This keeps it fresh and tasty. You can keep it in the fridge for up to three days. Make sure it cools down before sealing. This helps prevent condensation. Always check for signs of spoilage before eating. To freeze zucchini chowder, let it cool completely. Pour it into freezer-safe containers. Leave some space at the top for expansion. You can freeze it for up to three months. When you're ready to eat, move it to the fridge overnight to thaw. Reheat it on the stove over low heat. Stir often to avoid burning. You can also use a microwave, but be careful not to overheat. Zucchini chowder lasts about three days in the fridge. When freezing, it stays good for three months. Look for changes in color or smell to know if it’s bad. If it smells sour or has mold, throw it away. Always trust your senses to keep your meals safe and delicious. Zucchini chowder is a thick, creamy soup. It features fresh zucchini, corn, and potatoes. This dish has a rich flavor from herbs and spices. Coconut milk adds creaminess without dairy. Each bowl bursts with comfort. You can enjoy it warm, perfect for any season. Yes, you can prepare zucchini chowder in advance. Cook the chowder and cool it down. Store it in an airtight container in the fridge. It stays fresh for about three days. You can also freeze it for up to three months. When ready to eat, just reheat it on the stove. To thicken your chowder, add more potatoes or blend it longer. You can also mix in a little cornstarch. For a thinner chowder, add more vegetable broth or coconut milk. Adjust the texture to your liking. A smooth blend gives a creamy feel, while chunky bits add texture. Zucchini chowder pairs well with crusty bread. You can also serve it with a fresh salad. A sprinkle of cheese on top adds flavor. For something extra, try a dollop of sour cream. These sides enhance the meal and make it more filling. Zucchini chowder is a healthy and tasty choice. This blog taught you how to make it with simple steps. You learned about key ingredients like zucchini, corn, and potatoes. We also covered tips for cooking, serving, and storage. Feel free to try variations to suit your taste. Enjoy making this chowder and share it with others. Your kitchen can be a place of fun and flavor!](https://grilledflavors.com/wp-content/uploads/2025/07/8d60e2e9-649e-4aad-a130-bead1458ee51.webp)


NEW RECIPES
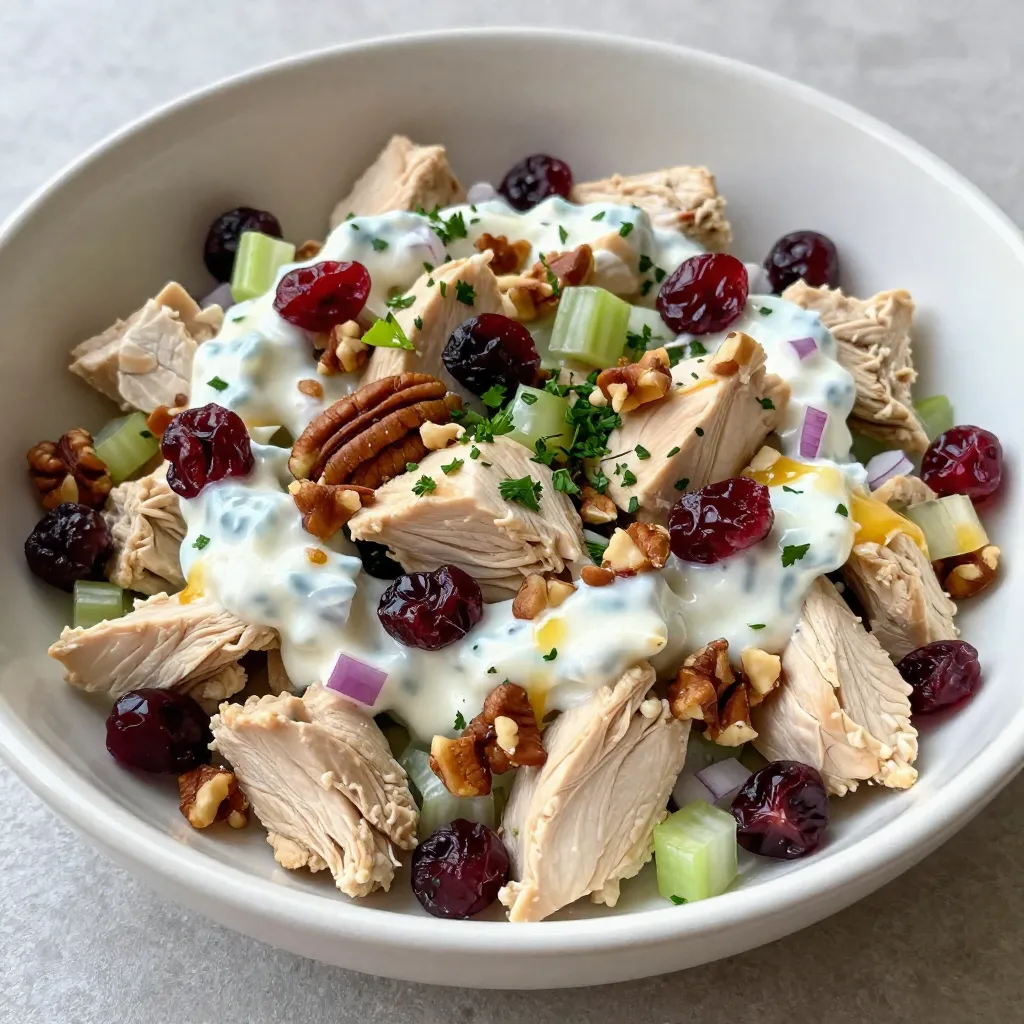
Cranberry Pecan Chicken Salad Nutritious and Tasty
Welcome to your new favorite salad! My Cranberry Pecan Chicken Salad is both tasty and nutritious. It combines juicy chicken, crunchy pecans, and sweet cranberries
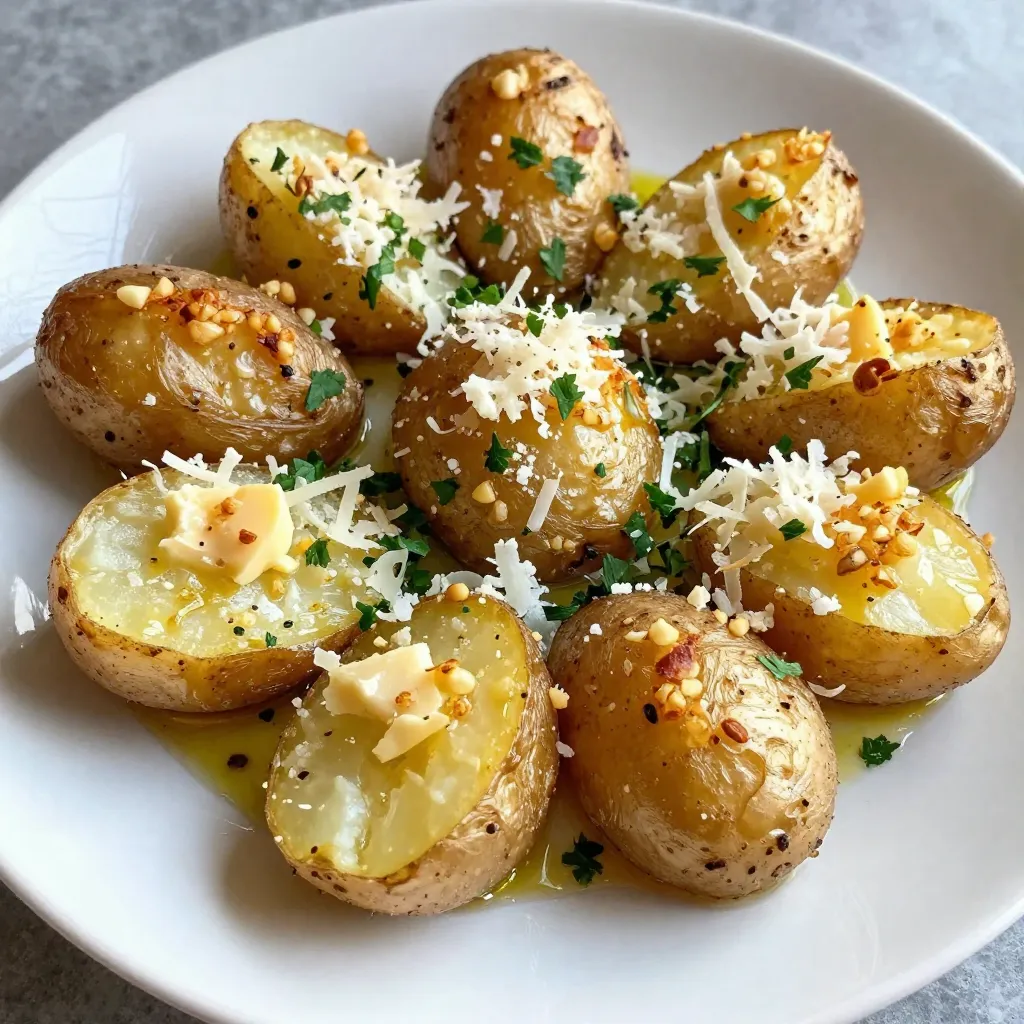
Garlic Parmesan Smashed Potatoes Flavorful Side Dish
If you’re looking for a side dish that wows, try Garlic Parmesan Smashed Potatoes. These crispy, buttery bites are packed with flavor and easy to
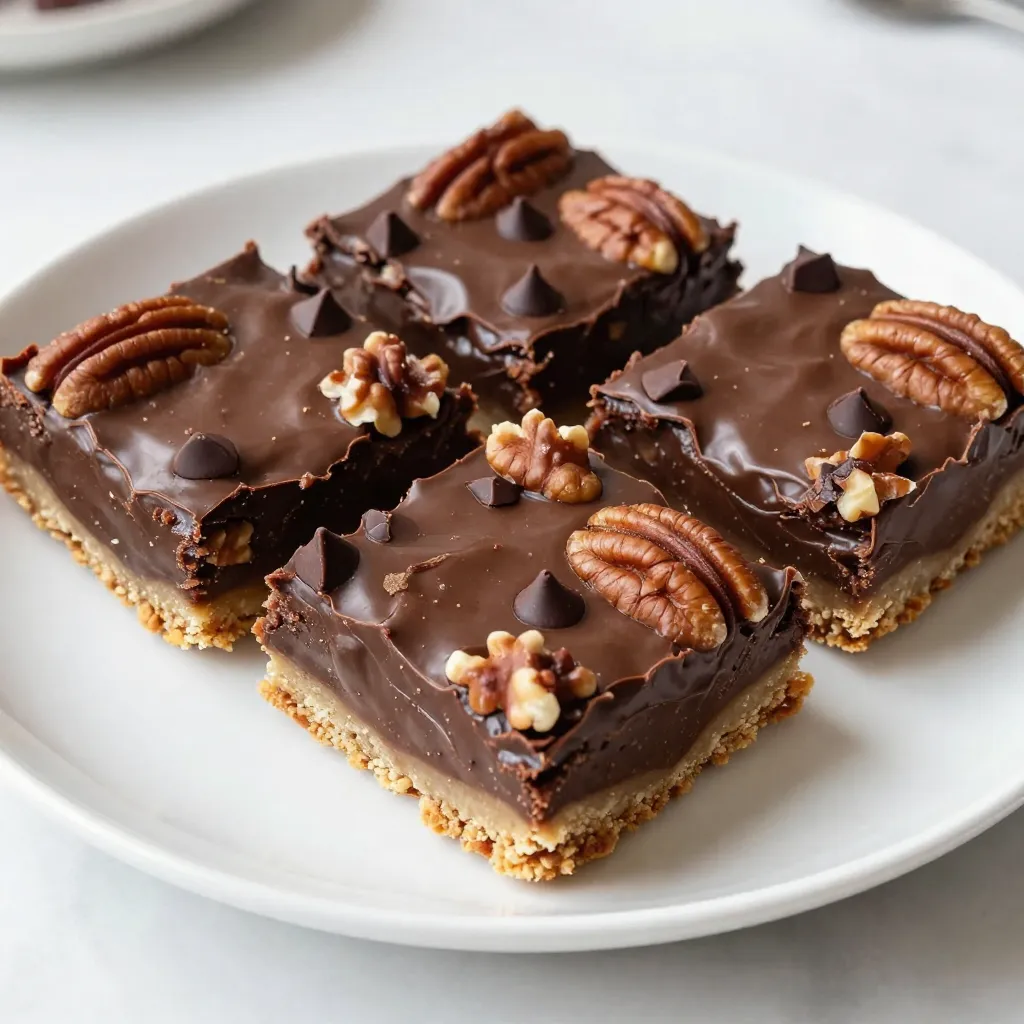
Chocolate Pecan Pie Bars Rich and Decadent Treat
Get ready to indulge in a treat that combines your favorite flavors: chocolate, pecans, and rich creaminess! In this article, I’ll guide you step-by-step to
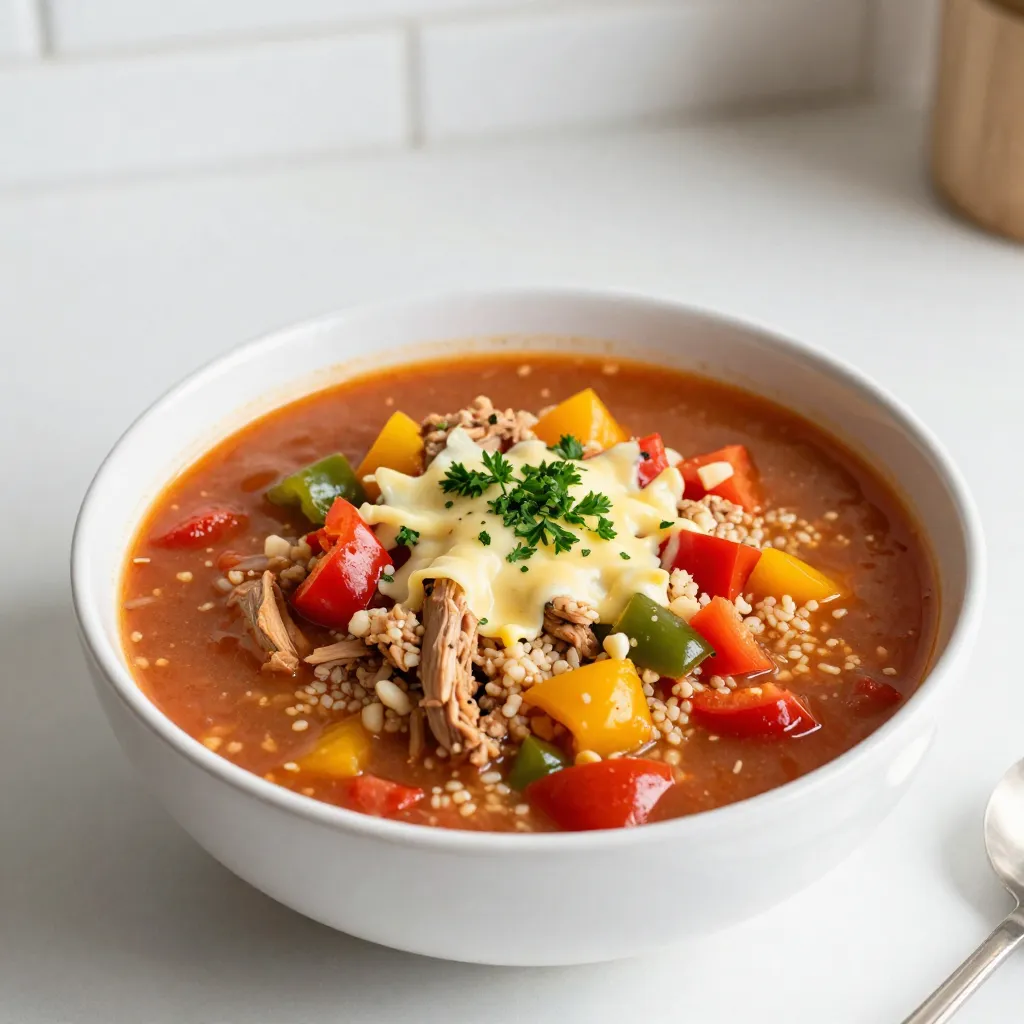
Stuffed Bell Pepper Soup Flavorful and Hearty Meal
Warm, hearty, and packed with flavor, stuffed bell pepper soup is a twist on a classic dish. This recipe combines the wholesome goodness of ground
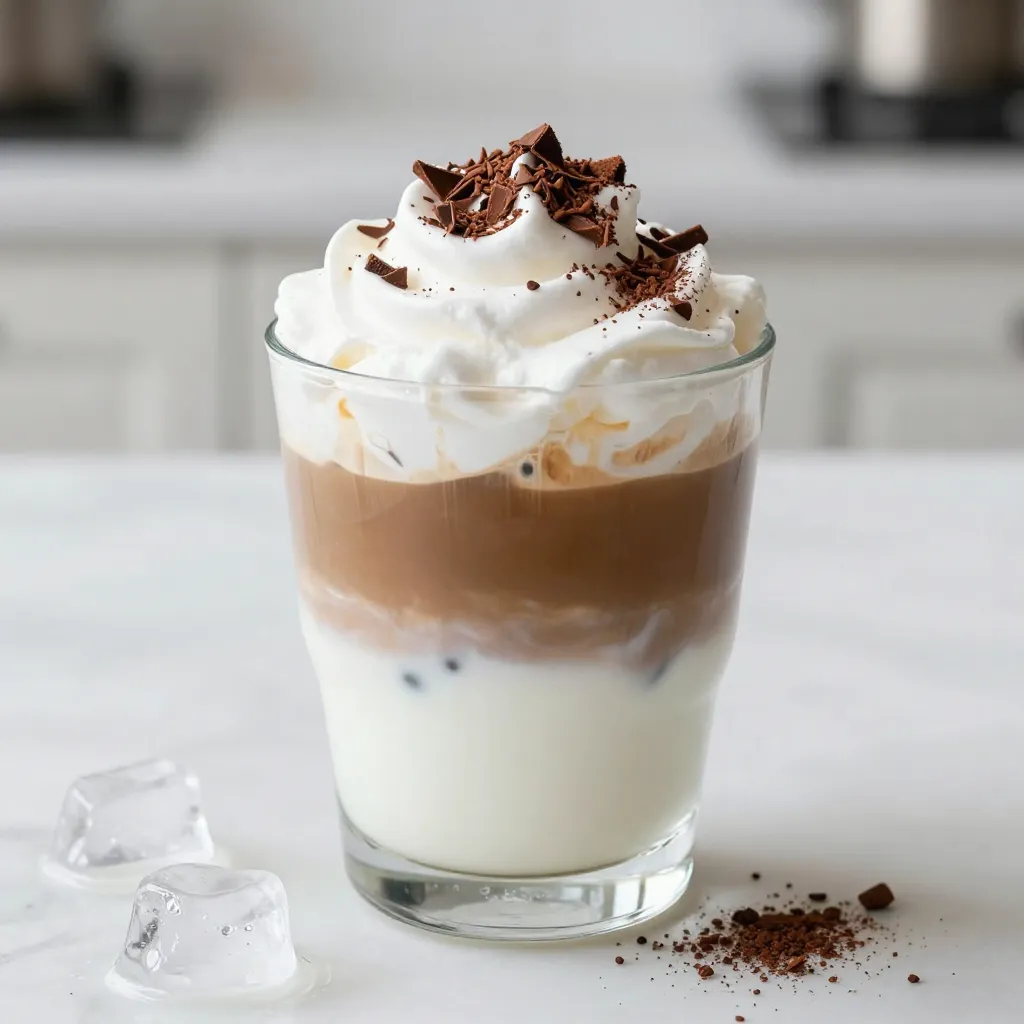
Mocha Dalgona Coffee Quick and Easy Recipe Guide
Looking for a delicious pick-me-up? You’re in the right place! This Mocha Dalgona Coffee recipe is quick and easy, and it delivers a creamy, whipped
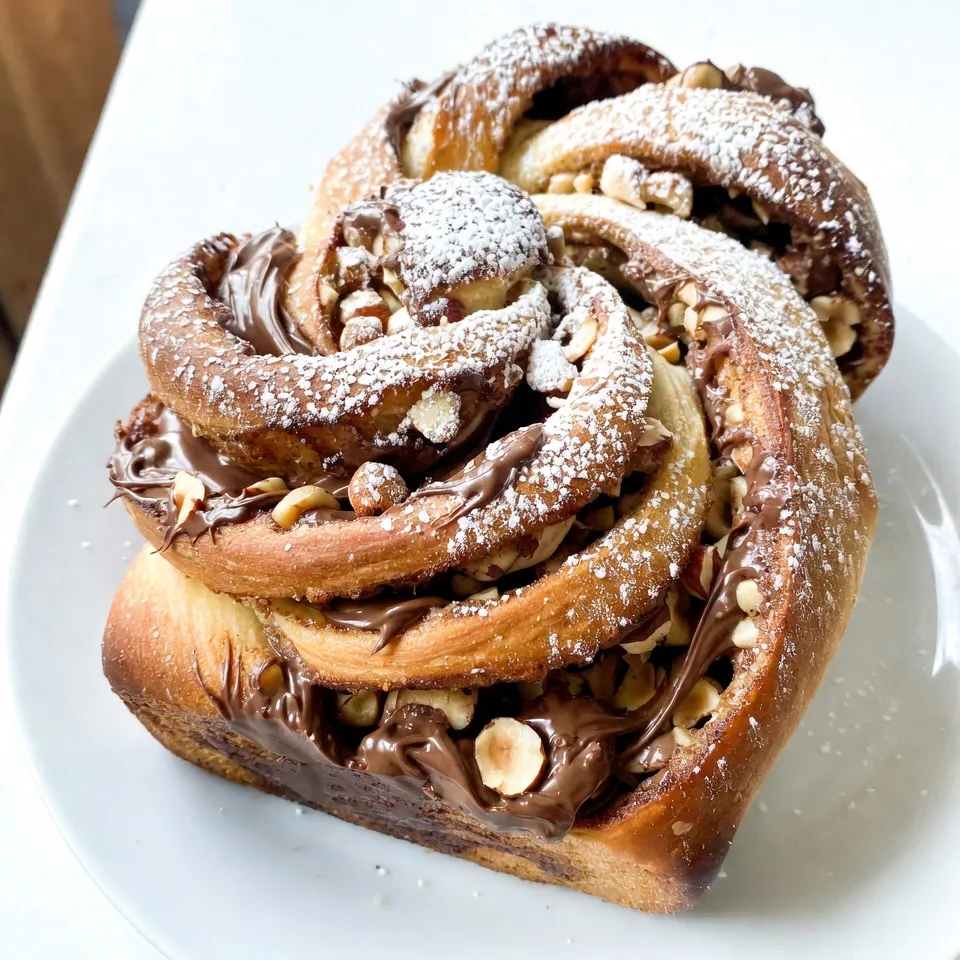
Chocolate Hazelnut Babka Delightful Homemade Recipe
Are you ready to bake something truly special? This Chocolate Hazelnut Babka is a delightful treat that combines rich flavors and soft, sweet bread. In
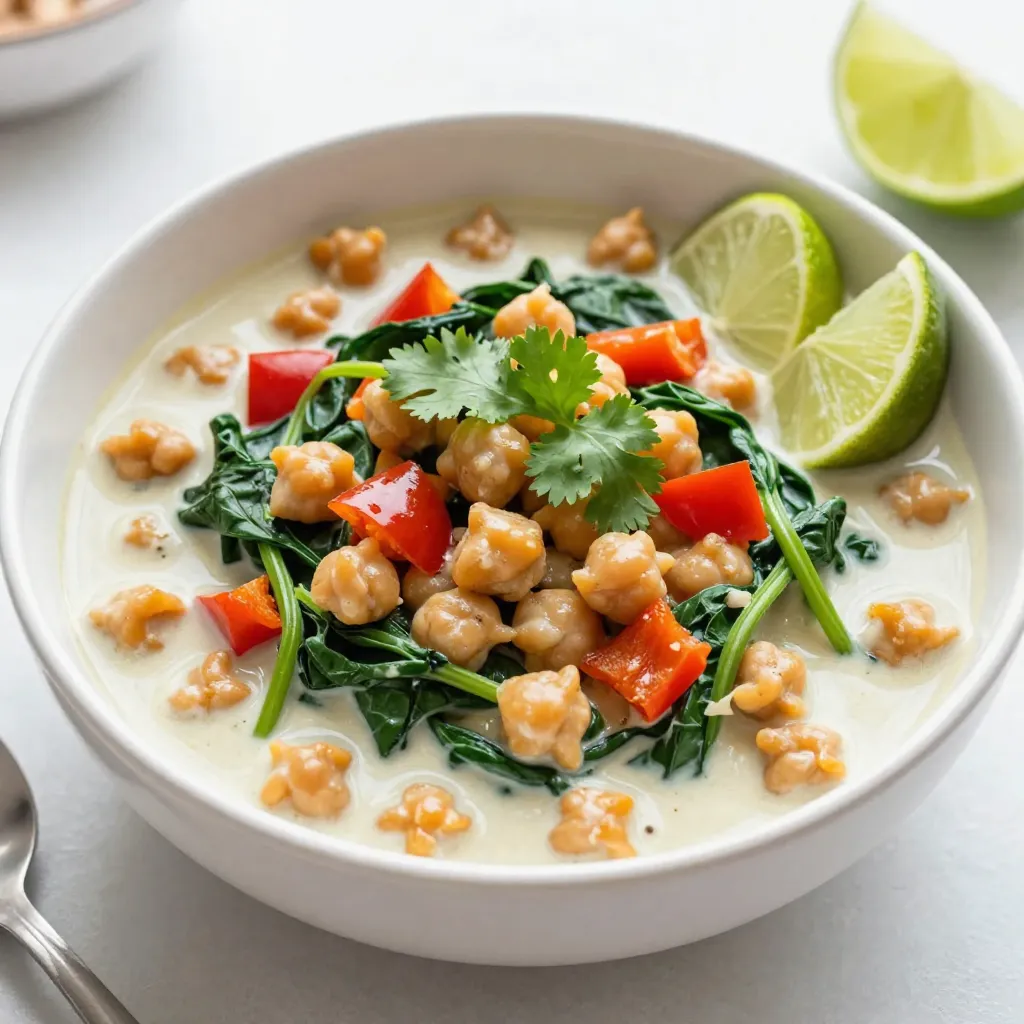
Coconut Curry Chickpeas Flavorful and Simple Dish
Coconut Curry Chickpeas are a joy to make and eat. This simple dish bursts with flavor and warmth. It’s easy to cook, and you likely

Crispy Baked Ground Beef Tacos Flavorful and Easy Meal
Are you ready for a fun and tasty meal? Crispy baked ground beef tacos are your answer! With simple ingredients and easy steps, you can