GRILLED FLAVORS
where delicious ideas come to life, from stovetop to backyard. Warm, simple, and always satisfying. 🍽️✨
BEST CATEGORIES
TRENDING
. Choosing ripe peaches is key to a great crisp. Look for peaches that are slightly soft when you press them gently. Their skin should have a rich color, with no bruises. If your peaches are hard, let them sit at room temperature for a few days. If you want to cut sugar, try using honey or maple syrup. These add sweetness and flavor without refined sugar. For butter, you can use coconut oil or a plant-based spread. They work well and keep your crisp tasty. Adjusting spice levels can make a big difference. For more warmth, add a bit more cinnamon or nutmeg. If you want a kick, consider adding a pinch of allspice or ginger. Just remember, a little goes a long way. Pair your warm bourbon peach crisp with a scoop of vanilla ice cream. The cold ice cream melts into the warm crisp, creating a wonderful mix. Whipped cream is another option that adds a light touch. For creative garnishes, try fresh mint leaves or a sprinkle of chopped nuts. A drizzle of caramel or chocolate sauce can also add flair. You can even add some crushed cookies on top for crunch. For the full recipe, check out the details above. Enjoy your cooking! {{image_2}} You can change up the warm bourbon peach crisp in fun ways. Adding nuts like walnuts or almonds gives it a nice crunch. You can also use seeds, such as pumpkin or sunflower seeds, for extra texture. These additions not only enhance the flavor but also add healthy fats and protein. If you want different flavors, try using other fruits. Apples and pears work well with the spices. You can also mix in berries, like blueberries or raspberries, for a sweet twist. Each fruit brings its own taste, making this dessert unique every time. Making this crisp fit your diet is easy. For a gluten-free version, swap the all-purpose flour with almond flour or a gluten-free blend. Just make sure to check the labels! You can also use gluten-free oats to keep it safe. If you follow a vegan diet, you can replace the butter with coconut oil or vegan butter. For the sweeteners, use maple syrup or agave instead of brown sugar. This way, you still get that warm, sweet flavor without animal products. For those watching their sugar intake, try using less sugar or a sugar substitute. Options like stevia or monk fruit sweetener can help keep the sweetness while cutting calories. With these adjustments, everyone can enjoy a delicious bowl of warm bourbon peach crisp. For the full recipe, check out the Warm Spiced Peach Crisp . To keep your warm bourbon peach crisp fresh, use an airtight container. Glass or plastic containers work well. Make sure the crisp is cool before sealing it. This helps prevent moisture build-up. You can store your crisp in the refrigerator for up to three days. If you want to keep it longer, freeze it. Wrap it tightly in plastic wrap or foil. Then place it in a freezer-safe bag. It can last for about three months in the freezer. To reheat your crisp and keep it crispy, try using an oven. Preheat the oven to 350°F (175°C). Place the crisp in a baking dish. Cover it with foil to avoid burning the top. Heat for about 15-20 minutes until warm. If you're in a hurry, a microwave works too. Heat in 30-second intervals. However, the topping may not stay crispy. For serving later, scoop out portions into bowls. Add a scoop of vanilla ice cream or whipped cream. This adds a nice touch to the warm, spiced peaches. For the full recipe, check the Warm Spiced Peach Crisp section above. Can I use frozen peaches instead of fresh? Yes, you can use frozen peaches. They work well in this recipe. Just thaw them first and drain excess liquid. This prevents the crisp from getting too soggy. Frozen peaches can be a great option when fresh ones are out of season. How can I make this recipe ahead of time? You can prepare the peach filling and topping separately. Store them in the fridge for up to a day. When ready to bake, layer them in a dish and bake as directed. This saves time and lets the flavors meld. What’s the best way to serve leftover crisp? Store leftover crisp in an airtight container. Keep it in the fridge for up to three days. To serve, simply reheat in the oven or microwave. Adding a scoop of ice cream on top makes it even better. Enjoy it warm for the best taste! For the full recipe, check out the Warm Spiced Peach Crisp details above. You learned how to make a Warm Bourbon Peach Crisp from fresh ingredients. We covered everything from choosing ripe peaches to adding fun toppings. Remember the tips for storage and reheating to keep it tasty. This dessert brings joy to any table. Enjoy experimenting with flavors and variations. Each bite can offer a new surprise. Stick to the steps, and you’ll have a dish that impresses everyone. Happy baking!](https://grilledflavors.com/wp-content/uploads/2025/06/96bea91f-bd89-47e2-bb9c-b0f08fea753b.webp)
![- 4 medium-sized bell peppers (any color) - 1 cup fresh spinach, chopped - 1 cup canned artichoke hearts, drained and chopped - 1 cup cream cheese, softened - ½ cup sour cream - 1 cup shredded mozzarella cheese - ½ cup grated Parmesan cheese - 2 cloves garlic, minced - 1 teaspoon onion powder - 1 teaspoon crushed red pepper flakes (optional) - Salt and pepper to taste - Olive oil for drizzling To make Spinach Artichoke Dip Stuffed Peppers, you will need a few simple ingredients. First, choose 4 colorful bell peppers. They add beauty and taste. Fresh spinach gives a nice pop of green. For that creamy dip flavor, grab canned artichoke hearts and cream cheese. Sour cream adds tanginess. Cheese lovers will enjoy the mozzarella and Parmesan. Garlic gives depth, while onion powder enhances flavor. If you like a little heat, add crushed red pepper flakes. Don't forget salt and pepper to taste. Lastly, olive oil will help the peppers roast nicely. - Baking dish - Mixing bowl - Measuring cups and spoons - Oven You will also need basic kitchen tools. A baking dish holds the stuffed peppers. A mixing bowl helps combine all your ingredients. Measuring cups and spoons ensure you use the right amounts. Finally, your oven will bake these delicious stuffed peppers to perfection. Now you are ready to gather your ingredients and equipment. Let’s get cooking! For the full recipe, check [Full Recipe]. - Preheat oven to 375°F (190°C). - Prepare the bell peppers by cutting tops off and removing seeds. Start by preheating your oven. This ensures your peppers cook evenly. Next, take your bell peppers and cut the tops off. Remove the seeds and membranes carefully. This step is key for a good stuffing. - Combine chopped spinach, artichoke hearts, cream cheese, sour cream, half of the mozzarella, Parmesan, garlic, onion powder, and seasonings. In a medium bowl, mix your chopped spinach and artichoke hearts. Add the cream cheese for a rich base. Then, include sour cream to add creaminess. Next, stir in half of the mozzarella and the Parmesan cheese. Don’t forget the minced garlic and onion powder for flavor. Season with salt and pepper to taste. Mix until combined. The filling should be creamy and smooth. - Stuff each pepper with the filling, sprinkle remaining mozzarella, cover with foil, and bake. - Finish baking uncovered for a golden cheese topping. Now it's time to stuff your peppers! Spoon the filling into each pepper, packing it in gently. Make sure they are filled to the top. Next, sprinkle the remaining mozzarella cheese on top. This will give a nice golden finish. Cover your baking dish with foil. Bake for 25 minutes. After that, remove the foil and let them bake for another 10-15 minutes. This will create a bubbly, golden cheese topping that looks amazing. For more details on this delightful recipe, check out the Full Recipe. To create the best stuffed peppers, start with the flavor. Make sure you spread the seasoning evenly. This step helps achieve a balanced taste in each bite. When you pack the filling, do it lightly. This allows the cheese to melt perfectly, creating that delicious creamy texture. For a lovely finish, garnish your peppers with fresh herbs. Basil or parsley adds a pop of color and freshness. You can also drizzle a balsamic reduction for an elegant touch. Serving these peppers warm ensures you get the best flavor and texture. Get creative with your filling by trying different cheese types. Cheddar or pepper jack can add a fun twist. You can also spice things up with your favorite seasonings. If you want more variety, add extra veggies like diced tomatoes or cooked proteins like chicken. The options are endless! For the complete recipe, check out the [Full Recipe]. {{image_2}} Spinach artichoke dip stuffed peppers offer a great base for creativity. You can easily adapt the recipe to fit your taste or dietary needs. You can make these stuffed peppers vegetarian by swapping out the meat. Try using mushrooms, zucchini, or even quinoa as a filling. These vegetables will still keep the dish tasty and satisfying. You can also add more cheese for a richer flavor. Using a mix of veggies adds color and nutrients to your meal. If you want more protein, add cooked chicken or sausage to the filling. Diced rotisserie chicken works great for a quick option. You can also use ground turkey or Italian sausage for bold flavors. This change makes the dish heartier and perfect for a filling dinner or lunch. For a low-carb version, consider using zucchini boats or cauliflower instead of bell peppers. Cut zucchini in half and scoop out the seeds. This creates a perfect vessel for your filling. Cauliflower can be riced and mixed with the spinach and artichoke for a unique twist. Both options keep the flavors vibrant while reducing carbs. For the full recipe, check out the complete guide on Spinach Artichoke Dip Stuffed Peppers. To keep your stuffed peppers fresh, cover them tightly with plastic wrap or foil. Store them in the fridge. This method will help retain their taste and texture. It’s best to consume them within three days for optimal flavor. When you're ready to enjoy your leftovers, reheating them is simple. For the best texture, reheat in the oven at 350°F (175°C) for about 15 minutes. If you're short on time, use a microwave for quick warm-ups. Just be careful not to overheat them, as they can become soggy. If you want to save some for later, freezing is a great option. Place your stuffed peppers in an airtight container. They can last up to three months in the freezer. When you're ready to eat them, thaw them in the fridge overnight before reheating. This helps maintain their delicious taste and texture. Total cooking time is approximately 50 minutes. This includes prep time and baking time. Yes, prepare and stuff peppers, then refrigerate until ready to bake. This makes it easy for meal prep! Greek yogurt, ricotta, or other cream cheeses can be good alternatives. Each gives a unique taste and texture. Yes, this recipe is naturally gluten-free. You can enjoy these without worry. Absolutely! Adding ingredients like nuts or different vegetables can enhance flavor. It’s fun to get creative with your stuffing! Stuffed peppers are a tasty blend of flavors and textures. You learned how to prepare, stuff, and bake them using simple ingredients. The tips and variations provided offer endless options for your meals. Feel free to get creative with fillings. Whether you go for a vegetarian version or add protein, these peppers are sure to please. Remember, leftovers can be stored and reheated with ease, making them a great choice for meal prep. Enjoy your cooking adventure!](https://grilledflavors.com/wp-content/uploads/2025/05/cf417408-6d47-446d-8961-a905c25ef07b.webp)
NEW RECIPES
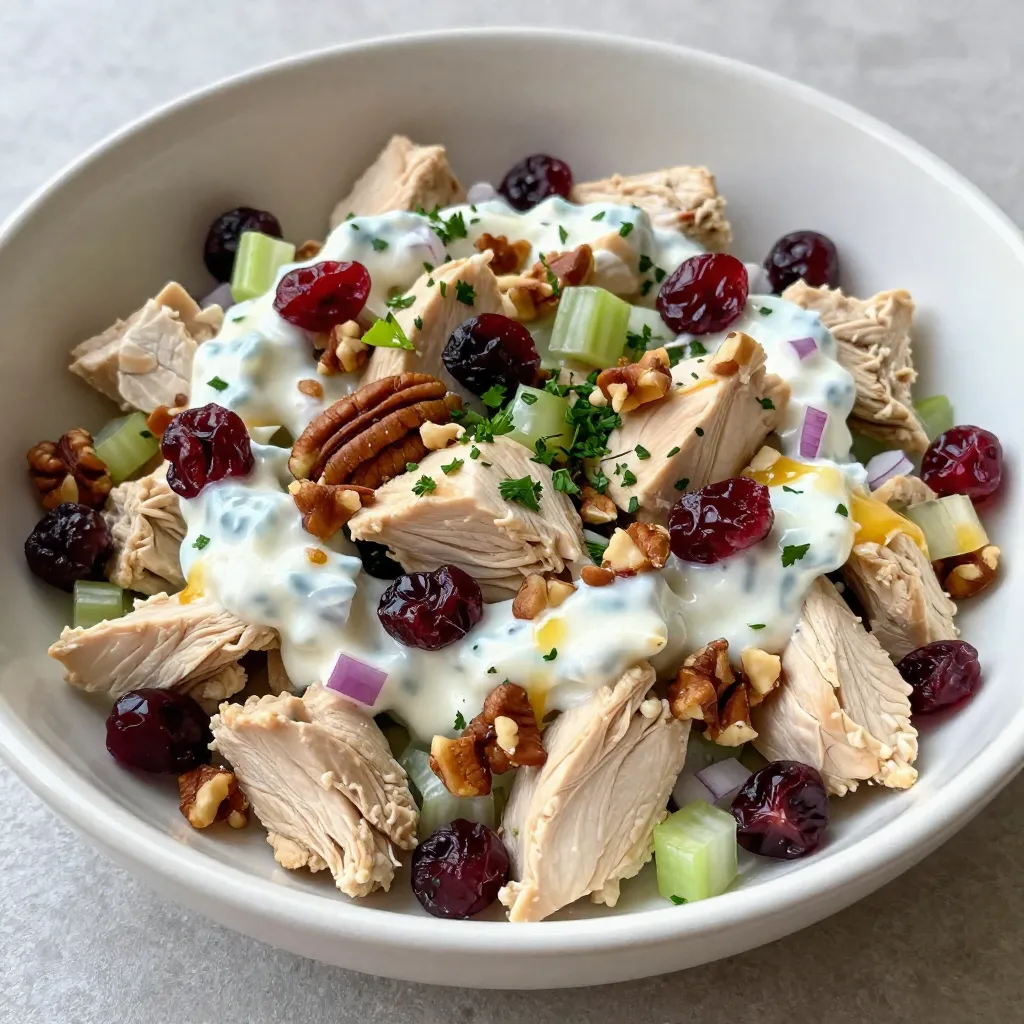
Cranberry Pecan Chicken Salad Nutritious and Tasty
Welcome to your new favorite salad! My Cranberry Pecan Chicken Salad is both tasty and nutritious. It combines juicy chicken, crunchy pecans, and sweet cranberries
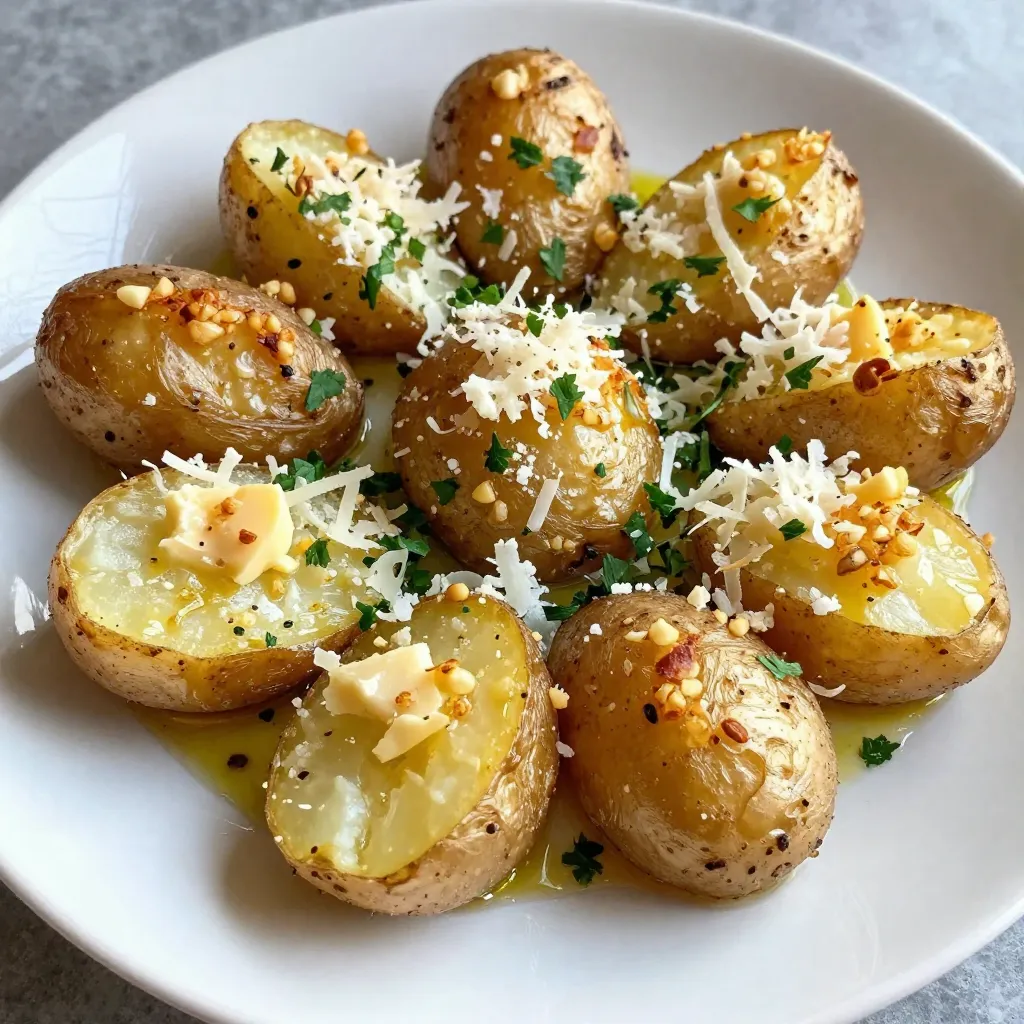
Garlic Parmesan Smashed Potatoes Flavorful Side Dish
If you’re looking for a side dish that wows, try Garlic Parmesan Smashed Potatoes. These crispy, buttery bites are packed with flavor and easy to

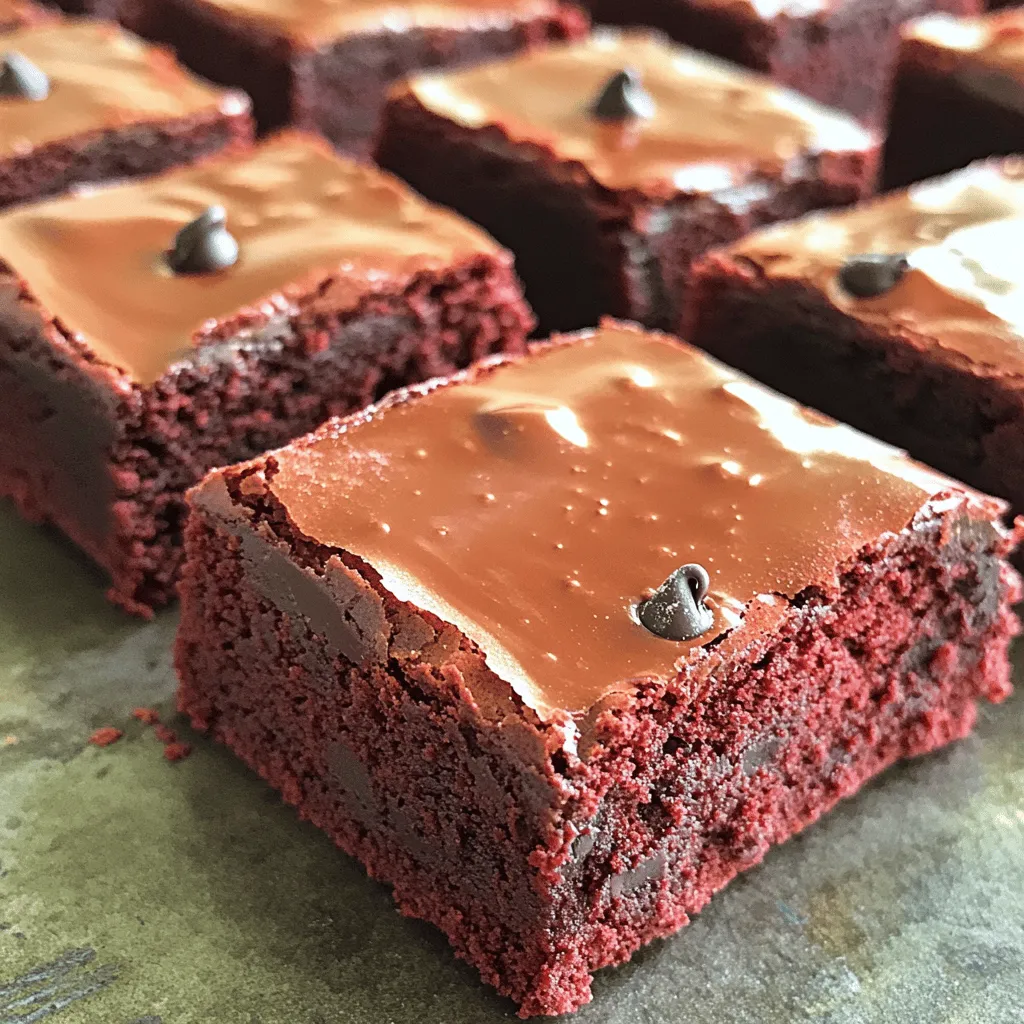
Chocolate Pecan Pie Bars Rich and Decadent Treat
Get ready to indulge in a treat that combines your favorite flavors: chocolate, pecans, and rich creaminess! In this article, I’ll guide you step-by-step to
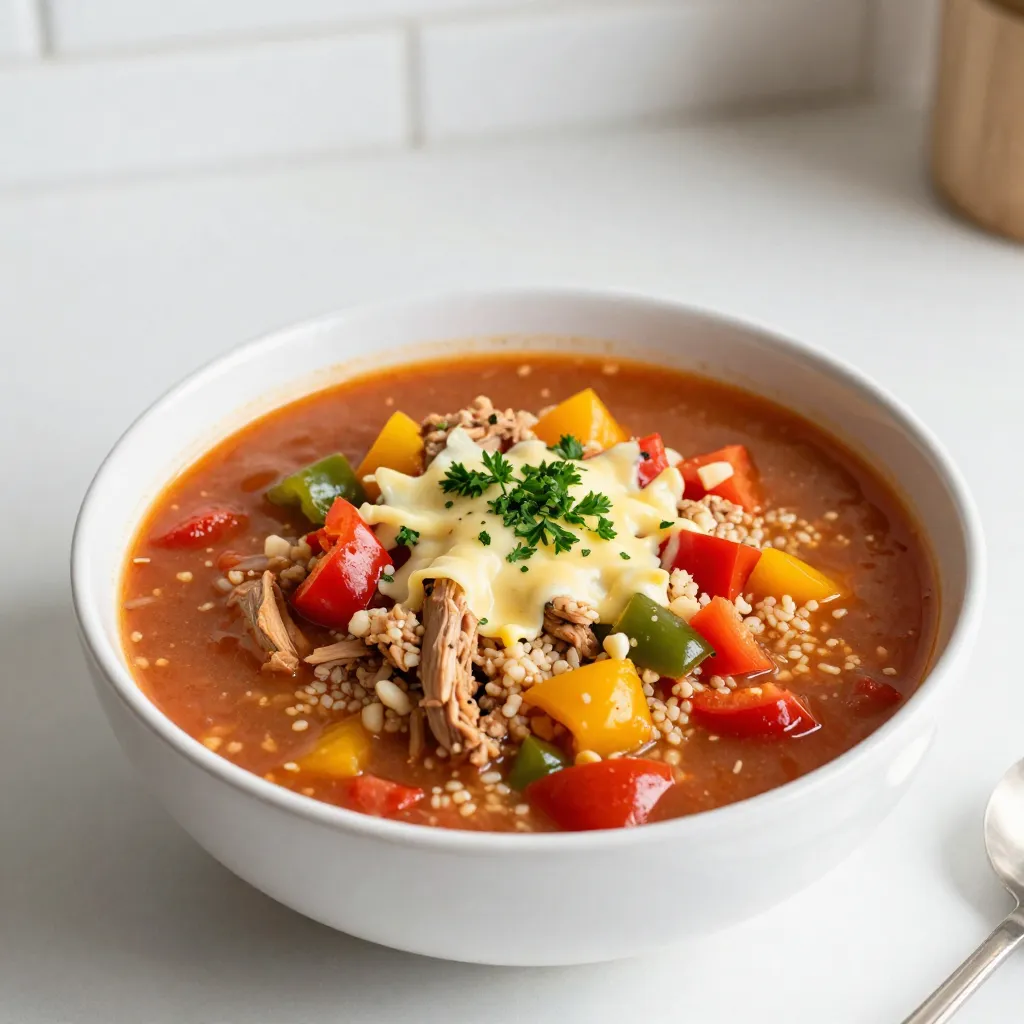
Stuffed Bell Pepper Soup Flavorful and Hearty Meal
Warm, hearty, and packed with flavor, stuffed bell pepper soup is a twist on a classic dish. This recipe combines the wholesome goodness of ground
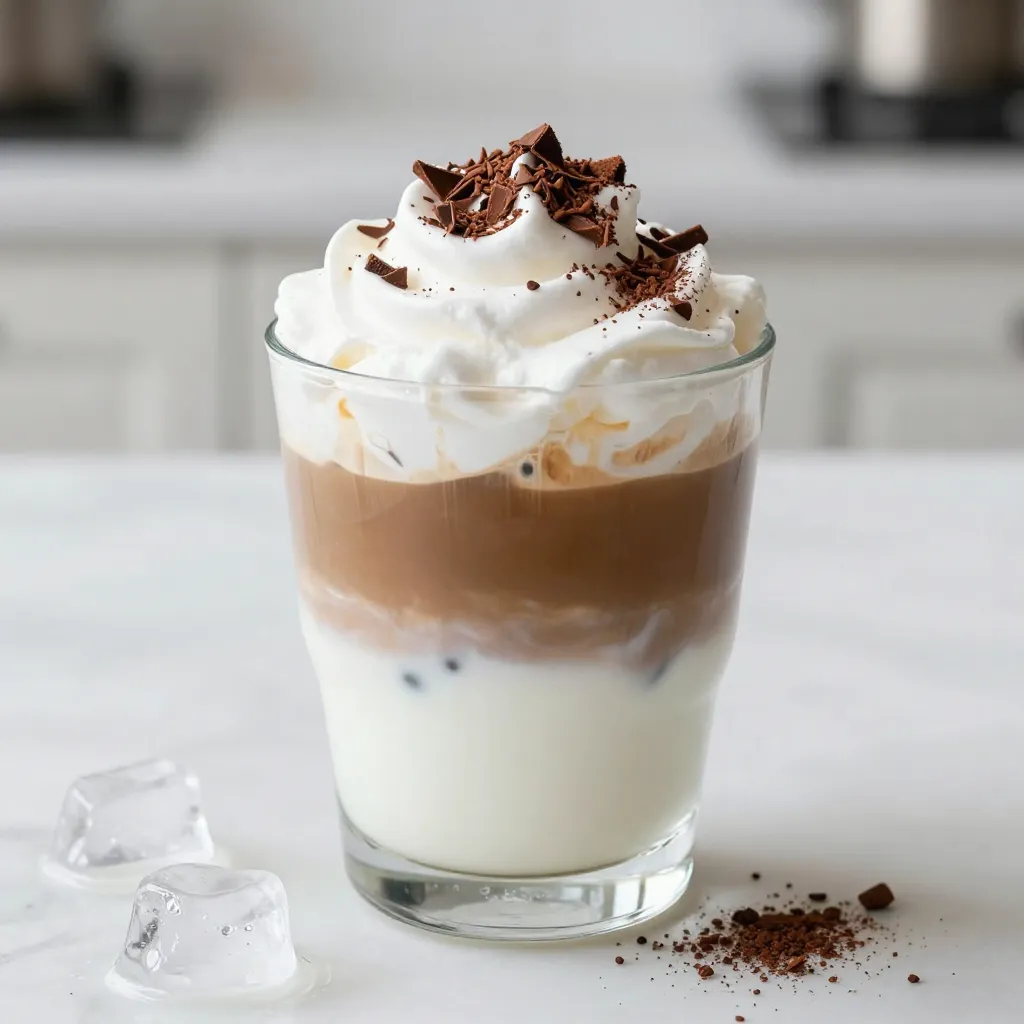
Mocha Dalgona Coffee Quick and Easy Recipe Guide
Looking for a delicious pick-me-up? You’re in the right place! This Mocha Dalgona Coffee recipe is quick and easy, and it delivers a creamy, whipped
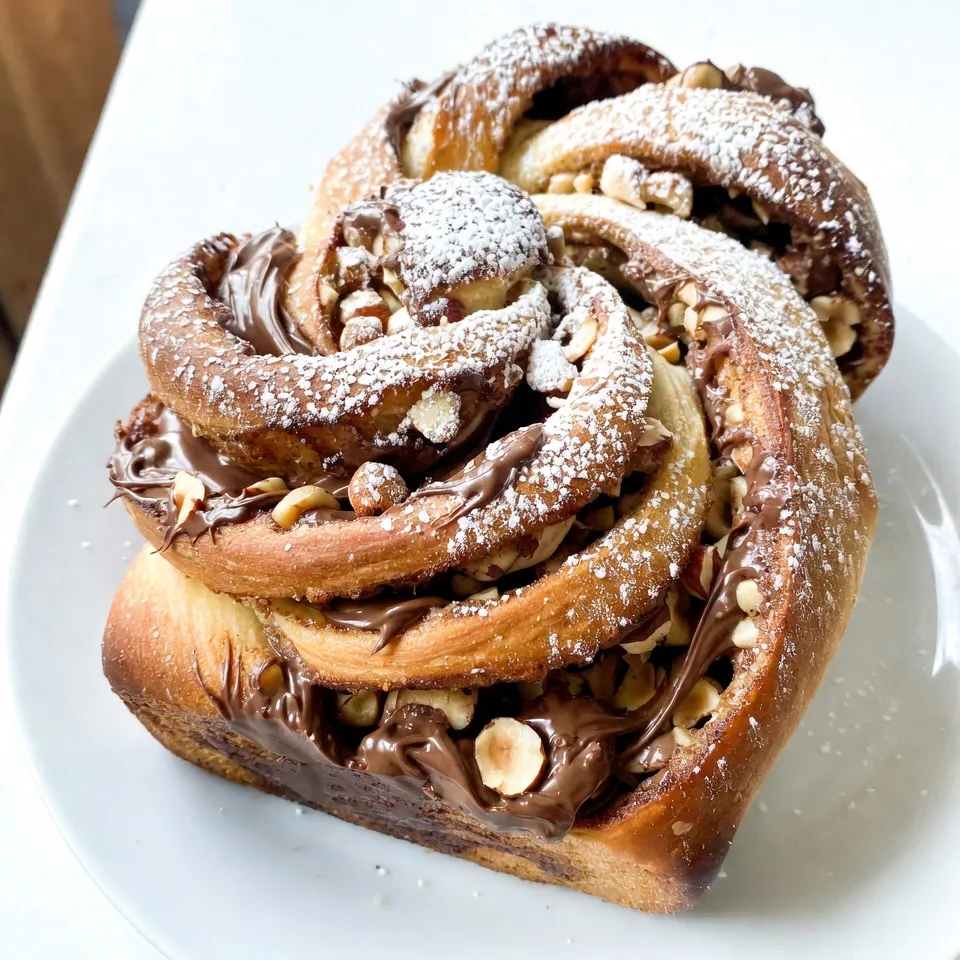
Chocolate Hazelnut Babka Delightful Homemade Recipe
Are you ready to bake something truly special? This Chocolate Hazelnut Babka is a delightful treat that combines rich flavors and soft, sweet bread. In
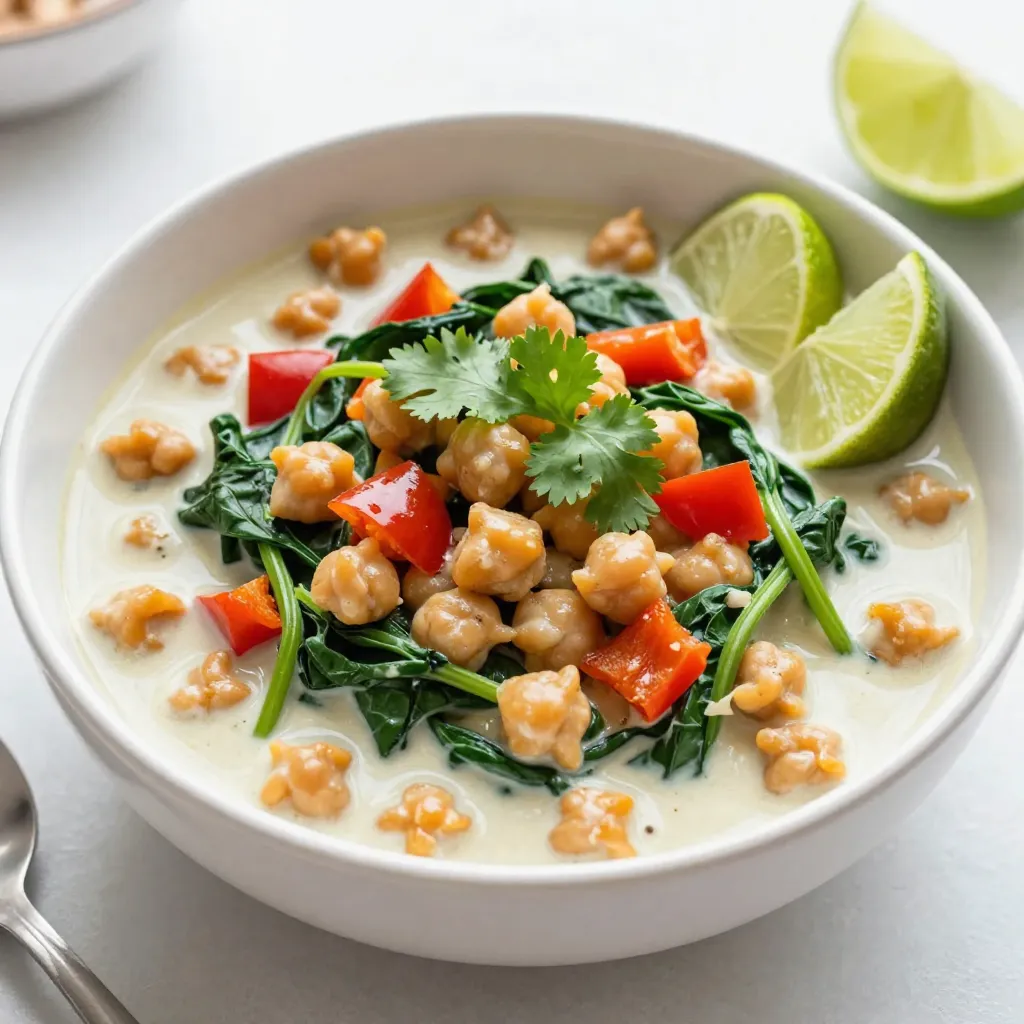
Coconut Curry Chickpeas Flavorful and Simple Dish
Coconut Curry Chickpeas are a joy to make and eat. This simple dish bursts with flavor and warmth. It’s easy to cook, and you likely

Crispy Baked Ground Beef Tacos Flavorful and Easy Meal
Are you ready for a fun and tasty meal? Crispy baked ground beef tacos are your answer! With simple ingredients and easy steps, you can