Looking for a tasty snack that’s crispy, bursting with flavor, and easy to make? Toasted ravioli is your answer! This delightful treat takes regular ravioli to the next level, turning them into bite-sized perfection. In this blog post, I’ll share simple steps, tips, and variations that will help you create your own crispy ravioli at home. Let’s dive into the world of toasted ravioli everyone will love!
Ingredients
List of Key Ingredients
To make crispy toasted ravioli, gather these key ingredients:
– 12 oz frozen cheese ravioli
– 1 cup all-purpose flour
– 2 large eggs
– 1 cup breadcrumbs (preferably Italian-style)
– 1/2 cup grated Parmesan cheese
– 1 tablespoon Italian seasoning
– 1 teaspoon garlic powder
– Salt and pepper to taste
– Cooking oil for frying
– Marinara sauce (for dipping)
Each ingredient plays a key role. The ravioli gives a nice base, while the cheese and seasoning add depth. The flour helps the breading stick, and the eggs bind it all together. Breadcrumbs give that satisfying crunch.
Recommended Variations for Fillings
You can switch up the fillings if you like. Try meat, spinach, or mushrooms. Each choice adds a new flavor. Cheese and spinach are easy and tasty. For a twist, use a mix of cheeses or add some heat with spicy sausage.
Best Types of Ravioli for Toasting
Frozen cheese ravioli works best for this recipe. It holds up well when frying. You can also use fresh ravioli if you want. Just make sure it’s not too watery. The thicker the pasta, the better it will toast.
For the full recipe, check out the Crispy Toasted Ravioli Delight 🥟.
Step-by-Step Instructions
Preparation of Ravioli
To start, boil a large pot of salted water. This helps flavor the ravioli. Add 12 oz of frozen cheese ravioli to the pot. Cook them according to the package, usually for 4-5 minutes. They should be tender but firm, or al dente. Once cooked, drain the ravioli and let them cool on a plate.
Breading Process Explained
Next, you need to set up a breading station. Grab three shallow dishes. In the first dish, add 1 cup of all-purpose flour. In the second, whisk two large eggs until they blend. In the third dish, mix 1 cup of breadcrumbs, 1/2 cup of grated Parmesan cheese, 1 tablespoon of Italian seasoning, 1 teaspoon of garlic powder, salt, and pepper to taste.
Now it’s time to bread the ravioli. Take a ravioli and dip it in the flour first. Shake off any extra flour. Next, dip it into the eggs, letting the excess drip off. Finally, coat it with the breadcrumb mixture, pressing gently to ensure it sticks. Repeat this for each ravioli.
Frying Techniques for Perfect Crispiness
Now, heat about 1/2 inch of cooking oil in a large skillet over medium heat. To test if the oil is ready, drop in a small piece of breadcrumb. If it sizzles, you’re good to go. Carefully place the breaded ravioli in the hot oil in batches. Fry them for about 2-3 minutes on each side. Look for a golden brown color and crispy texture. Avoid overcrowding the pan; this keeps the oil hot.
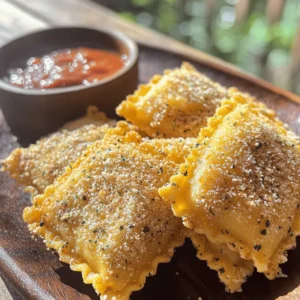
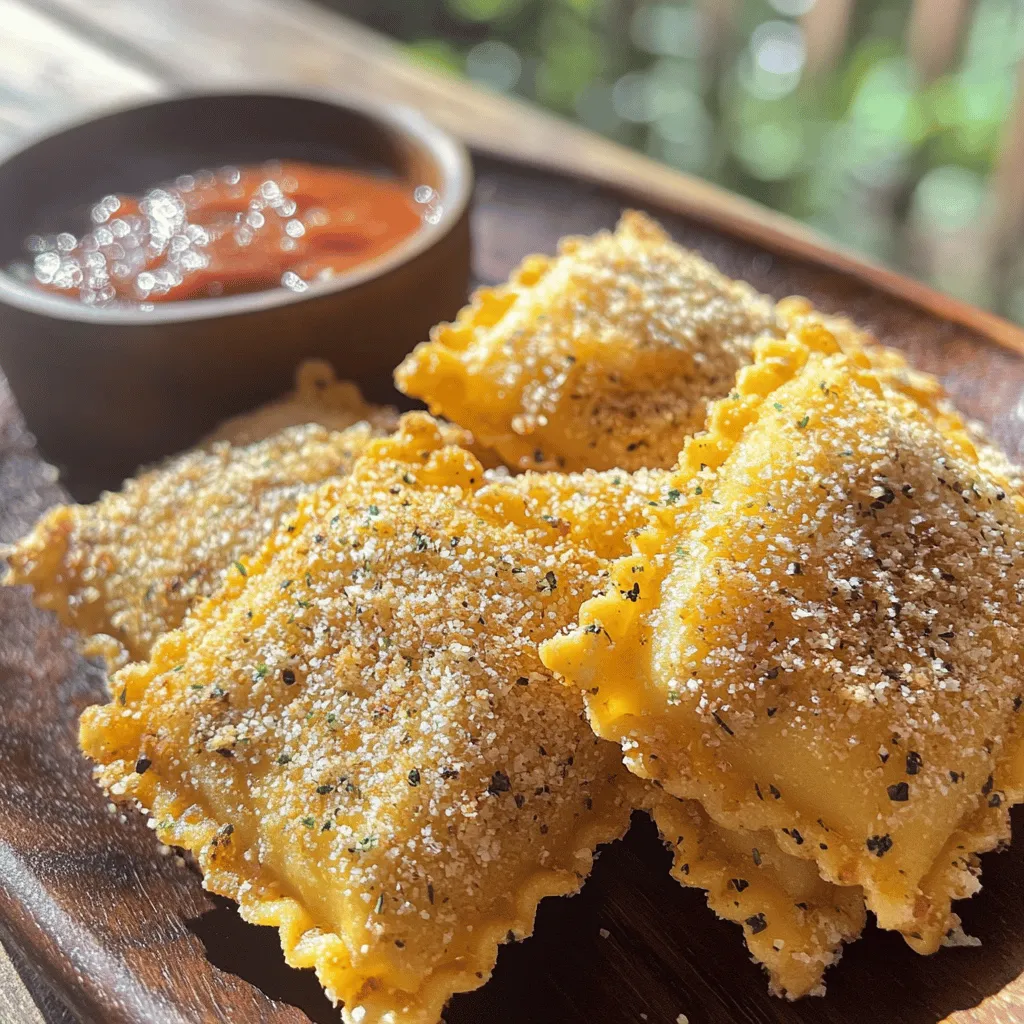
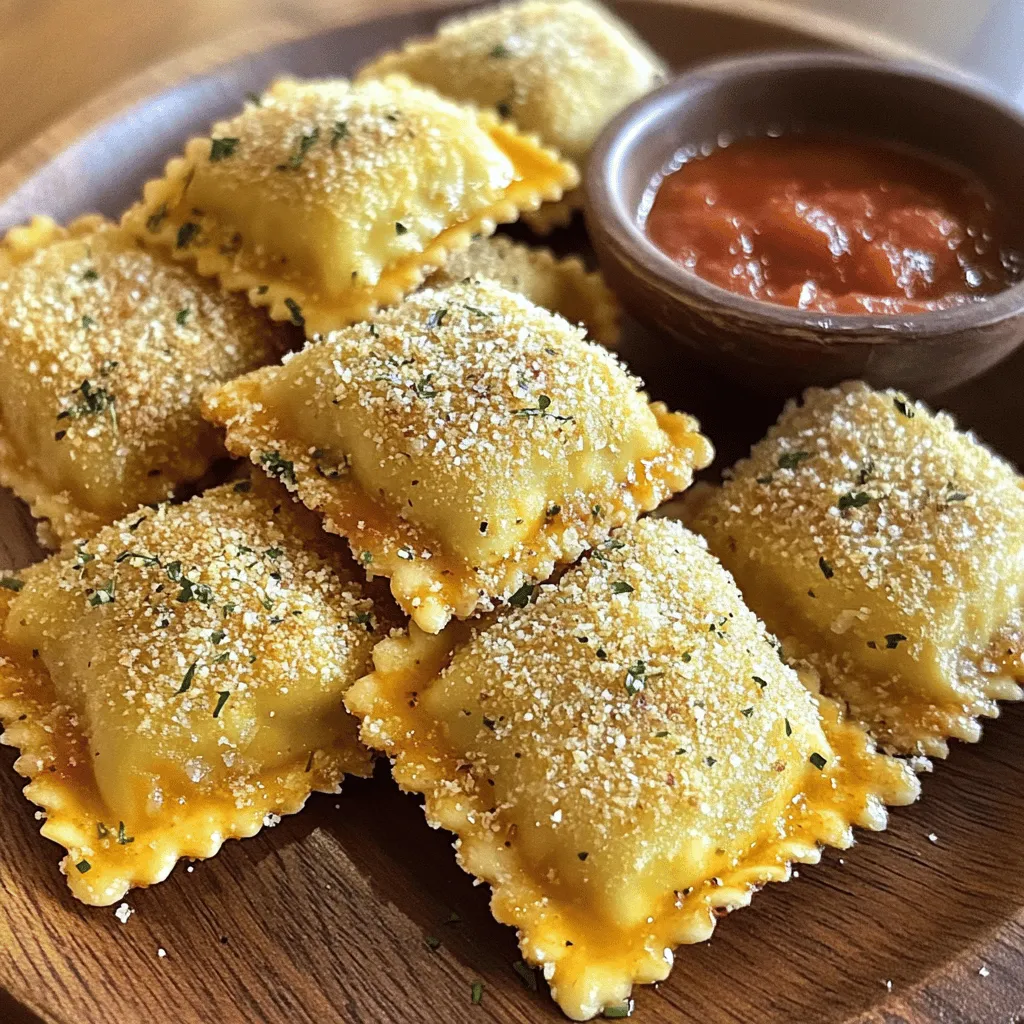
Once cooked, transfer the toasted ravioli to a plate lined with paper towels. This helps drain excess oil. Serve them hot with marinara sauce for dipping. Enjoy your crispy, flavorful snack! For detailed steps, check the Full Recipe.
Tips & Tricks
Best Practices for Achieving a Crispy Texture
To get that perfect crunch, start with dry ravioli. Make sure to drain them well after cooking. This helps avoid soggy bites. Next, use a mix of breadcrumbs. Italian-style gives great flavor. Coat each ravioli well. Don’t rush this step. The more even the coating, the better the crunch will be. Fry them in hot oil, about 350°F. If the oil is too cold, they will absorb too much oil and won’t be crispy.
Common Mistakes to Avoid
One common mistake is overcrowding the pan. This lowers the oil’s temperature and leads to soggy ravioli. Fry in smaller batches for best results. Another mistake is not seasoning the breadcrumbs. Adding salt and spices to the mix enhances flavor. Lastly, don’t skip the cooling step after frying. Let them sit on a paper towel to remove excess oil. This keeps them crispy until served.
Serving Suggestions and Pairings
Toasted ravioli pairs well with marinara sauce for dipping. You can also try pesto or ranch for a fun twist. For a meal, serve them with a fresh salad. A simple arugula salad with lemon dressing complements the flavor nicely. You can also add some grated cheese on top for extra taste. Enjoy them as a snack or part of a meal! For the full recipe, check out the detailed instructions above.
Variations
Different Fillings for Toasted Ravioli
Toasted ravioli is fun because you can fill it with many tasty options. You can use cheese, meat, or veggies. Cheese-filled ravioli works great for a classic taste. Meat options like beef or sausage add a hearty twist. For a lighter dish, try spinach and ricotta. You can be creative with what you put inside. Just make sure the filling is not too wet.
Flavorful Dipping Sauces
The right dipping sauce can make your toasted ravioli shine. Marinara is the classic choice, but you can mix it up. Try a creamy Alfredo sauce for a rich flavor. A spicy arrabbiata sauce adds heat and excitement. For a unique twist, try pesto or a garlic butter sauce. Each sauce brings out different flavors in the ravioli.
Baked vs Fried Toasted Ravioli: Pros and Cons
You can bake or fry your toasted ravioli, and both methods have their perks. Frying gives you a golden, crispy texture that many love. It takes less time and adds a nice crunch. However, frying can add more fat. Baking is a healthier option, but it may not be as crispy. It takes longer and might need a little oil spray for a good finish. Choose the method that fits your taste and health goals.
Storage Information
How to Store Leftover Toasted Ravioli
If you have leftover toasted ravioli, place them in an airtight container. Make sure they are cool before sealing the container. This keeps them crispy longer. Store them in the fridge for up to three days. You can also put them on a plate and cover with plastic wrap if you prefer.
Freezing Instructions for Pre-Cooked Ravioli
To freeze pre-cooked toasted ravioli, let them cool completely. Spread them on a baking sheet in a single layer. This prevents them from sticking. Freeze for about an hour, then transfer to a freezer bag. Squeeze out as much air as you can. They will keep well for up to two months.
Reheating Tips for Optimal Taste
To reheat your toasted ravioli, use the oven for the best results. Preheat your oven to 375°F (190°C). Place the ravioli on a baking sheet. Heat them for about 10-12 minutes, or until crispy again. You can also use an air fryer. Set it to 350°F (175°C) and heat for about 5-7 minutes. Avoid the microwave, as it makes them soggy. Enjoy your crispy snack! You can find the Full Recipe for making these delightful bites in the article.
FAQs
How long does it take to cook toasted ravioli?
Cooking toasted ravioli takes about 30 minutes. Start by boiling the frozen ravioli for 4-5 minutes. You then need time for breading and frying. Fry each batch for 2-3 minutes until golden brown.
Can I make toasted ravioli ahead of time?
Yes, you can make toasted ravioli ahead of time. Cook and bread them, then freeze before frying. When you’re ready, just fry them straight from the freezer. This keeps them fresh and tasty.
What is the origin of toasted ravioli?
Toasted ravioli comes from St. Louis, Missouri. Local chefs created this dish, frying ravioli to make it crispy. It quickly became a popular snack in local restaurants. Now, it’s loved by many across the country.
Where can I find the best toasted ravioli in my area?
To find the best toasted ravioli, check local Italian restaurants. Ask friends for their favorites or look at online reviews. You can also explore food festivals and fairs, where local chefs showcase their versions. For a great homemade option, try the full recipe I shared above!
Toasted ravioli is a tasty dish with many ways to enjoy it. We explored key ingredients, variations, and the best types for toasting. I shared steps to make them crispy and tips to avoid mistakes. You can also store or freeze leftovers easily. With all the options for fillings and dips, this dish is sure to impress. Remember, whether baked or fried, the goal is to enjoy each bite. Try different flavors and have fun making it your own!