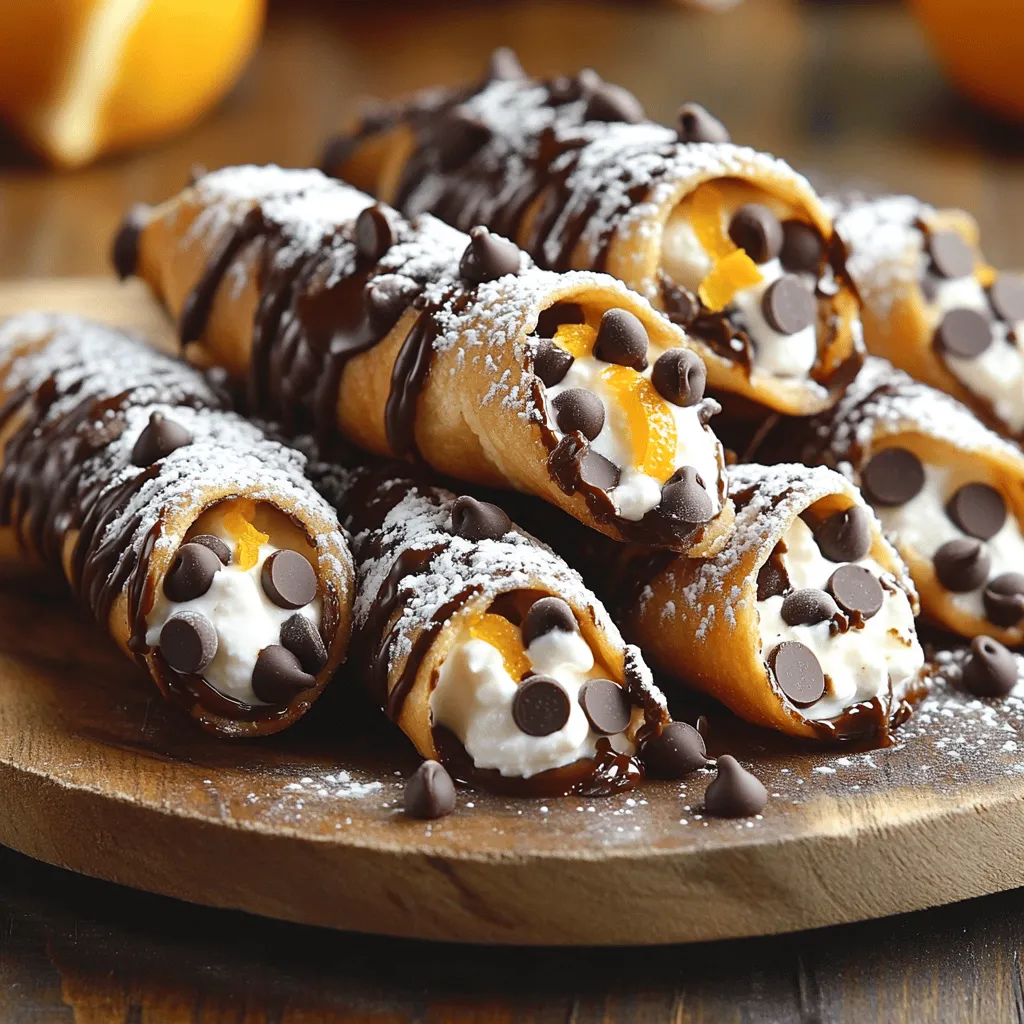
Craving a sweet treat? Let’s elevate your dessert game with Cannoli filled with mascarpone! This delightful dessert is creamy and crunchy, offering a perfect blend of flavors. In this guide, I’ll walk you through making classic cannoli shells and filling them with a smooth mascarpone mixture. Get ready to impress your friends and family with this Italian classic that’s surprisingly easy to make at home!
Ingredients
Complete List of Ingredients
– 1 cup all-purpose flour
– 2 tablespoons unsweetened cocoa powder
– 1 tablespoon sugar
– 1/4 teaspoon salt
– 3 tablespoons unsalted butter, softened
– 1 large egg yolk
– 1/4 cup cold water
– Vegetable oil for frying
– 1 cup mascarpone cheese
– 1/2 cup ricotta cheese, drained
– 1/4 cup powdered sugar, plus extra for dusting
– 1 teaspoon vanilla extract
– 1/4 cup mini chocolate chips
– Zest of 1 orange
When making cannoli with mascarpone filling, I love to gather my ingredients first. This helps me stay organized and focused. The main ingredients are flour, cocoa powder, and various cheeses. Mascarpone is creamy and rich, while ricotta adds a nice texture.
You will also need some sugar and vanilla to sweeten the filling. The zest of an orange gives it a bright flavor. Mini chocolate chips bring a delightful crunch.
For the dough, you need butter, an egg yolk, and cold water. These ingredients help create a smooth and workable dough. Don’t forget the vegetable oil for frying the shells.
Having the right tools makes the process easier. You will want cannoli forms, mixing bowls, a rolling pin, and a deep frying pan. These tools help ensure you get the best results.
For the full recipe, check the instructions later. You’ll be ready to create a sweet treat that everyone will love!
Step-by-Step Instructions
Preparing the Dough
– In a mixing bowl, combine 1 cup all-purpose flour, 2 tablespoons cocoa powder, 1 tablespoon sugar, and 1/4 teaspoon salt.
– Add 3 tablespoons softened butter and mix until crumbly.
– Next, incorporate 1 large egg yolk and 1/4 cup cold water. Knead until smooth.
– Wrap the dough in plastic wrap and let it rest in the fridge for about 30 minutes.
Rolling and Shaping Cannoli Shells
– After resting, roll the dough out on a floured surface to about 1/8 inch thick.
– Use a circular cutter, about 4 inches wide, to cut out circles.
– Roll the circles around metal cannoli forms. Seal the edges with a bit of water.
– Make sure to press the seams well to prevent opening during frying.
Frying the Cannoli Shells
– In a deep frying pan, heat vegetable oil to 350°F (175°C).
– Carefully fry the wrapped cannoli shells until golden brown, about 2–3 minutes.
– Remove them and drain on paper towels. Gently slide off the molds while still warm.
Making the Mascarpone Filling
– In a medium bowl, mix 1 cup mascarpone cheese and 1/2 cup drained ricotta cheese.
– Add 1/4 cup powdered sugar, 1 teaspoon vanilla extract, and the zest of 1 orange.
– Finally, stir in 1/4 cup mini chocolate chips. Mix until you have a smooth consistency.
Filling the Cannoli
– Once the shells are cool, use a piping bag fitted with a large round tip.
– Fill each cannoli shell with the mascarpone filling.
Presentation
– Dust the filled cannoli with extra powdered sugar before serving.
– For a special touch, add optional garnishes like orange zest or fresh mint.
For the full recipe, check the details above. Enjoy making this delightful treat!
Tips & Tricks
Achieving Perfect Cannoli Shells
To make great cannoli shells, you need the right dough. The dough should feel smooth and elastic. If it’s too sticky, add a bit more flour. If it’s too dry, add a tiny bit of water. This balance is key for good frying.
When frying, the oil temperature matters. Heat the oil to 350°F (175°C). Use a thermometer for accuracy. If the oil is too cool, the shells will soak up oil. If it’s too hot, they will burn quickly. Keep a close eye on your frying.
Filling Tips
Filling your cannoli just right is crucial. Avoid overfilling them. Too much filling can make the shells soggy. Aim for a nice balance. A few teaspoons in each shell is perfect.
The best serving temperature for cannoli is cool, but not cold. This keeps the filling creamy and soft. Let them rest for a few minutes after filling. This allows the flavors to meld beautifully.
Decoration Ideas
Take your cannoli to the next level with creative toppings. Consider adding crushed nuts or mini chocolate chips on the ends. You can also dust them with powdered sugar for a classic look.
Fresh fruits can add a pop of color and taste. Raspberries or strawberries work well. Drizzling melted chocolate over the filled cannoli adds a touch of elegance. You can use dark, white, or even milk chocolate for variety.

Variations
Alternative Fillings
You can play with the filling for a unique taste. Try fruit-flavored mascarpone for a fresh twist. Mix in pureed strawberries or lemon zest to brighten the flavors. You can also explore nut-based fillings. Use almond or hazelnut paste for a rich, nutty flavor. This will add a lovely crunch and depth to your cannoli.
Spiced Cannoli
Want to spice things up? Add a pinch of cinnamon or nutmeg to the filling. These spices will give your cannoli a warm, inviting flavor. You can also infuse your chocolate with other flavors. Try adding espresso or orange essence to the chocolate chips for an exciting kick. This twist will surprise your taste buds.
Gluten-Free and Vegan Options
If you need gluten-free cannoli, substitute regular flour with almond or oat flour. These flours keep the texture light and fun. For a vegan version, use plant-based cheese alternatives. Look for vegan mascarpone or cream cheese. These swaps will help you enjoy this treat while meeting your dietary needs.
Storage Info
Storing Unfilled Cannoli Shells
To keep your cannoli shells crisp, store them in an airtight container. Place parchment paper between layers to prevent sticking. Always keep them in a cool, dry place. They can last up to one week when stored this way.
Storing Filled Cannoli
Filled cannoli do not stay fresh for long. They are best eaten right after filling. If you must store them, place them in the fridge in a sealed container. They will stay fresh for about two days, but they may lose some crispness.
Reheating Tips
If your filled cannoli lose their crispness, you can restore it by reheating. Preheat your oven to 350°F (175°C). Place the cannoli on a baking sheet and heat for about five minutes. This method helps to refresh the shells without making them soggy.
FAQs
How do I know if my oil is hot enough for frying?
You can check the oil with a temperature probe. Aim for 350°F (175°C). If you don’t have a probe, drop a small piece of dough in. If it sizzles and rises, your oil is ready.
Can I prepare the dough in advance?
Yes, you can make the dough ahead. Wrap it tightly in plastic. Store it in the fridge for up to two days. Just remember to let it come to room temperature before rolling it out.
What can I do if my cannoli shells break during frying?
If your shells break, there are ways to fix it. Use a bit more water to seal the edges better. If they still break, try frying at a lower temperature. This can help them cook more evenly.
Is it possible to bake cannoli instead of frying?
Yes, you can bake cannoli! Preheat your oven to 375°F (190°C). Lightly brush the shells with oil. Bake for about 15 minutes or until golden. They will be less crispy than fried, but still tasty.
You can create delicious cannoli by following our step-by-step guide. Start with quality ingredients and the right tools. Master the dough and frying technique for perfect shells. Customize your filling and presentation to impress everyone. Remember, practice makes perfect, and don’t be afraid to try variations. Enjoy making and sharing this classic treat with family and friends!
