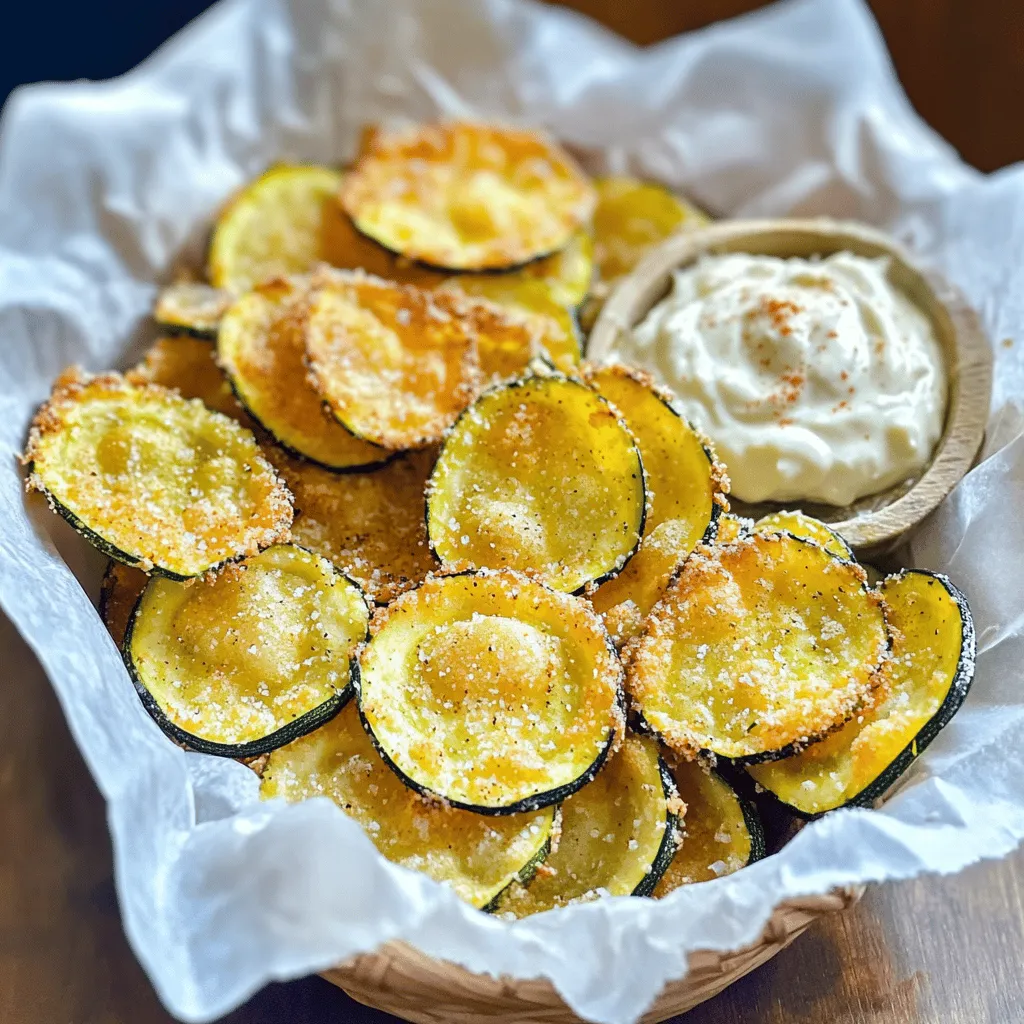
Are you ready to discover your new favorite snack? Crunchy Zucchini Chips are simple to make and utterly delicious. With just a few basic ingredients like zucchini, panko, and parmesan, you can whip up a crispy treat that satisfies cravings without the guilt. Get prepared to impress your friends with this easy recipe and learn how to avoid soggy chips. Let’s dive into this tasty adventure!
Ingredients
List of Ingredients
– 2 medium zucchinis
– 1 cup panko breadcrumbs
– ½ cup grated parmesan cheese
– 1 teaspoon garlic powder
– 1 teaspoon onion powder
– ½ teaspoon smoked paprika
– ½ teaspoon salt
– ¼ teaspoon black pepper
– 1 large egg, beaten
– Cooking spray
When you gather these ingredients, think of how fun it will be! Zucchini is tasty and healthy. Panko breadcrumbs add crunch, while parmesan cheese gives flavor. Garlic and onion powders boost taste too. Smoked paprika adds a lovely touch with its warm, smoky flavor.
You can adjust the spices based on what you like. Want it spicier? Add a pinch of cayenne pepper! Or switch up the cheese—try cheddar or nutritional yeast for a vegan twist.
Make sure you have a large egg; it helps the crumbs stick well. Cooking spray is key for that extra crispiness. Trust me, these crunchy zucchini chips will be a hit! Check out the Full Recipe to see how to put everything together. Enjoy your time in the kitchen!
Step-by-Step Instructions
Preparation Steps
1. Preheat your oven to 225°F (110°C). Line two baking sheets with parchment paper. This helps the chips not stick.
2. Wash the zucchinis well. Slice them thinly, about 1/8 inch. You can use a mandoline or a sharp knife. Pat the slices dry with paper towels. This step is key to getting crispy chips.
3. In a shallow bowl, mix 1 cup of panko breadcrumbs, ½ cup of grated parmesan cheese, 1 teaspoon of garlic powder, 1 teaspoon of onion powder, ½ teaspoon of smoked paprika, ½ teaspoon of salt, and ¼ teaspoon of black pepper. This mix adds great flavor.
Coating Zucchini Chips
1. In a separate bowl, beat 1 large egg until mixed. This will help the breadcrumbs stick.
2. Dip each zucchini slice into the beaten egg. Let the extra egg drip off.
3. Next, coat the zucchini slice in the breadcrumb mixture. Press the crumbs onto the zucchini to help them stick well.
Baking Process
1. Lay the coated zucchini chips in a single layer on the prepared baking sheets. Make sure they do not overlap.
2. Lightly spray the tops with cooking spray. This adds extra crispiness.
3. Bake the zucchini chips for about 2 hours. Flip them halfway through baking. This ensures they get crispy on both sides. Keep an eye on them. Baking times may change depending on your oven.
4. When the chips look golden and crispy, take them out of the oven. Let them cool on the tray for a few minutes before serving.
For the full recipe, check out the details above. Enjoy your crunchy zucchini chips!
Tips & Tricks
Achieving Maximum Crispiness
To make the best crunchy zucchini chips, slicing matters. Aim for slices about 1/8 inch thick. Thinner slices cook faster and become crispier. Use a sharp knife or a mandoline for even cuts. After slicing, dry the zucchini well with paper towels. Removing moisture helps make them extra crispy.
Oven temperature plays a vital role too. Preheat your oven to 225°F (110°C). This low temperature allows the chips to dry out slowly. Baking them for about two hours will give you that perfect crunch. Flip them halfway to ensure they brown evenly. Keep an eye on them; every oven is different.
Serving Suggestions
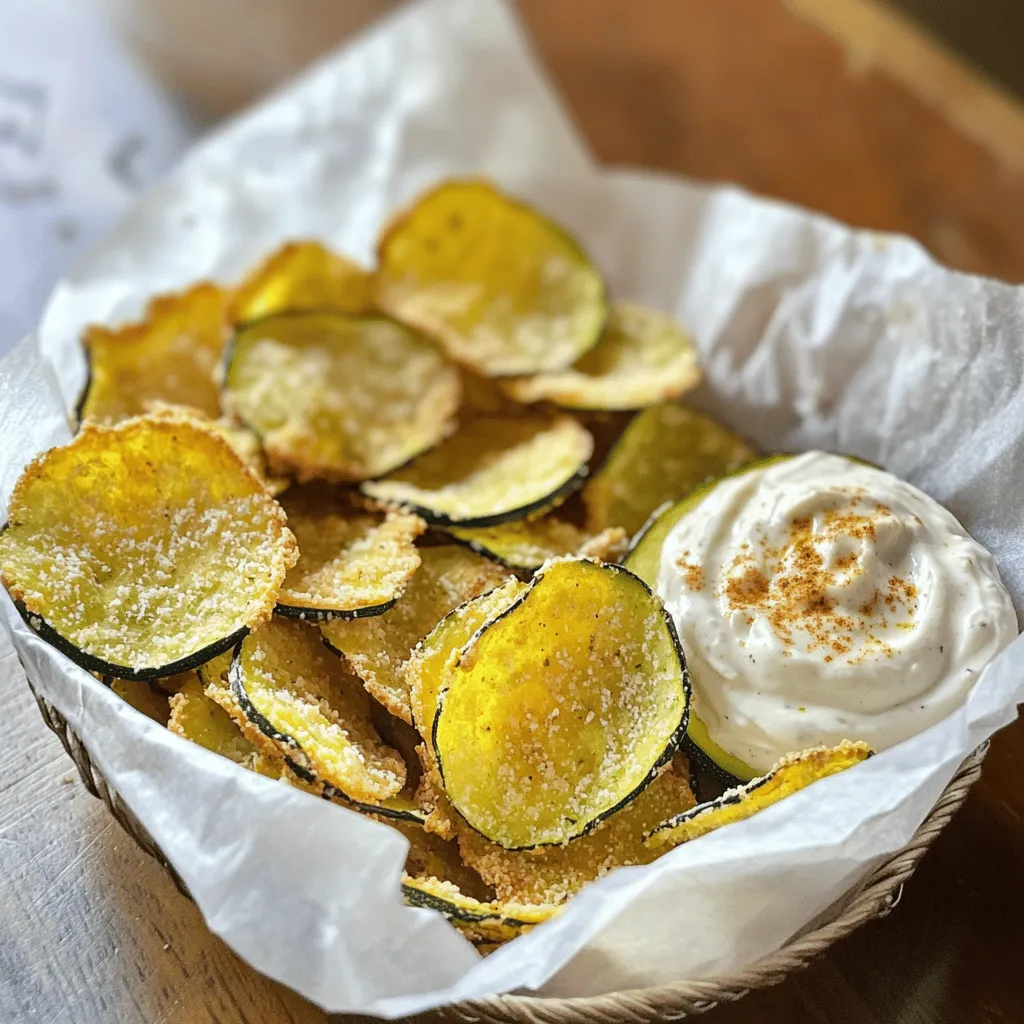
Zucchini chips are great on their own, but you can make them even better. Pair them with dips like hummus, ranch, or spicy aioli. These dips add flavor and make the chips more fun to eat.
For a fun presentation, serve the chips in a small basket lined with parchment paper. This makes it look fancy and keeps them warm. You can also sprinkle some fresh herbs on top for a pop of color.
Storing Leftovers
If you have leftover zucchini chips, store them well to keep them crispy. Place the chips in an airtight container. Avoid stacking them too high, as this can cause them to lose their crunch.
For the best taste, eat the chips within three days. After that, they may become stale. You can also re-crisp them in the oven at 300°F (150°C) for a few minutes. This way, you can enjoy them just as much as when they were fresh from the oven.
Variations
Flavor Enhancements
You can boost the taste of your zucchini chips easily. Try adding spices like cayenne pepper or Italian herbs. These can make your chips exciting. You can also swap out parmesan for cheddar or feta cheese. Each type of cheese gives a new flavor twist to the chips.
Healthier Options
If you want a healthier version, use whole wheat breadcrumbs or nutritional yeast. These options add fiber and nutrients. Baking is always a great choice. It keeps the chips crunchy without the extra oil from frying. You can enjoy tasty chips without the guilt.
Veggie Alternatives
Zucchini isn’t your only option here. You can use eggplant, sweet potatoes, or carrots too. Each veggie has its own cooking time. Thin slices of sweet potato need about 30 minutes, while sliced eggplant cooks in about 25 minutes. Adjust your baking time to get the best crunch!
For the complete recipe, check out the Full Recipe section.
Nutritional Information
Breakdown of Nutrients per Serving
A serving of crunchy zucchini chips is about 1 ounce. Here’s what you get:
– Calories: 130
– Fat: 8g
– Carbohydrates: 10g
– Protein: 5g
Zucchini is low in calories and high in water. This makes it a great snack for weight management. It also provides vitamins A and C, which help with your immune system. Plus, the fiber in zucchini aids digestion and keeps you feeling full.
Comparison with Store-Bought Options
Homemade zucchini chips beat store-bought ones in many ways. Most commercial chips are high in sodium and preservatives. They often lack the fresh taste and crunch you get from making them at home.
When you make zucchini chips, you control the ingredients. You can use less salt and add your favorite spices. This way, you create a snack that’s healthier and more flavorful. Homemade snacks are generally better for you, as they have fewer additives and more nutrients.
FAQs
Common Questions about Crunchy Zucchini Chips
Can I use other types of squash?
You can use other squash like yellow squash or pattypan squash. They will give a different taste but still be tasty. Just slice them thinly like zucchini.
How do I make these chips gluten-free?
To make the chips gluten-free, swap the panko breadcrumbs for gluten-free breadcrumbs. Check the label to ensure they are certified gluten-free.
What size of zucchini is best for chips?
Medium zucchinis work best. They have a good balance of size and moisture. Aim for zucchinis that are firm and not too big to prevent sogginess.
Recipe Adjustments
Can I make this recipe dairy-free?
Yes, you can use nutritional yeast instead of parmesan cheese. It gives a cheesy flavor without dairy. You can also try dairy-free cheese shreds.
How can I adjust baking times for different ovens?
Oven times can vary. Check your chips around the 1.5-hour mark. If they are not crispy, give them more time, flipping them halfway through.
Storage and Reheating
What is the best way to store zucchini chips?
Store the chips in an airtight container at room temperature. They will stay crispy for a few days but taste best fresh.
How to reheat chips without losing crispiness?
To reheat, place the chips in a single layer on a baking sheet. Bake at 350°F (175°C) for about 5-10 minutes. This keeps them crispy and warm.
Zucchini chips are a tasty and healthy snack you can make at home. We covered the best ingredients, easy prep steps, and tips for crispy results. You learned how to vary flavors and store leftovers. Making your chips beats store-bought options in health and taste. Enjoy this fun recipe, and share it with friends. You’ll impress them with your yummy and crunchy zucchini chips. Happy cooking!
