Looking for a fun lunch idea that kids will love? Try making your own Homemade Lunchable! This simple recipe is packed with tasty ingredients and allows for endless customization. You can mix and match flavors for a meal that sparks creativity. Plus, it’s perfect for on-the-go lunches or after-school snacks. Let’s dive into the easy steps and fun tips to create your own Lunchable masterpiece!
Ingredients
Main Ingredients for Homemade Lunchable
To make a fun and tasty Homemade Lunchable, gather these main ingredients:
– 1 cup whole grain crackers
– 4 ounces cheddar cheese, sliced
– 4 ounces turkey or chicken breast, sliced
– 1/2 cup hummus
– 1/2 cup carrot sticks
– 1/2 cup cucumber sticks
– 1/2 cup grape tomatoes
– 1/4 cup olives (black or green, pitted)
These ingredients give you a mix of flavors and textures. You can customize this list based on what you like.
Optional Sweet Dip Ingredients
If you want to add a special touch, consider these sweet dip options:
– 1 tablespoon honey
– Any sweet dip you love
Adding a sweet dip can make lunch even more fun! Kids enjoy dipping their food.
Suggested Fresh Garnishes
Garnishing can enhance the look and taste. Try using:
– Fresh herbs like basil or parsley
These fresh herbs provide a burst of color and flavor. They also make your Homemade Lunchable feel gourmet.
For the complete set of instructions, check out the Full Recipe.
Step-by-Step Instructions
Prepping the Ingredients
First, gather all your ingredients. You will need:
– 1 cup whole grain crackers
– 4 ounces cheddar cheese, sliced
– 4 ounces turkey or chicken breast, sliced
– 1/2 cup hummus
– 1/2 cup carrot sticks
– 1/2 cup cucumber sticks
– 1/2 cup grape tomatoes
– 1/4 cup olives (black or green, pitted)
– 1 tablespoon honey or a sweet dip (optional)
– Fresh herbs (like basil or parsley) for garnish
Next, slice the cheddar cheese and turkey or chicken breast into small, bite-sized pieces. This makes it easy for kids to grab them with crackers. Wash your veggies well. Cut the carrots and cucumbers into sticks. This gives a nice crunch and adds color.
Assembling Your Lunchable
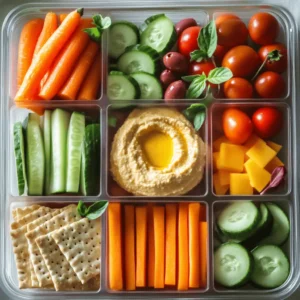
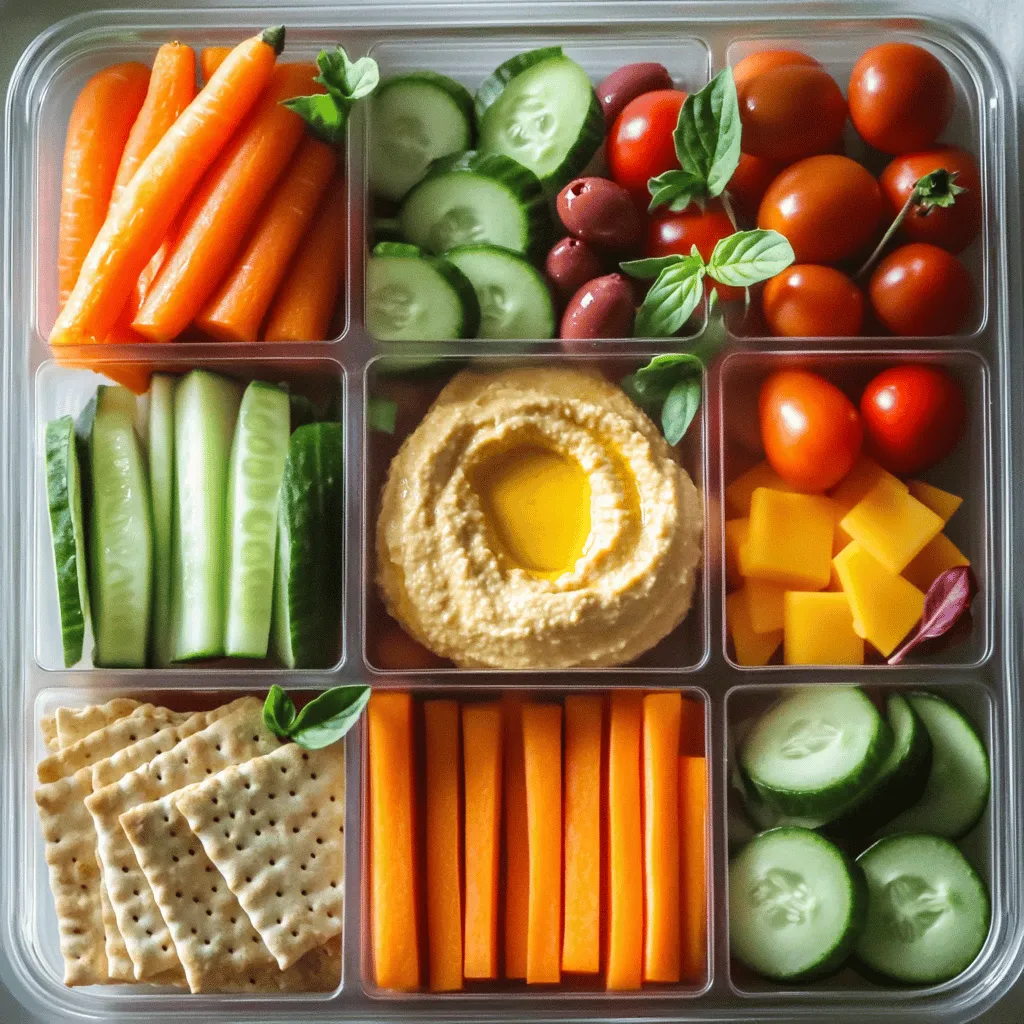
Now, let’s build your lunchable! Take a lunchbox or a compartmentalized container. Start by placing the whole grain crackers in one section. Next, arrange the sliced cheddar and turkey or chicken in separate compartments. This keeps flavors distinct.
In another section, add a scoop of hummus. Kids love to dip! Arrange the carrot and cucumber sticks in their own areas. Add the grape tomatoes next to the veggies. Lastly, put olives in a small cup or section. This keeps them from mixing with everything else.
If you want a sweet touch, drizzle honey in a tiny container for a fun treat. Finish by garnishing with fresh herbs. This adds a pop of freshness and makes it look pretty.
Packing Tips for On-the-Go
To keep your lunchable fresh, secure the lunchbox with its lid. If you plan to pack it for school or a trip, make sure to refrigerate it until you leave. For best results, eat it within a day. Enjoy this easy and fun meal anytime.
Tips & Tricks
Enhancing Flavor Combinations
You can mix flavors to make your lunchable more fun. Try using different cheeses, like gouda or pepper jack. Add some spicy mustard for a zesty twist. Mixing sweet and salty works well too. Pair grapes with cheese or turkey with honey. This makes each bite a little surprise!
Best Practices for Storage
Store your lunchable in a tight container. This keeps everything fresh and tasty. If you make it the night before, place it in the fridge. Use an ice pack if you take it to school. This helps keep the cheese and meats cool. Always check the dates on your ingredients for freshness.
Kid-Friendly Presentation Ideas
Make your lunchable eye-catching! Use colorful veggies to add brightness. Arrange food in fun shapes or patterns. Let your kids help with this! You can use cookie cutters to shape the cheese or veggies. Put the ingredients in a fun lunchbox. This makes lunchtime exciting and enjoyable!

Variations
Vegetarian or Vegan Lunchable Options
You can easily make a vegetarian or vegan lunchable. Swap out meat for plant-based items. Use roasted chickpeas or marinated tofu. Include a variety of veggies like bell peppers, zucchini, and snap peas. For cheese, try vegan cheese slices or nut-based spreads. Hummus is a great dip for all these ingredients. This way, kids enjoy a tasty meal without animal products.
Gluten-Free Ingredient Substitutes
If you need gluten-free options, replace whole grain crackers with gluten-free crackers. Rice cakes work well too. Use sliced cheese made from nuts or dairy-free alternatives. For protein, include sliced turkey or chicken that is confirmed gluten-free. Always read labels to avoid hidden gluten. This way, everyone can enjoy the lunchable without worry.
International Inspired Variations
You can take your lunchable around the world! Try a Mexican theme with tortilla chips, guacamole, and salsa. Add sliced bell peppers and cheese for a fun mix. For an Italian twist, use pita bread, mozzarella, and sun-dried tomatoes. Pair these with basil pesto as a dip. Each option offers a new taste adventure, making lunch fun and exciting!
Storage Info
How to Store Leftovers
Store any leftovers in an airtight container. This keeps the food fresh and safe. Place the container in the fridge. Enjoy leftovers within two days for the best taste. If you want to keep the flavors, separate the wet and dry items. For example, keep hummus away from crackers to avoid sogginess.
Freezing and Thawing Instructions
You can freeze some parts of your Homemade Lunchable. Cheese and meats freeze well. Cut them into small portions for easy thawing. Place them in freezer-safe bags. When you’re ready to eat, move them to the fridge to thaw overnight. Avoid refreezing after you thaw to keep the taste fresh.
Shelf Life of Ingredients
Most of your ingredients have a good shelf life. Whole grain crackers can last for months if sealed. Cheese stays fresh for about a week in the fridge. Turkey or chicken breast should be eaten within three days. Hummus lasts about a week too. Always check for an off smell or color to ensure freshness.
FAQs
How can I customize my Homemade Lunchable?
You can change your Homemade Lunchable to fit your taste. Use different meats like ham, roast beef, or even plant-based options. Add various cheeses, such as mozzarella or pepper jack, for new flavors. You can also swap out the veggies. Try bell peppers, celery sticks, or snap peas. For a fun twist, add some fruit, like apple slices or strawberries. The sweet dip can change too. Use yogurt, peanut butter, or chocolate sauce for something sweet. The options are endless!
What are the best containers for packing Lunchables?
For packing Lunchables, I suggest using a divided container. Look for ones with sections to keep food separate. This way, crackers stay crunchy, and dips don’t mix. Choose a container with a tight lid to prevent spills. If you need to pack it for travel, consider insulated containers. They keep food fresh and cool longer. You can also use bento boxes, which are perfect for kids. They make lunch fun and easy to eat.
Can I make Lunchables ahead of time?
Yes, you can make Lunchables ahead of time! Prepare them the night before and store them in the fridge. Just keep the crackers separate until you’re ready to eat. This keeps them from getting soggy. You can also pack them for school or work. Make sure to store them in a cool place to keep everything fresh. A small ice pack can help too. This way, you can enjoy a tasty lunch anytime!
How do Homemade Lunchables compare to store-bought options?
Homemade Lunchables beat store-bought ones in many ways. First, they are fresher. You choose the ingredients, so you control the taste. You can use high-quality cheese and meats, making them healthier. You also skip the preservatives found in store-bought options. Plus, they are fun to make! Kids can help pick their favorites. With Homemade Lunchables, you save money and waste less packaging. Overall, they offer a better meal for you and your family. For a full recipe, check out the DIY Gourmet Lunchable section above!
Homemade Lunchables are fun and easy to make. We covered key ingredients, like meats and cheeses, and stepped through prep and assembly. Tips and tricks help you boost flavor and make your lunch more fun. I shared vegan and gluten-free options to meet all needs. Proper storage keeps everything fresh, with helpful FAQs for customization and packing.
Now, you can create tasty, homemade lunch choices. Enjoy making your perfect Lunchable.