If you crave a soft, comforting treat that’s perfect for sharing, you’re in the right place! Today, I’ll guide you through making Apple Cider Pull-Apart Bread. With warm spices and a touch of sweetness, this bread is simple yet delightful. I’ll share essential tips, ingredient swaps, and strategies to keep it fresh. Get ready to impress your family and friends with this cozy baked good! Let’s dive in!
Ingredients
Required Ingredients for Apple Cider Pull-Apart Bread
To make this soft and tasty bread, gather these key ingredients:
– 2 cups all-purpose flour
– 1/2 cup granulated sugar
– 1 tablespoon baking powder
– 1/2 teaspoon salt
– 1/4 teaspoon ground cinnamon
– 1/4 teaspoon ground nutmeg
– 1/2 cup unsalted butter, melted
– 1/2 cup apple cider
– 1 large egg
– 1 apple, peeled, cored, and diced (I recommend a sweet variety like Honeycrisp)
– 1/4 cup brown sugar (for filling)
– 1 teaspoon vanilla extract
– 1 tablespoon additional ground cinnamon (for filling)
These ingredients create a wonderful blend of flavors and textures. Each one plays a role in making the bread soft and delightful.
Ingredient Substitutions
You may need to swap some ingredients based on what you have at home. Here are some options:
– Flour: Use whole wheat flour for a healthier option.
– Sugar: Substitute honey or maple syrup for granulated sugar to add a unique flavor.
– Butter: Coconut oil or vegetable oil can replace unsalted butter for a dairy-free version.
– Apple Cider: You can use apple juice if apple cider is not available.
– Egg: A flaxseed meal or applesauce can work as an egg replacement for a vegan option.
These swaps can help you enjoy this recipe no matter your dietary needs.
Epicurean Notes on Ingredient Quality
The quality of your ingredients matters. Fresh ingredients will enhance the taste and texture of your bread.
– Flour: Always choose high-quality all-purpose flour for the best results.
– Butter: Use real unsalted butter for rich flavor.
– Cider: Opt for fresh, organic apple cider if possible; it brings out the best apple flavor.
– Apples: Choose sweet apples like Honeycrisp or Fuji for added sweetness in the bread.
Investing in good ingredients makes a noticeable difference. Your taste buds will thank you! For the complete recipe, check the Full Recipe section.
Step-by-Step Instructions
Preparation Steps
To start, gather all your ingredients. This makes the process smooth and fun. Preheat your oven to 350°F (175°C). Grease a 9×5 inch loaf pan with butter or cooking spray. In a large bowl, whisk together the dry ingredients. You need the flour, sugar, baking powder, salt, cinnamon, and nutmeg. Mix them well to blend the flavors.
In another bowl, combine the melted butter, apple cider, egg, and vanilla extract. Mix these wet ingredients until smooth. Carefully add the wet mix to the dry ingredients. Stir gently until just combined. You don’t want to overmix. Finally, fold in the diced apple. This adds a nice freshness to the bread.
Assembly of Pull-Apart Bread
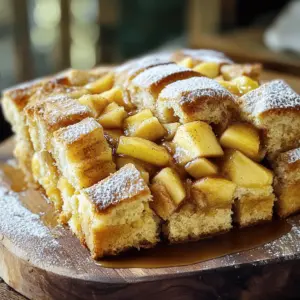
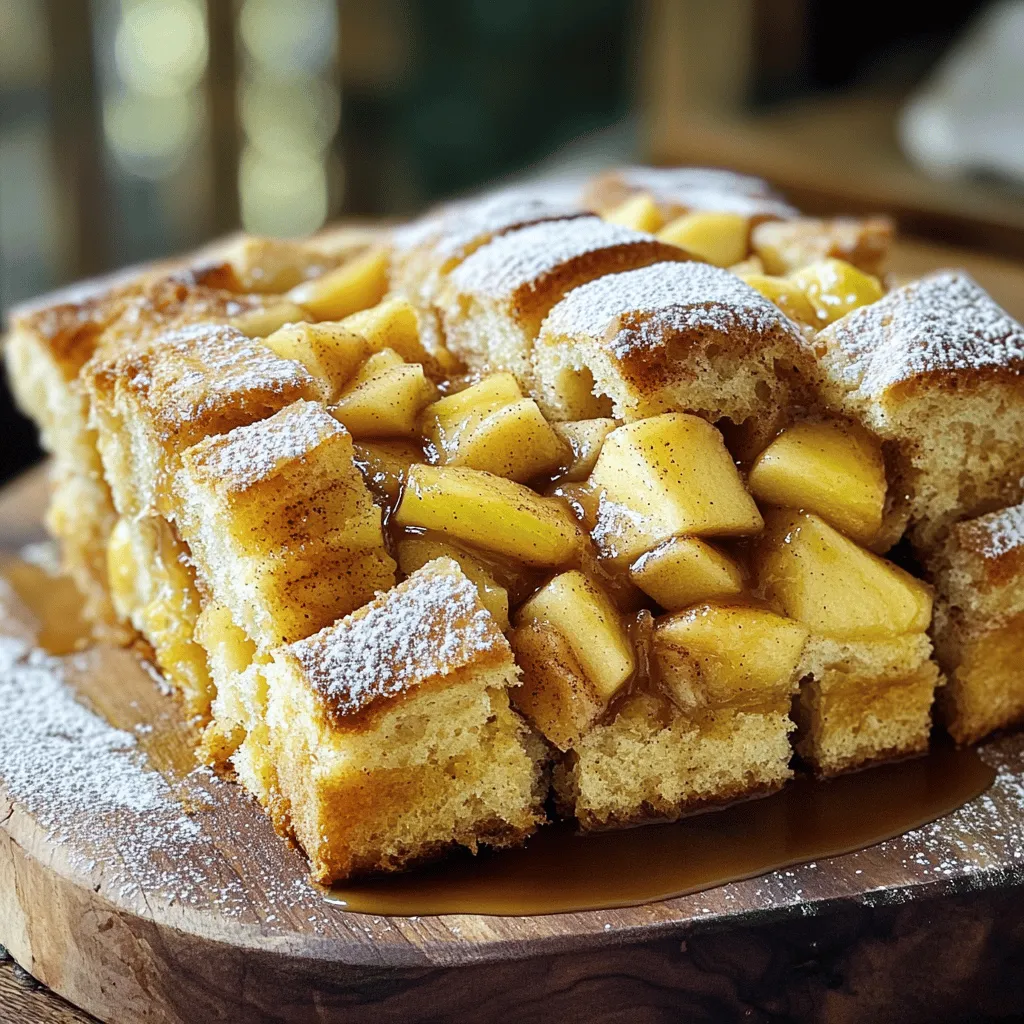
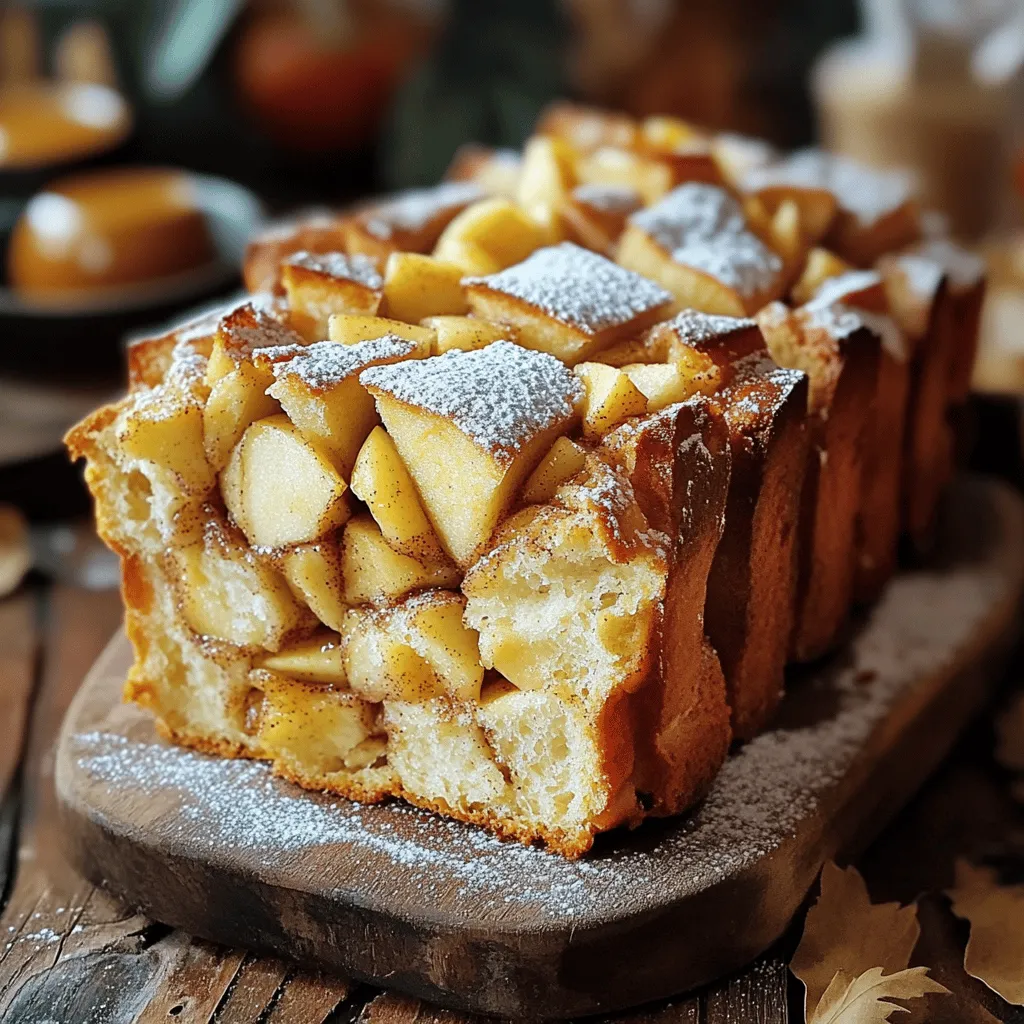
Now it’s time to assemble your bread. In a small bowl, mix the brown sugar and additional cinnamon for the filling. Grab small chunks of dough and flatten them into disks. Sprinkle some of the cinnamon sugar filling on top. Fold the dough over the filling and stack it in the greased loaf pan. Layer the dough pieces upright to create that pull-apart effect.
Once all the pieces are stacked, drizzle any leftover melted butter on top. Sprinkle the remaining cinnamon sugar filling over the bread. This will create a sweet crust when it bakes.
Baking Process
Place the loaf pan in the preheated oven. Bake for 30 to 35 minutes. Keep an eye on it. The bread should turn golden brown. To test if it’s done, insert a toothpick into the center. If it comes out clean, it’s ready! After baking, let the bread cool in the pan for 10 minutes. Then transfer it to a wire rack to cool completely. Enjoy this delicious treat warm, and feel free to check the Full Recipe for more tips!
Tips & Tricks
How to Ensure a Fluffy Texture
To get a fluffy texture, use fresh ingredients. Check the baking powder’s date. Old baking powder may not rise well. Combine the wet and dry ingredients gently. Overmixing can lead to tough bread. Let the dough rest for a few minutes before shaping. This helps the gluten relax and adds fluffiness.
Storage Tips for Freshness
Keep the bread in an airtight container. This helps it stay soft and fresh. If you have leftovers, wrap them tightly in plastic wrap. Store them at room temperature for up to three days. For longer storage, freeze the bread. Wrap it in foil and place it in a freezer bag. This way, it stays fresh for up to three months.
Suggested Pairings and Serving Ideas
This pull-apart bread is great with coffee or tea. You can also pair it with apple butter or cream cheese. For a fun twist, serve it with warm caramel sauce. A sprinkle of powdered sugar on top adds a nice touch. Enjoy it fresh out of the oven for the best taste! For the full recipe, check the link above.
Variations
Adding Different Fruits
You can mix it up by adding other fruits. Try using pears, peaches, or even berries. Each fruit adds its own flavor. Diced bananas or cranberries also work well. Just remember to adjust the amount of sugar if your fruit is sweet or tart. This keeps the bread balanced and tasty.
Gluten-Free Version Ideas
If you need a gluten-free version, swap the all-purpose flour with a gluten-free blend. Make sure it is a one-to-one substitute. You can find many brands that work well in baking. You might also want to add a bit of xanthan gum. This helps the bread hold its shape and rise nicely.
Seasonal Spice Additions
Seasonal spices can make your pull-apart bread shine. During fall, add more cinnamon or a pinch of clove. For winter, try nutmeg or cardamom. In spring, you might enjoy a hint of ginger. These spices can change the flavor and make it feel fresh for each season.
For the full recipe, check out the detailed instructions above. Enjoy experimenting with these variations!
Storage Info
Best Practices for Refrigeration
After baking, let your Apple Cider Pull-Apart Bread cool down. Wrap it tightly in plastic wrap or foil. This keeps moisture in and prevents it from drying out. Store it in the fridge for up to a week. For best taste, enjoy it within three days.
Freezing Apple Cider Pull-Apart Bread
You can freeze this bread too! First, let it cool completely. Then, cut it into slices. Wrap each slice in plastic wrap, then place them in a freezer bag. This method helps keep each slice fresh. It lasts in the freezer for about three months. When ready to eat, thaw slices in the fridge overnight.
Reheating Instructions
To reheat your bread, you have a few options. You can use the oven, microwave, or even a toaster. For the oven, preheat it to 350°F (175°C). Place the bread on a baking sheet. Heat for about 10 minutes until warm. If you use a microwave, heat for 20-30 seconds. Enjoy your delicious, soft bread warm!
For the full recipe, check out the section above.
FAQs
Can I use store-bought apple cider?
Yes, you can use store-bought apple cider. It saves time and is easy to find. Look for a brand that has a rich flavor. Fresh cider is great, but the store option works too. Just pour it into your mixing bowl and proceed with the recipe.
How long does this bread last?
Apple cider pull-apart bread stays fresh for about three days. Keep it in an airtight container at room temperature. If you want it to last longer, you can refrigerate it for up to a week. Make sure to warm it up before serving for the best taste.
Can I make this bread in advance?
Yes, you can make this bread in advance. Bake it, let it cool, and store it in the fridge. You can also freeze it for up to three months. Just wrap it tightly in plastic wrap and foil. When you’re ready to eat, thaw it and warm it in the oven. For the full recipe, check the earlier section!
This blog post explored how to make apple cider pull-apart bread. We covered the ingredients needed, how to prepare and bake it, and tips to ensure a fluffy texture. I shared storage advice for keeping it fresh and ideas for variations, like adding different fruits or spices.
In closing, don’t hesitate to experiment with flavors and storage. Enjoy making this delicious treat!