Cranberry Pecan Chicken Salad Nutritious and Tasty
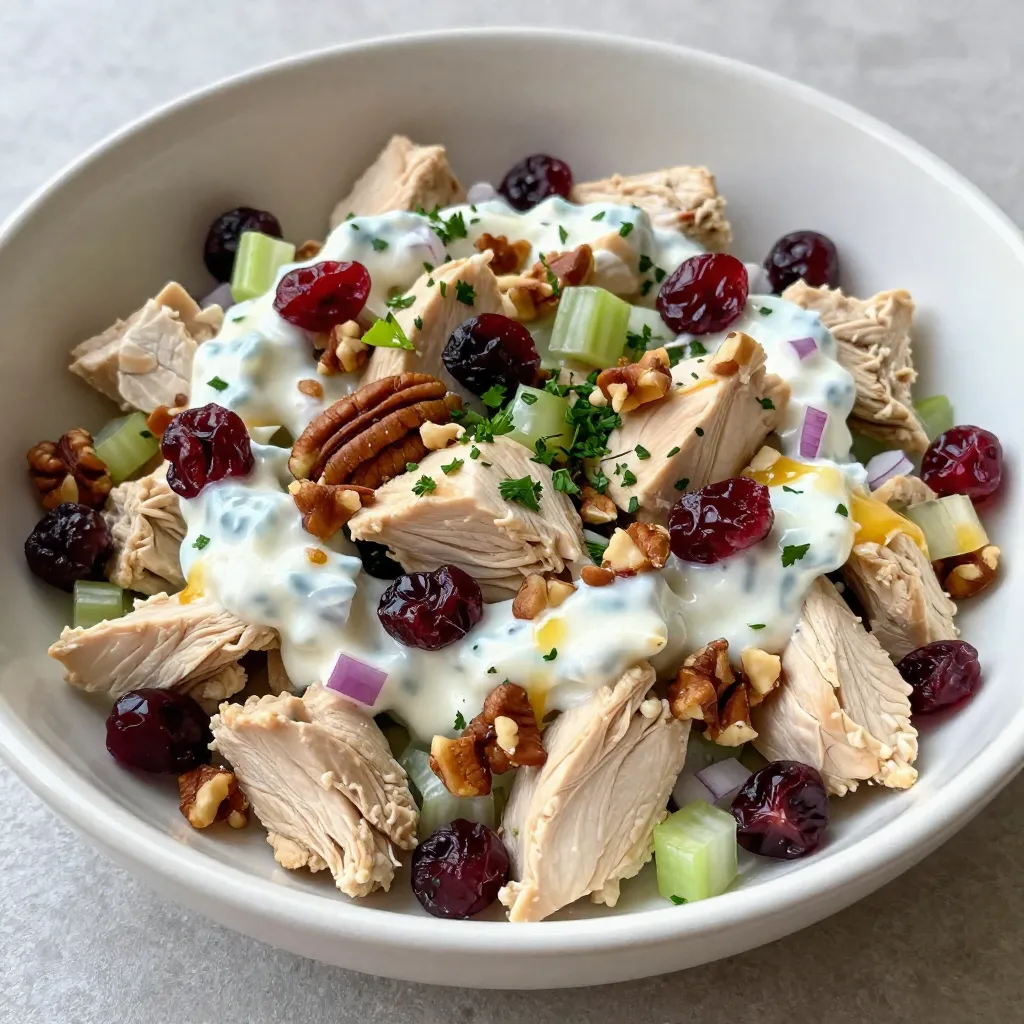
Welcome to your new favorite salad! My Cranberry Pecan Chicken Salad is both tasty and nutritious. It combines juicy chicken, crunchy pecans, and sweet cranberries for a delightful mix of …