Slow Cooker Garlic Parmesan Chicken Delight Easy Meal

Are you ready to impress your family with a meal that’s both easy and tasty? Our Slow Cooker Garlic Parmesan Chicken is the answer. With just a few simple ingredients, …
Are you ready to impress your family with a meal that’s both easy and tasty? Our Slow Cooker Garlic Parmesan Chicken is the answer. With just a few simple ingredients, …
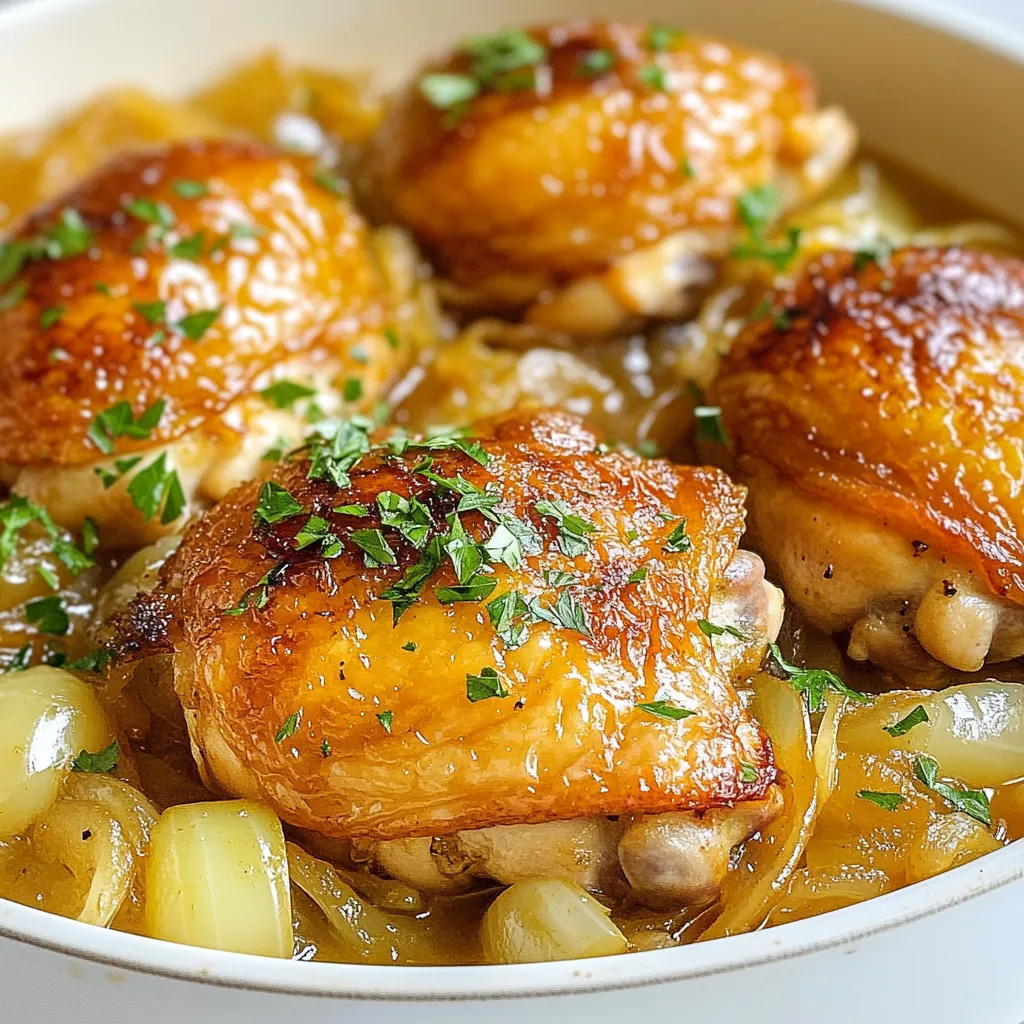
Looking for a meal that’s both tasty and easy to make? Try my French Onion Chicken Thighs! This dish hits all the right notes with juicy chicken, sweet caramelized onions, …
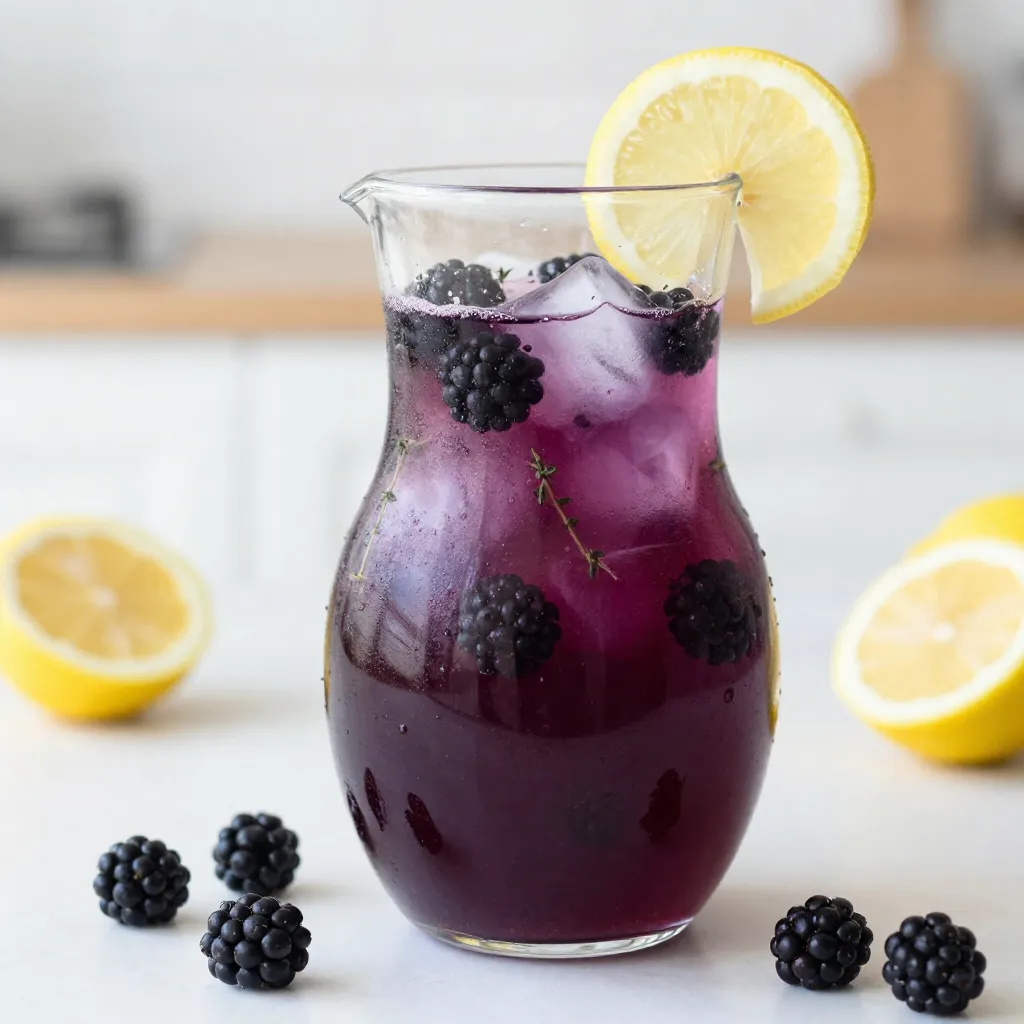
Are you ready to cool off with a tasty summer drink? Let me introduce you to Blackberry Thyme Lemonade! This refreshing drink combines ripe blackberries, fragrant thyme, and zesty lemons …
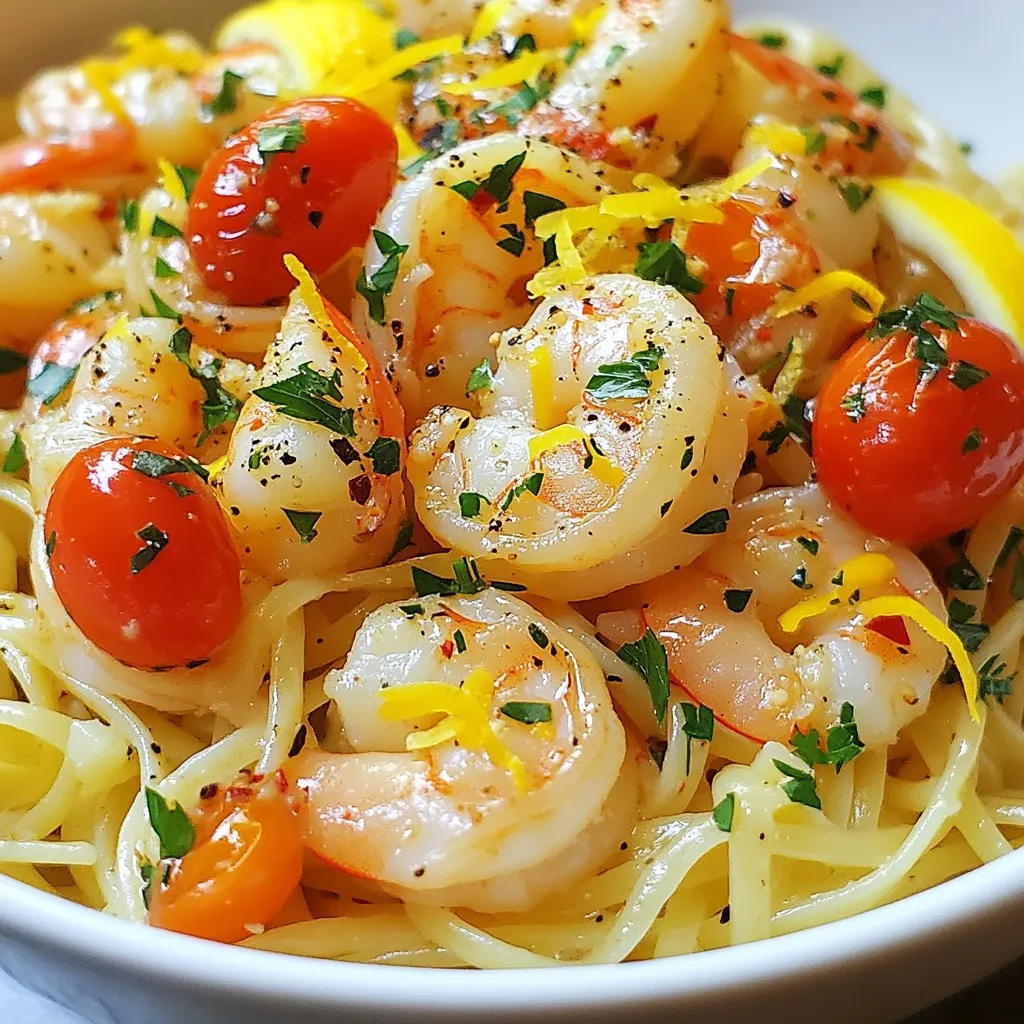
If you love quick and tasty meals, then this Garlic Butter Shrimp Scampi recipe is for you! Packed with flavor and easy to make, this dish will impress anyone at …
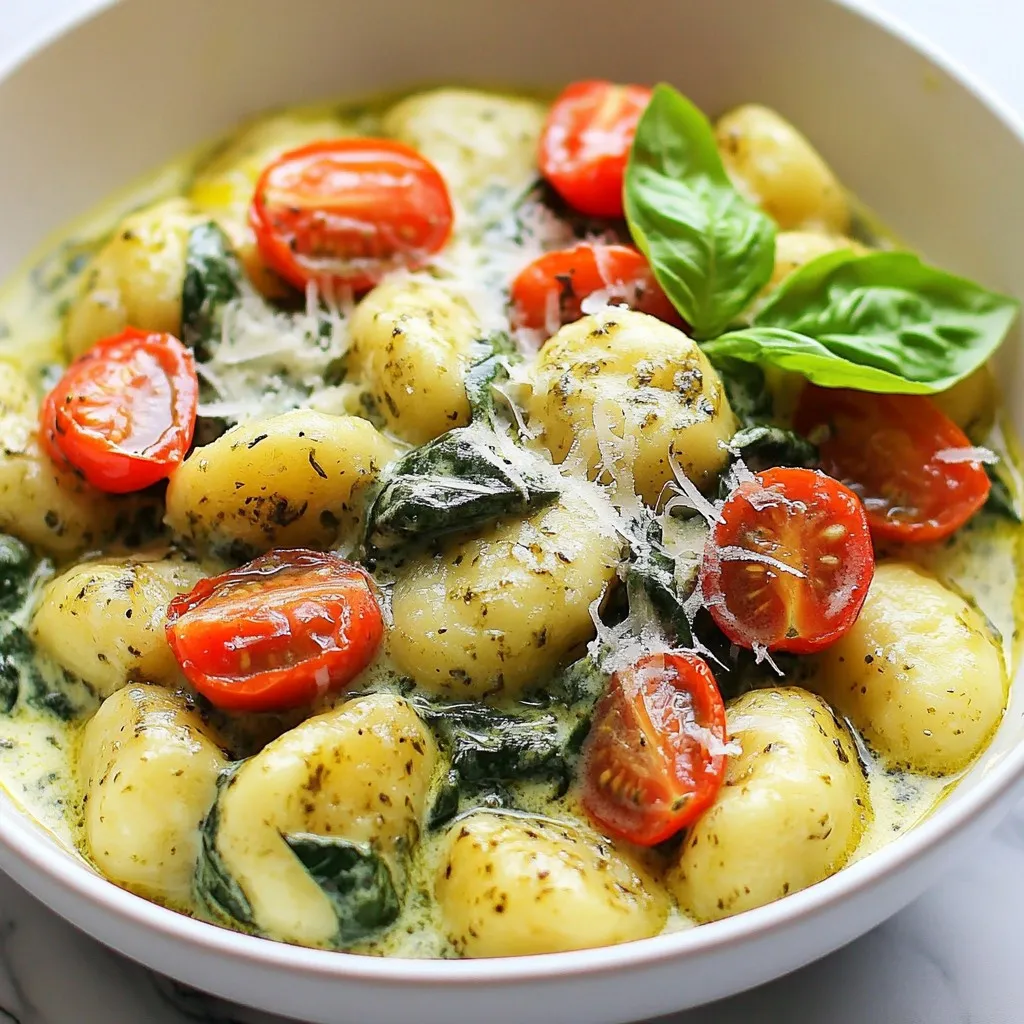
If you’re craving a quick, creamy meal, you’ve come to the right place! This One-Pot Creamy Pesto Gnocchi is simple and full of flavor. In just a few steps, you …

Ready for a dinner that warms the heart? This Crockpot Cheesy Chicken Broccoli Rice Delight Recipe packs flavor and ease all in one dish! With just a few simple ingredients, …
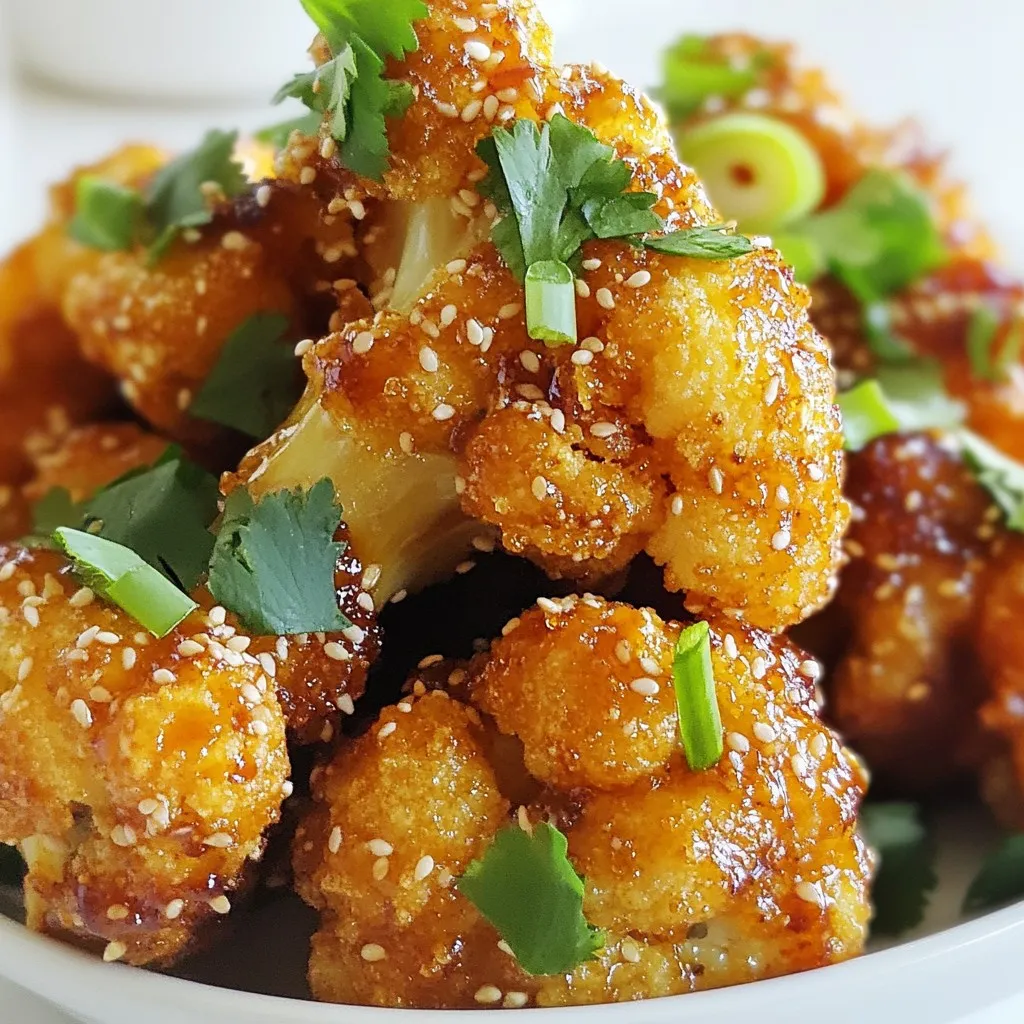
Looking for a tasty snack that’s both crispy and satisfying? Try my Crispy Sesame Cauliflower Wings! These plant-based bites pack a punch of flavor while being easy to make. With …
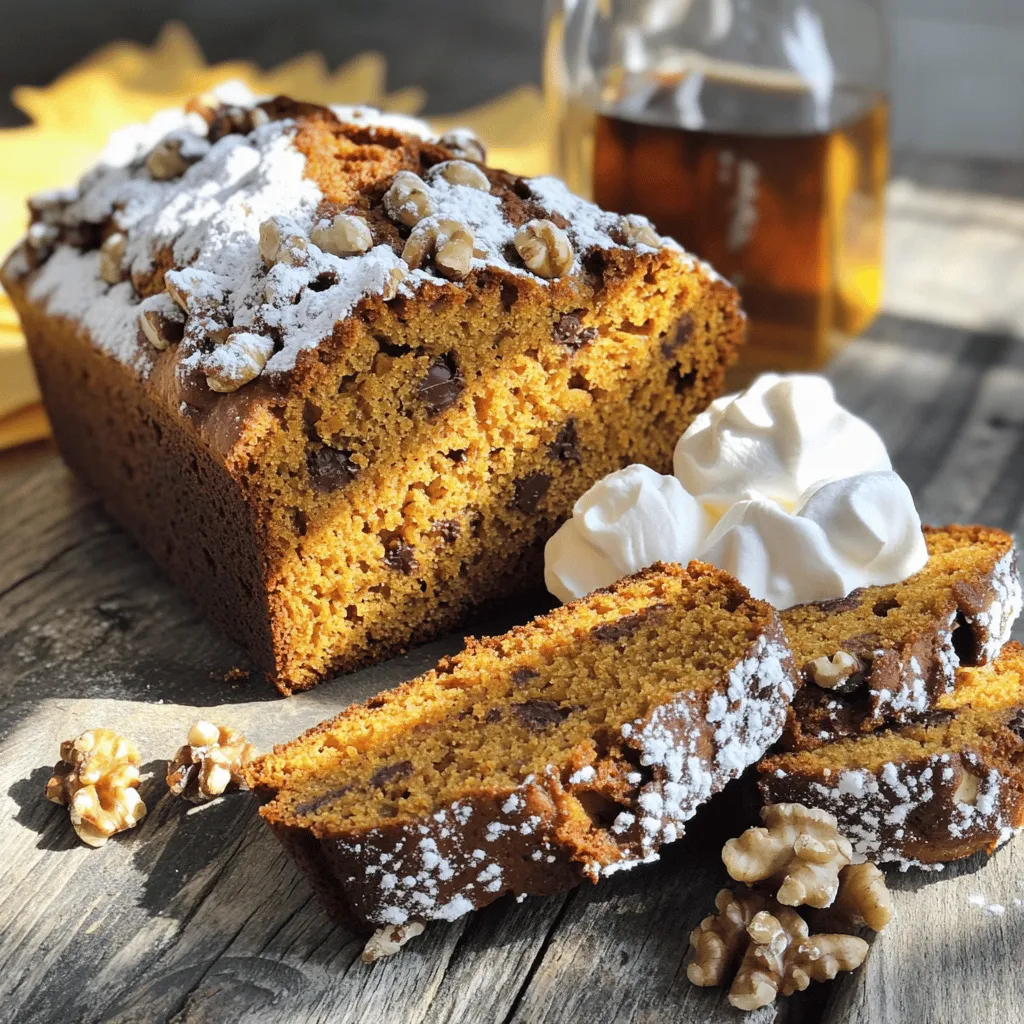
Are you ready to fill your home with the warm, inviting aroma of pumpkin bread? This delightfully simple recipe combines soft, spiced bread with the richness of pumpkin. In just …

Craving something sweet and easy? Let’s whip up some Cinnamon Swirl Snickerdoodle Blondies! These treats blend warm cinnamon and sugar goodness with a soft, chewy texture. Perfect for sharing or …

Welcome to the cozy world of Apple Pie Cupcakes! If you love the warm, sweet flavor of apple pie, you’ll want to try these delightful treats. They bring all the …