Chewy Maple Pumpkin Cookies Soft and Delicious Treat
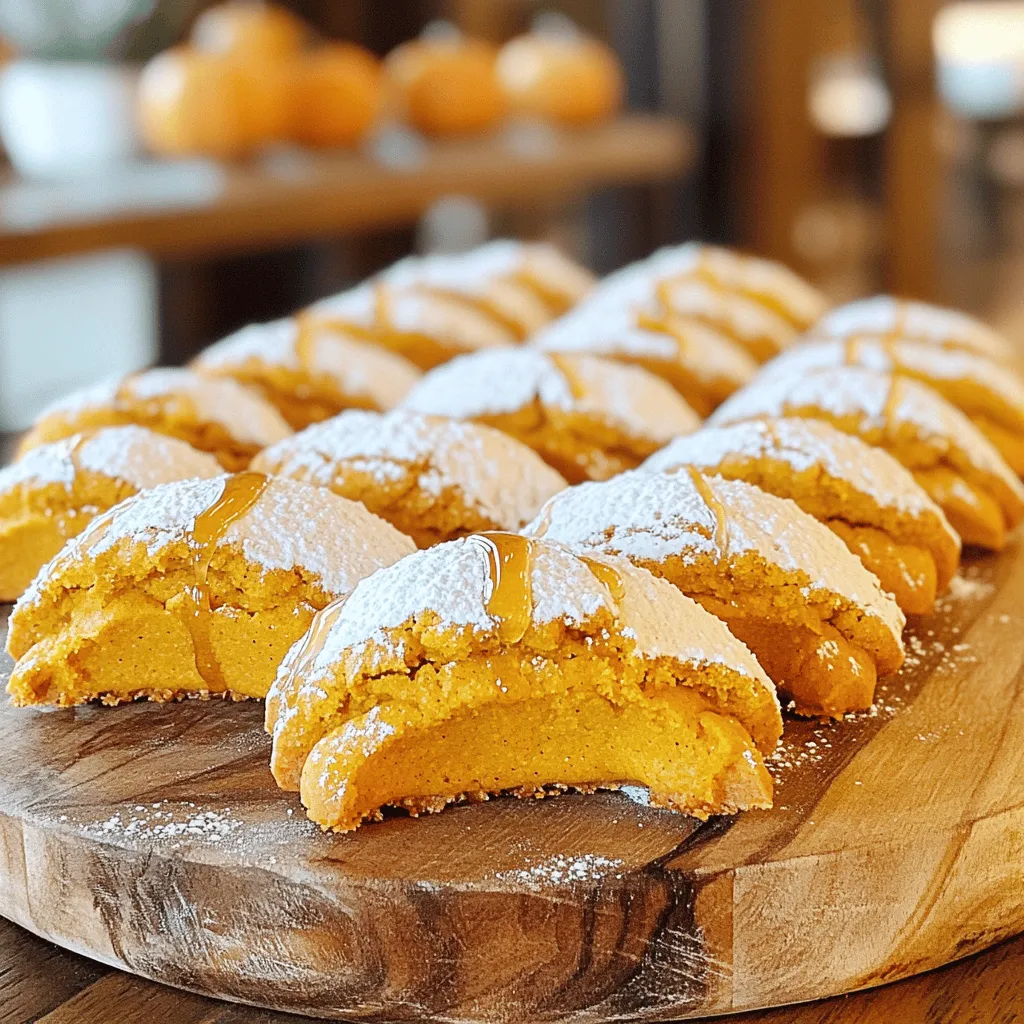
If you’re craving a sweet fall treat, then you’ve come to the right place! These chewy maple pumpkin cookies are soft, flavorful, and packed with fall goodness. With simple ingredients …