Honey Garlic Glazed Salmon Flavorful Family Dish
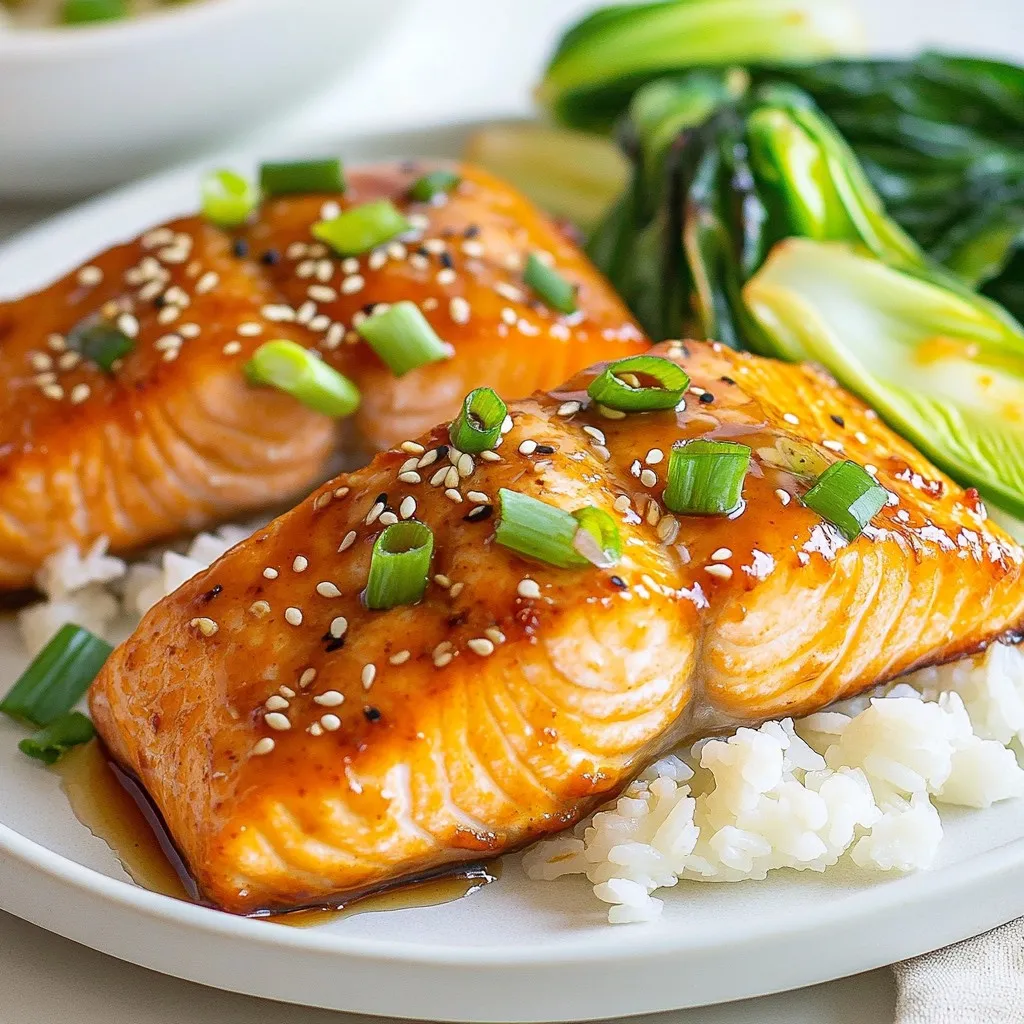
Looking for a dish that impresses and delights the whole family? Honey Garlic Glazed Salmon is the perfect option! This recipe is easy to follow and packs a punch of …
Looking for a dish that impresses and delights the whole family? Honey Garlic Glazed Salmon is the perfect option! This recipe is easy to follow and packs a punch of …

Are you ready for a meal that will excite your taste buds? My Coconut Red Curry Drip Beef is here to deliver bold flavors and heartwarming comfort. Using simple ingredients …

Looking for a flavorful plant-based meal that’s both satisfying and easy to make? The Teriyaki Tofu Buddha Bowl is just what you need! Packed with protein, veggies, and a tasty …

Looking for a quick and tasty breakfast? Maple Pecan Overnight Oats are your answer! In this simple recipe, creamy oats blend perfectly with rich maple syrup and crunchy pecans. You’ll …
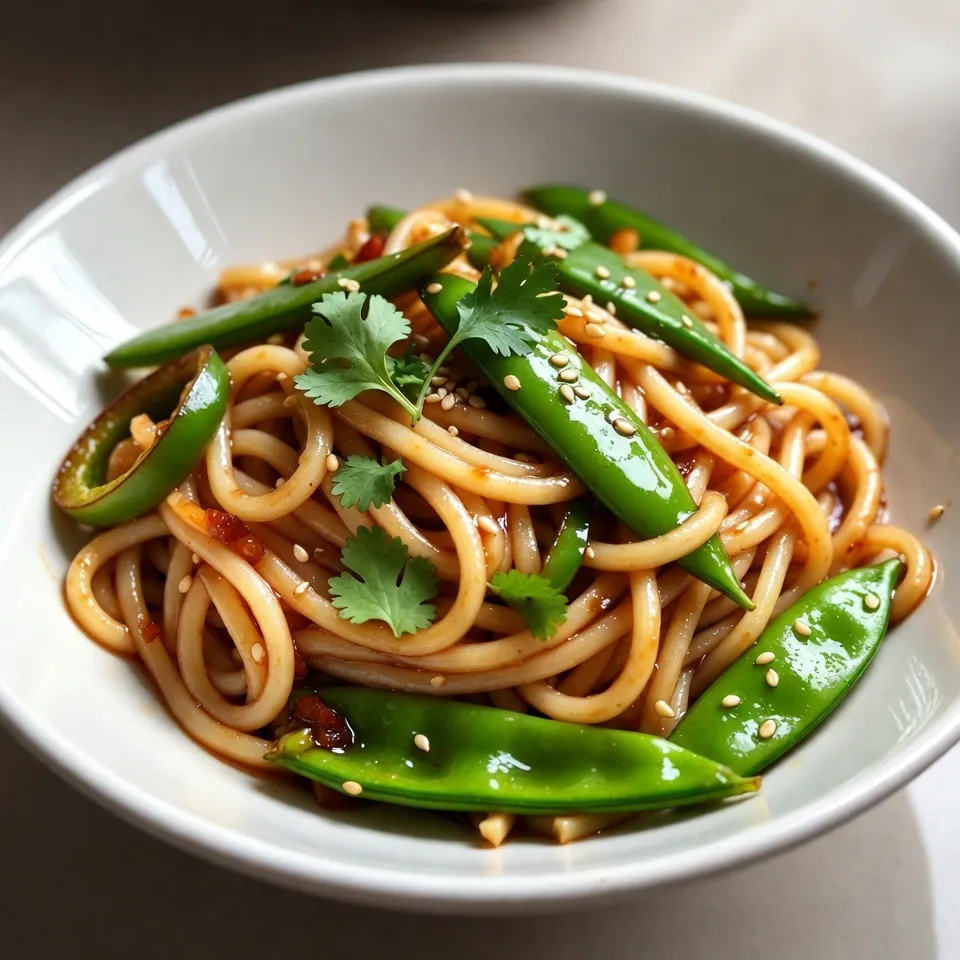
Are you ready to brighten up your dinner routine? These Spicy Honey Garlic Noodles are simple, tasty, and packed with flavor. I guarantee you’ll love how quick they are to …

If you crave a tasty snack, look no further than Buffalo Cauliflower Bites. These crispy, flavorful treats are perfect for game day or as a fun appetizer. With just a …

Warm up your kitchen and your heart with my Vegan Pumpkin Curry Soup. This dish is a cozy blend of pumpkin and fragrant spices, perfect for chilly days. I’ll guide …
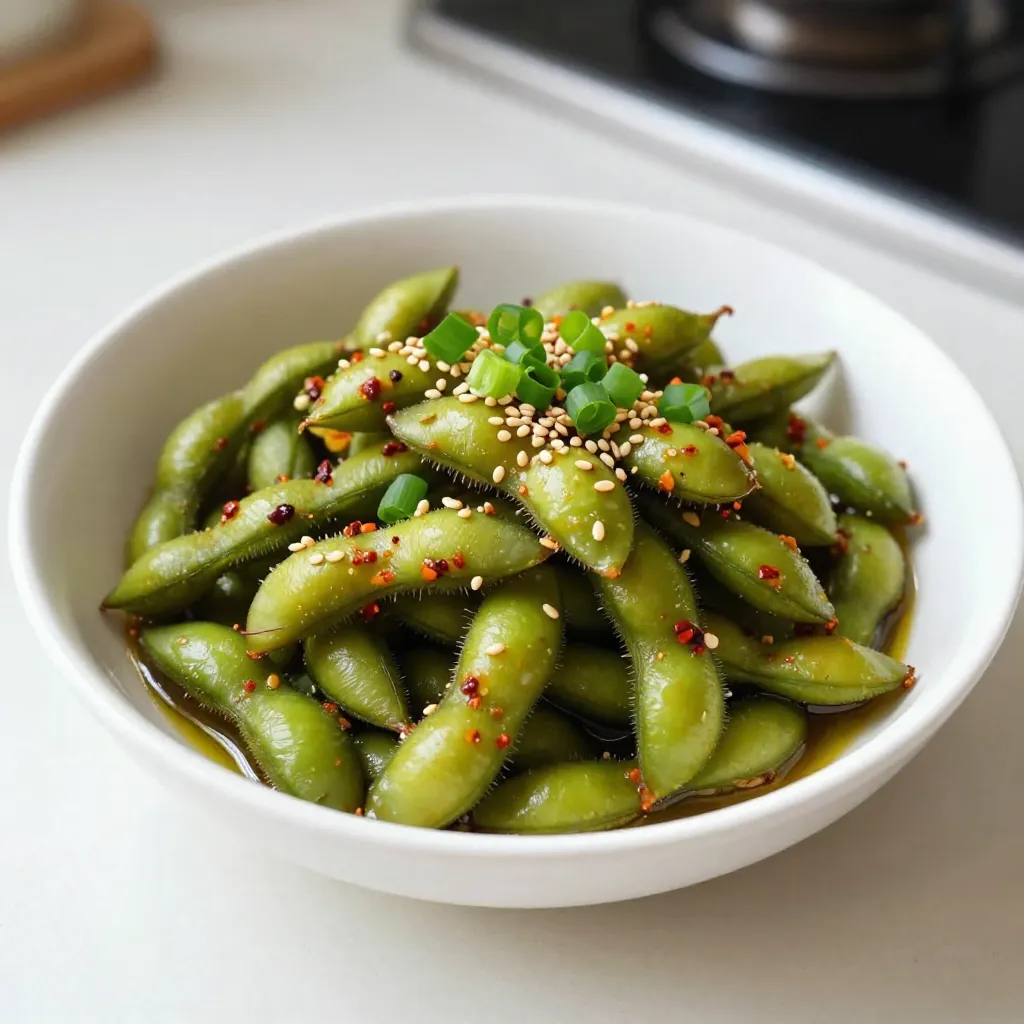
Looking for a healthy snack that packs a flavorful punch? Try my Spicy Garlic Edamame! This zesty treat is easy to make and perfect for any occasion. With simple ingredients …

Get ready to impress your friends and family with my Eggnog Cupcakes with Rum Frosting! These festive treats blend warm spices and creamy eggnog, capturing the essence of the holidays …
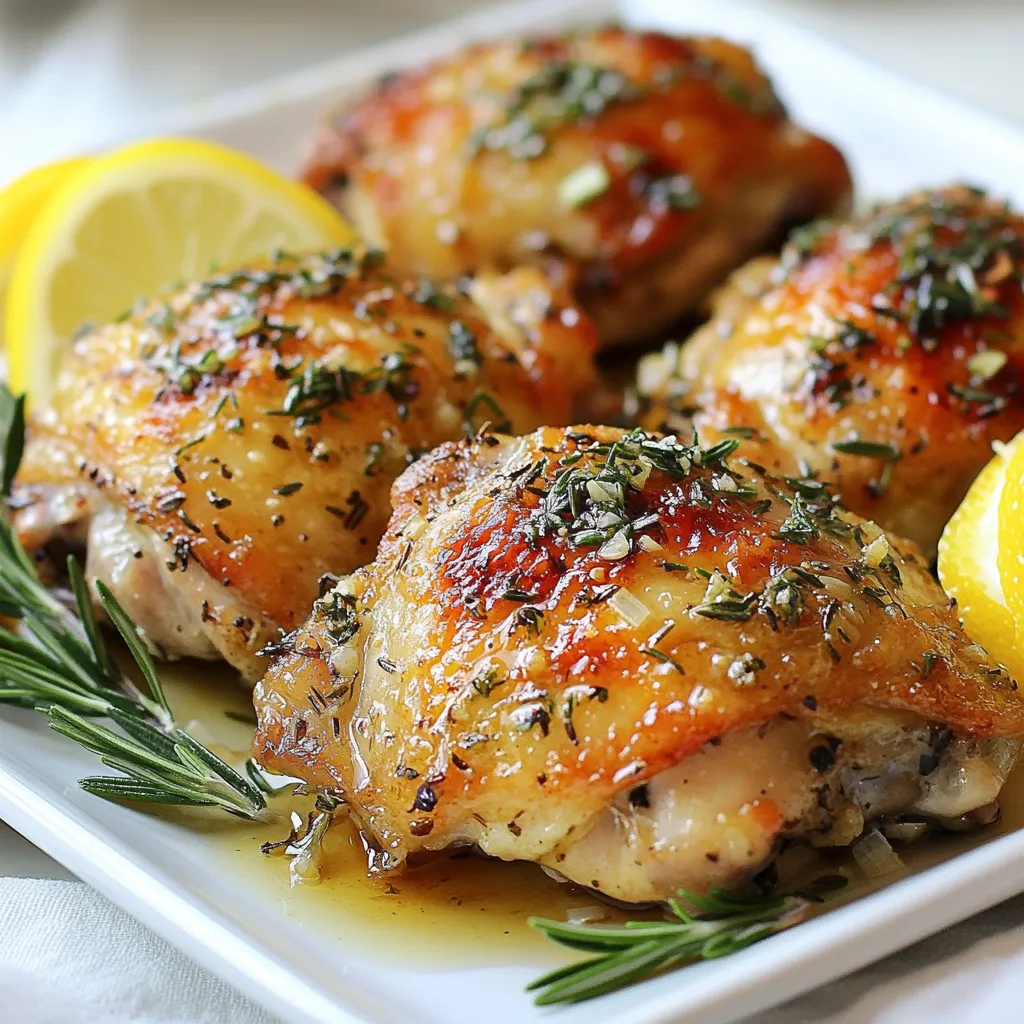
If you’re looking for a meal that hits all the right notes, you’ve found it! My Garlic Herb Chicken Thighs recipe is packed with flavor and super easy to make. …