Pumpkin Pie Crumble Bars Irresistible Fall Dessert
![To make these Pumpkin Pie Crumble Bars, you need: - 2 cups all-purpose flour - 1/2 cup brown sugar - 1/2 cup granulated sugar - 1 cup unsalted butter, melted - 1 teaspoon cinnamon - 1/2 teaspoon nutmeg - 1/4 teaspoon ginger powder - 1 can (15 oz) pumpkin puree - 1/2 cup sweetened condensed milk - 2 large eggs - 1 teaspoon vanilla extract - 1/4 teaspoon salt - 1 cup rolled oats (for crumble topping) These ingredients work together to create a rich and delicious treat. The pumpkin puree gives it a creamy texture and that classic fall flavor. For substitutions, you can use whole wheat flour instead of all-purpose flour for added fiber. If you prefer a less sweet version, reduce the granulated sugar to 1/4 cup. You can swap the sweetened condensed milk with coconut milk for a dairy-free option. If you don’t have rolled oats, quick oats will work too, though they may change the texture slightly. Always remember to adjust spices to your taste. This recipe is flexible and can adapt to what you have at home. For the full recipe, follow the steps closely to achieve the best results. Enjoy baking these bars as they fill your kitchen with warm, inviting aromas! 1. Preheat and Prepare the Baking Pan Start by preheating your oven to 350°F (175°C). While it heats, grease a 9x9-inch baking pan. Line the pan with parchment paper, leaving some paper hanging over the edges. This helps you lift the bars out later. 2. Make the Crust and Pumpkin Filling In a mixing bowl, combine 2 cups of all-purpose flour, 1/2 cup of brown sugar, 1/2 cup of granulated sugar, and 1 cup of melted unsalted butter. Add 1 teaspoon of cinnamon, 1/2 teaspoon of nutmeg, 1/4 teaspoon of ginger powder, and 1/4 teaspoon of salt. Mix until crumbly. Reserve 1/2 cup of this mixture for the topping. Press the remaining mixture into the bottom of the pan to form the crust. Bake this crust for 10 minutes. While the crust bakes, mix in a separate bowl 1 can of pumpkin puree, 1/2 cup of sweetened condensed milk, 2 large eggs, and 1 teaspoon of vanilla extract. Stir until smooth. 3. Assemble and Bake the Bars Once the crust is done, take it out of the oven. Pour the pumpkin filling evenly over the warm crust. For the crumble topping, add 1 cup of rolled oats to the reserved crumb mixture. Mix well and sprinkle this over the pumpkin layer. Return the pan to the oven and bake for another 25-30 minutes. Look for the pumpkin layer to be set and the topping to turn golden brown. After baking, let the bars cool for at least 30 minutes in the pan. Lift them out using the parchment paper, cut into squares, and enjoy! For the full recipe, check the details above. To ensure a perfect crust, start with cold butter. Cut it into small pieces and mix it quickly with the dry ingredients. This keeps the crust flaky. Press the crust firmly into the pan for even baking. For a creamy pumpkin layer, blend the pumpkin puree and condensed milk until smooth. Make sure to beat the eggs well before adding them. This helps create a light texture. If your oven runs hot or cold, adjust the baking time. Check the bars a few minutes early. This helps avoid overbaking and keeps the pumpkin layer moist. Garnish your bars with a light dusting of powdered sugar. This adds a sweet touch and enhances the look. Fresh cinnamon or nutmeg on top can also add flavor and beauty. For special occasions, serve with whipped cream or a scoop of vanilla ice cream. You can also add caramel sauce for extra sweetness. These little touches make the bars feel extra special and inviting. {{image_2}} You can make these pumpkin pie crumble bars even better! Adding chocolate chips can give a rich twist. You can also mix in chopped nuts like walnuts or pecans for a crunchy bite. Changing spices can create new flavors. Try adding cardamom or allspice for a warm touch. You can use flavored extracts too. Maple or almond extract can add a nice depth. Just a little goes a long way, so start small! If you need gluten-free bars, swap the all-purpose flour for a gluten-free blend. Make sure it works well in baking. For a vegan option, use flax seeds mixed with water instead of eggs. Mix one tablespoon of ground flax with three tablespoons of water, then let it sit until it thickens. For dairy, replace sweetened condensed milk with coconut milk or a dairy-free alternative. Both options keep the bars creamy and delicious. You can find the full recipe [here]. After enjoying your pumpkin pie crumble bars, you may have leftovers. To keep them fresh, store the bars in an airtight container. Place parchment paper between layers to avoid sticking. Refrigerate them for up to five days. For longer storage, consider freezing. Cut the bars into squares, wrap each one tightly in plastic wrap, then place them in a freezer-safe bag. They can last in the freezer for three months. When it’s time to enjoy your bars again, reheating is key. You can use the oven or microwave. For the oven, preheat it to 350°F (175°C). Place the bars on a baking sheet and cover them with foil. Heat for about 10-15 minutes. This method keeps the texture nice. If you use the microwave, heat one bar at a time for 15-20 seconds. Check to avoid overheating, which can make them tough. Enjoy your delicious treats warmed up! How to know when the bars are done baking? You can tell the bars are done when the pumpkin layer looks set. The edges may pull away slightly from the pan. A toothpick inserted in the center should come out clean or with just a few moist crumbs. Can I use fresh pumpkin instead of canned? Yes, you can use fresh pumpkin. Just cook and puree it before measuring. Fresh pumpkin may have a different texture, so ensure it is smooth to match the canned version. What can I serve with pumpkin pie crumble bars? These bars are great with whipped cream or vanilla ice cream. You can also sprinkle some nuts on top or add a drizzle of caramel sauce for extra flavor. What to do if the topping is too dry? If your topping turns out too dry, try adding a bit more melted butter or a splash of milk. Mix it in slowly until you reach a crumbly yet moist texture. How to avoid cracks in the pumpkin layer? To prevent cracks, bake at a lower temperature. Avoid overmixing the pumpkin filling. Let the bars cool slowly at room temperature before refrigerating. This helps maintain a smooth surface. The blog post covered the essential ingredients, preparation steps, and tips for pumpkin pie crumble bars. It emphasized adjusting flavors, storing leftovers, and answered common questions. Remember, baking is creative and can be fun. Don't hesitate to experiment with ingredients and flavors. Use the tips here to make your bars perfect every time. Enjoy sharing your tasty treats with family and friends!](https://grilledflavors.com/wp-content/uploads/2025/07/55eb8c96-7d44-4a90-a150-abc77af74e89.webp)
Fall is here, and it’s time to indulge in the deliciousness of Pumpkin Pie Crumble Bars! These bars blend the warm flavors of spiced pumpkin with a buttery crumble topping, …
Fall is here, and it’s time to indulge in the deliciousness of Pumpkin Pie Crumble Bars! These bars blend the warm flavors of spiced pumpkin with a buttery crumble topping, …
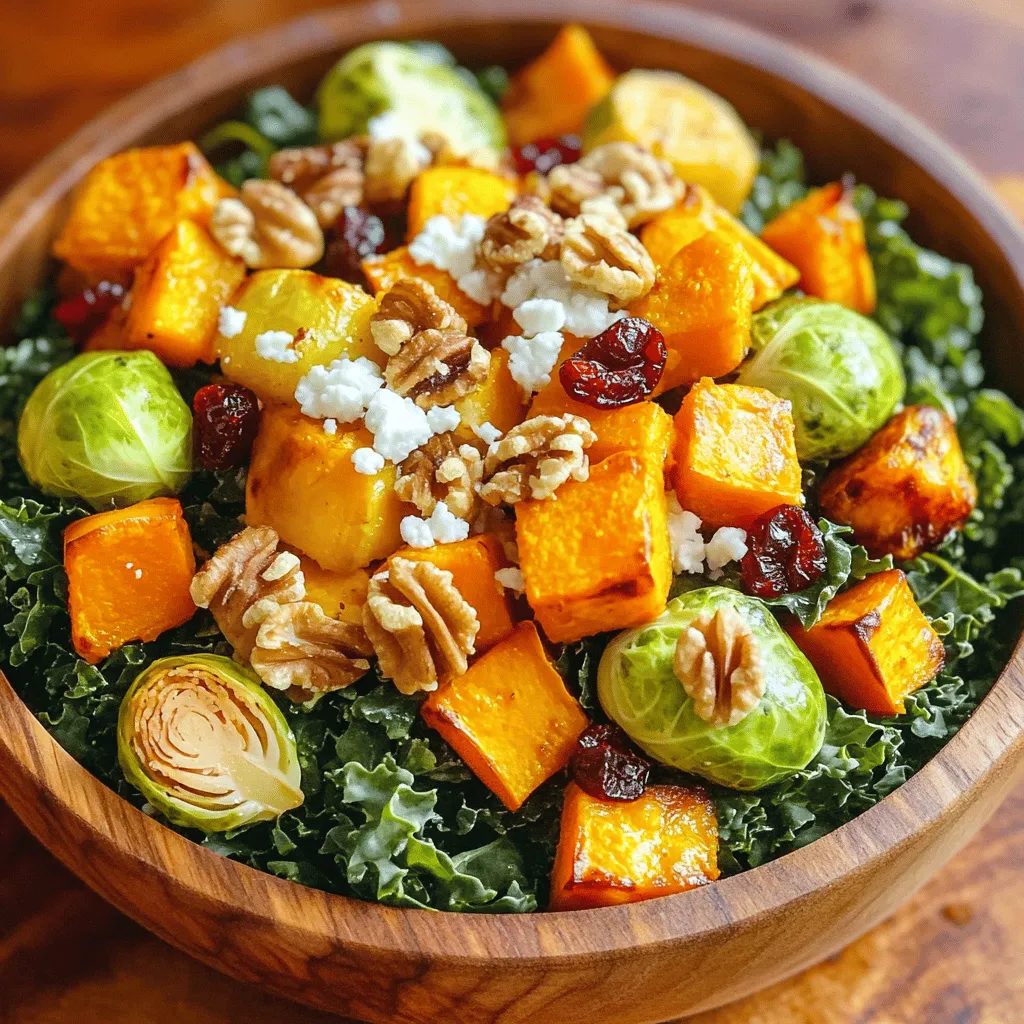
Fall is here, and it’s time to celebrate the season with a Roasted Fall Harvest Salad! Packed with vibrant, healthy ingredients like kale, butternut squash, and walnuts, this dish warms …
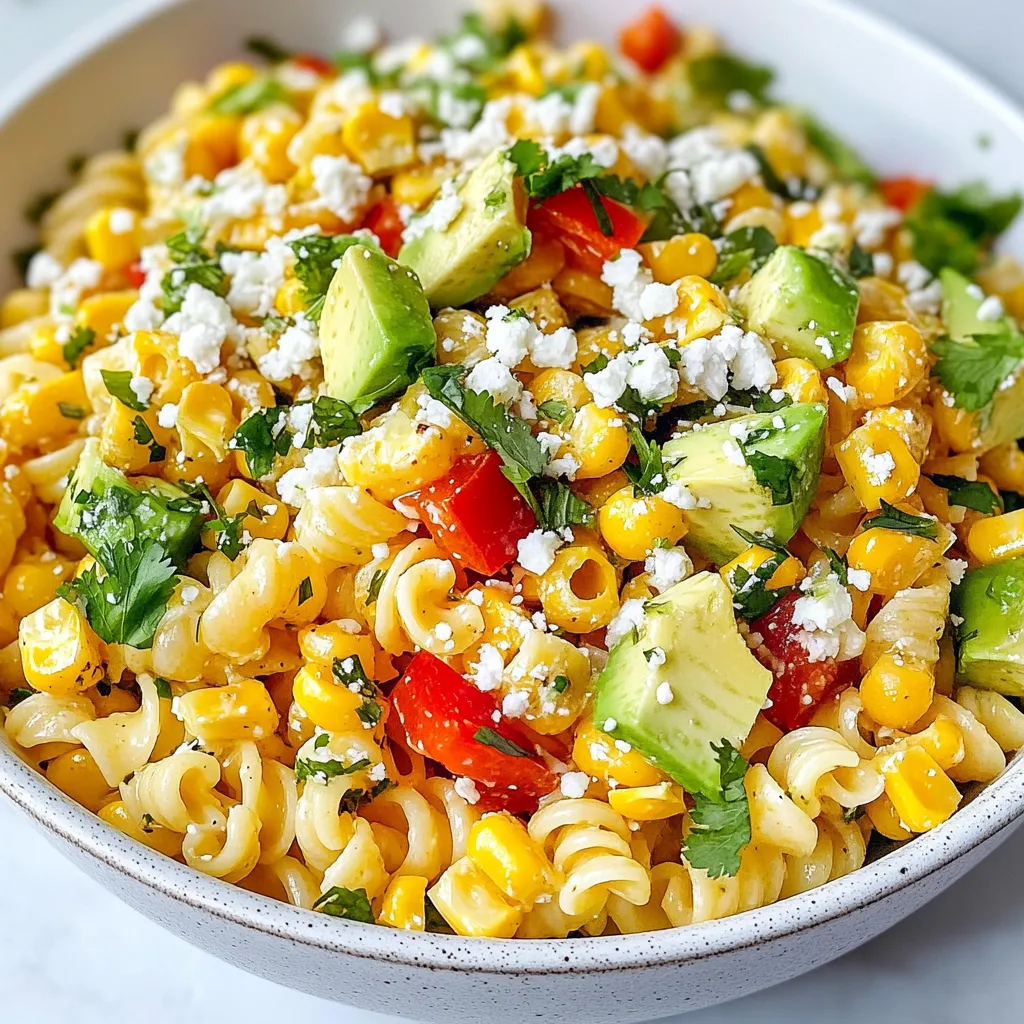
Summer is here, and what better way to celebrate than with a refreshing Mexican Street Corn Pasta Salad? This vibrant dish blends sweet corn, crisp veggies, and creamy dressing, making …
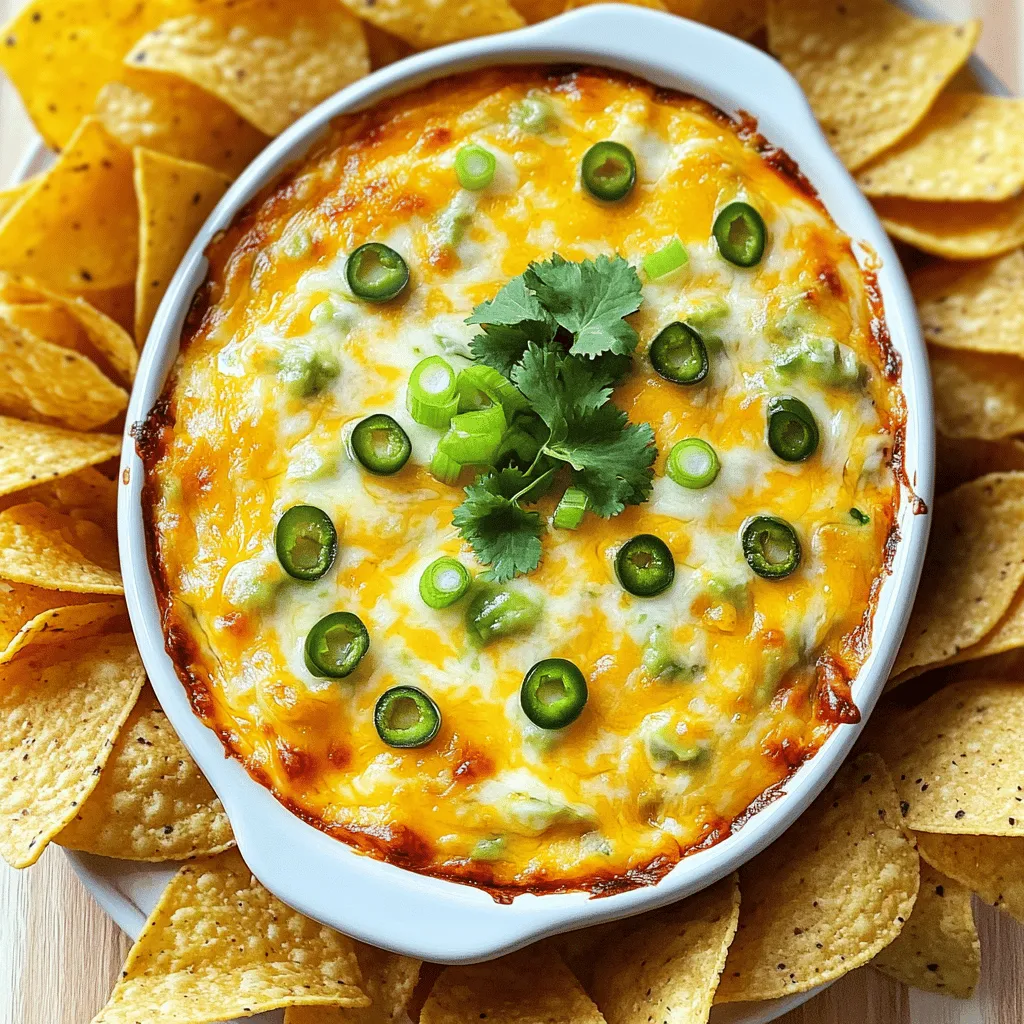
Get ready to spice up your snack game with my Cheesy Hatch Green Chile Dip! This creamy, flavorful dip is easy to make and perfect for any gathering. With just …
Are you ready to bake something that tastes like fall in every bite? This Apple Cinnamon Roll Cake is both delightful and easy to make. With its warm spices and …
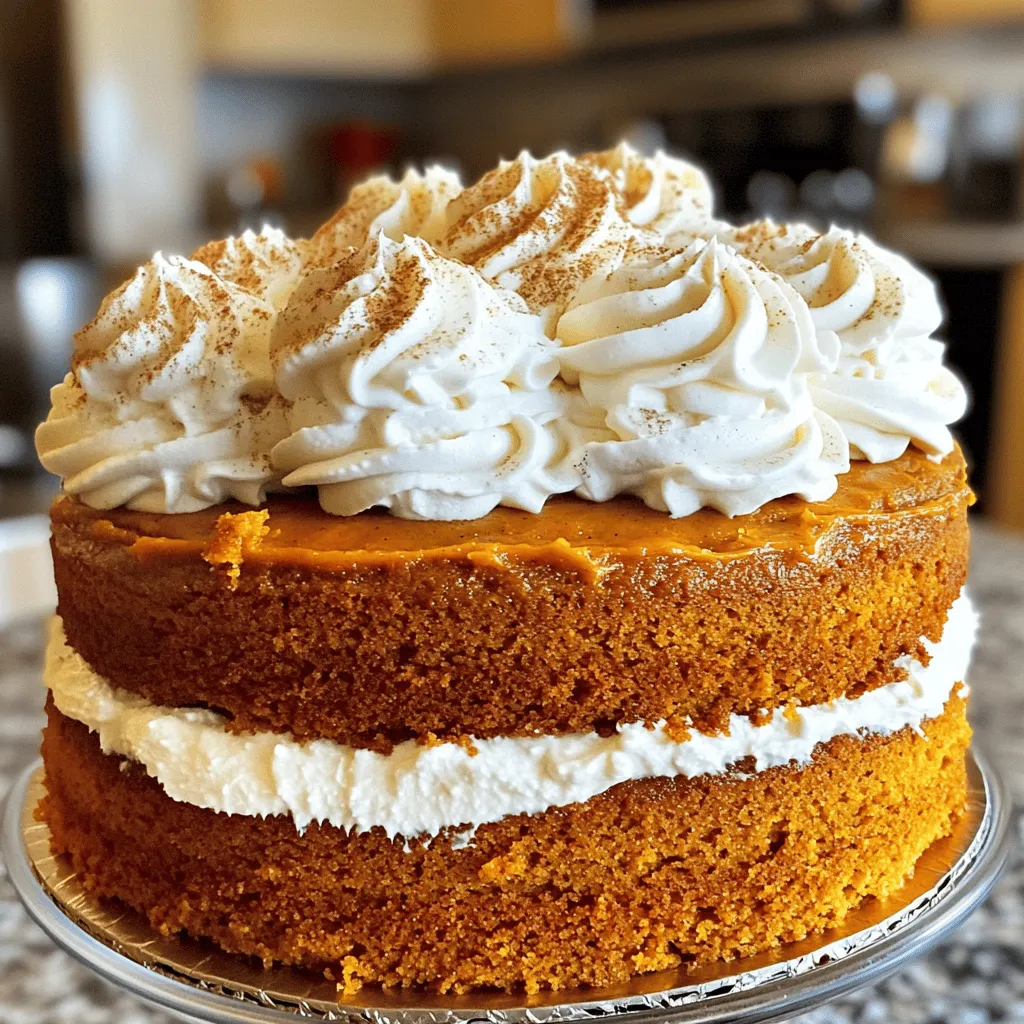
Fall is here, and it’s time to indulge in warm, cozy flavors! Have you ever dreamed of a cake that combines the rich spices of pumpkin and the bold kick …

Looking to make Halloween special this year? Let’s dive into the delightful world of Halloween cookies! These treats are easy to whip up and perfect for parties or family fun. …
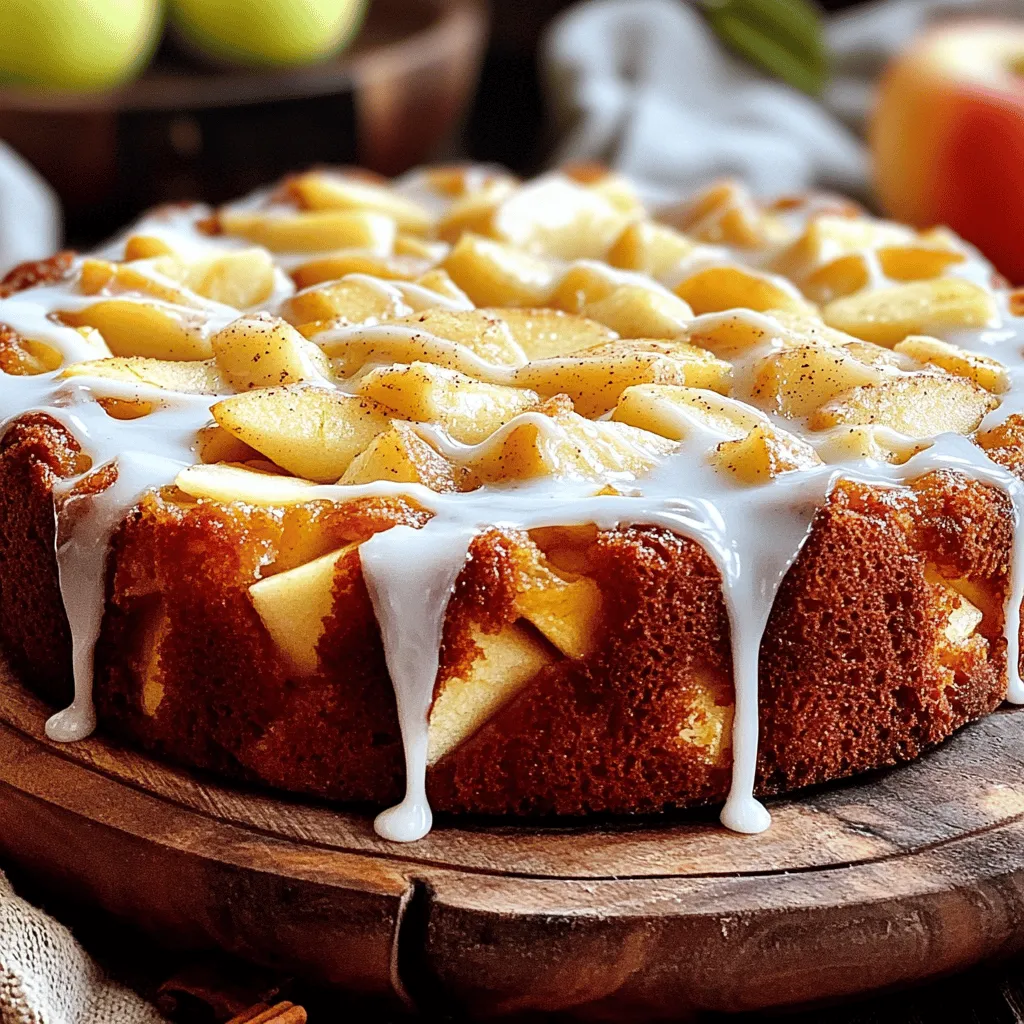
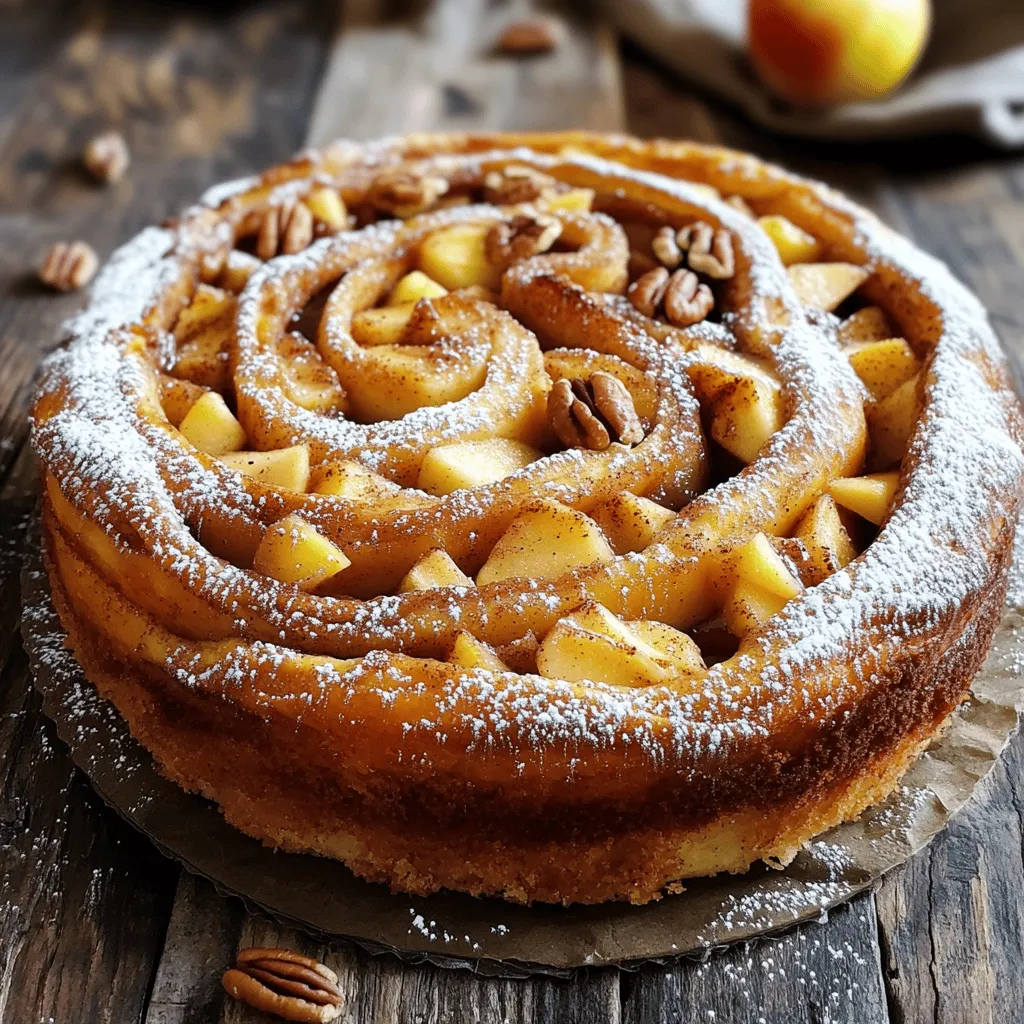
Are you ready to bake something truly special? This Apple Fritter Cake is soft, sweet, and filled with delicious apples. In just a few easy steps, you can create a …
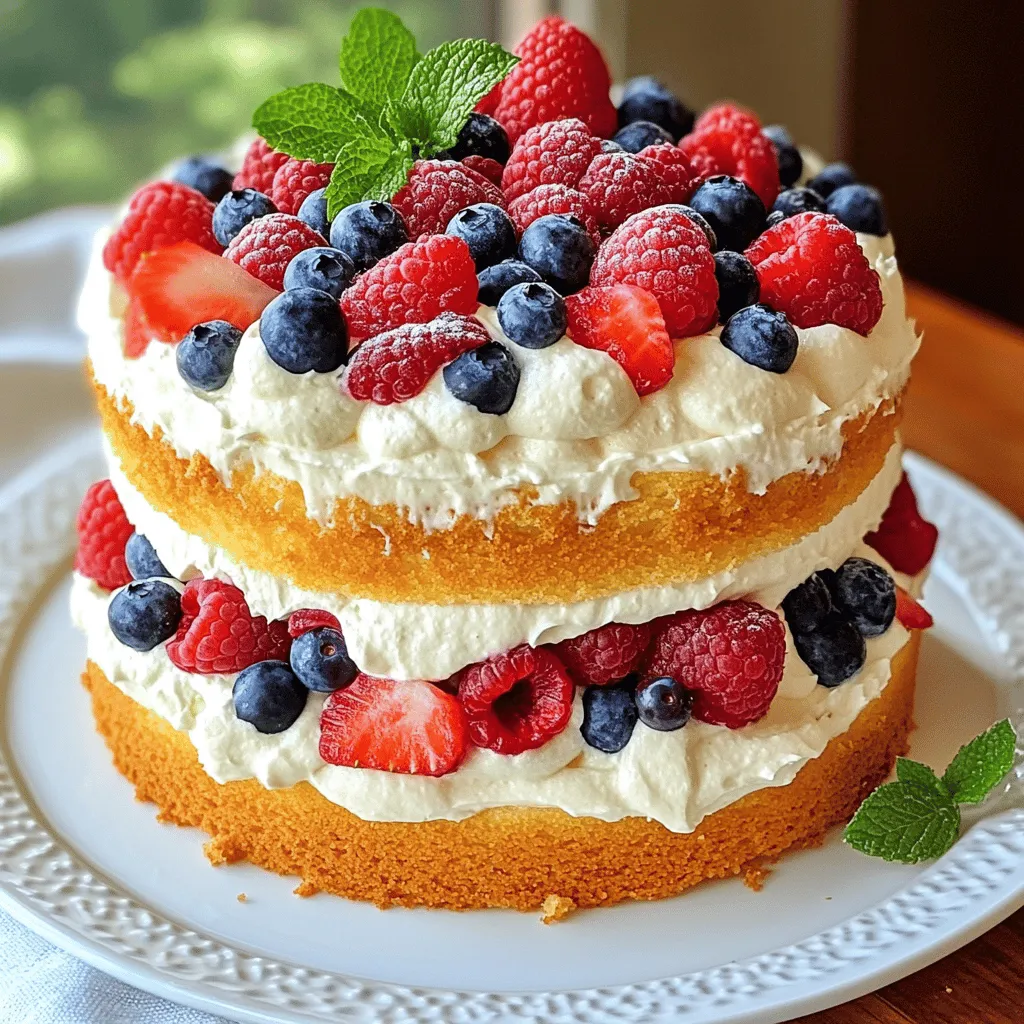
If you’re craving a delicious dessert that’s both easy and impressive, look no further! Berry Chantilly Cake offers a perfect blend of fluffy cake, rich cream, and vibrant berries. This …
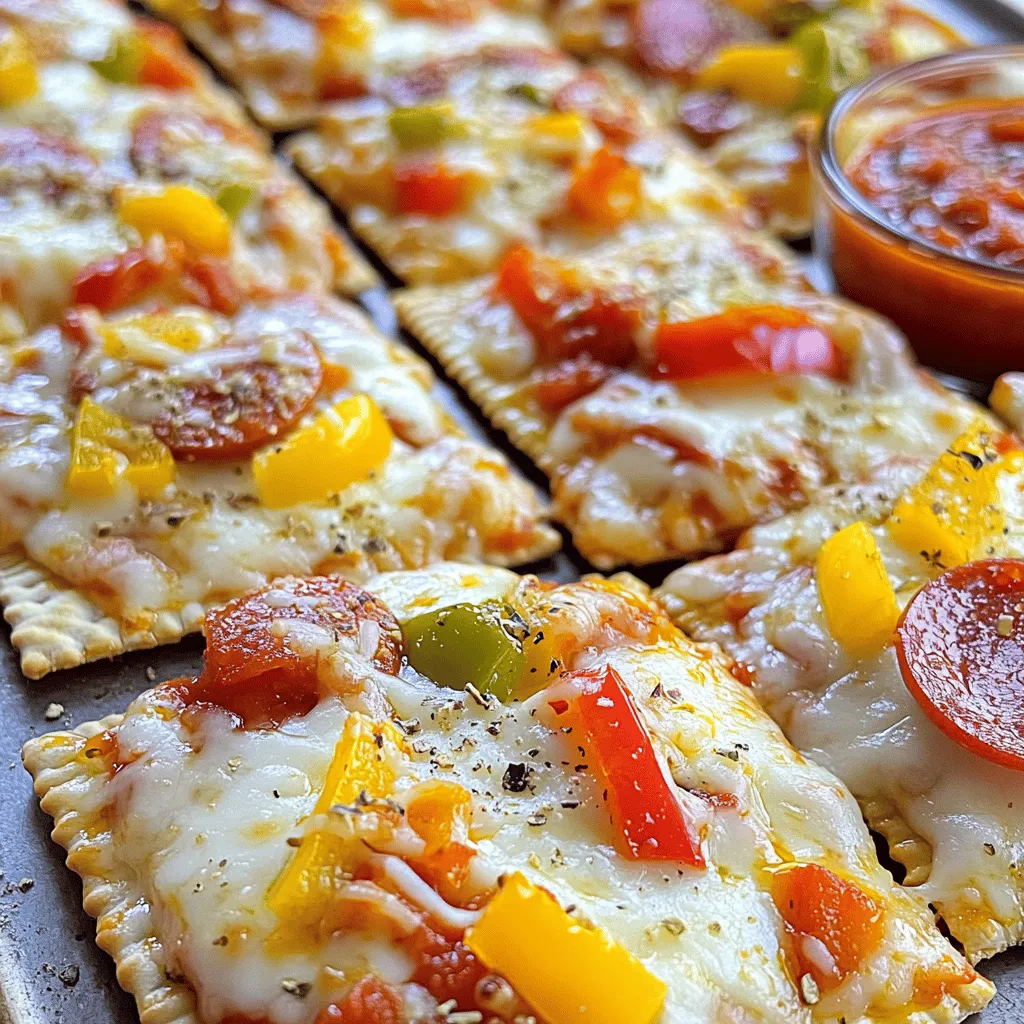
Are you ready to take snacking to the next level? DIY Pizza Crackers are fun, easy, and perfect for any occasion! With just a few simple ingredients, you can create …