Mint Chocolate Chip Protein Shake Nourishing Recipe

If you’re craving something delicious and healthy, try my Mint Chocolate Chip Protein Shake! This recipe combines rich chocolatey flavor and refreshing mint in each creamy sip. Packed with nutrients, …

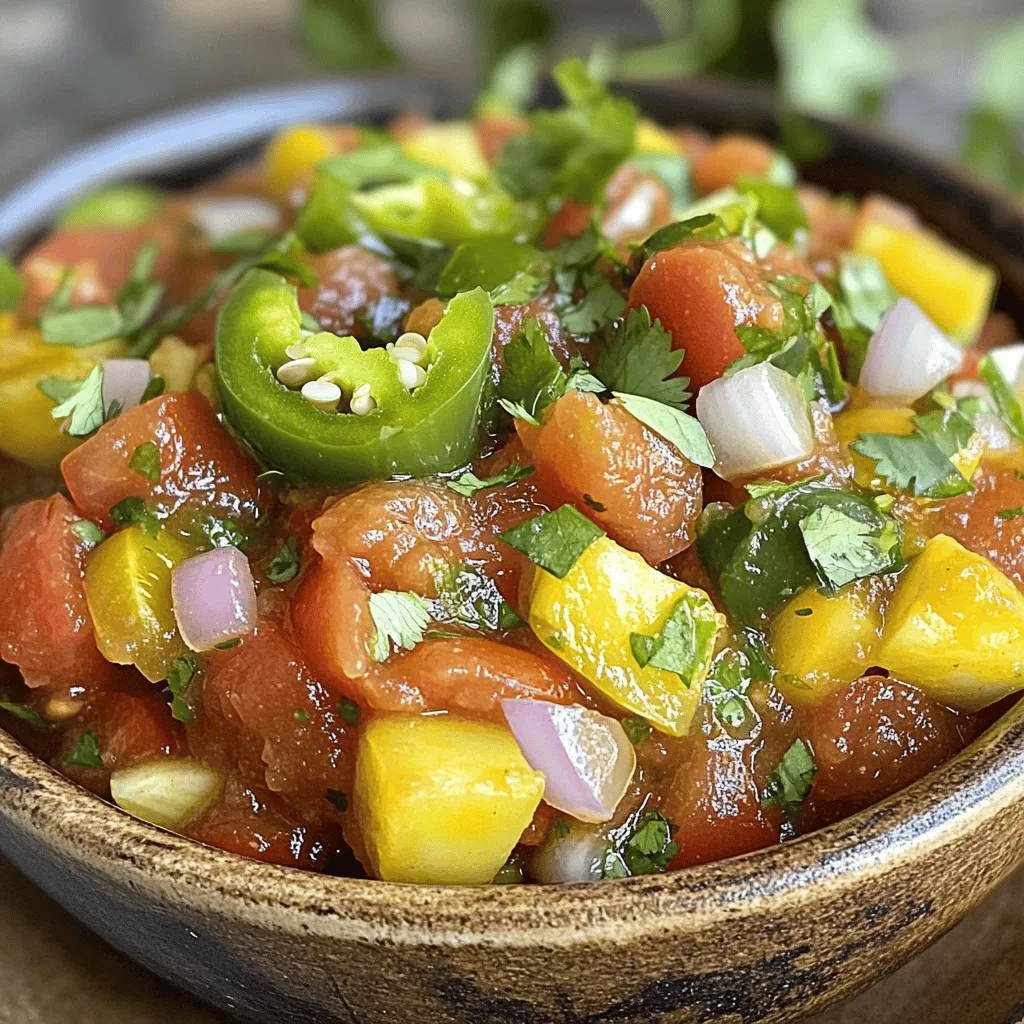
![- 1 cup hummus (store-bought or homemade) - 1 cup mixed seasonal vegetables (carrot sticks, cucumber slices, bell pepper strips) - 1 cup sliced roasted chicken breast or turkey - 1 cup cheese (cubed cheddar, gouda, or a cheese of choice) - 1 cup whole grain crackers (or your favorite type) - ¼ cup olives (green or black, pitted) - ¼ cup dried fruit (such as apricots, apples, or cranberries) - 1 tablespoon chia seeds (for added crunch on veggies, optional) You can mix and match these ingredients. I often use seasonal veggies for freshness. Hummus serves as a great dip and adds flavor. You can choose a protein like chicken or turkey for a filling lunch. Cheese adds creaminess and pairs well with crackers. Whole grain crackers give a nice crunch and energy. Adding olives brings a burst of flavor. Dried fruit adds sweetness and texture. Chia seeds give a fun crunch to veggies. These options make your Adult Lunchable Bento Box tasty and fun! For the full recipe, refer to the [Full Recipe]. Start by gathering your bento box or meal prep containers. I recommend a 3-compartment bento box. This design lets you keep your food separate and fresh. It also makes meal prep simple and fun. Choose a container that seals well to avoid spills. Portion out mixed seasonal vegetables into one compartment. I like to use bright carrot sticks, crunchy cucumber slices, and colorful bell pepper strips. These choices add taste and visual appeal. To keep your veggies fresh and crunchy, store them in a cool place until you pack your lunch. You can even wrap them in a damp paper towel to retain moisture. In the second compartment, arrange sliced roasted chicken breast or turkey. If you prefer a vegetarian option, marinated chickpeas or edamame work well. Both options add protein and flavor. For a quick meal, make sure to slice the meat thinly. This helps with eating and keeps your bento box neat. In the third compartment, add cubed cheese. Cheddar and gouda pair nicely with the chicken or turkey. For a fun twist, try a cheese with a bold flavor. To keep cheese fresh in meal prep, pack it separately from other items. This prevents it from getting soggy or losing its texture. Fill a small section with whole grain crackers. Choose your favorite type, like seed-based crackers for extra crunch or whole wheat for fiber. To manage portion control, keep a small handful in the box. This way, you enjoy a satisfying snack without overdoing it. Add a handful of olives and a small portion of dried fruit, like apricots or cranberries, for visual appeal. Arrange them nicely for a fun look. If you want, use mini containers for dips like hummus or yogurt dressing. This adds flavor and makes your meal even more enjoyable. Follow these steps for the perfect Adult Lunchable Bento Box Meal Prep! You can find the full recipe for more ideas. To make meal prep quick, focus on batch cooking. Prepare all ingredients in one go. Set aside 15 minutes at the start of your week. Choose a day when you have a little extra time, like Sunday. This helps you gather all your supplies. Chop veggies and cook proteins ahead of time. Store them in airtight containers. This way, everything stays fresh and ready. When making your bento box, use a 3-compartment container. It allows for better organization of flavors and textures. You can even mix and match ingredients for variety. This keeps your meals exciting. To wow your eyes and taste, make your bento box colorful. Use different veggies to create a rainbow effect. Arrange them in neat rows or fun shapes. This can make even simple foods look gourmet. Colorful meals are more inviting and fun to eat. For a finishing touch, add small dips in mini containers. You can try honey mustard or a yogurt dressing. This adds flavor and makes your bento box pop. Always remember, a good presentation makes your meal more enjoyable. Dips can change the whole taste of your meal. Include hummus, guacamole, or tzatziki. These add creaminess and depth to your bento box. Don’t forget spices! Sprinkle some on your veggies or proteins. Try garlic powder or paprika for extra flavor. These small additions can elevate your meal. They make each bite more exciting. For the full recipe, check out Adult Lunchable Bento Box Meal Prep. {{image_2}} You can easily adapt the adult Lunchable bento box for different diets. For vegetarians and vegans, swap the chicken with marinated chickpeas or edamame. Both options pack in protein and flavor. If you need gluten-free options, choose rice cakes or gluten-free crackers. These alternatives keep your meal tasty and satisfying. Mixing flavors adds fun to your bento box. Try pairing hummus with sliced bell peppers for a crunchy snack. If you want something unique, add a sprinkle of smoked paprika to your veggies. This adds a nice touch. For an international twist, use fresh herbs like basil or cilantro. They brighten up your meal while giving it character. Using seasonal fruits and vegetables makes your bento box fresh and exciting. In spring, add strawberries or snap peas. Summer is perfect for cherry tomatoes and cucumbers. In fall, think apples and roasted squash. Winter brings hearty veggies like carrots and Brussels sprouts. Adjust your recipe throughout the year to keep it interesting. To keep your Adult Lunchable Bento Box fresh, store it in a sealed container. Use a bento box with compartments to separate the food. This helps maintain texture and flavor. The ideal temperature for your refrigerator is 32°F to 40°F (0°C to 4°C). This range slows spoilage and keeps ingredients crisp. Yes, you can freeze bento boxes, but not all ingredients freeze well. For best results, freeze only the proteins and some veggies. Avoid freezing creamy dips like hummus or cheese, as they can change texture. When ready to eat, thaw the box in the fridge overnight. This keeps food safe and tasty. Each ingredient in your bento box has its own shelf life: - Hummus: 4 to 7 days in the fridge. - Vegetables: 3 to 5 days, depending on the type. - Chicken or turkey: 3 to 4 days after cooking. - Cheese: 1 week after opening, if stored properly. - Crackers: Check the package for the best-by date. Watch for signs of spoilage like off smells or discoloration. When in doubt, throw it out! You can use several other spreads. Some popular options include: - Guacamole: Creamy and full of healthy fats. - Bean dip: This is protein-rich and flavorful. - Nut butter: Almond or cashew butter adds a sweet twist. - Yogurt dip: A tangy choice that pairs well with veggies. These alternatives cater to different dietary needs, making your bento box fun and varied. Absolutely! Fresh fruits add color and flavor. Here are a few ideas: - Apple slices: Crunchy and sweet, they pair well with cheese. - Grapes: Easy to grab and eat, plus they’re hydrating. - Berries: Strawberries or blueberries offer antioxidants and taste great. - Mandarin oranges: These are juicy and refreshing. Including fruits boosts your vitamins and can satisfy sweet cravings. To keep your veggies fresh, follow these tips: - Use airtight containers: This reduces moisture buildup. - Pat veggies dry: Remove excess water before packing. - Separate wet and dry items: Keep dips and moist items apart. - Add a paper towel: Place one in the container to absorb moisture. These simple steps help maintain crunch and freshness. You can keep your bento box in the fridge for up to four days. Here are some general guidelines for food safety: - Check the ingredients: Cooked proteins last about three to four days. - Fresh veggies: They can stay fresh for five days if stored correctly. - Dairy products: Cheese should also stay good for the same time frame. Always check for any signs of spoilage before eating. In this blog post, we covered how to create a healthy Adult Lunchable Bento Box. We discussed main ingredients like hummus, seasonal veggies, and protein options. I shared tips for assembling your bento box, including snacks and presentation ideas. You learned about storage practices to keep your lunch fresh. As you prepare your bento box, remember to enjoy experimenting with flavors and ingredients. This way, your meals will always be fun and delicious. With these ideas, you can make lunchtime exciting and healthy.](https://grilledflavors.com/wp-content/uploads/2025/07/4ca5e8d4-0fe5-46e0-acef-5617d318b1ce.webp)
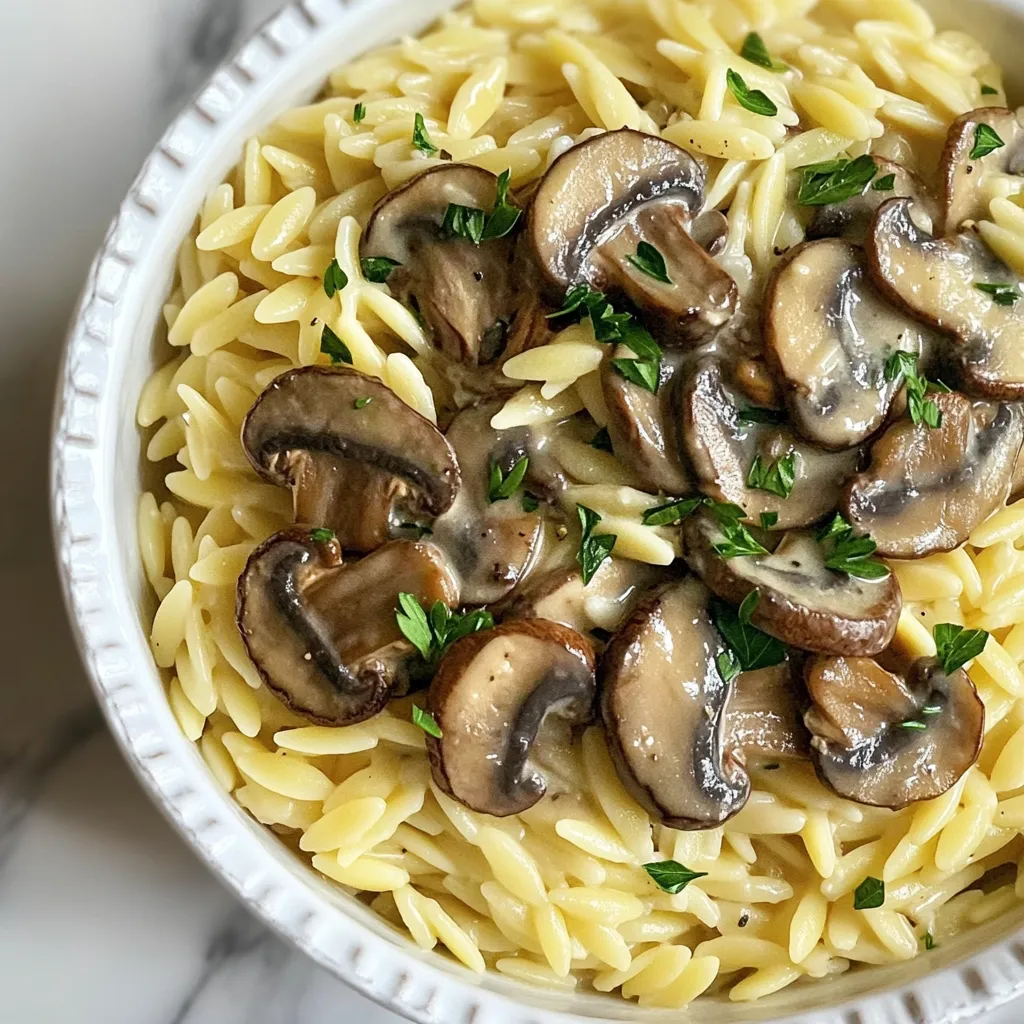
![To make a Simple Apple Arugula Salad, you need fresh ingredients that work well together. This salad is bright and tasty. Here's what you will need: - 4 cups fresh arugula - 1 large apple (Granny Smith or Honeycrisp), thinly sliced - 1/2 cup walnuts, roughly chopped - 1/4 cup crumbled feta cheese (optional) - 1/4 cup dried cranberries - 3 tablespoons olive oil - 2 tablespoons apple cider vinegar - 1 teaspoon honey - Salt and pepper to taste Each ingredient adds its own flavor and texture. The fresh arugula gives a nice peppery taste. The apples add a crisp sweetness. Walnuts bring a crunchy bite, while feta cheese adds creaminess. Dried cranberries add a hint of tartness. You can find the full recipe to guide you through making this delightful dish. 1. Combining the base ingredients Start with a large bowl. Add 4 cups of fresh arugula. Next, take 1 large apple, like Granny Smith or Honeycrisp, and slice it thin. Toss the apple slices into the bowl. Now, grab 1/2 cup of walnuts, roughly chopped, and add them in. If you want, you can also add 1/4 cup of crumbled feta cheese. Finally, include 1/4 cup of dried cranberries. 2. Making the dressing In a small bowl, mix 3 tablespoons of olive oil with 2 tablespoons of apple cider vinegar. Add 1 teaspoon of honey for sweetness. Season with salt and pepper to taste. Whisk all the ingredients together until they blend well. This dressing adds a nice zing to your salad. 3. Tossing the salad Pour the dressing over the arugula and apple mix. Use tongs or a large spoon to gently toss everything together. Make sure all the ingredients get coated with the dressing. Taste the salad and see if it needs more salt or pepper. Enjoy your fresh, crunchy salad right away! For the full recipe, check out the detailed instructions above. To make your Simple Apple Arugula Salad even better, consider these tips: - Substitutions for ingredients: If you don’t have arugula, try spinach or mixed greens. For the apple, other crisp types like Fuji or Gala work well. You can swap walnuts with pecans or almonds. If you skip feta, try goat cheese or leave it out. - Best practices for dressing: Always whisk the dressing before adding it to the salad. This helps mix the oil and vinegar well. If you like a sweeter touch, add more honey. Adjust salt and pepper to your taste. A fresh squeeze of lemon juice can brighten the entire dish. - Presentation tips: For a beautiful look, layer ingredients in the bowl. Place arugula at the bottom, then add apples, nuts, and cranberries on top. Drizzle dressing just before serving for the best crunch. Garnish with a few whole nuts or apple slices for a nice touch. These small changes can elevate your salad. Enjoy the fresh flavors of this Simple Apple Arugula Salad! For the complete details, refer to the Full Recipe. {{image_2}} You can switch up the apples in this salad. Try using Fuji or Gala apples. They add a sweet twist. If you prefer tart, go for Granny Smith or Pink Lady apples. Each apple brings its own flavor. For protein, consider adding grilled chicken or shrimp. These options make the salad heartier. You can also toss in chickpeas for a plant-based protein boost. They add extra texture and nutrition. As the seasons change, so can your salad. In spring, add fresh peas or radishes for a crunch. In summer, throw in some cucumber or berries. In fall, consider adding roasted squash. Winter calls for nuts or seeds to give a warm touch. These variations keep the salad fresh and exciting. Feel free to mix and match based on your taste. You can find the full recipe above. Enjoy your creation! To keep your salad fresh, store it in an airtight container. This helps prevent wilting. The best place for it is the fridge. Aim to eat leftovers within two days for the best taste. If you want to save the dressing, store it separately. This way, the arugula stays crisp. You can mix the dressing in just before serving. Reheating is not needed for this salad. Instead, refresh it with a drizzle of olive oil. You can also add a squeeze of lemon for extra flavor. Enjoy your Simple Apple Arugula Salad with a fresh twist! For the full recipe, check the [Full Recipe]. Can I prepare this salad in advance? Yes, you can prep this salad ahead of time. Just keep the dressing separate. If you mix the salad too soon, the arugula will wilt. I suggest making the salad in the morning for lunch or dinner later. This way, you can enjoy the fresh taste and crisp texture. What are some good pairings with this salad? This salad pairs well with grilled chicken or fish. You can also serve it with a warm soup. For a light meal, enjoy it with crusty bread. The sweet and tangy flavors complement many dishes. I find it works great at lunch or as a side dish. How can I make this salad vegan? To make this salad vegan, skip the feta cheese. You can replace it with avocado for creaminess. Use agave syrup instead of honey for the dressing. This will keep the salad rich and flavorful without animal products. Enjoy your simple apple arugula salad vegan style! For the full recipe, check the earlier section. This blog post shared how to make a simple apple arugula salad. You learned about the main ingredients, step-by-step prep, and how to enhance the flavor. I also covered fun variations and how to store leftovers. Remember, salads can be easy and tasty. Don't be afraid to experiment with your own twists. Enjoy this crisp, fresh dish whenever you want. Eating healthy never has to be boring!](https://grilledflavors.com/wp-content/uploads/2025/07/3150baa1-5851-4aee-8d19-c8a5ecc1b42f.webp)
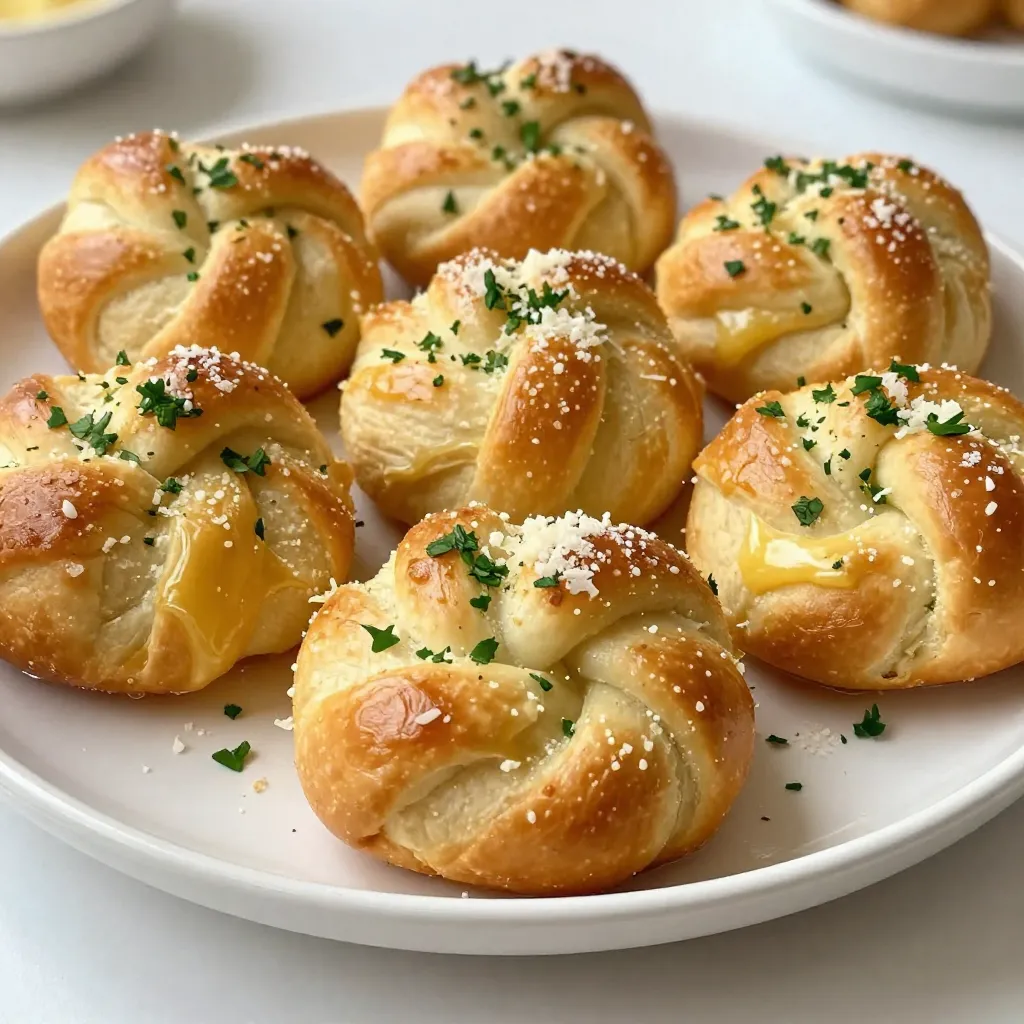
![- 2 cups all-purpose flour - 1 cup canned pumpkin puree - 1/4 cup granulated sugar - 1 teaspoon active dry yeast - 1/2 teaspoon baking soda - 1/2 teaspoon baking powder - 1/2 teaspoon salt - 1/2 teaspoon ground cinnamon - 1/4 teaspoon ground nutmeg - 1/4 cup milk (warm) - 1/2 teaspoon vanilla extract - 1/4 cup unsalted butter, melted - 1/2 cup brown sugar (for filling) - 1 tablespoon cinnamon (for filling) - 1 cup powdered sugar - 2 tablespoons brewed coffee (cooled) - 1 tablespoon maple syrup - 1 tablespoon unsalted butter (softened) Gathering the right ingredients is key to making these pumpkin cinnamon rolls shine. You want to start with fresh, quality items. The all-purpose flour gives the rolls a nice, soft texture. Canned pumpkin puree provides a rich flavor and moisture. Granulated sugar adds sweetness, while the yeast helps the dough rise. Baking soda and baking powder work together for a light roll. Salt and spices like cinnamon and nutmeg bring warmth and depth to the rolls. For the frosting, powdered sugar creates the right sweetness. Brewed coffee adds an extra kick, and maple syrup gives a lovely, unique flavor. Unsalted butter helps blend everything into a smooth, creamy topping. If you follow the Full Recipe, you're on your way to a delicious treat. Enjoy the process and let your kitchen fill with warm, inviting scents! Activating the yeast Start by grabbing a bowl. Pour in warm milk, granulated sugar, and active dry yeast. Mix it gently. Let it sit for 5-7 minutes until it bubbles up. This means your yeast is ready to work. Mixing dry ingredients In another bowl, whisk together the flour, baking soda, baking powder, salt, ground cinnamon, and nutmeg. This blend adds flavor and helps the dough rise well. Combining wet and dry mixtures Next, take your yeast mixture and add pumpkin puree, vanilla extract, and melted butter. Mix this well. Then, gradually add your dry mix. Stir until a soft dough forms. This might take a few minutes. Kneading the dough Turn the dough onto a floured surface. Knead it for about 5 minutes. You want it to feel smooth and elastic. Rolling out and filling the dough Now, roll the dough into a big rectangle, about 12x18 inches. Spread the brown sugar and cinnamon mixture evenly over the dough. This is where the magic happens! Cutting the rolls Carefully roll the dough up from the long side. Slice the roll into 12 equal pieces, about 1.5 inches each. Place the rolls in a greased baking dish, making sure they fit snugly. First rise and second rise Cover the rolls with a cloth. Let them rise in a warm spot for 30 minutes. They will puff up nicely. Preheating the oven While the rolls rise, preheat your oven to 350°F (175°C). Baking to perfection Bake the rolls for 20-25 minutes. They should turn golden brown. Enjoy the aroma filling your kitchen! For the complete recipe, refer to the [Full Recipe]. To make great pumpkin cinnamon rolls, the dough must be just right. A common issue is dough that is too sticky. If this happens, add a little more flour. You want a soft and smooth texture, not a dry one. Knead the dough for about five minutes. This helps develop gluten, which gives the rolls their structure. Another tip is to let the dough rise in a warm place. A warm kitchen or an oven set to low works well. This helps the yeast work better. If your dough doesn’t rise much, it may be due to inactive yeast. Always check your yeast's expiration date. The coffee maple frosting should be smooth and creamy. If it’s too thick, add a bit more brewed coffee. If it’s too thin, mix in more powdered sugar. The right consistency makes it easy to drizzle over the rolls. For a fun twist, try other frostings. Cream cheese frosting adds a tangy flavor. A simple vanilla glaze works well too. Each option gives the rolls a different taste, so feel free to experiment. For the full recipe, check out the complete guide on making these delightful pumpkin cinnamon rolls. {{image_2}} You can easily change up your pumpkin cinnamon rolls to match the season. Adding nuts or raisins gives a nice crunch and chew. Chopped pecans or walnuts work well. They add a rich flavor that pairs with the pumpkin. You might also spice it up with different flavors. Try adding ginger or cloves for a warm kick. A touch of orange zest can brighten the flavors too. Experimenting with these additions makes each batch unique. If you're looking for healthier options, there are some easy swaps you can make. You can use whole wheat flour instead of all-purpose flour. This adds fiber and nutrients. You can also reduce the sugar by using honey or maple syrup. For a vegan version, replace the butter with coconut oil and use almond milk. You can swap the egg with a flaxseed mix. Simply mix one tablespoon of flaxseed meal with three tablespoons of water. Let it sit for about five minutes until it thickens. These changes keep the taste while making it better for you. For the full recipe, check out the Pumpkin Cinnamon Rolls with Coffee Maple Frosting. To keep your pumpkin cinnamon rolls fresh, use these tips: - Refrigerating leftovers: Place the rolls in an airtight container. They will stay fresh for about 3 days. You can also cover them with plastic wrap. This keeps the moisture in and prevents drying out. - Freezing options for longer shelf life: If you want to save them for later, freeze the rolls. Wrap each roll tightly in plastic wrap and then place them in a freezer bag. They can last up to 2 months in the freezer. Just make sure to label the bag with the date. To enjoy your cinnamon rolls warm again, follow these methods: - Best methods to reheat cinnamon rolls: The best way to reheat is in the oven. Preheat your oven to 350°F (175°C). Place the rolls on a baking sheet and cover them with foil. Heat for about 10-15 minutes. This keeps them soft and warm. - Maintaining texture and flavor: You can also use the microwave. Heat them for about 15-20 seconds. However, this may make them a bit chewier. For the best flavor, the oven is the way to go. Enjoy your treats warm with that delicious Coffee Maple Frosting from the Full Recipe! How can I make my rolls fluffier? To make your rolls fluffier, use fresh yeast. Ensure your yeast is active and bubbly. Let the dough rise in a warm place. Knead it well to develop gluten. This will trap air and make your rolls light. Can I use fresh pumpkin instead of canned? Yes, you can use fresh pumpkin. Just cook and puree it first. Make sure to drain any excess water. This helps keep your dough from getting too wet. Fresh pumpkin adds a rich flavor. What should I do if my dough doesn’t rise? If your dough doesn’t rise, check the yeast. It may be old or inactive. Warm up your dough in a cozy spot. If it still doesn’t rise, knead it more and try again. You can also add a bit more warm water to help. Pairing ideas with beverages These pumpkin cinnamon rolls pair well with coffee or chai tea. The warm spices in the rolls blend nicely with these drinks. Try serving them with a glass of cold milk too. It balances the sweetness of the frosting. Ideal occasions for serving Pumpkin Cinnamon Rolls with Coffee Maple Frosting Serve these rolls at brunch or holiday gatherings. They make a great treat for fall celebrations. You can also enjoy them on lazy Sunday mornings. Their warm, cozy flavors fit perfectly with festive cheer. This blog post covered the essential ingredients and steps to make delicious pumpkin cinnamon rolls. You learned how to prepare the dough, shape the rolls, and bake them to perfection. I shared tips for achieving the right texture and frosting consistency. You can also explore variations and find the best storage practices. These rolls are a unique treat for any occasion. Enjoy your baking journey and let your creativity shine!](https://grilledflavors.com/wp-content/uploads/2025/07/9cc6fc33-a67c-4963-b3d8-1f74cd52c190.webp)
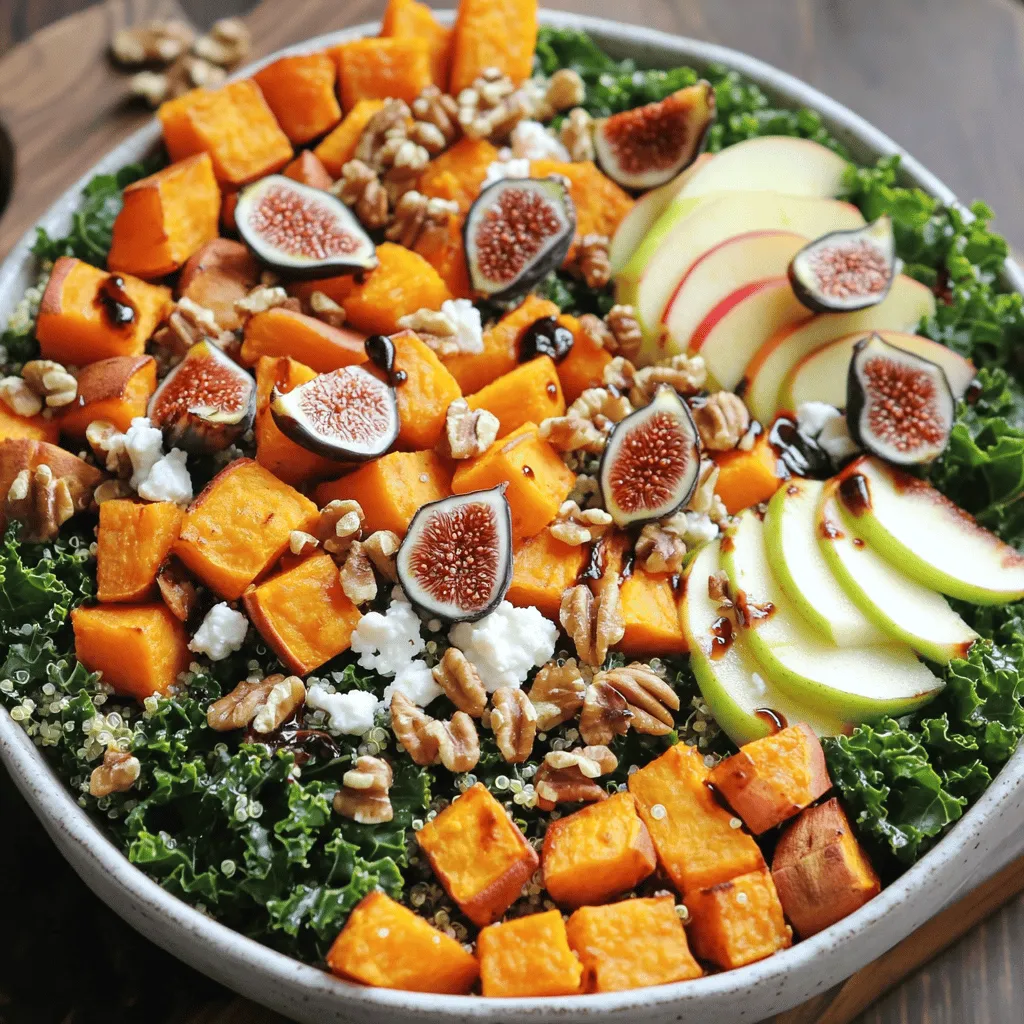
![To make the perfect Gilmore Girls pumpkin pancakes, you need the right ingredients. Here’s a simple list: - 1 cup all-purpose flour - 1 tablespoon baking powder - 1/2 teaspoon baking soda - 1 teaspoon ground cinnamon - 1/2 teaspoon ground nutmeg - 1/4 teaspoon ground ginger - 1/4 teaspoon salt - 1 cup pumpkin puree (canned or fresh) - 1 cup milk (or a dairy-free alternative) - 2 large eggs - 2 tablespoons maple syrup - 2 tablespoons melted butter (or coconut oil) - Optional: pecans or walnuts for topping These ingredients combine to create a warm and cozy dish that celebrates fall. The pumpkin puree adds a rich, sweet flavor, while the spices bring warmth. The baking powder and baking soda help the pancakes rise, making them light and fluffy. Using fresh pumpkin can enhance the taste, but canned is quick and easy. You can also switch to dairy-free milk if you prefer. Topping with nuts adds a nice crunch and flavor. For the full recipe, check the details above. Enjoy your cooking! How to mix dry ingredients Start with a large bowl. Add 1 cup of all-purpose flour, 1 tablespoon of baking powder, 1/2 teaspoon of baking soda, 1 teaspoon of ground cinnamon, 1/2 teaspoon of ground nutmeg, 1/4 teaspoon of ground ginger, and 1/4 teaspoon of salt. Whisk these together until they blend well. Combining wet ingredients for the batter In another bowl, mix 1 cup of pumpkin puree, 1 cup of milk, 2 large eggs, 2 tablespoons of maple syrup, and 2 tablespoons of melted butter. Stir until you achieve a smooth mixture. Techniques for cooking the pancakes Pour the wet mixture into the dry mix. Stir gently until you see a few lumps. This means your batter is just right! Heat a non-stick skillet over medium heat. Lightly grease it with butter or oil. Recommended skillet temperature Aim for medium heat on your skillet. If it's too hot, the pancakes may burn. Timing for pancake flipping Cook each pancake for about 2-3 minutes. Look for bubbles on the surface. When the edges set, it’s time to flip! Tips for maintaining perfect texture Avoid overmixing the batter. This keeps your pancakes fluffy. If they seem too thick, add a splash of milk. Enjoy making these delicious Gilmore Girls pumpkin pancakes! For the complete recipe, check the [Full Recipe]. To make your pancakes fluffy, focus on key ratios. Use 1 cup of flour with 1 tablespoon of baking powder. This mix helps create lift in your pancakes. Remember, don’t overmix your batter. Stir gently until you see a few lumps. Overmixing can lead to tough pancakes. Keep it light and simple for the best results. You can boost the flavor of your pancakes with spices. Try adding 1 teaspoon of cinnamon and a pinch of nutmeg. Ground ginger also adds a warm touch. For extra fun, toss in some chocolate chips or chopped nuts. Top your pancakes with pecans or walnuts to add crunch. Drizzle with maple syrup to make them even more delicious. Enjoy the warmth of fall with every bite! {{image_2}} If you want to go gluten-free, there are great alternatives for flour. You can use almond flour, coconut flour, or a gluten-free all-purpose blend. Each option gives a unique taste and texture. The best gluten-free flour blends combine different types of flours. Look for blends that include rice flour, tapioca flour, and potato starch. These blends work well in pancakes, keeping them fluffy and soft. To make your pancakes even more fun, consider adding chocolate chips or dried fruits. Chocolate chips bring sweetness and richness. Dried fruits, like cranberries or raisins, add a chewy texture and burst of flavor. You can also change up the nuts or syrups you use. Try topping your pancakes with pecans, walnuts, or even hazelnuts. Each nut adds a different crunch. For syrup, maple is classic, but you can also use caramel or honey for a new twist. For the full recipe, check out the detailed instructions and enjoy these delicious variations! To keep your leftover pumpkin pancakes fresh, follow these tips. First, let them cool completely. This step stops steam from forming inside the storage container. Place the pancakes in a single layer in an airtight container. If you have many, use parchment paper between layers. For refrigerating, you can store the pancakes for up to three days. Just remember to seal them well to avoid drying out. If you want to keep them longer, freezing is a great option. To freeze pancakes, stack them with parchment paper between each one. Place the stack in a freezer-safe bag. You can store them for up to three months. When you're ready to enjoy your pancakes again, reheating them is simple. The best method is to use a skillet over low heat. This way, they warm evenly. Flip them once to heat both sides. You can also use a microwave for quick reheating. Just place a few pancakes on a plate and cover them with a damp paper towel. Heat for about 30 seconds. To keep their texture and flavor, avoid overcooking. If they seem dry, add a splash of syrup or milk when reheating. This will help bring back their original moistness. Enjoy your tasty pancakes just like the first time! Can I use fresh pumpkin instead of canned? Yes, you can use fresh pumpkin! Start with a small pumpkin. Cut it, bake it, and scoop out the soft flesh. Blend it into a smooth puree. This will give your pancakes a fresh taste. Just make sure to measure out one cup for the recipe. How do I make vegan pumpkin pancakes? To make vegan pumpkin pancakes, replace the eggs with flax eggs. Mix one tablespoon of ground flaxseed with two and a half tablespoons of water. Let it sit until it thickens. Also, use a non-dairy milk like almond or oat milk. Replace melted butter with coconut oil or a vegan butter. Connection to "Gilmore Girls" episodes or characters In "Gilmore Girls," food has a special place. The show's warmth shines through its cozy meals. Pumpkin pancakes fit right in with the fall vibe. They remind fans of family breakfasts at Luke's Diner. It’s a sweet nod to the show's love for food and connection. Why pumpkin pancakes resonate with fans of the show Fans love pumpkin pancakes because they are comforting. They bring to mind memories of autumn and family. Just like the Gilmore girls, pumpkin pancakes are full of warmth and charm. They make you feel at home, just like a good episode of the show. Plus, they are easy to make and share! These Gilmore Girls pumpkin pancakes are simple and fun to make. We covered the key ingredients, from flour to spices. The step-by-step guide helps you mix and cook perfectly fluffy pancakes. You can also try gluten-free options and flavor twists for variety. Remember to store any leftovers correctly and enjoy them later. Whether you stick to the classic recipe or get creative, these pancakes will please everyone. Dive in and savor the cozy taste of fall, just like the Gilmore girls would!](https://grilledflavors.com/wp-content/uploads/2025/07/f60fe143-7ab3-4def-9f00-fa099d6971a7.webp)