Spicy Italian Sausage Pasta Irresistible Comfort Food

If you’re craving a warm bowl of comfort, you’ve found it! My Spicy Italian Sausage Pasta is not just a meal; it’s a hug on a plate. This dish blends …
If you’re craving a warm bowl of comfort, you’ve found it! My Spicy Italian Sausage Pasta is not just a meal; it’s a hug on a plate. This dish blends …

Are you ready for a quick and tasty meal? In just 30 minutes, you can whip up delicious Ground Beef Tostadas that are sure to impress. This simple recipe combines …

Are you craving a meal that’s both quick and delicious? Look no further! Teriyaki Chicken Noodles combine tender chicken, colorful veggies, and a savory sauce all in one bowl. In …
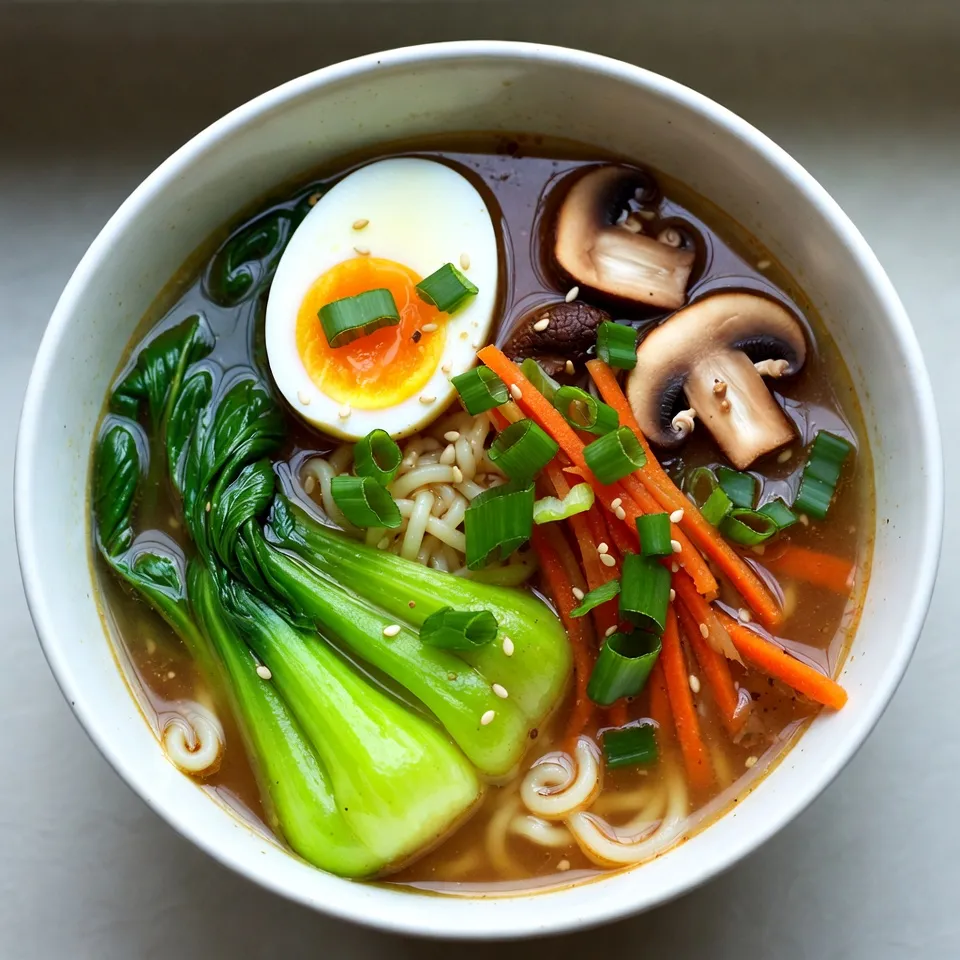
Looking for a quick and tasty meal? Try my Miso Ginger Ramen Bowl! This easy recipe bursts with flavor, thanks to the warm miso and zesty ginger. With just a …

Welcome to my kitchen, where comfort meets deliciousness! Coconut chicken and rice is a simple dish that warms the soul. With its creamy coconut flavor and tender chicken, it’s perfect …
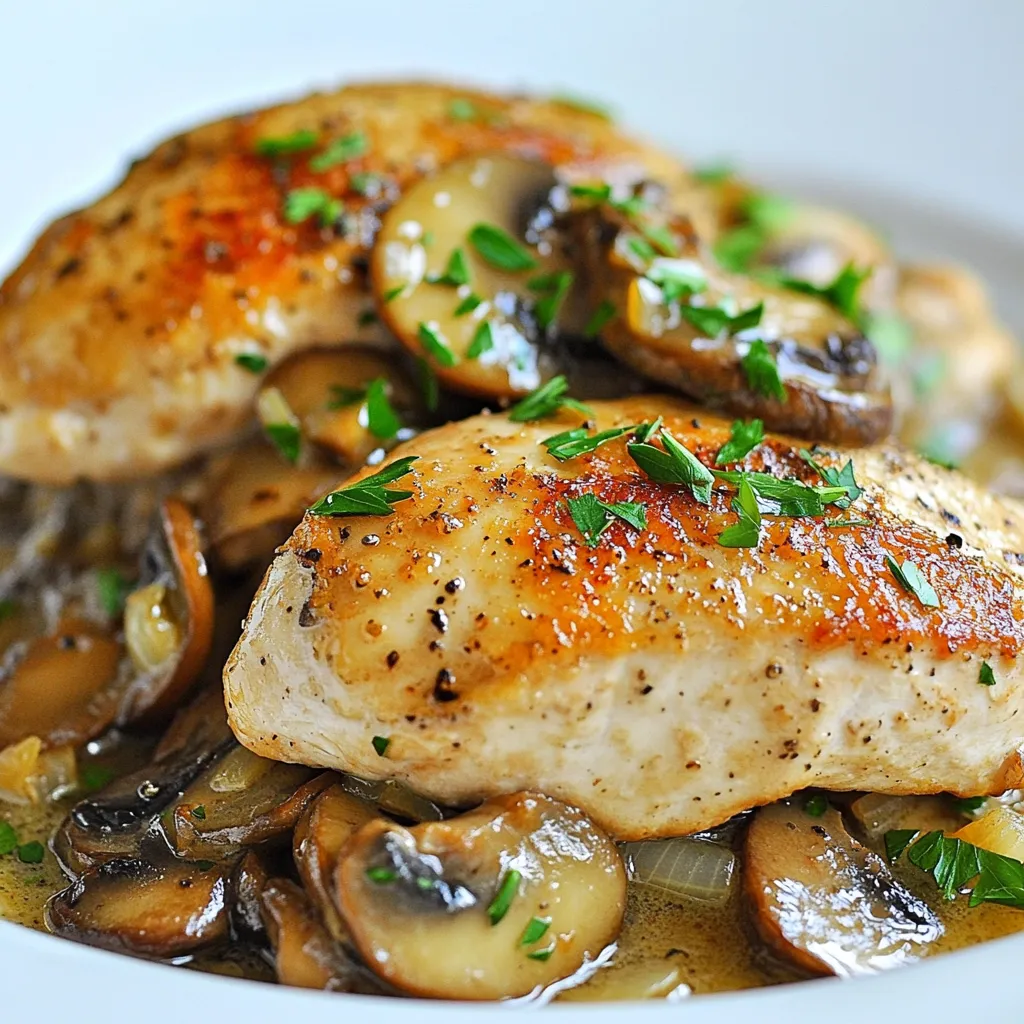
Looking for an easy and tasty weeknight dinner? You’ll love this One-Pan Mushroom Chicken recipe! It brings together juicy chicken breasts, fresh cremini mushrooms, and a creamy sauce, all cooked …
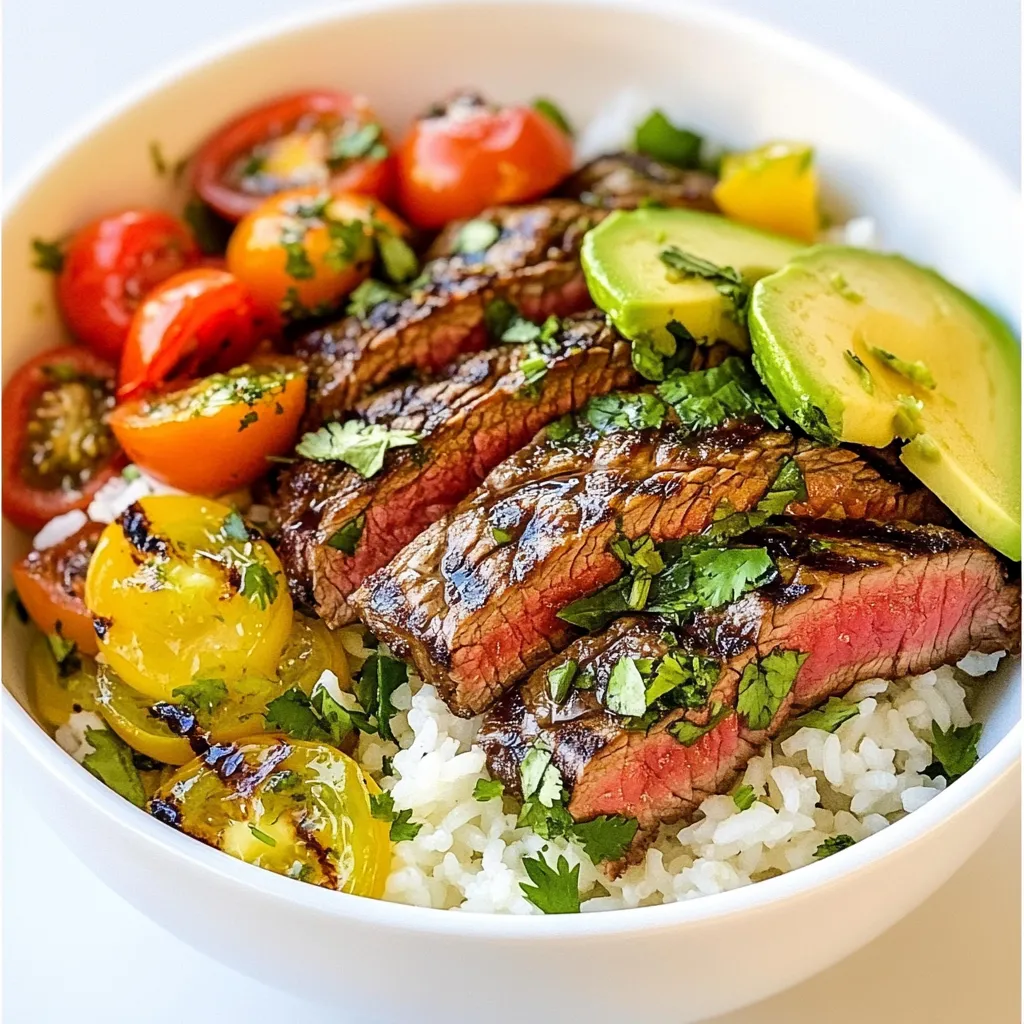
Looking for a meal that’s both flavorful and easy to make? You’re in the right place! Cilantro Lime Steak Rice Bowls combine juicy steak with zesty flavors. This dish is …

If you crave a quick, tasty meal, you’ll love my Air Fryer Parmesan Crusted Chicken recipe. This dish is easy to make and packed with flavor, thanks to a crispy …

Are you ready to spice up your meal with something bold and delicious? Buffalo Cauliflower Tacos are the perfect blend of flavor and fun! These tasty tacos pack a punch, …
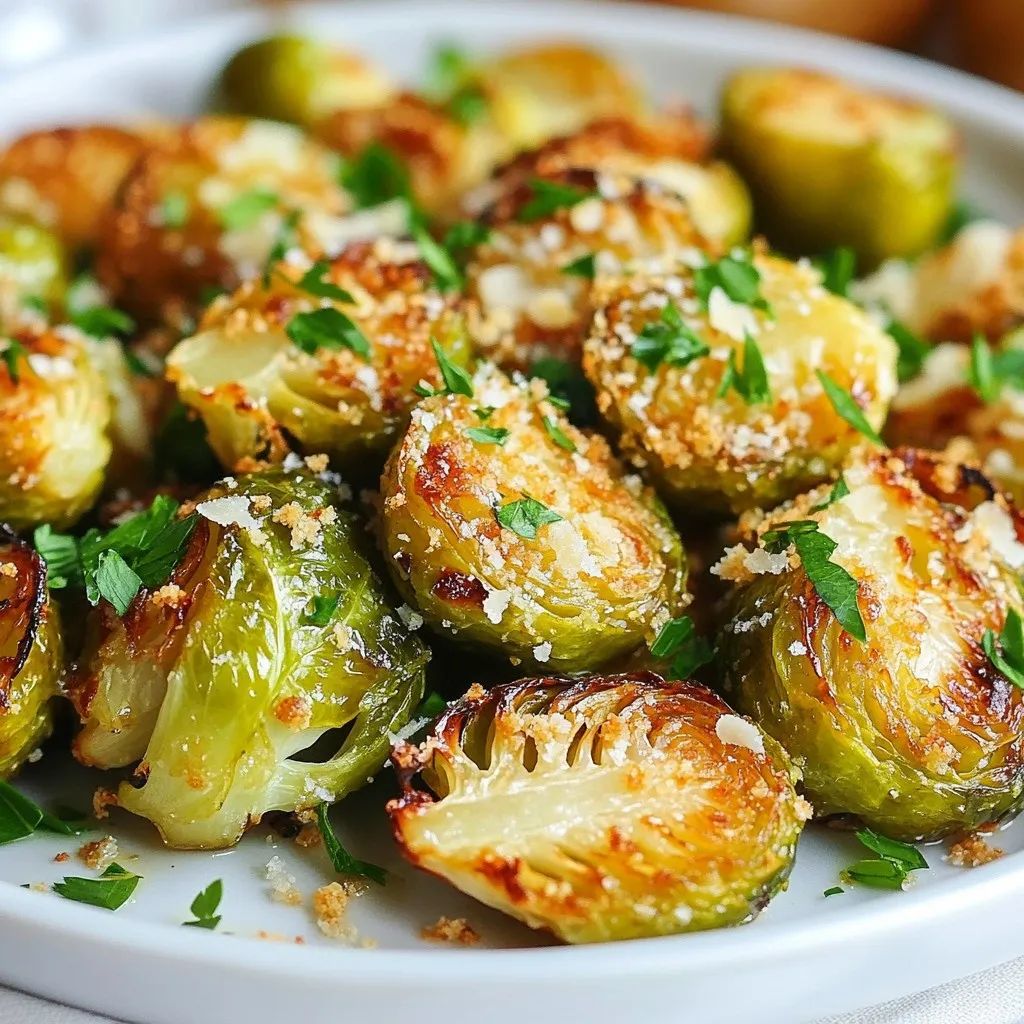
Looking for a tasty side dish that’s both healthy and easy to make? Air Fryer Garlic Parmesan Brussels Sprouts will delight your taste buds! With just a handful of fresh …