Airy Strawberry Roll Cake Delightful and Simple Recipe

Welcome to my guide on making an Airy Strawberry Roll Cake! This dessert is not just a treat for the eyes, but it’s also fun to make. You’ll find simple …
Welcome to my guide on making an Airy Strawberry Roll Cake! This dessert is not just a treat for the eyes, but it’s also fun to make. You’ll find simple …

Are you ready to spice up your dinner? The Buffalo Chicken Cheesesteak is a great choice! With tender chicken slathered in zesty buffalo sauce, melty cheese, and fresh toppings, this …
![- 2 medium zucchinis, spiralized - 1 pound boneless, skinless chicken breasts, diced - 2 tablespoons olive oil - 3 cloves garlic, minced - 1 cup heavy cream (or coconut cream for dairy-free) - 1 cup grated Parmesan cheese - Salt and pepper to taste - 1 teaspoon Italian seasoning - Fresh parsley, chopped, for garnish This dish packs a great nutritional punch. Each serving contains approximately: - Calories: 400 - Protein: 30g - Carbohydrates: 10g - Dietary Fiber: 2g - Total Fat: 28g Zucchini noodles are low in carbs and high in vitamins. Chicken adds lean protein, while cream and cheese provide richness. You can easily swap ingredients to match your taste. Here are some ideas: - Use chicken thighs instead of breasts for more flavor. - Swap heavy cream with Greek yogurt for a lighter sauce. - Add spinach or mushrooms for extra veggies. - Use nutritional yeast in place of Parmesan for a vegan option. For the full recipe, check [Full Recipe]. Start by spiralizing the zucchinis. Use a spiralizer to make long, thin noodles. It takes just a few minutes. Once done, set the zucchini noodles aside. This will be your base for the dish. Next, heat two tablespoons of olive oil in a large skillet over medium heat. Add one pound of diced chicken. Season it with salt, pepper, and Italian seasoning. Cook the chicken for about 6-8 minutes. It should turn golden brown and be fully cooked. Once done, remove the chicken from the skillet and set it aside. In the same skillet, add three cloves of minced garlic. Sauté it for about one minute until you smell the great aroma. Then, pour in one cup of heavy cream. Stir it continuously and let it simmer gently. After that, gradually add one cup of grated Parmesan cheese. Stir until it melts and becomes creamy. Taste it and adjust the salt and pepper as needed. Now, return the cooked chicken to the skillet. Add the zucchini noodles to the mix. Toss everything together for about 2-3 minutes. You want the zucchini noodles to be tender but not mushy. This quick cooking keeps their fresh taste. For the complete method, check the Full Recipe. Serve the dish in large bowls. Drizzle extra sauce on top and sprinkle with more Parmesan and fresh parsley for a nice touch. Enjoy your meal! To make great zucchini noodles, start with firm zucchinis. Look for ones that feel heavy for their size. Use a spiralizer for even noodles. If you do not have one, a vegetable peeler works too. Cut the noodles thin for the best texture. After spiralizing, place the noodles on paper towels. This helps remove excess moisture. Too much water makes them soggy. For a rich sauce, use high-quality heavy cream. If you want a lighter option, try coconut cream. It gives a nice flavor too. Add minced garlic to the pan before the cream. This brings out a nice aroma. Once the cream is in, keep stirring. Gradually add Parmesan cheese. This helps it melt smoothly. If the sauce is too thick, add a splash of chicken broth. It keeps the sauce creamy without being heavy. Serve your Zucchini Noodle Chicken Alfredo in deep bowls. Drizzle extra sauce on top for a nice touch. A sprinkle of grated Parmesan adds flavor and looks great. Fresh parsley gives a pop of color. You can pair this dish with a light salad or crusty bread. It balances the meal and makes it feel complete. For more ideas, check out the Full Recipe for variations and tips. {{image_2}} You can make this dish dairy-free with a few simple swaps. Instead of heavy cream, use coconut cream. It gives a rich flavor and a creamy texture. For cheese, try nutritional yeast or a dairy-free cheese. Both add a cheesy taste without the dairy. This way, you still enjoy a creamy and tasty meal. Zucchini noodles are great, but you can add more veggies. Try adding spinach, bell peppers, or mushrooms. These add color and nutrients. Just sauté them in the skillet before mixing them with the chicken. It makes the dish more flavorful and vibrant. You can even add broccoli or carrots for extra crunch. If you want to change the protein, there are many options. You can use shrimp or tofu for a different taste. For a vegetarian option, use chickpeas. They are high in protein and very filling. Just remember to cook the protein well before mixing it with the other ingredients. This keeps the flavors balanced and delicious. For the full recipe, check out the Full Recipe section above. To store your Zucchini Noodle Chicken Alfredo, let it cool first. Use an airtight container. This keeps the dish fresh for up to three days in the fridge. When you want to eat it, just take it out and enjoy! Reheat leftovers on the stove for the best taste. Place the dish in a skillet over low heat. Stir gently until it warms up. You can add a splash of cream if it seems dry. Heat until it is hot but not boiling. You can freeze this dish, but I recommend not freezing the zucchini noodles. They will get mushy. Instead, freeze just the chicken and Alfredo sauce. Store them in separate containers. They will stay fresh for about two months. When ready to eat, thaw in the fridge overnight and reheat on the stove. Enjoy the flavors whenever you want! For the full recipe, check out the Creamy Zucchini Noodle Chicken Alfredo. Yes, you can use regular pasta. Just cook it as directed on the package. However, zucchini noodles add a fresh twist. They keep the dish lighter and lower in carbs. You can also try whole wheat pasta for a healthier option. To make this dish gluten-free, use gluten-free pasta or spiralized vegetables. Zucchini noodles are a great choice. Make sure your Parmesan is gluten-free too. Many brands offer gluten-free options. Check the label to be sure. You can serve this dish with a fresh salad. A simple mixed greens salad works well. Garlic bread is another fun side. If you want more veggies, steamed broccoli or asparagus are great choices. You can also sprinkle extra Parmesan on top for added flavor. For the full recipe, check out the recipe section above. In this post, I covered a tasty Zucchini Noodle Chicken Alfredo recipe. I shared the ingredients, step-by-step prep, and tips to keep it creamy. You can make swaps with proteins and veggies too. Store leftovers well to enjoy later. Remember, cooking doesn’t have to be hard. With this dish, you can impress your friends and family. Enjoy your meal and explore new flavors!](https://grilledflavors.com/wp-content/uploads/2025/07/09a4b77f-f6ac-4512-b0db-d09cb6c2bf5f.webp)
Looking for a quick, tasty meal? You’ll love this Zucchini Noodle Chicken Alfredo. It’s creamy, rich, and uses fresh zucchini to keep it light. I’ll show you step-by-step how to …
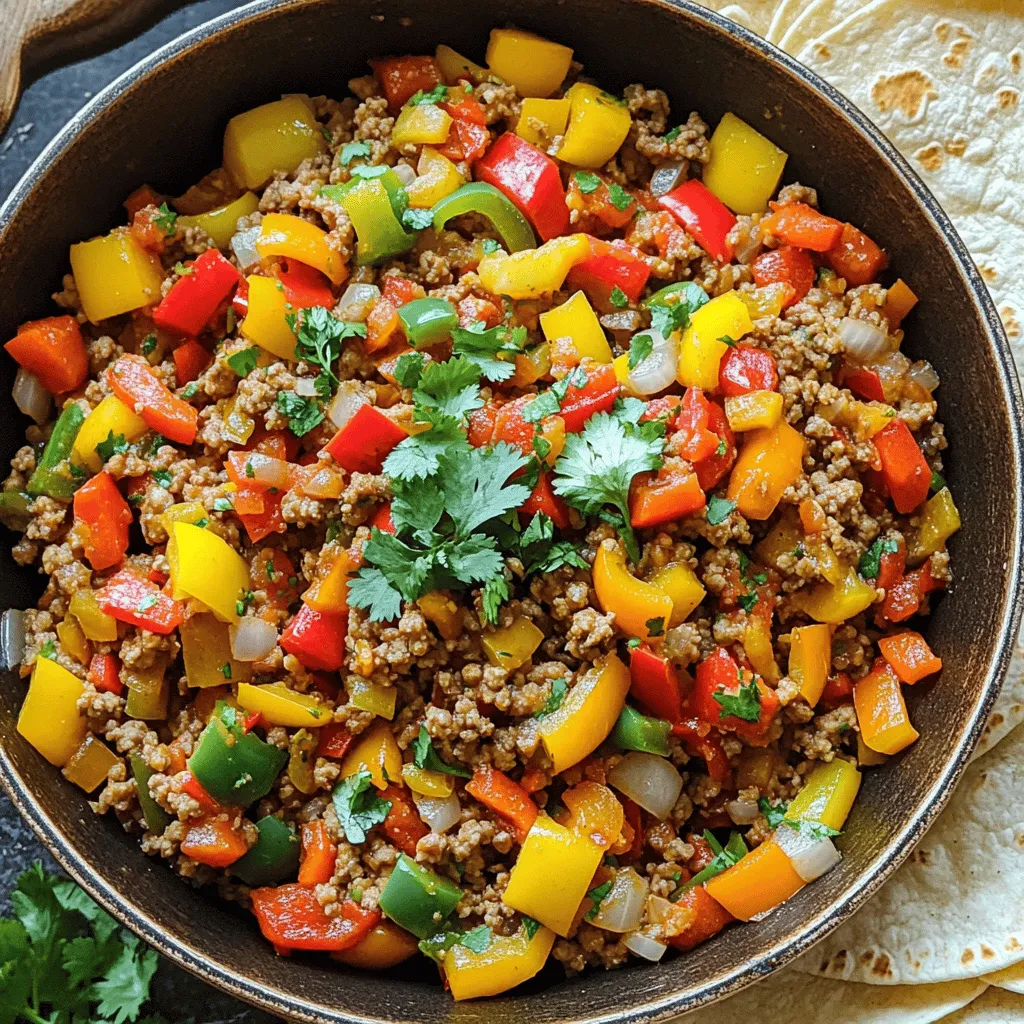
Looking for a quick and tasty meal? Ground Turkey and Peppers is your answer. It’s simple to make, packed with flavor, and perfect for any night. Whether you’re a busy …
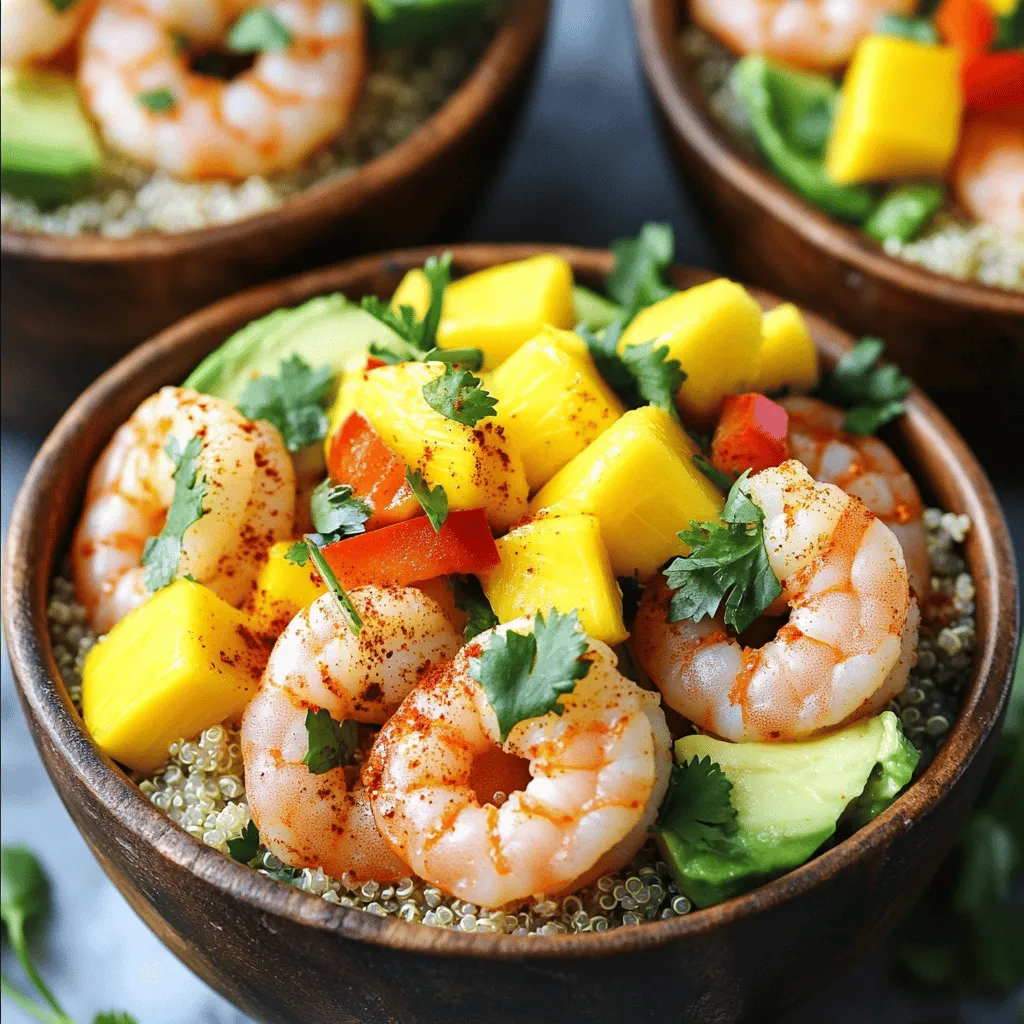
If you’re looking for a fresh, easy meal that bursts with flavor, you’ve come to the right place. My Tasty Shrimp Avocado Mango Bowls are not only delicious but perfect …
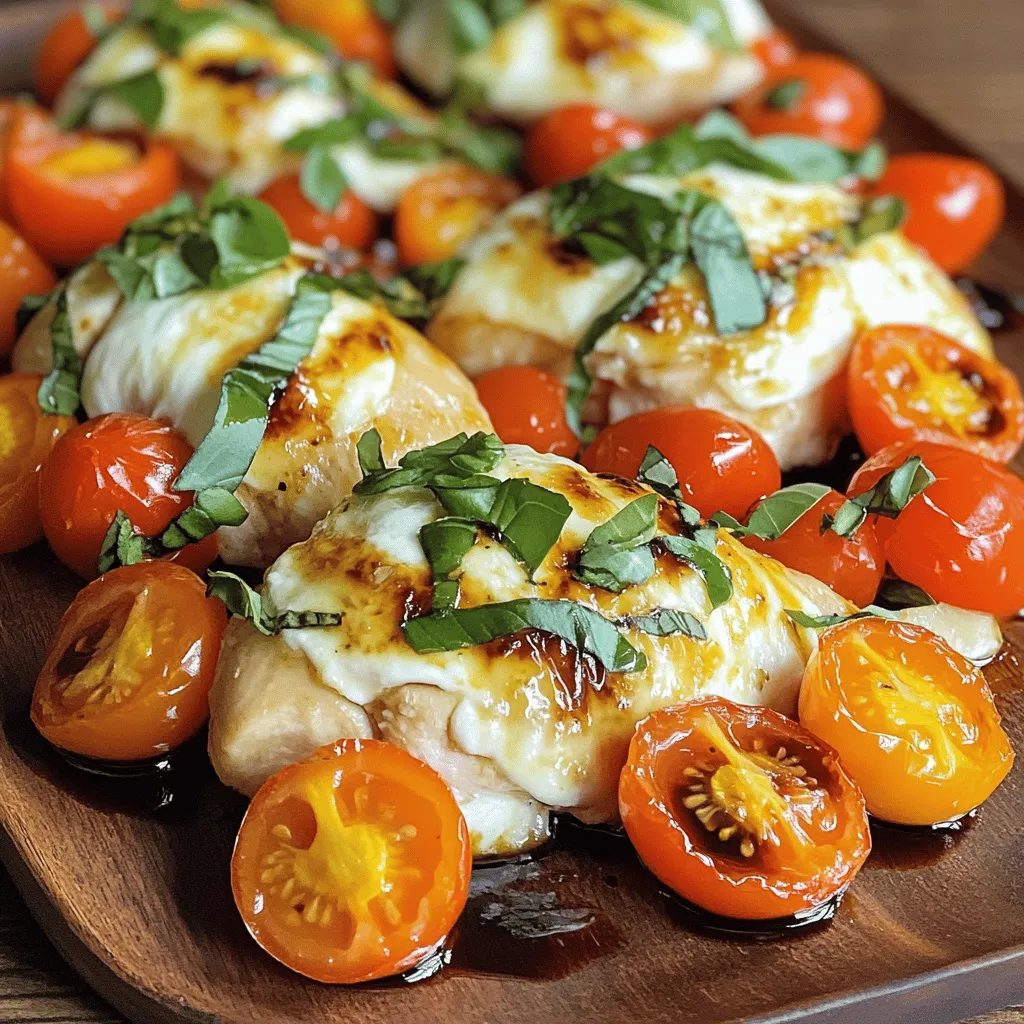
Are you looking for a simple and tasty meal that’s sure to impress? My Easy Baked Caprese Chicken brings together juicy chicken breasts, fresh tomatoes, and creamy mozzarella in one …
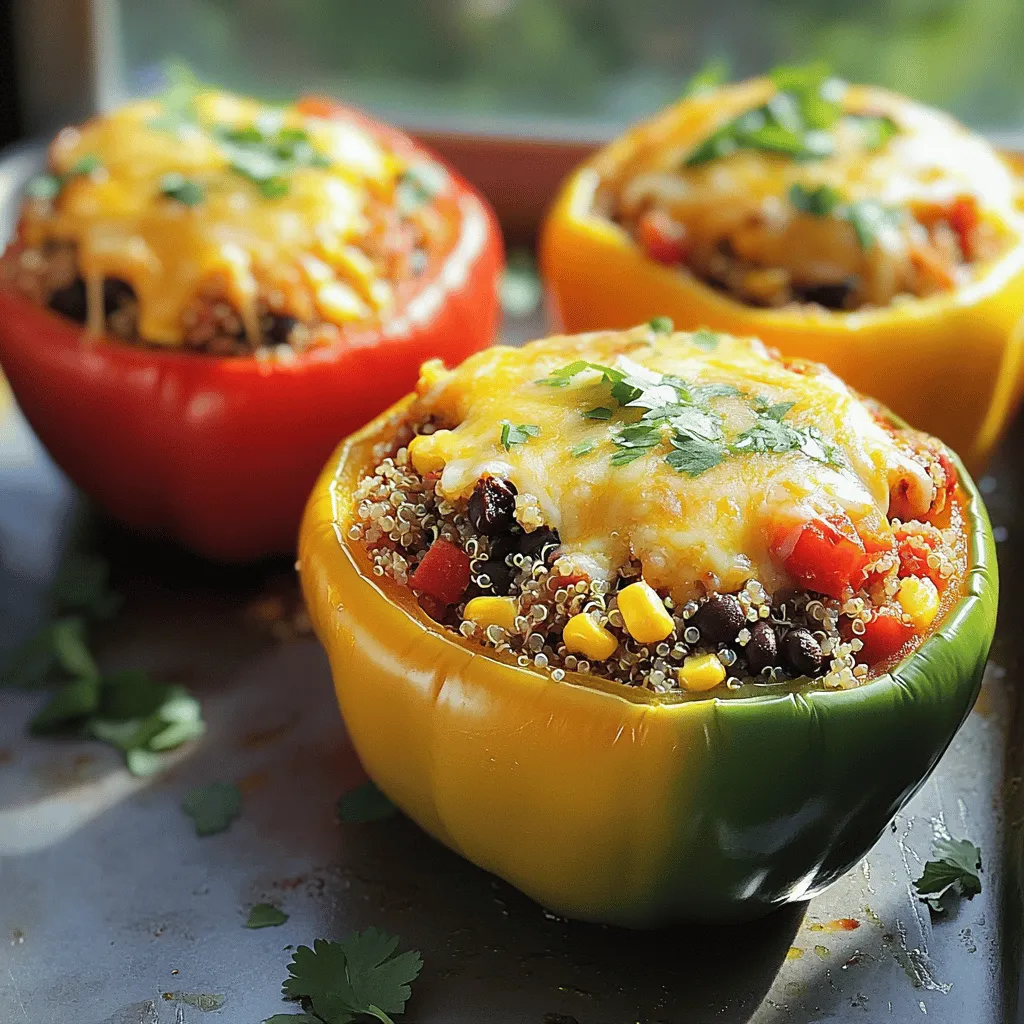
Looking for a quick yet delicious meal? These Easy Stuffed Bell Peppers are packed with flavor and health benefits! You’ll love how simple it is to mix fresh ingredients like …
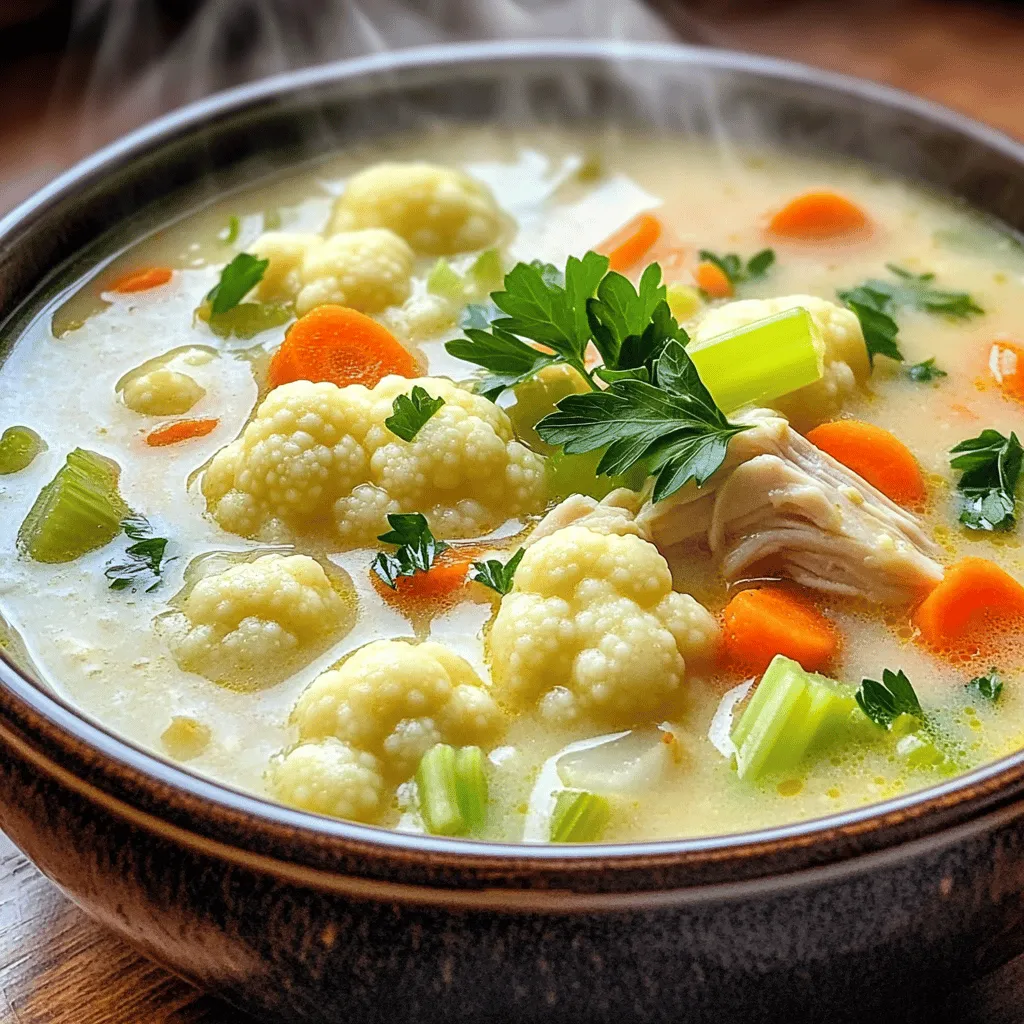
Looking for a quick and delicious meal? This 30-Minute Cauliflower Chicken Soup hits the spot! Packed with fresh veggies and savory chicken, it’s perfect for busy weeknights. I’ll guide you …
![To make tasty roasted maple Brussels sprouts, you need: - 1 lb Brussels sprouts, trimmed and halved - 3 tablespoons olive oil - 1/4 cup pure maple syrup - 1 teaspoon Dijon mustard - 1/2 teaspoon garlic powder - 1/2 teaspoon salt - 1/4 teaspoon black pepper These ingredients work together to create a sweet and savory dish. The Brussels sprouts caramelize beautifully, adding a lovely flavor. The maple syrup gives them a nice sweetness that balances the bitterness of the sprouts. You can add a few optional ingredients to make your dish even better: - 1/4 cup chopped pecans - 2 tablespoons balsamic vinegar (for drizzling) Chopped pecans add a nice crunch. Balsamic vinegar gives a tangy taste that can brighten the whole dish. Both options enhance the flavor and texture. To prepare this dish, you will need: - A large bowl - A whisk for mixing - A baking sheet - Parchment paper (for easy cleanup) - A spatula for stirring Having the right tools makes cooking easier. It helps you mix well and roast evenly. With these tools, you'll create a beautiful dish everyone will love. For the full recipe, check out the detailed instructions provided. Start by washing the Brussels sprouts well. Trim the ends and cut them in half. This helps them cook evenly. You want them to be bite-sized. Make sure to remove any yellow leaves. These can burn in the oven. Once they are clean and cut, set them aside. In a large bowl, combine these ingredients: - 3 tablespoons olive oil - 1/4 cup pure maple syrup - 1 teaspoon Dijon mustard - 1/2 teaspoon garlic powder - 1/2 teaspoon salt - 1/4 teaspoon black pepper Whisk everything together until it is smooth. The maple syrup adds a sweet touch, while the mustard gives a nice kick. This glaze makes the sprouts shine when they roast. Preheat your oven to 425°F (220°C). Line a baking sheet with parchment paper. This helps with cleanup and prevents sticking. Add the halved Brussels sprouts to the bowl with the glaze. Toss them well to coat each sprout evenly. Spread them out on the baking sheet. Make sure they are not too crowded. This helps them roast instead of steam. Roast in the oven for about 20-25 minutes. Halfway through, stir them to ensure even cooking. You want them to turn golden brown and tender. If you like crunch, sprinkle the chopped pecans over the top for the last 5 minutes. For a final touch, drizzle with balsamic vinegar after roasting. This adds a zesty flavor and makes the dish pop. For a complete guide, check out the Full Recipe. To cook Brussels sprouts evenly, cut them in half. This helps them roast well. Spread them out on the baking sheet. Leave space between each sprout. Overcrowding can lead to steaming, not roasting. Stir them halfway through cooking. This ensures all sides get that nice caramelized look. You can add more flavor to your Brussels sprouts. Try adding a splash of lemon juice. A bit of zest brightens the dish. If you love spice, add a pinch of red pepper flakes. This gives a nice kick. You can also mix in fresh herbs like thyme or rosemary. They add a lovely aroma to the dish. Serve your roasted Brussels sprouts in a rustic wooden bowl. It makes the dish look inviting. Top with fresh parsley for color. You can also sprinkle extra pecans on top for crunch. Drizzle with balsamic vinegar for a tangy finish. For a complete meal, pair them with roasted chicken or a hearty grain like quinoa. Explore the [Full Recipe] for more details! {{image_2}} You can switch up the nuts in this recipe. Try almonds, walnuts, or hazelnuts for a tasty twist. Each nut adds a unique crunch and flavor. If you want something lighter, use seeds like pumpkin or sunflower seeds. They give great texture and a nutty taste. To add them, simply sprinkle them on the sprouts during the last few minutes of roasting. If you want to change the sweetness, use honey or agave syrup instead of maple syrup. Both options keep the dish sweet but add their own flavors. You can also try brown sugar or coconut sugar. These sweeteners create a lovely caramelization when roasted. Just keep in mind that each sweetener will change the final taste a bit. This dish is already vegetarian, but it can easily be made vegan. Just ensure the maple syrup is pure and not mixed with other ingredients. You can also skip the pecans if you have a nut allergy. For a hint of extra flavor, add a splash of lemon juice before serving. This brightens up the dish and complements the sweet glaze. For the full recipe, check out the details above. Enjoy customizing your Roasted Maple Brussels Sprouts! After enjoying your roasted maple Brussels sprouts, store leftovers in an airtight container. Make sure to let them cool first. Keeping them sealed helps keep the flavors fresh. Place the container in the fridge. The sprouts will stay good for about three days. To enjoy your Brussels sprouts again, reheating is key. Preheat your oven to 350°F. Spread the sprouts on a baking sheet. Heat for about 10-15 minutes until warmed through. This method keeps them crispy and delicious. You can also use the microwave, but they may lose some crunch. Freezing roasted Brussels sprouts is possible but may change their texture. If you want to freeze them, first let them cool completely. Then, spread them on a baking sheet. Freeze them for about two hours until firm. Once frozen, transfer them to a freezer bag. They can last for up to three months in the freezer. When you’re ready to eat them, thaw in the fridge and reheat as mentioned earlier. For the best flavor, try to use them soon after freezing. Yes, you can use frozen Brussels sprouts. However, they may not roast as well as fresh sprouts. Frozen sprouts often have more moisture. This can make them soggy when roasted. If you choose frozen, thaw them first and pat them dry. This helps to keep them crispy. To make the dish less sweet, reduce the maple syrup. You can cut the syrup to 2 tablespoons instead of 1/4 cup. You can also add more garlic powder or Dijon mustard. This adds depth without adding more sweetness. Consider using balsamic vinegar for a tangy kick, too. Roasted Maple Brussels Sprouts pair well with many meals. They go great with roasted chicken or pork. You can also serve them with quinoa or rice for a vegetarian option. Try adding them to a holiday feast alongside mashed potatoes and gravy. The sweet and savory combo adds a nice touch to any plate. For the full recipe, check out the details provided above. Roasted Maple Brussels Sprouts are tasty and easy to make. We covered the key ingredients, step-by-step prep, and roasting tips. You learned about flavor enhancements and serving ideas too. Incorporating variations like different nuts can add fun to the dish. Remember to store leftovers properly for the best flavor. Try these tips and enjoy your savory treats!](https://grilledflavors.com/wp-content/uploads/2025/07/b31d9ad2-f915-42cd-bf5d-96b4338fb724.webp)
Looking for a side dish that wows? Roasted Maple Brussels Sprouts are your answer! This tasty dish combines crispy sprouts with a sweet maple glaze, creating flavors that will impress …
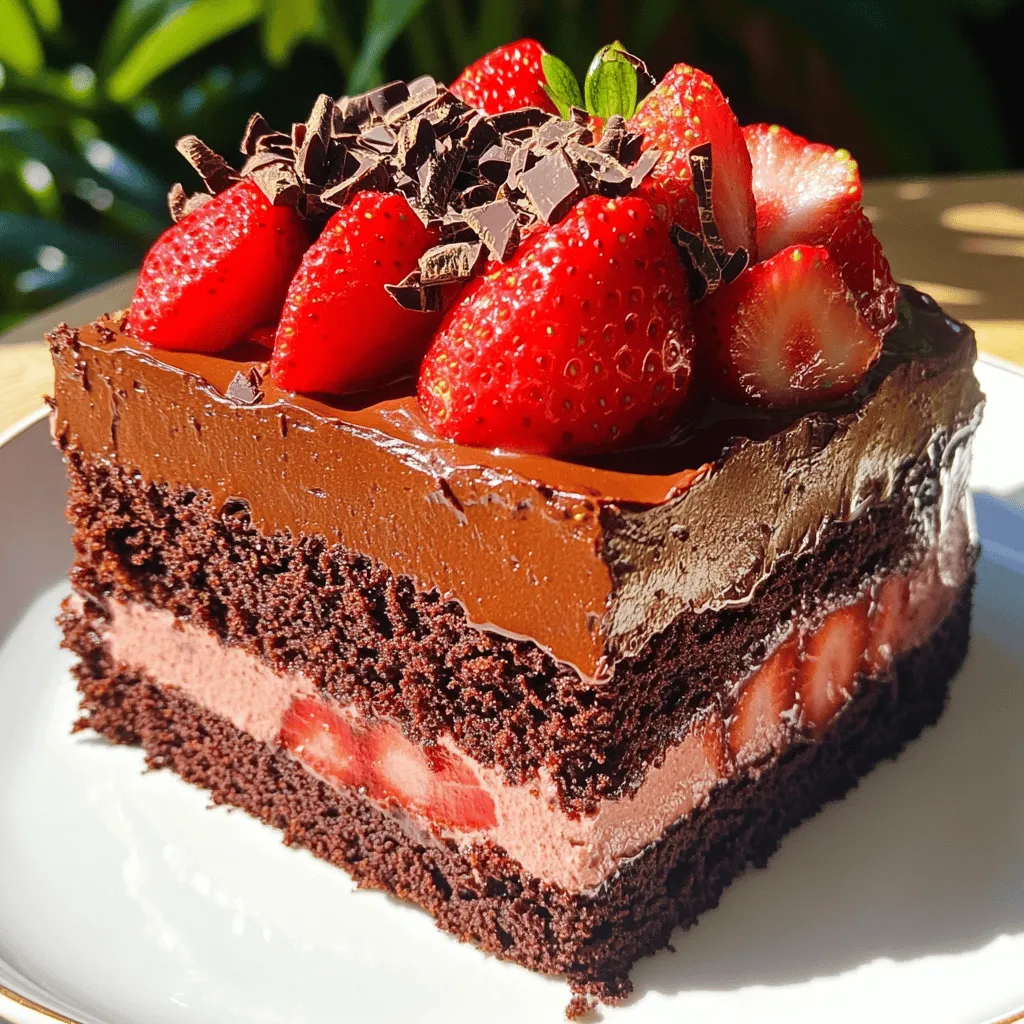
Do you crave a rich, fluffy chocolate cake topped with creamy, fruity strawberry mousse? I’m excited to share my recipe for Fluffy Chocolate Cake with Strawberry Mousse Delight! This dessert …