Crispy Garlic Butter Green Beans Delicious Side Dish
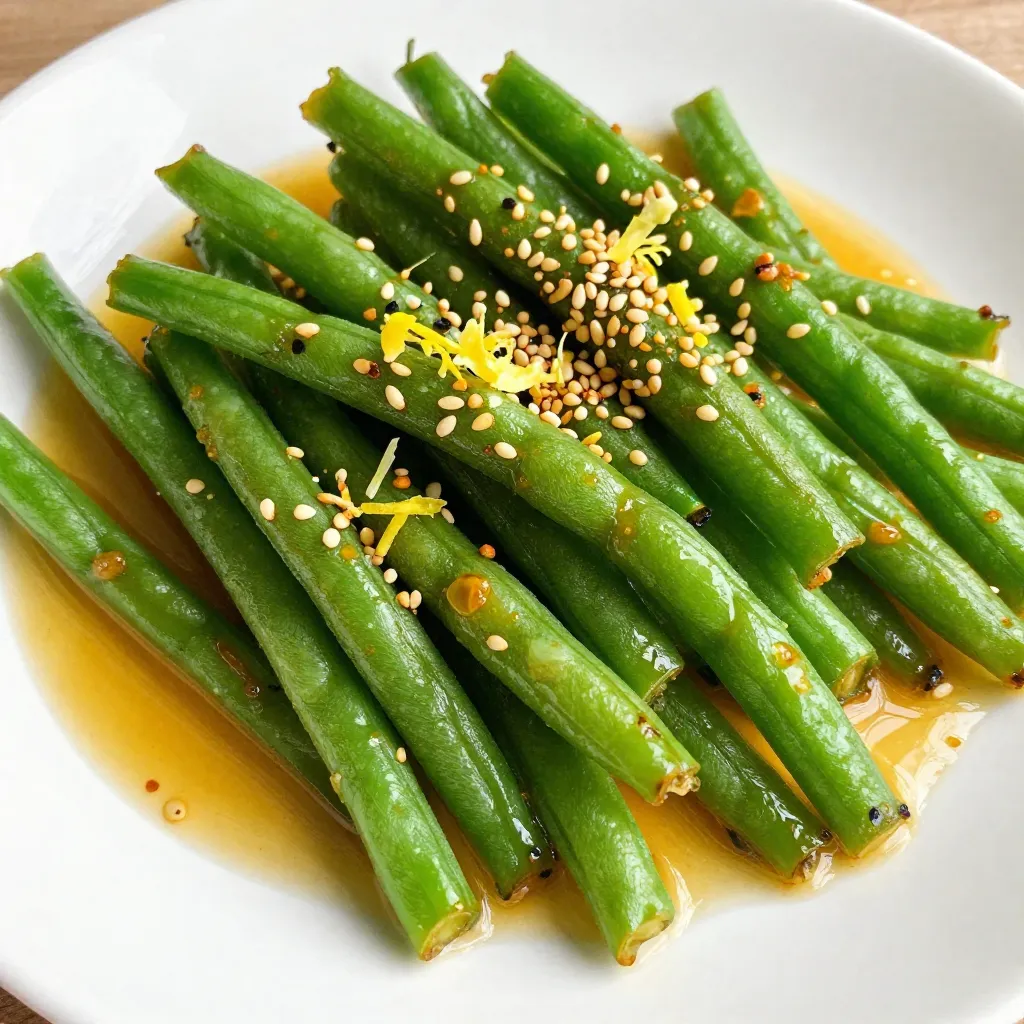
Are you ready to transform your green beans into a delicious crispy treat? My Crispy Garlic Butter Green Beans recipe is just what you need. This easy side dish bursts …
Are you ready to transform your green beans into a delicious crispy treat? My Crispy Garlic Butter Green Beans recipe is just what you need. This easy side dish bursts …
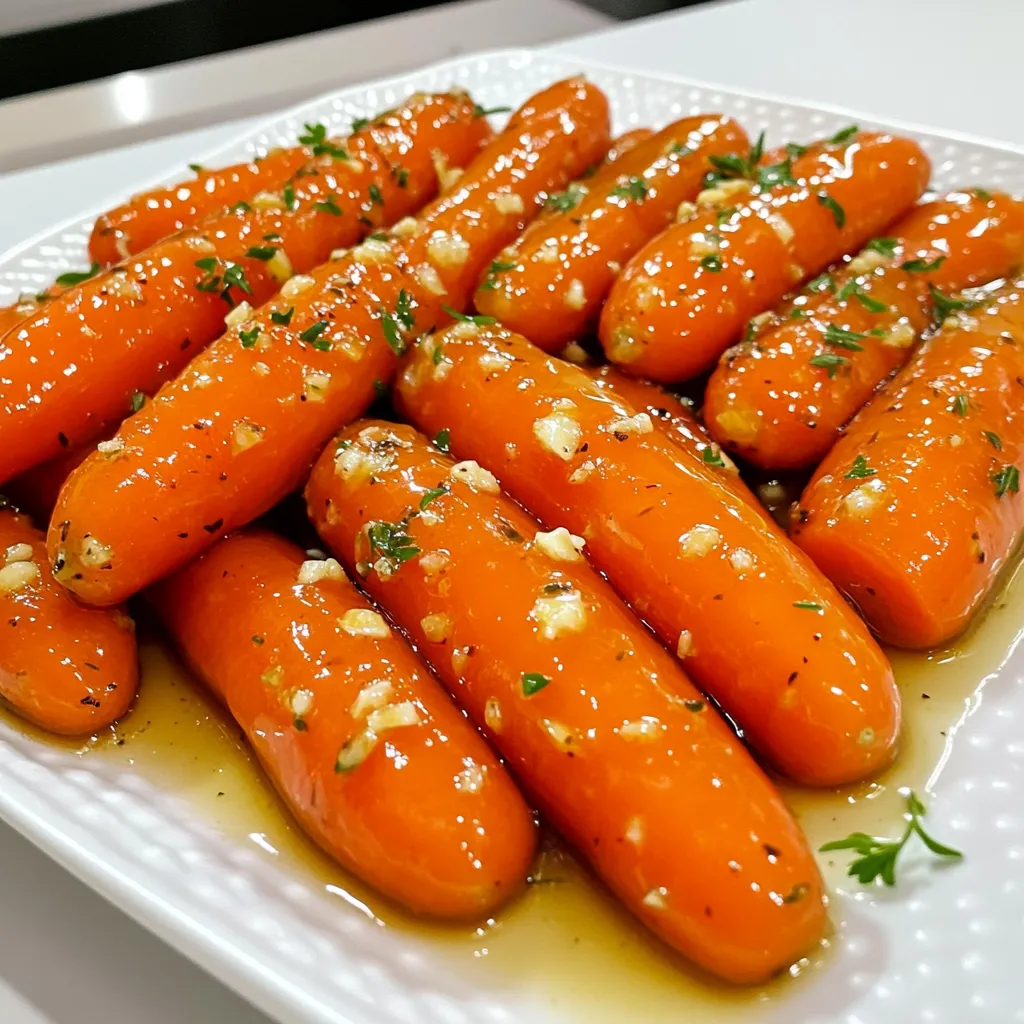
Looking for a simple and tasty side dish that impresses? Honey Garlic Butter Carrots are the answer! With just a few fresh ingredients and pantry staples, you can whip up …
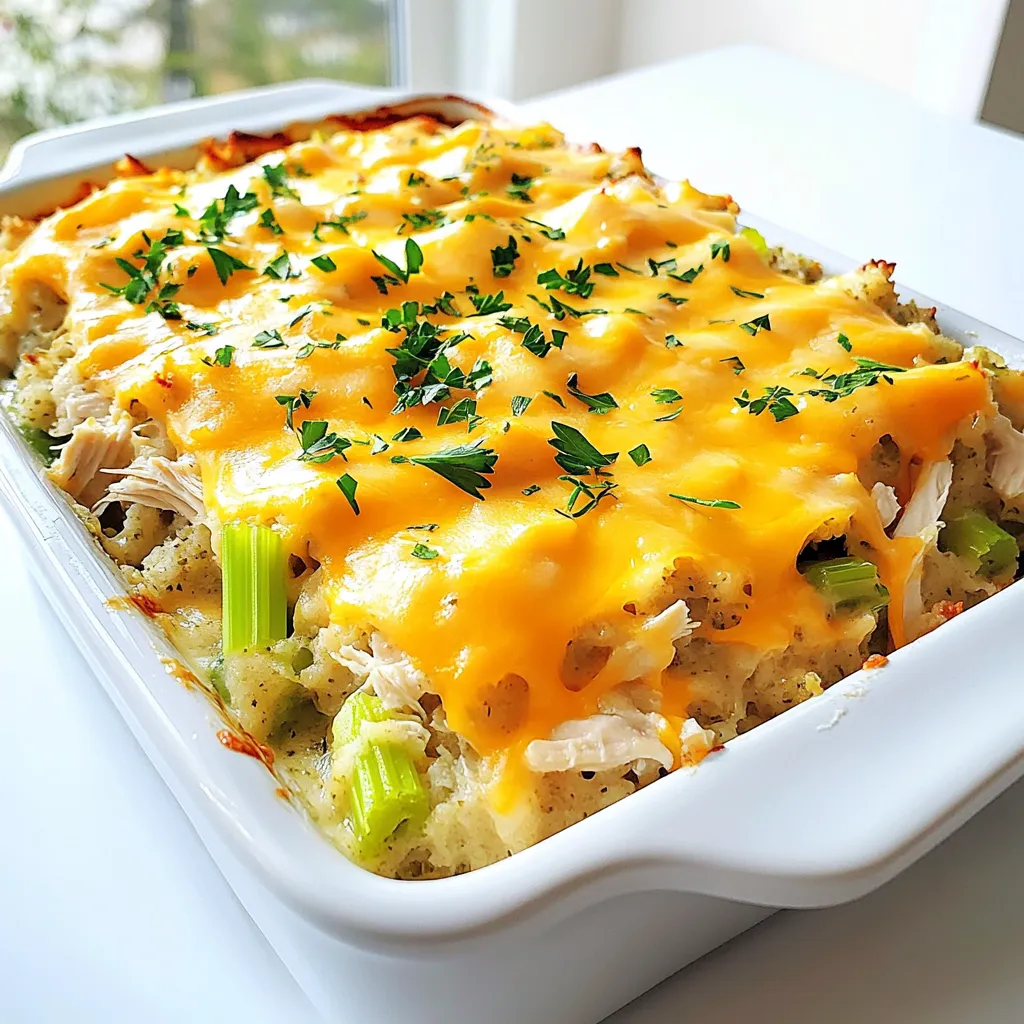
Looking for a warm, hearty dish that the whole family will love? Dolly’s Chicken and Stuffing Casserole is your answer! This simple recipe combines tender chicken with flavorful stuffing for …
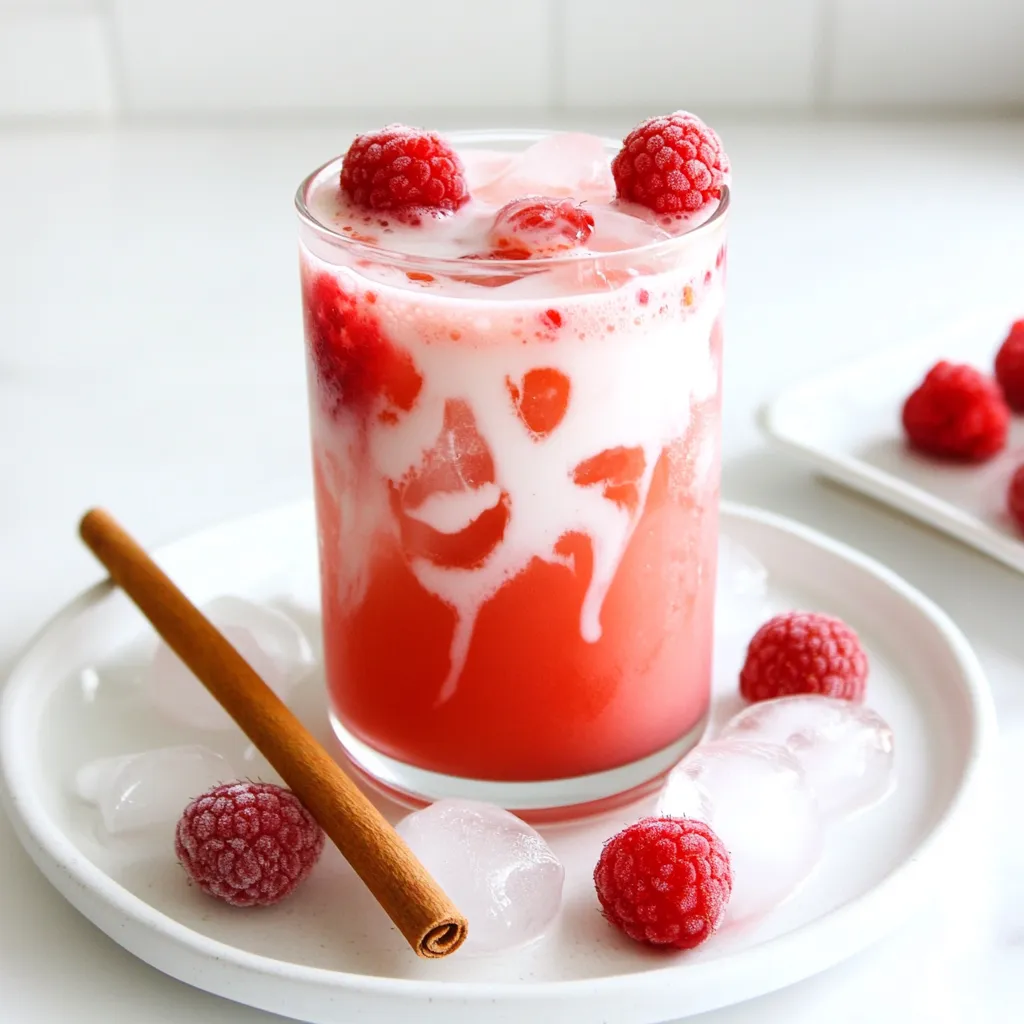
Looking to beat the summer heat with something refreshing? Try my Iced Raspberry Vanilla Chai! This drink combines rich black tea, sweet raspberries, and creamy vanilla for a cool treat. …

Craving something new for lunch? The cheeseburger wrap is the perfect mix of fun and flavor. In just a few simple steps, you can enjoy a tasty twist on the …
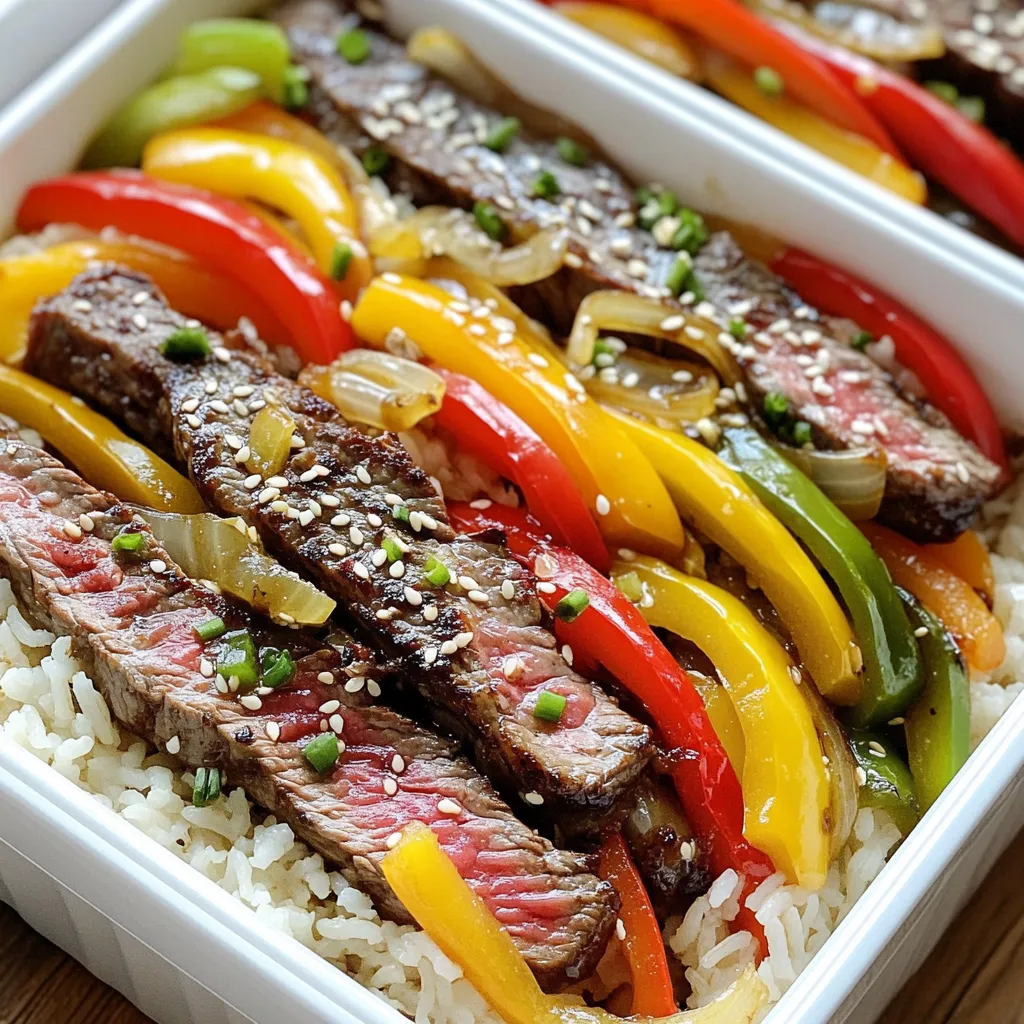
If you’re looking for a meal that’s quick, tasty, and easy to prep, you’re in the right place! My Steak Rice Pepper Meal Prep is a crowd-pleaser that’s packed with …
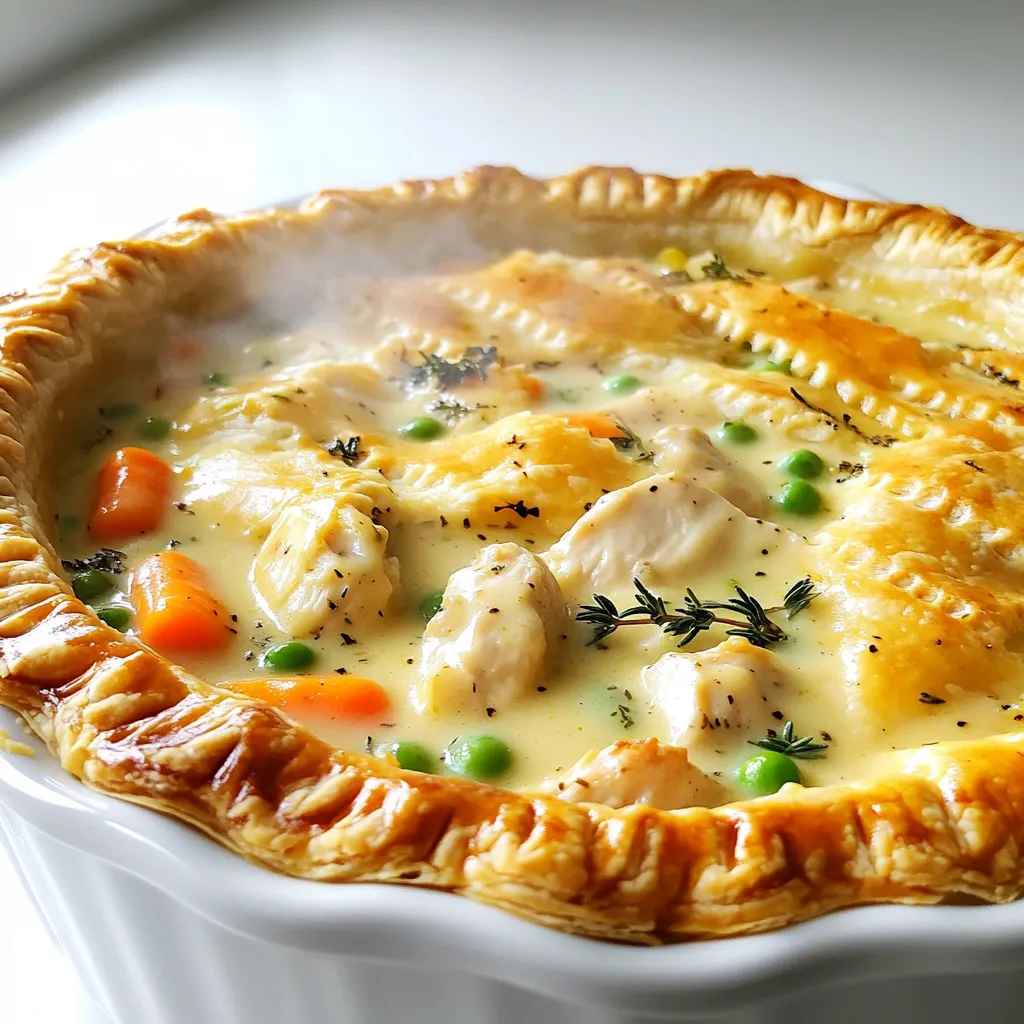
Do you crave the warmth of home-cooked meals? My Creamy Chicken Pot Pie is a true family favorite! It combines tender chicken, fresh veggies, and a rich, creamy sauce. With …
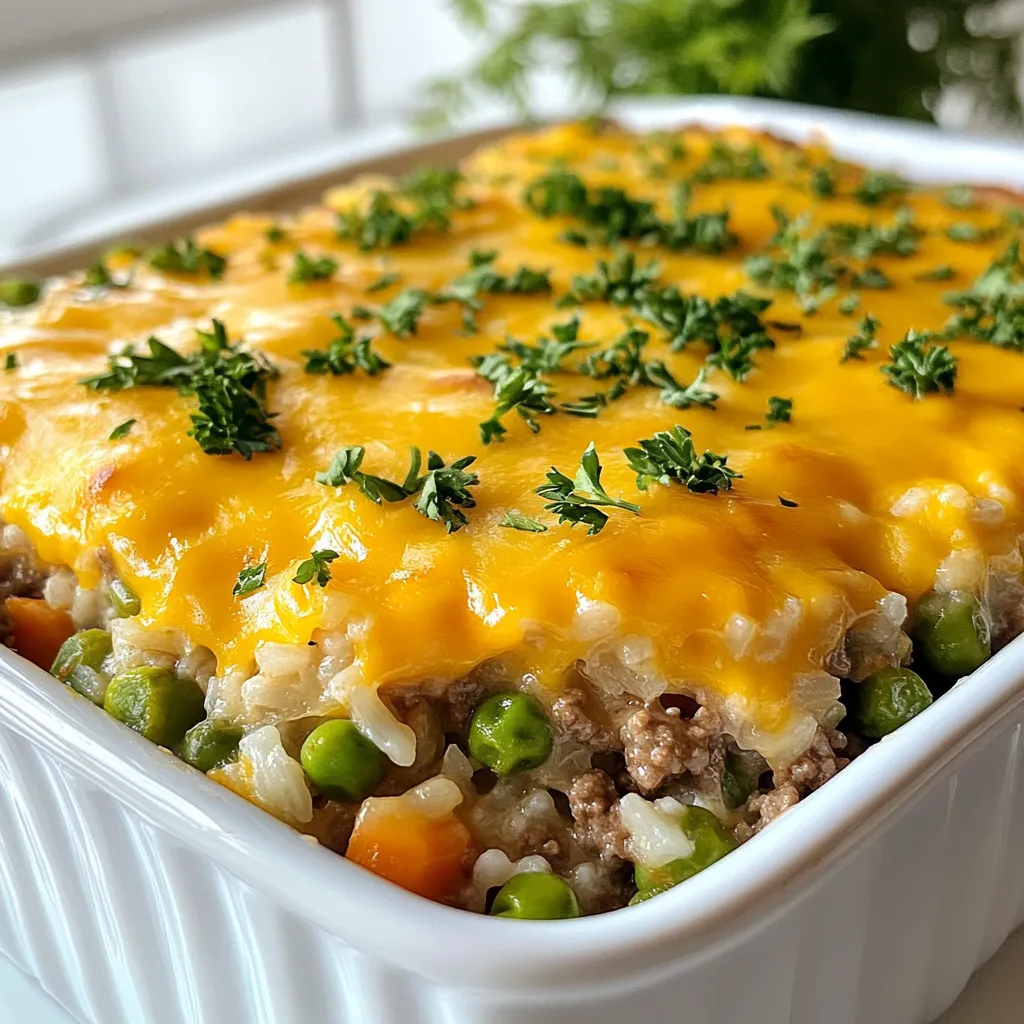
Are you looking for an easy family dinner that everyone will love? Cheesy Hamburger Rice Casserole brings comfort food to your table without the fuss. This dish combines tender ground …
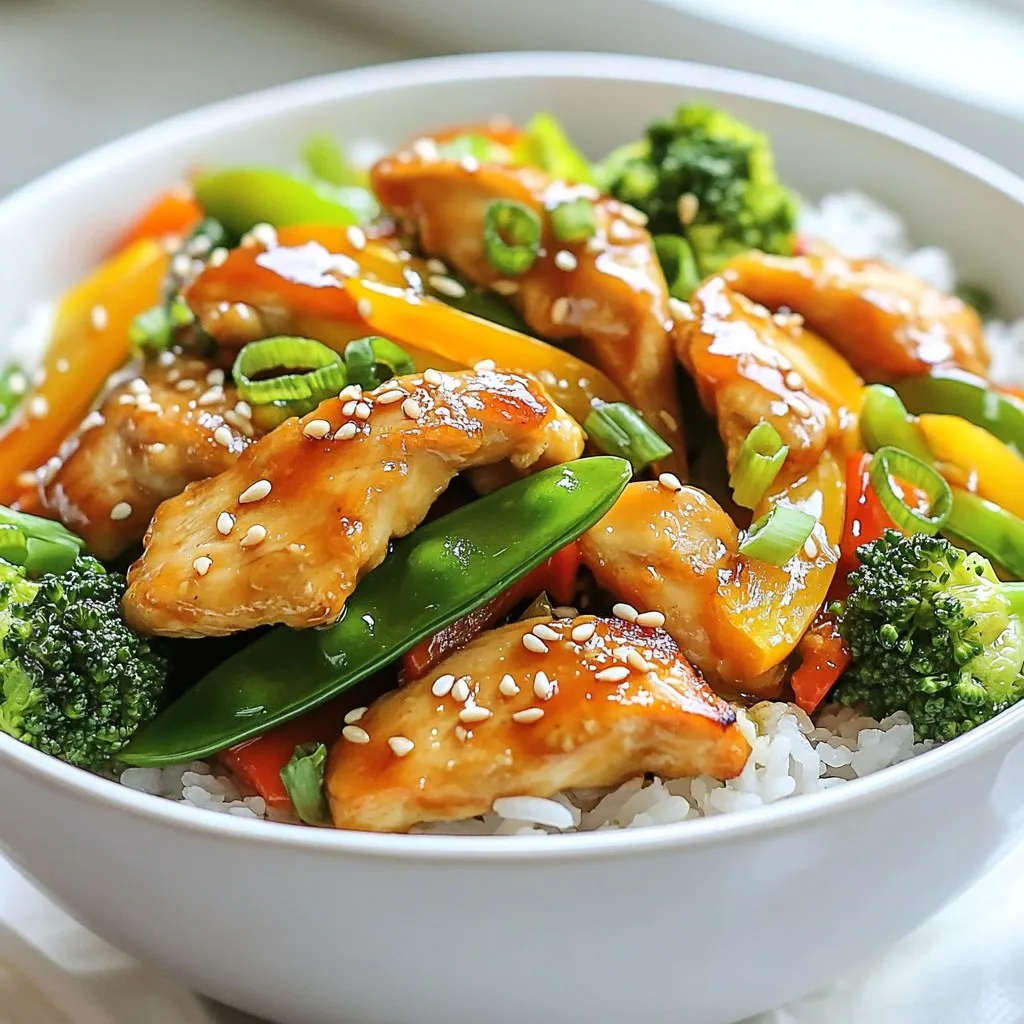
Are you craving a quick, tasty meal that’s full of flavor? Look no further than my Minute Honey Garlic Chicken Stir-Fry! This dish combines tender chicken, crunchy veggies, and a …
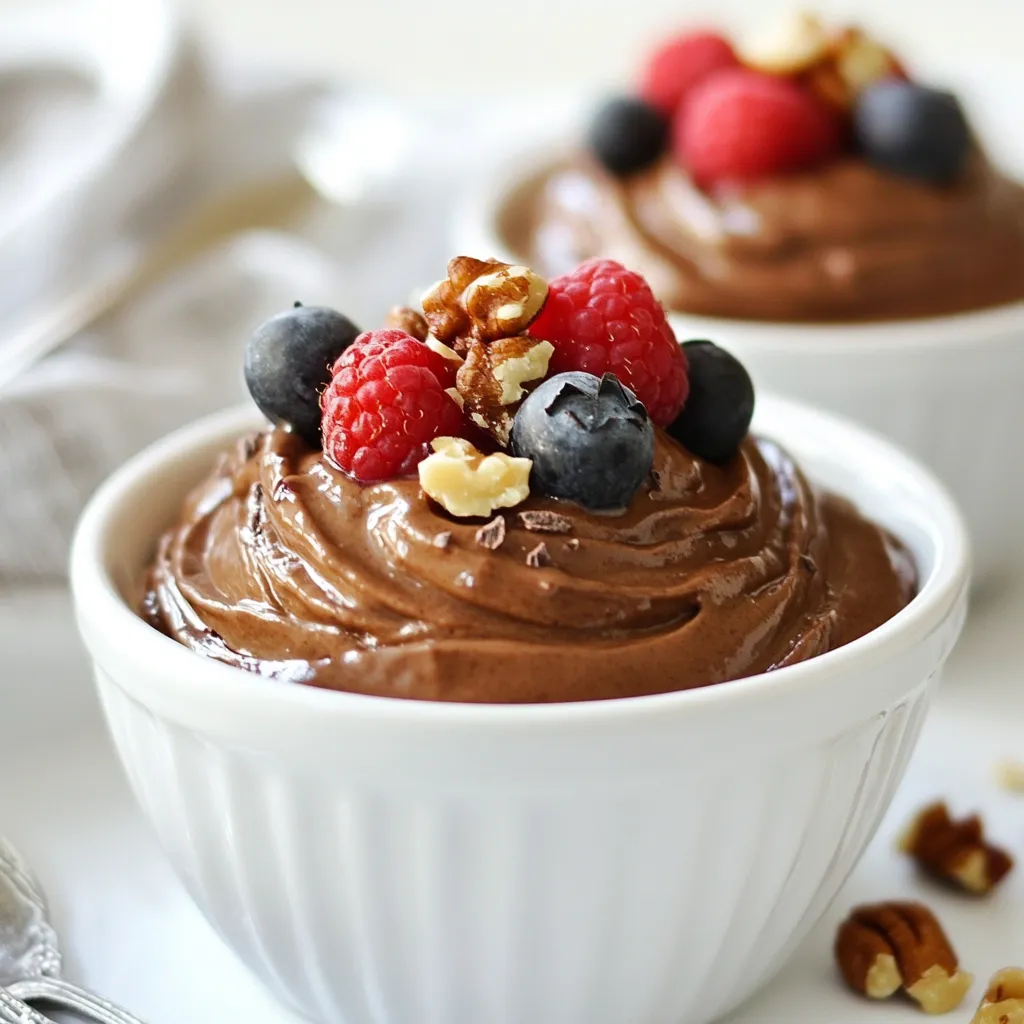
Are you ready to indulge in a dessert that’s both rich and healthy? This Avocado Chocolate Mousse is your new go-to treat. With just a few simple ingredients, you can …