Healthy Asparagus with Zucchini Vibrant and Light Meal

Looking for a meal that’s both tasty and healthy? This Healthy Asparagus with Zucchini recipe offers a light, vibrant dish you can make in no time. Packed with fresh veggies, …
Looking for a meal that’s both tasty and healthy? This Healthy Asparagus with Zucchini recipe offers a light, vibrant dish you can make in no time. Packed with fresh veggies, …
If you’re craving a delicious treat packed with flavor, you’re in the right place! My recipe for the best zucchini bread is both quick to make and incredibly tasty. It’s …
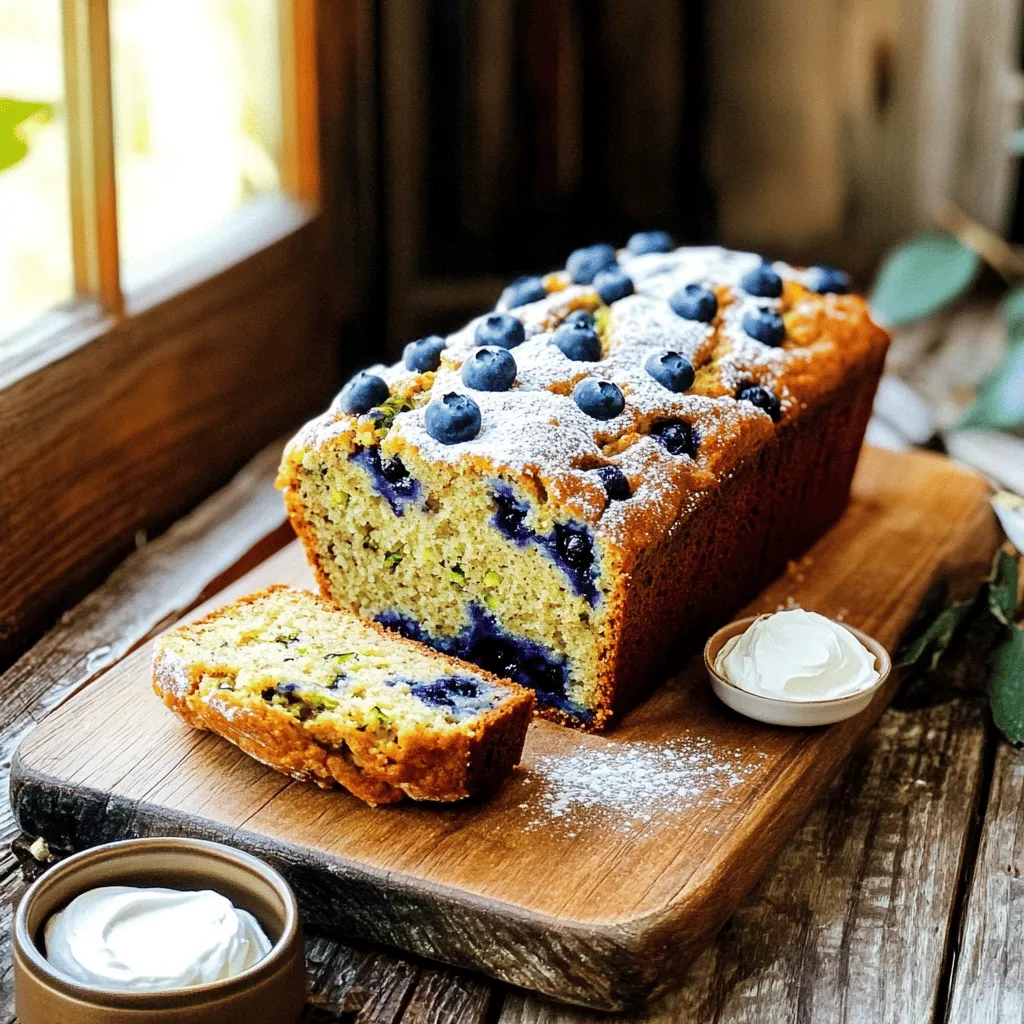
![To make this tasty Blueberry Streusel Bread, gather these simple ingredients: - 2 cups all-purpose flour - 1 cup granulated sugar - 2 teaspoons baking powder - 1/2 teaspoon baking soda - 1/2 teaspoon salt - 1/2 cup unsalted butter, softened - 2 large eggs - 1 teaspoon vanilla extract - 1/2 cup buttermilk (or 1/2 cup milk + 1/2 teaspoon vinegar) - 1 1/2 cups fresh blueberries (or frozen, thawed) For the streusel topping, you will need: - 1/3 cup all-purpose flour - 1/3 cup brown sugar, packed - 1/2 teaspoon cinnamon - 3 tablespoons cold unsalted butter, cubed You can swap some ingredients for other options if you need. Here are a few ideas: - Flour: Use whole wheat flour for a heartier bread. - Sugar: Substitute brown sugar for granulated sugar for a richer flavor. - Butter: Coconut oil or vegetable oil can work in place of butter. - Buttermilk: Use yogurt mixed with water if you don't have buttermilk. To make your bread even more fun, try these add-ins: - Nuts: Chopped walnuts or pecans add a crunchy texture. - Zest: Lemon or orange zest gives a fresh twist. - Spices: A pinch of nutmeg or cardamom can enhance the flavor. - Chocolate: Mini chocolate chips make it a sweet treat. Feel free to mix and match to create your perfect loaf! For the full recipe, check out the detailed instructions. To start, preheat your oven to 350°F (175°C). Grease a 9x5 inch loaf pan with non-stick spray or butter. In a large bowl, whisk together 2 cups of all-purpose flour, 1 cup of granulated sugar, 2 teaspoons of baking powder, 1/2 teaspoon of baking soda, and 1/2 teaspoon of salt. This mix makes the base for our bread. In another bowl, cream 1/2 cup of softened butter and the sugar until it feels light and fluffy. Then, add 2 large eggs one at a time. Make sure to mix well after each egg. Next, stir in 1 teaspoon of vanilla extract. This adds a lovely flavor to the bread. Now, alternate adding the dry mix and 1/2 cup of buttermilk to the butter mix. Start and end with the dry mix. Mix until just combined. Gently fold in 1 1/2 cups of fresh blueberries. Be careful not to break them. In a small bowl, mix 1/3 cup of all-purpose flour, 1/3 cup of packed brown sugar, and 1/2 teaspoon of cinnamon. This gives a nice spice to the topping. Add 3 tablespoons of cold, cubed unsalted butter. Use a fork to mix until it looks like coarse crumbs. This topping will add a crunchy layer on top of the bread. Pour the batter into your greased loaf pan. Sprinkle the streusel topping evenly over the batter. Bake in your preheated oven for 55-60 minutes. Check if it is done by inserting a toothpick into the center. If it comes out clean, your bread is ready. After baking, let the bread cool in the pan for about 10 minutes. Then, transfer it to a wire rack to cool completely. This helps keep the texture just right. To get the best texture in your blueberry streusel bread, follow these steps: - Use room-temperature butter. It should feel soft but not melted. - Mix the batter until just combined. Over-mixing can make the bread tough. - Gently fold in the blueberries. This keeps them whole and juicy. Aim for a thick batter. It helps the bread rise properly and stay moist during baking. Here are some mistakes to avoid that can ruin your bread: - Using cold ingredients. Cold butter or eggs can lead to uneven mixing. - Skipping the buttermilk. This adds moisture and a slight tang. - Not greasing the pan. A well-greased pan prevents sticking. Try not to open the oven door too often. This can cause the bread to sink. Serving your blueberry streusel bread can be fun! Here are some ideas: - Serve warm with butter or cream cheese. This adds richness. - Pair with fresh fruit or yogurt. This balances the sweetness. - Top with a sprinkle of powdered sugar for a lovely touch. For a special treat, enjoy it with a scoop of vanilla ice cream. It makes for a delightful dessert! For the complete recipe, check the Full Recipe link above. {{image_2}} You can make this bread gluten-free. Use a gluten-free flour blend instead of all-purpose flour. Look for blends that include xanthan gum for better texture. This swap keeps the bread soft and tasty. Follow the same steps in the recipe, and enjoy your gluten-free delight. Blueberries shine in this recipe, but you can mix it up! Try using raspberries, strawberries, or blackberries. Each fruit adds its own flavor. For a fun twist, combine different fruits. Adjust the amount based on your choice. Keep the total fruit about 1.5 cups for the best results. To make this recipe vegan, swap the eggs for flaxseed meal. Mix one tablespoon of flaxseed meal with three tablespoons of water. Let it sit for five minutes until it thickens. For the butter, use a plant-based option like coconut oil or vegan butter. Replace buttermilk with almond milk mixed with lemon juice. These changes keep the bread moist and delicious. For the complete recipe, check the [Full Recipe]. To keep your leftover blueberry streusel bread fresh, wrap it tightly in plastic wrap. You can also store it in an airtight container. Place it in a cool, dry spot on your counter. Make sure to eat it within three days for the best taste. If you notice it getting dry, it's best to use it up quickly. You can also enjoy it toasted with a bit of butter. Freezing blueberry streusel bread is easy. First, let it cool completely on a wire rack. Then, slice the bread into pieces for easy serving. Wrap each slice in plastic wrap, then place the slices in a freezer bag. Squeeze out any air and seal it tight. This way, you can keep the bread for up to three months. When you want to enjoy a slice, simply thaw it in the fridge overnight or at room temperature for a few hours. To reheat your blueberry streusel bread, I suggest using the oven or toaster oven. Preheat your oven to 350°F (175°C). Place the slices on a baking sheet and warm them for about 10 minutes. This will make the bread warm and soft. If you're in a hurry, you can use the microwave. Heat a slice for about 15-20 seconds. Just be careful not to overheat it, or the bread may get tough. Enjoy the warm, sweet aroma filling your kitchen! To make blueberry streusel bread less sweet, reduce the sugar. You can cut the granulated sugar down to 3/4 cup. This change keeps the flavor but lowers the sweetness. You can also use less sweet toppings. Try a sprinkle of oats or nuts instead of streusel. These options add crunch without added sugar. Yes, you can use frozen blueberries in this recipe. Just make sure to thaw them first. Drain any excess liquid to prevent a soggy bread. Gently fold them into the batter to keep their shape. Frozen blueberries work well and still provide great flavor. The best way to check if the bread is done is to use a toothpick. Insert it into the center of the loaf. If it comes out clean, the bread is done. You can also look for a golden-brown crust. The bread should feel firm to the touch. Blueberry streusel bread lasts about 3 to 4 days at room temperature. Store it in an airtight container to keep it fresh. For longer storage, you can freeze it. Wrap it well in plastic wrap and foil. It can last up to 3 months in the freezer. This blog post covered how to make Blueberry Streusel Bread. We explored the key ingredients and substitutes. I shared tips for making the batter and streusel topping. You learned how to avoid common mistakes and serve with style. We also talked about variations, storage methods, and answered your FAQs. With these steps, you can enjoy baking this delicious treat. Simple changes can make it your own. Get excited to bake and share this tasty bread!](https://grilledflavors.com/wp-content/uploads/2025/07/8c712ca1-90c0-4c31-a088-7759cf5ae6c4.webp)
If you love the sweet taste of blueberries, you’re in for a treat! Blueberry Streusel Bread is not just delicious but also easy to make. This recipe combines soft, moist …
Are you ready to bake something fresh and delicious? Blueberry banana zucchini bread is the perfect treat! This recipe is simple and brings together three yummy ingredients for a moist, …
![- 1 cup grated zucchini - 1 cup whole wheat flour - 1/2 cup rolled oats - 1/2 cup honey or maple syrup - 1 large egg - 1/4 cup unsweetened applesauce - 1/4 cup Greek yogurt - 1 teaspoon baking powder - 1/2 teaspoon baking soda - 1 teaspoon ground cinnamon - 1/4 teaspoon nutmeg - 1/4 teaspoon salt - Optional: 1/2 cup chopped walnuts or pecans, 1/2 cup raisins or dark chocolate chips The ingredients for zucchini muffins are simple and healthy. The star is zucchini. It adds moisture and a subtle taste. Whole wheat flour gives a nutty flavor and fiber. Rolled oats add texture and heartiness. Honey or maple syrup serves as a natural sweetener, making these muffins sweet yet healthy. The egg binds everything together. Applesauce keeps the muffins moist while reducing fat. Greek yogurt adds creaminess and protein, making these muffins more filling. Baking powder and baking soda help the muffins rise. Cinnamon and nutmeg bring warmth and spice to each bite. Feel free to customize your muffins. You can add nuts for crunch or chocolate chips for sweetness. The Full Recipe provides all the details you need to make these delightful treats. - Calories per muffin: About 120 - Breakdown of macronutrients: - Carbohydrates: 20g - Protein: 3g - Fat: 2g - Health benefits of main ingredients: - Zucchini is low in calories and high in vitamins. - Whole wheat flour offers more nutrients than white flour. - Oats are great for heart health and keep you full. These muffins are not just tasty; they are good for you too! First, set your oven to 350°F (175°C). This preheating step is key for even baking. While the oven warms up, grab a muffin tin. You can line it with paper liners or lightly grease it with oil. This will help the muffins come out easily after baking. Next, take a large mixing bowl. Add 1 cup of grated zucchini, 1/2 cup of honey or maple syrup, 1 large egg, 1/4 cup of unsweetened applesauce, and 1/4 cup of Greek yogurt. Mix these until they blend well. The zucchini adds moisture, while the honey gives sweetness. Now, grab another bowl. Whisk together 1 cup of whole wheat flour, 1/2 cup of rolled oats, 1 teaspoon of baking powder, 1/2 teaspoon of baking soda, 1 teaspoon of ground cinnamon, 1/4 teaspoon of nutmeg, and 1/4 teaspoon of salt. These dry ingredients will give your muffins structure and flavor. It’s time to combine! Gradually add the dry mixture to the wet mixture. Stir gently until everything is just mixed. Avoid overmixing; this helps keep your muffins light and fluffy. If you want, you can fold in 1/2 cup of chopped walnuts or pecans and 1/2 cup of raisins or dark chocolate chips for extra texture and flavor. Spoon the batter into the prepared muffin tin, filling each cup about 3/4 full. Bake your muffins for 20 to 25 minutes. To check for doneness, insert a toothpick into the center. If it comes out clean, your muffins are ready. Let them cool in the tin for about 5 minutes before moving them to a wire rack. Enjoy the warm, fresh scent! For the complete recipe, check out the [Full Recipe]. To make moist zucchini muffins, use key ingredients. Grated zucchini adds moisture. Applesauce and Greek yogurt also help keep them soft. Honey or maple syrup adds sweetness and moisture. When you mix these ingredients, they create a lovely, tender muffin. Every oven is different. For best results, check your muffins a few minutes early. If you make mini muffins, reduce the baking time. Bake them for about 12-15 minutes. For larger muffins, you may need up to 30 minutes. Always use a toothpick to test for doneness. It should come out clean when muffins are ready. Overmixing can ruin the texture. Mix just until the wet and dry ingredients blend. Too much mixing makes muffins dense. Measuring ingredients correctly is vital. Use a kitchen scale for accuracy. This ensures perfect outcomes every time. Following these tips will lead to great zucchini muffins. For the complete recipe, refer to the Full Recipe. {{image_2}} You can easily make gluten-free zucchini muffins. To do this, swap the whole wheat flour with a gluten-free flour blend. You might also use almond flour or coconut flour. Make sure the blend contains xanthan gum for texture. Use certified gluten-free oats if you want to keep the oats in the recipe. This simple change keeps the muffins tasty and safe for those with gluten sensitivities. To make these muffins vegan, you can replace the egg and dairy. For the egg, try using a flax egg. Just mix one tablespoon of ground flaxseed with three tablespoons of water. Let it sit for five minutes until it forms a gel. Replace the Greek yogurt with silken tofu or more applesauce. This keeps the muffins moist and fluffy, ensuring you don't miss the dairy at all. You can add your favorite spices or fruits for fun flavors. Try adding a teaspoon of vanilla extract for sweetness. You can also mix in a teaspoon of nutmeg or ginger for a warm taste. Nuts like walnuts or pecans add crunch. Dried fruits like cranberries or blueberries can bring a fresh twist. For a richer flavor, add dark chocolate chips. These additions make each muffin unique and exciting. Explore different combinations to find your favorite! To keep your zucchini muffins fresh, place them in an airtight container. This method keeps moisture in and air out. You can also wrap them in plastic wrap. Store them at room temperature for up to three days. If you want them to last longer, consider the freezer. Freezing zucchini muffins is simple. First, let the muffins cool completely. Then, wrap each muffin in plastic wrap. Place the wrapped muffins in a freezer bag. Make sure to remove as much air as possible. Label the bag with the date. You can freeze them for up to three months. To enjoy your muffins again, reheat them in the oven. Preheat the oven to 350°F (175°C). Place the muffins on a baking sheet. Heat for about 10 minutes. You can also microwave a muffin for 20-30 seconds. This method makes them warm and soft. For the best taste, enjoy them fresh after reheating. Yes, you can use other types of flour. Almond flour or oat flour works well. Each flour changes the texture. Almond flour gives a nutty taste. Oat flour makes muffins soft and moist. You may need to adjust liquids. Start with less and add more as needed. Dense muffins often come from overmixing the batter. Mixing too long traps air and makes them heavy. Using too much flour can also cause density. Always measure flour accurately. If you add too many wet ingredients, it may lead to dense muffins too. Absolutely! Mini muffins are fun and easy. Use the same batter but adjust cooking time. Bake for about 10-15 minutes. Check with a toothpick to see if they are done. They should be golden and spring back when touched. These muffins stay fresh for about 3-4 days. Store them in an airtight container. You can also freeze them for up to three months. Just thaw them in the fridge before eating. Enjoy them warm for the best taste! You’ve now learned how to make tasty and healthy muffins. We covered the main ingredients, and how to mix and bake them. I shared tips for keeping them moist and avoiding common mistakes. Plus, you saw how to make variations for different diets and flavors. With these steps, you'll surely impress everyone. Enjoy baking and tasting these yummy muffins!](https://grilledflavors.com/wp-content/uploads/2025/07/9d3b43e2-514b-4673-bbea-4a000de55582.webp)
Are you ready to bake something delicious and healthy? Zucchini muffins might be just what you need! Packed with nutrients and flavor, these easy muffins are perfect for breakfast or …
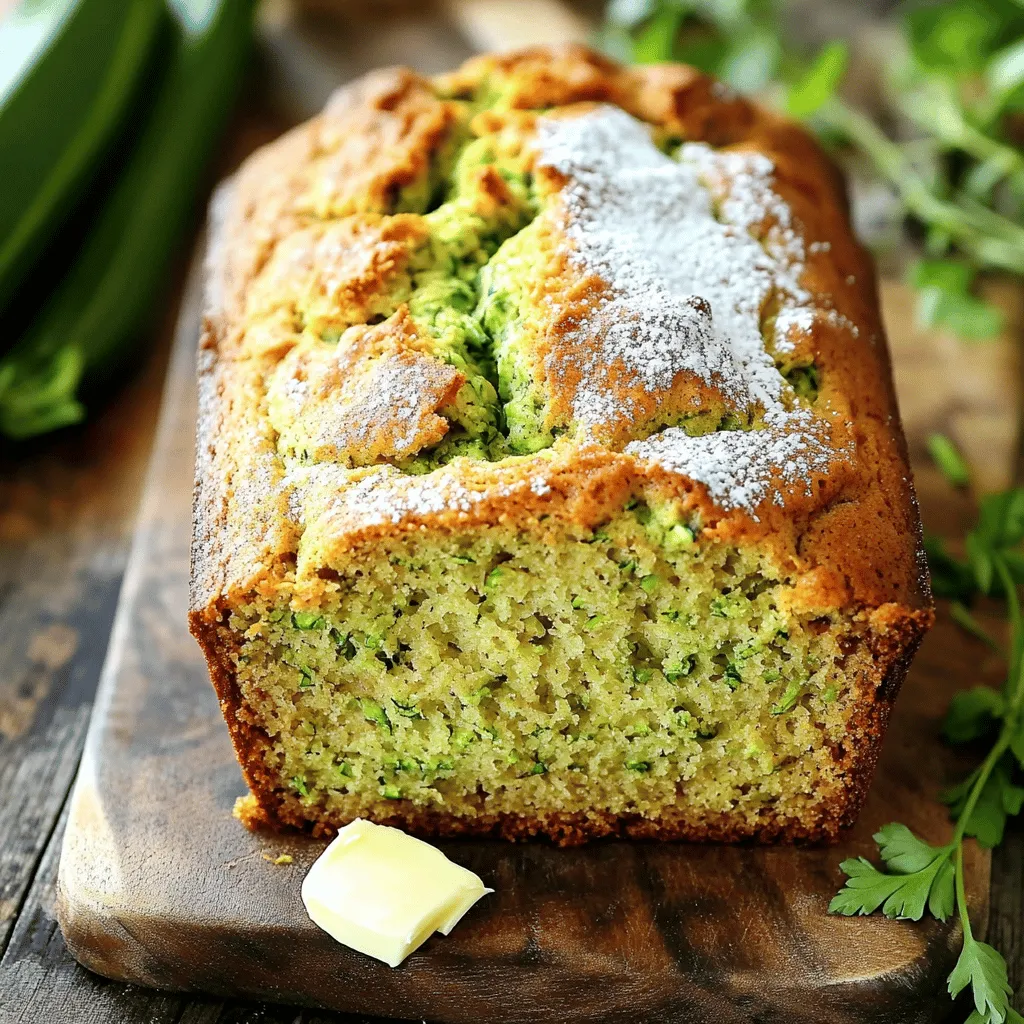
![- 2 cups grated zucchini (about 2 medium zucchinis) - 1 cup granulated sugar - 1/2 cup brown sugar, packed - 1/2 cup vegetable oil - 3 large eggs - 1 teaspoon vanilla extract These main ingredients form the base of the zucchini bread. The zucchini keeps the bread moist. The sugars provide sweetness and balance the flavors. Oil adds richness, while eggs help bind everything together. - 2 cups all-purpose flour - 1 teaspoon baking soda - 1/2 teaspoon baking powder - 1 teaspoon ground cinnamon - 1/2 teaspoon nutmeg - 1/4 teaspoon salt The dry ingredients give the bread structure. Flour is the base, and baking soda and baking powder help it rise. Spices like cinnamon and nutmeg add warmth and depth to the flavor. A pinch of salt enhances all these tastes. - 1/2 cup chopped walnuts or pecans (optional) - 1/2 cup chocolate chips (optional) Adding chopped nuts gives a nice crunch. Chocolate chips add sweetness and a rich flavor. You can mix and match these add-ins to suit your taste. For the complete recipe, check out the Full Recipe. - Preheating the Oven: First, set your oven to 350°F (175°C). This heat will cook the bread just right. - Greasing the Loaf Pan: Next, take a 9x5-inch loaf pan and coat it with oil or butter. This step ensures the bread won’t stick. - Combining Zucchini, Sugars, Oil, and Eggs: In a large bowl, add 2 cups of grated zucchini, 1 cup of granulated sugar, 1/2 cup of brown sugar, 1/2 cup of vegetable oil, and 3 large eggs. Mix these ingredients well. The mixture should be smooth and fully combined. - Sifting and Combining Methods: In another bowl, sift together 2 cups of all-purpose flour, 1 teaspoon of baking soda, 1/2 teaspoon of baking powder, 1 teaspoon of ground cinnamon, 1/2 teaspoon of nutmeg, and 1/4 teaspoon of salt. Gradually add this dry mix to the wet ingredients. Stir gently to avoid lumps. Be careful not to overmix. - Adding Optional Ingredients: If you like, fold in 1/2 cup of chopped walnuts or pecans and 1/2 cup of chocolate chips. These add extra flavor and texture. - Pouring into the Pan: Now, pour the batter into your prepared loaf pan. Use a spatula to spread it evenly. - Oven Time and Temperature: Place the loaf pan in your preheated oven. Bake for about 50 to 60 minutes. - Testing for Doneness: To check if it’s ready, insert a toothpick into the center. If it comes out clean, your bread is done. For the full recipe, refer to the [Full Recipe]. Enjoy making this delicious zucchini bread! Avoiding Overmixing Overmixing leads to dense bread. Mix just until combined. You want lumps, not smoothness. This keeps the bread light and fluffy. Achieving a Moist Bread To get moist bread, use fresh zucchini. Grate it and let it drain. This removes extra water. Also, add a bit more oil if needed. It helps keep your bread tender. Recommended Spice Variations Cinnamon and nutmeg give great flavor. You can also try ginger or allspice. They add a warm, spicy note. Mix and match to find your favorite blend. Sweetness Adjustments If you want less sweetness, cut the sugar. You can use half the amount of granulated sugar. This still keeps the bread tasty. Also, try adding unsweetened applesauce for natural sweetness. Perfect Pairings Zucchini bread tastes great with coffee or tea. It’s also nice with a dollop of cream cheese. You can enjoy it for breakfast or snack time. Presentation Tips Slice the bread and serve it warm. Dust with powdered sugar for a pretty touch. A sprinkle of nuts on top adds a nice look too. Enjoy every bite from this Ultimate One Bowl Zucchini Bread recipe. {{image_2}} Using Whole Wheat Flour You can swap all-purpose flour for whole wheat flour. This change adds fiber and nutrients. Whole wheat flour gives a nutty flavor. Start with half whole wheat and half all-purpose. Then, adjust based on taste. Reducing Sugar If you want a less sweet bread, cut back on sugar. You can reduce granulated sugar by up to half. Using ripe bananas or unsweetened applesauce can add sweetness. This keeps the bread moist without extra sugar. Adding Different Spices You can enhance the flavor with various spices. Try adding ginger or cardamom for a twist. Mix in a teaspoon of vanilla or almond extract, too. This can change the whole taste of your bread. Incorporating Fruits Adding fruits can make your zucchini bread fun and unique. Chopped apples, cranberries, or even pineapple work well. Fresh or dried fruits add natural sweetness and moisture. You can experiment with different combinations. Gluten-Free Solutions If you need a gluten-free option, use gluten-free flour. Look for a blend that measures like all-purpose flour. This will keep the texture light and fluffy. You may also add a bit of xanthan gum for better binding. Vegan Substitutes For a vegan version, replace eggs with flax eggs or applesauce. Use plant-based oil instead of vegetable oil. This keeps your zucchini bread moist and delicious. You won't miss the eggs at all! For the complete recipe, check out the Full Recipe section. You can store zucchini bread at room temperature for about three days. Make sure to wrap it in plastic wrap or place it in an airtight container. If you want to keep it fresh longer, put it in the fridge. In the fridge, it can last up to a week. Just remember, cold storage might make the bread a bit denser. To save zucchini bread for more than a week, freezing is best. Wrap slices tightly in plastic wrap. Then, place them in a freezer bag or container. It will stay good for about three months. When you're ready to enjoy it, just thaw it in the fridge overnight, or leave it out for a few hours. To warm up leftover zucchini bread, preheat your oven to 350°F (175°C). Wrap the bread in foil to keep it moist. Bake for about 10-15 minutes. You can also use a microwave. Just heat a slice for about 15-20 seconds. Enjoy your tasty treat again, just like the day you baked it! For the full recipe, check back to the main section. Yes, you can use frozen zucchini. First, thaw it in the fridge overnight. Once thawed, drain it well to remove excess moisture. This step helps prevent a soggy bread. You want your zucchini to be grated and dry for the best results. You can check the bread in two ways. First, look for a golden-brown top. It should not be too soft in the center. Second, use a toothpick. Insert it into the center of the bread. If it comes out clean, the bread is ready. If it has batter on it, bake for a few more minutes. You can replace eggs with several options. A common choice is applesauce. Use 1/4 cup of unsweetened applesauce for each egg. Another option is mashed banana, using the same amount. You can also try flaxseed meal. Mix one tablespoon of flaxseed with three tablespoons of water. Let it sit for a few minutes before using. To reduce sweetness, cut back on the sugars. Try using 3/4 cup of granulated sugar instead of 1 cup. You can also use less brown sugar. If you want a different sweetener, try using honey or maple syrup. Just remember to adjust the liquid in the recipe when you use these options. For a full recipe of this delicious bread, check out the Ultimate One Bowl Zucchini Bread. Zucchini bread is a simple and delicious treat. We covered key ingredients like zucchini, sugars, and flour. I shared step-by-step instructions and tips for perfect texture. You can explore fun variations, including healthy alternatives and diet-specific options. Storing your bread properly ensures it stays fresh. Use this guide to create your own zucchini bread masterpiece. Enjoy baking and sharing this treat with family and friends!](https://grilledflavors.com/wp-content/uploads/2025/07/518872d9-2977-4f32-a3fb-c621765c82dc.webp)
Are you ready to bake the best zucchini bread ever? My Ultimate One Bowl Zucchini Bread recipe is quick, easy, and requires minimal cleanup. You’ll mix all your wet and …

Looking for a snack that’s both crispy and tasty? You’re in the right place! These Parmesan Zucchini Chips are easy to make and loaded with flavor. With basic ingredients like …
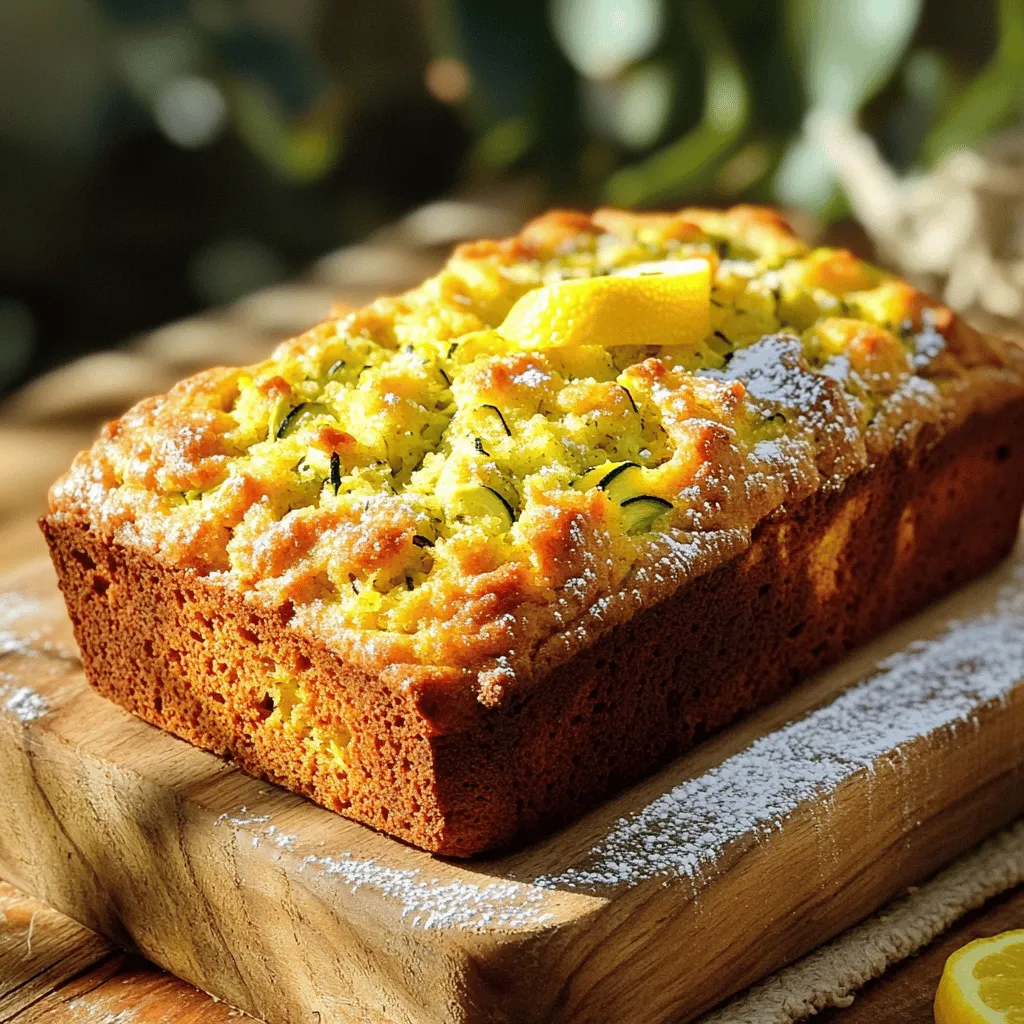
Are you ready to bake something delicious? If you love the taste of fresh zucchini and a zing of lemon, then my Pioneer Woman Lemon Zucchini Bread recipe is for …
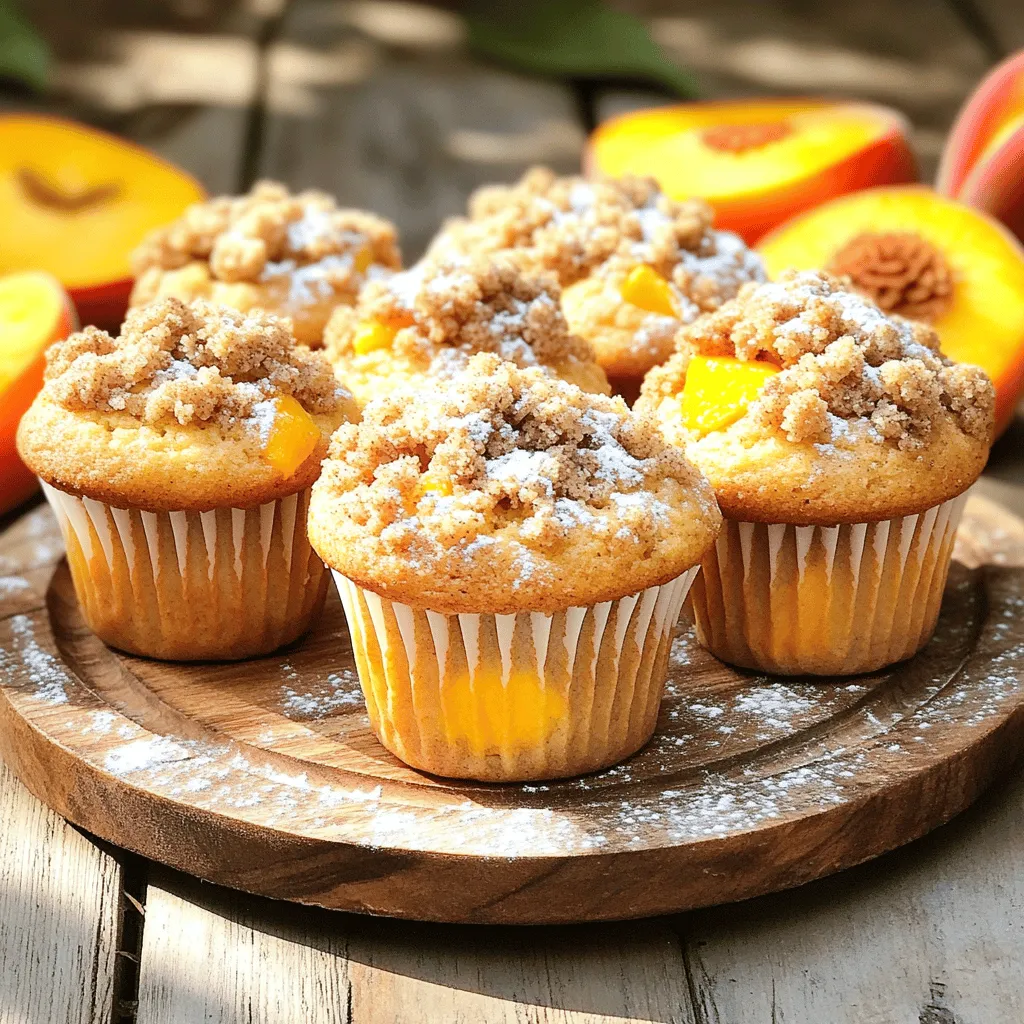
Delight in the simplicity of Easy Peach Crumb Topping Muffins! This recipe combines fresh peaches and a crunchy topping for a perfect treat. Whether you’re a novice or a baking …

Are you ready to taste a burst of Mediterranean flavors? In this blog post, I’ll share my favorite Mediterranean Chicken Zucchini Bake recipe that’s not just delicious but easy to …