Sautéed Zucchini Simple and Flavorful Side Dish
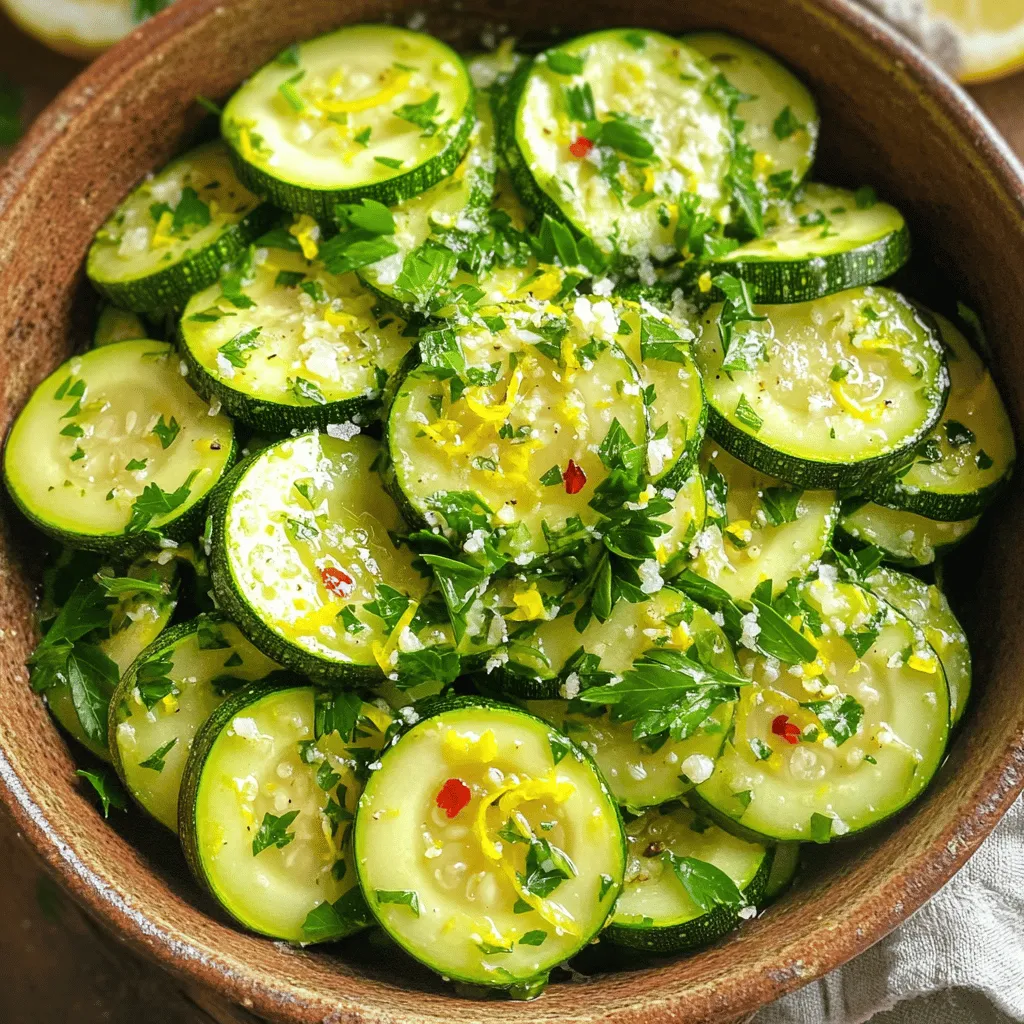
If you’re searching for a quick and tasty side dish, look no further! Sautéed zucchini is here to save your meals. This dish bursts with flavor and is super easy …
If you’re searching for a quick and tasty side dish, look no further! Sautéed zucchini is here to save your meals. This dish bursts with flavor and is super easy …

Looking for a delicious and healthy meal? Mediterranean Stuffed Zucchini is your answer! This colorful dish combines fresh ingredients like zucchini, quinoa, and feta cheese, making it a feast for …
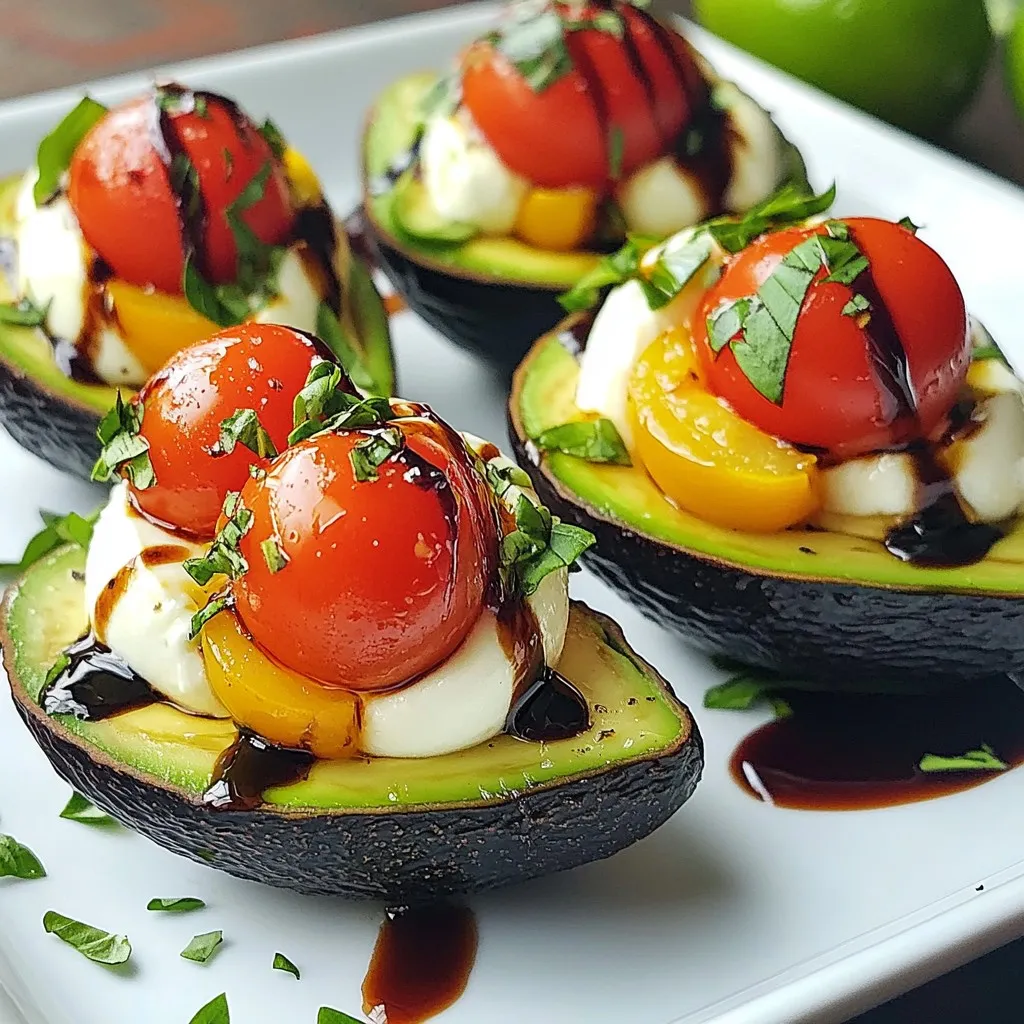
Are you ready to elevate your snack game? Caprese Stuffed Avocados are fresh, tasty, and packed with flavor. This dish combines creamy avocados with tangy tomatoes and smooth mozzarella for …
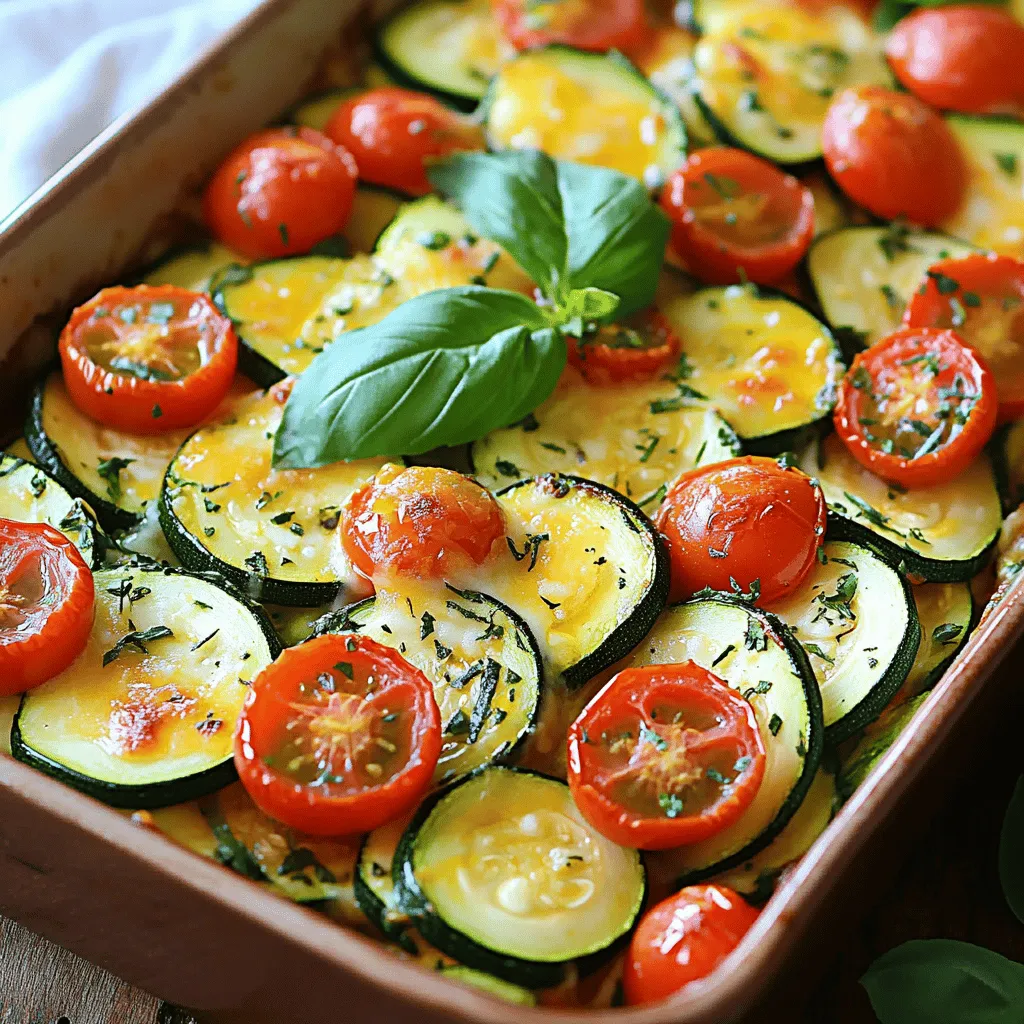
Looking for a simple, healthy dish that bursts with flavor? Try my Healthy Zucchini Tomato Bake! This easy-to-make recipe combines fresh veggies for a vibrant dinner that’s perfect for any …
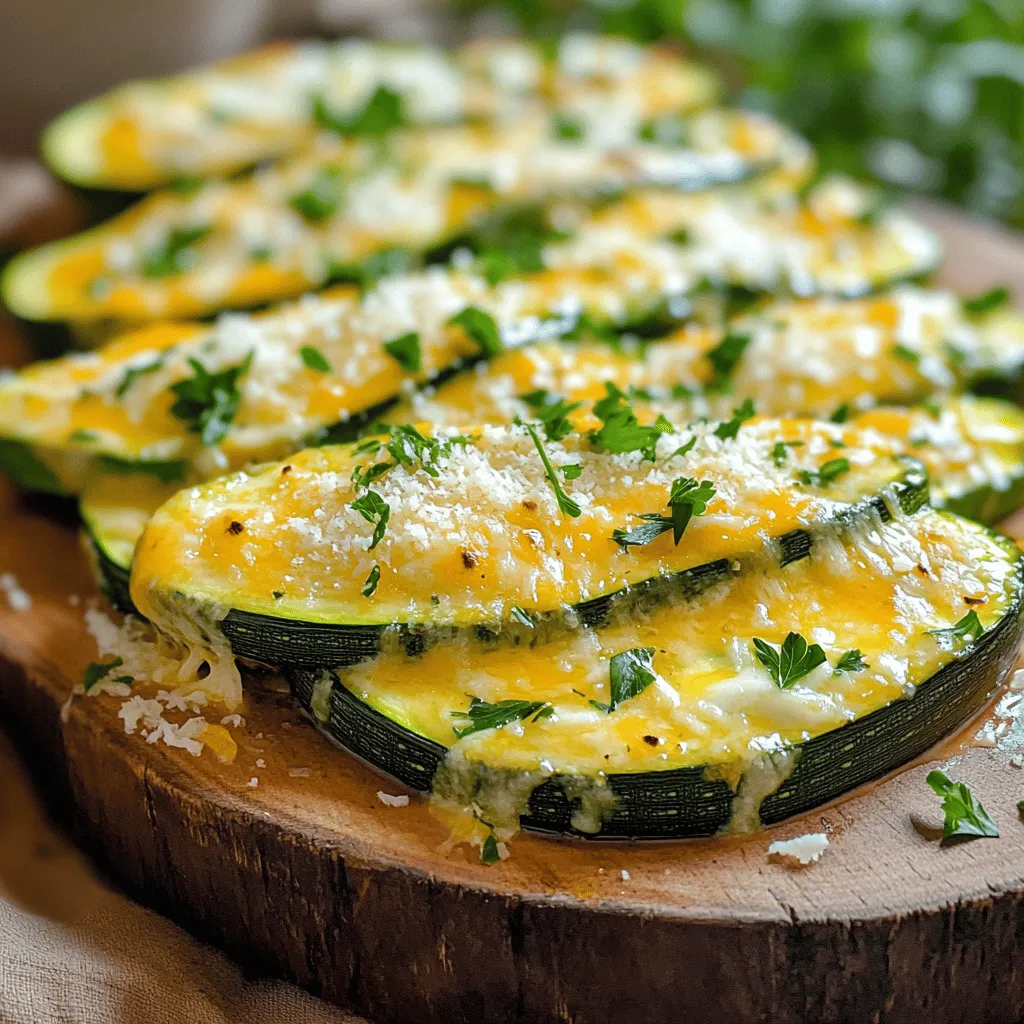
Are you looking for a quick, delicious meal that impresses? Look no further! My Cheesy Garlic Zucchini Steaks are the perfect blend of flavors you’ll love. With just a few …
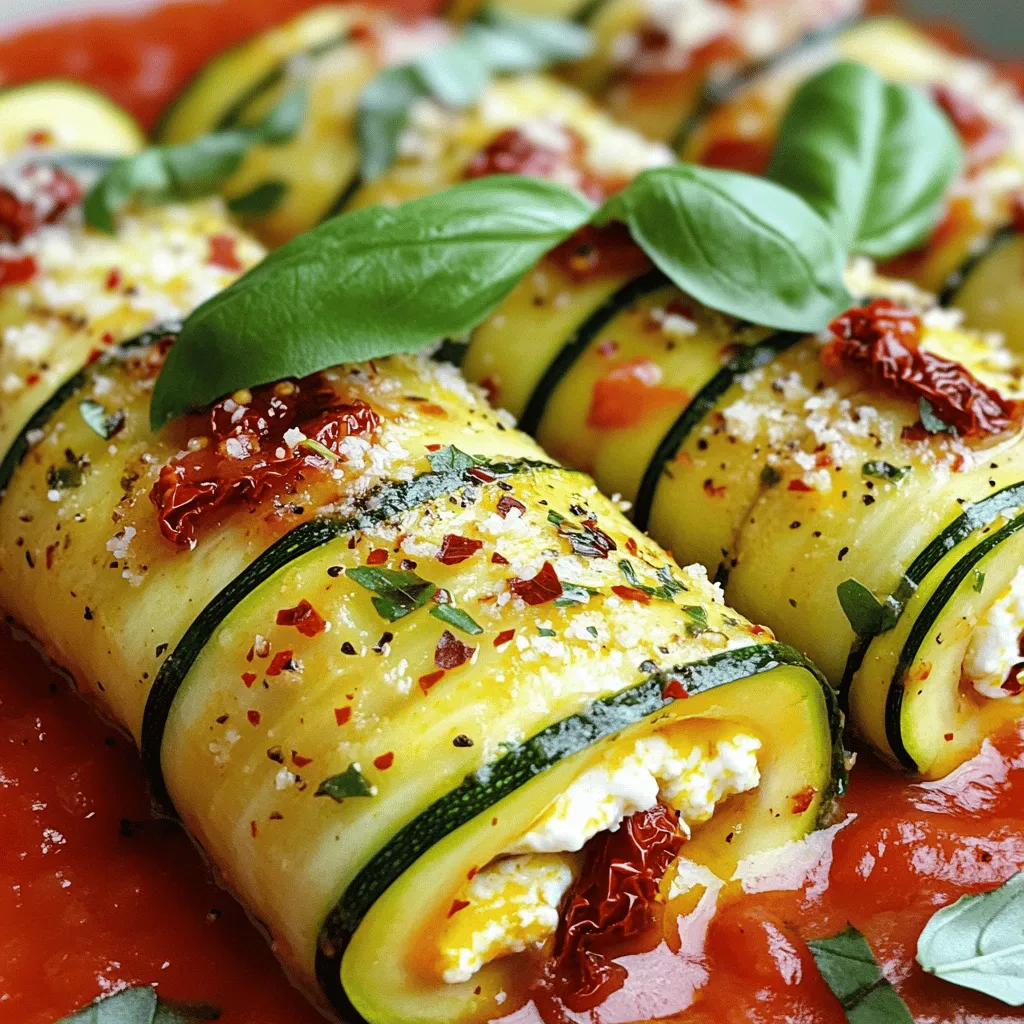
Are you ready to impress your friends with a dish that’s both tasty and beautiful? Zucchini Röllchen is your go-to choice! This delightful recipe combines fresh zucchini, rich ricotta, and …
![Here is what you need to make this easy bread: - 3 ripe bananas, mashed - 2 cups almond flour - 1/4 cup honey or maple syrup - 3 large eggs - 1/4 cup melted coconut oil - 1 teaspoon vanilla extract - 1 teaspoon baking soda - 1/2 teaspoon salt - 1/2 teaspoon cinnamon (optional) - 1/2 cup walnuts or pecans, chopped (optional) This recipe is simple and full of flavor. The ripe bananas provide natural sweetness. Almond flour adds a nice texture and nutty taste. Using honey or maple syrup keeps it healthy. If you do not have an item, here are some swaps: - Use agave syrup instead of honey or maple syrup. - Coconut oil can be replaced with butter or another oil. - You can use ground flaxseed mixed with water instead of eggs for a vegan option. - For a nut-free version, skip the nuts or use sunflower seeds. These swaps can change the taste or texture a bit, but they keep the recipe fun and flexible. This banana bread is not just tasty; it's good for you too. Here are some benefits: - Almond flour is lower in carbs than regular flour. It is also high in protein and healthy fats. - Bananas provide potassium, fiber, and vitamins. They help with digestion and keep you full. - Honey or maple syrup gives natural sweetness without refined sugar. Each slice of this bread is a healthy choice, packed with nutrients. You can enjoy it guilt-free! For the full recipe and detailed steps, check out the [Full Recipe]. To make almond flour banana bread, start by gathering all your ingredients. You will need ripe bananas, almond flour, honey or maple syrup, eggs, melted coconut oil, vanilla extract, baking soda, salt, and cinnamon. First, preheat your oven to 350°F (175°C). Next, line a 9x5 inch loaf pan with parchment paper or grease it with coconut oil. In a large bowl, mash the bananas well. Add honey or maple syrup, eggs, melted coconut oil, and vanilla extract. Mix these until everything blends nicely. In another bowl, whisk the almond flour, baking soda, salt, and cinnamon together. This step helps to break any lumps. Gradually add the dry mix to the wet ingredients. Stir until just combined; do not overmix. If you like nuts, fold them in gently. Pour the batter into your prepared loaf pan. Spread it evenly for good baking. Bake the bread in the preheated oven for about 50-60 minutes. To check if it’s ready, insert a toothpick into the center. If it comes out clean, your bread is done! Remove it from the oven and let it cool in the pan for about 10 minutes. This cooling time helps it firm up a bit. Afterward, transfer it to a wire rack to cool completely. For perfect almond flour banana bread, use very ripe bananas. They add natural sweetness and moisture. Make sure to mix your wet and dry ingredients separately before combining. This helps avoid lumps and ensures even baking. Don’t overmix the batter; this keeps your bread light and fluffy. If you want a richer flavor, add a pinch of cinnamon. Lastly, let the bread cool completely before slicing for the best texture. Enjoy the full recipe for more details on this delicious treat! When making almond flour banana bread, avoid overmixing your batter. This makes the bread dense. Also, check your bananas. They should be very ripe for the best flavor. If you use under ripe bananas, your bread may taste bland. Don’t skip the salt! It enhances the flavor of the bread and balances the sweetness. To keep your bread moist, add enough mashed bananas. You can also use coconut oil in the recipe. This fat adds moisture and a rich taste. If you want, try adding yogurt or applesauce. These can add extra moisture too. Bake the bread until just done. Overbaking can dry it out. You want a toothpick to come out clean, but not dry. Serve your almond flour banana bread warm. It’s great with a drizzle of honey or a spread of almond butter. You can also top it with slices of banana or a sprinkle of nuts for a nice look. For a fun twist, try a scoop of ice cream on the side. This adds a sweet and creamy touch that everyone loves. For the full recipe, check out the complete instructions above! {{image_2}} You can add fun flavors to your almond flour banana bread. Chocolate chips bring a sweet touch. I love using dark or semi-sweet chips. Dried fruits like raisins or cranberries add a chewy texture. You can also try adding coconut flakes for a tropical twist. Just fold them into the batter before baking. Keep in mind that these extras may change the bread's moisture level. So, adjust the baking time slightly if needed. The recipe calls for honey or maple syrup, but you can switch things up. Agave nectar works well and has a mild taste. Coconut sugar is another good choice. It adds a bit of caramel flavor. Just remember, using liquid sweeteners may make the batter thinner. If you use granulated sweeteners, you may need to add a little more liquid. Experiment to find what you like best! To make this bread vegan, replace eggs with flax eggs. To do this, mix one tablespoon of ground flaxseed with three tablespoons of water. Let it sit for a few minutes to thicken. For a paleo version, stick with the almond flour and honey, but you can swap coconut oil for ghee or butter. Both options keep the bread rich and tasty. Enjoy your unique twist on this classic recipe! For the full recipe, check out the Banana Bliss Almond Flour Bread. To keep your almond flour banana bread fresh, store it in an airtight container. This will help keep moisture in and prevent it from drying out. You can also wrap it in plastic wrap before placing it in the container. If you plan to eat it within a few days, keep it at room temperature. For longer storage, I suggest refrigerating it. Freezing your banana bread is easy. First, let the bread cool completely. Once cool, slice it into pieces. Wrap each slice tightly in plastic wrap. Then, put the wrapped slices in a freezer bag. This method keeps the bread fresh for up to three months. When you’re ready to eat it, just take out the slices you need. To thaw frozen banana bread, simply move it from the freezer to the fridge. Let it sit overnight. If you want it quicker, you can leave it at room temperature for a few hours. To reheat, place the slices in a toaster or microwave. Use medium heat to warm them without drying them out. Enjoy your delicious almond flour banana bread warm! No, I do not recommend using regular flour. Almond flour has a different texture and taste. It is also healthier, adding healthy fats and protein. Regular flour will change the bread's flavor and moisture. The recipe is already gluten-free because it uses almond flour. This flour is naturally gluten-free. Just ensure all other ingredients, like baking soda and vanilla, are also gluten-free. Check labels to be safe. If your bread is dense, try these tips: - Use very ripe bananas for more moisture. - Do not overmix the batter; mix just until combined. - Make sure your baking soda is fresh. Old baking soda can affect the rise. Almond flour banana bread can last 3 to 5 days at room temperature. Store it in an airtight container. For longer storage, you can freeze it for up to 3 months. Just thaw it before eating. You can find the full recipe above. In this article, we explored how to make almond flour banana bread. We covered key ingredients, tips for perfect texture, and common mistakes to avoid. You can enjoy variations with flavors like chocolate chips or fruits. We also shared storage methods to keep your bread fresh. Remember, with careful steps and good ingredients, you can bake a delicious treat. Enjoy making and sharing this healthy banana bread!](https://grilledflavors.com/wp-content/uploads/2025/07/c29a1f60-7a95-4416-8e68-fd9c850bfe08.webp)
Are you ready to bake a delicious and healthy treat? This Almond Flour Banana Bread recipe is easy to make and packed with flavor. I’ll guide you through each step, …

Looking for a tasty way to cool down this summer? Let me introduce you to Refreshing Peach Iced Tea! This drink combines ripe peaches and smooth black tea, making it …
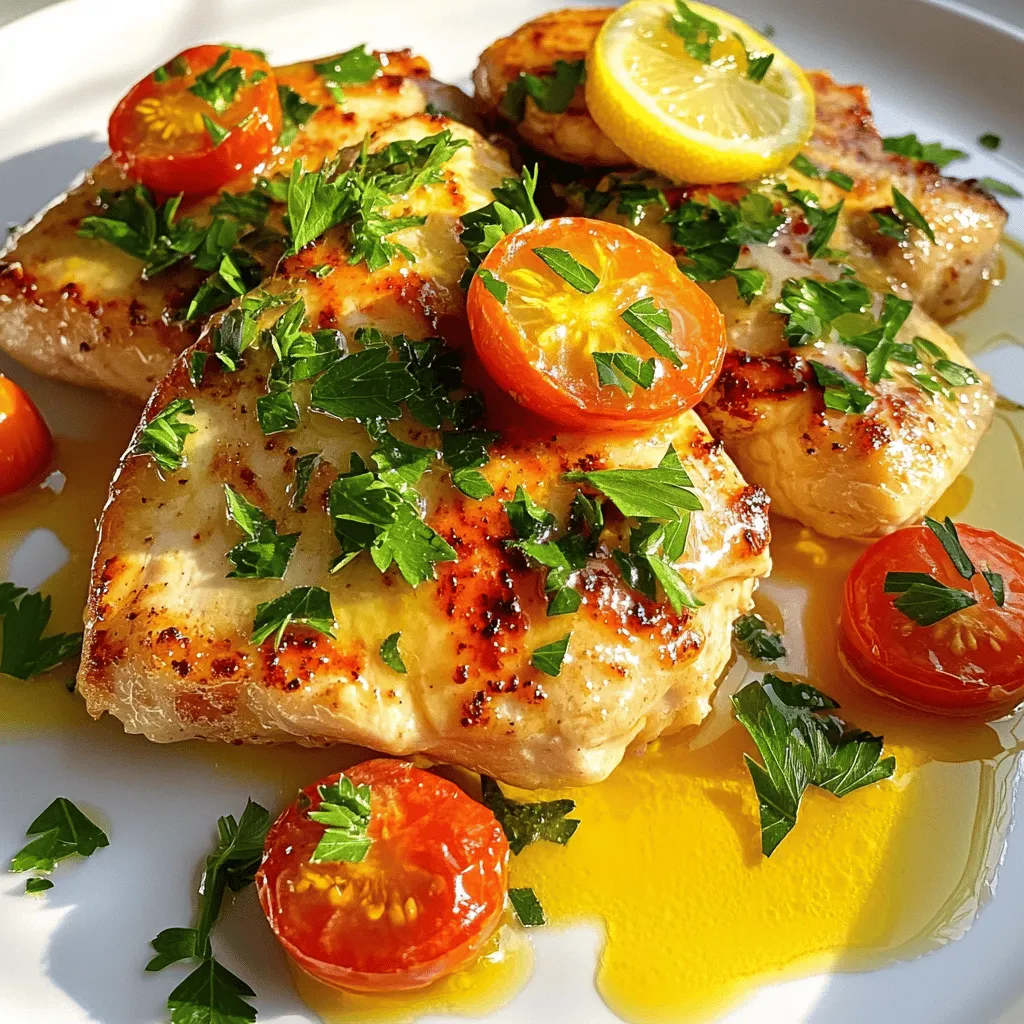
Looking for a quick and tasty dinner? Garlic Butter Chicken is here to save the day! This dish packs rich flavors and is simple to make. With just a few …
 for all the details on preparing this dish. First, gather all your ingredients. You will need cooked, shredded chicken, whole wheat pasta, and marinara sauce. Also, grab ricotta, mozzarella, Parmesan cheese, and spinach. Don't forget the Italian seasoning, garlic powder, salt, and pepper. 1. Preheat your oven to 375°F (190°C). 2. Cook the whole wheat pasta as directed on the package. You want it al dente. After cooking, drain the pasta and set it aside. 3. In a large bowl, mix the shredded chicken, pasta, marinara sauce, ricotta cheese, and chopped spinach. Add Italian seasoning, garlic powder, salt, and pepper. Stir everything well. 4. Transfer the chicken mixture into a greased 9x13 inch casserole dish. Spread it out evenly. 5. Now, sprinkle the shredded mozzarella and grated Parmesan cheese over the top. 6. Cover the dish with aluminum foil and bake for 25 minutes. 7. After 25 minutes, take off the foil. Bake for another 10-15 minutes until the cheese looks bubbly and golden. 8. Once finished, let it sit for about 5 minutes. This helps it set. When layering, start with the chicken mixture at the bottom. This keeps everything moist. Make sure your cheeses are even across the top. You can add more cheese if you love it cheesy! If you want extra flavor, try adding herbs or spices between layers. Enjoy your cooking! To boost protein in your casserole, try adding beans or lentils. These add texture and flavor. You can also use Greek yogurt instead of ricotta. It has more protein and keeps the dish creamy. Consider using chicken thighs instead of breast; they have higher protein and flavor. For a great cheese melt, use fresh mozzarella. It melts better than pre-shredded cheese. Mix the mozzarella with some Parmesan for a nice crust. When baking, cover the casserole for the first half. This keeps the moisture in. Uncover it later to let the cheese bubble and brown. If you need gluten-free, swap whole wheat pasta with rice or chickpea pasta. For a dairy-free option, use nut-based cheese or leave out the cheese. You can also use cashew cream for a creamy texture. Just remember to check labels for hidden dairy or gluten. {{image_2}} You can swap chicken for turkey breast. Turkey is lean and full of protein. You can also use shredded rotisserie chicken for a quick option. If you want more flavor, try using grilled chicken thighs. They add great taste and keep it juicy. To make this casserole vegetarian, replace chicken with cooked lentils. Lentils are high in protein and fiber. You can also use chickpeas for a nutty flavor. Add extra veggies like zucchini and bell peppers to boost nutrition and taste. For a spicy kick, add red pepper flakes to the sauce. You can also use spicy marinara for a bolder flavor. If you prefer herbs, mix in fresh herbs like thyme or rosemary. These herbs will enhance the taste and aroma of the dish. For a tangy twist, squeeze some lemon juice before serving. These variations make the high protein chicken parmesan casserole fun and flexible. You can enjoy it your way! For the full recipe, check out the section above. To store leftovers, let the casserole cool. Place it in an airtight container. You can also cover it tightly with plastic wrap or aluminum foil. This way, the flavors stay fresh. Store it in the fridge for up to three days. If you want to freeze your casserole, use a freezer-safe container. Wrap the dish tightly in plastic wrap first, then in foil. This helps prevent freezer burn. You can freeze it for up to three months. To reheat, let it thaw overnight in the fridge. Preheat your oven to 350°F (175°C). Bake it covered for about 25 minutes. Check if it’s heated through before serving. The casserole can last in the fridge for about three days. If you freeze it, it stays good for about three months. Always check for signs of spoilage before eating. If it smells off or looks strange, it’s best to throw it away. Enjoy the full recipe to make sure you have a delicious dish ready to go! Each serving of High Protein Chicken Parmesan Casserole has about 30 grams of protein. This comes from the chicken, ricotta, and mozzarella cheese. Chicken breast is high in protein, making it a great choice for this dish. The whole wheat pasta also adds some protein, though it is lower than the chicken and cheese. Yes, you can use different types of pasta in this casserole. Whole wheat pasta is best for added fiber. You can try gluten-free pasta if you wish. Other options include spiralized zucchini or spaghetti squash for a low-carb choice. Just make sure the pasta is cooked al dente to hold up in the casserole. To lower the calories, you can use less cheese or low-fat cheese. You can also swap the ricotta cheese with cottage cheese for fewer calories. Another option is to add more veggies to replace some pasta. For example, use extra spinach or add bell peppers and mushrooms. You can serve this casserole with a simple green salad. A side of steamed broccoli or roasted vegetables pairs well too. Garlic bread is a tasty option for a carb boost. A light vinaigrette can enhance the salad, balancing the rich flavors of the casserole. For more ideas, check out the Full Recipe! This blog post covered how to make a High Protein Chicken Parmesan Casserole. We explored its ingredients, health benefits, alternative options, and detailed cooking steps. I shared tips on enhancing protein and achieving the perfect cheese melt. We also looked at variations and proper storage methods. In summary, this dish is versatile, nutritious, and delicious. You can make it fit your needs while still keeping it flavorful and satisfying. Enjoy creating this dish for your meals!](https://grilledflavors.com/wp-content/uploads/2025/07/4b861595-0fed-4979-9d99-46618133763a.webp)
Welcome to my kitchen! Today, I’m excited to share my recipe for High Protein Chicken Parmesan Casserole Delight. This dish combines savory chicken with gooey cheese and rich sauce, making …