Creamy Lemon Chicken & Spinach Skillet Delight
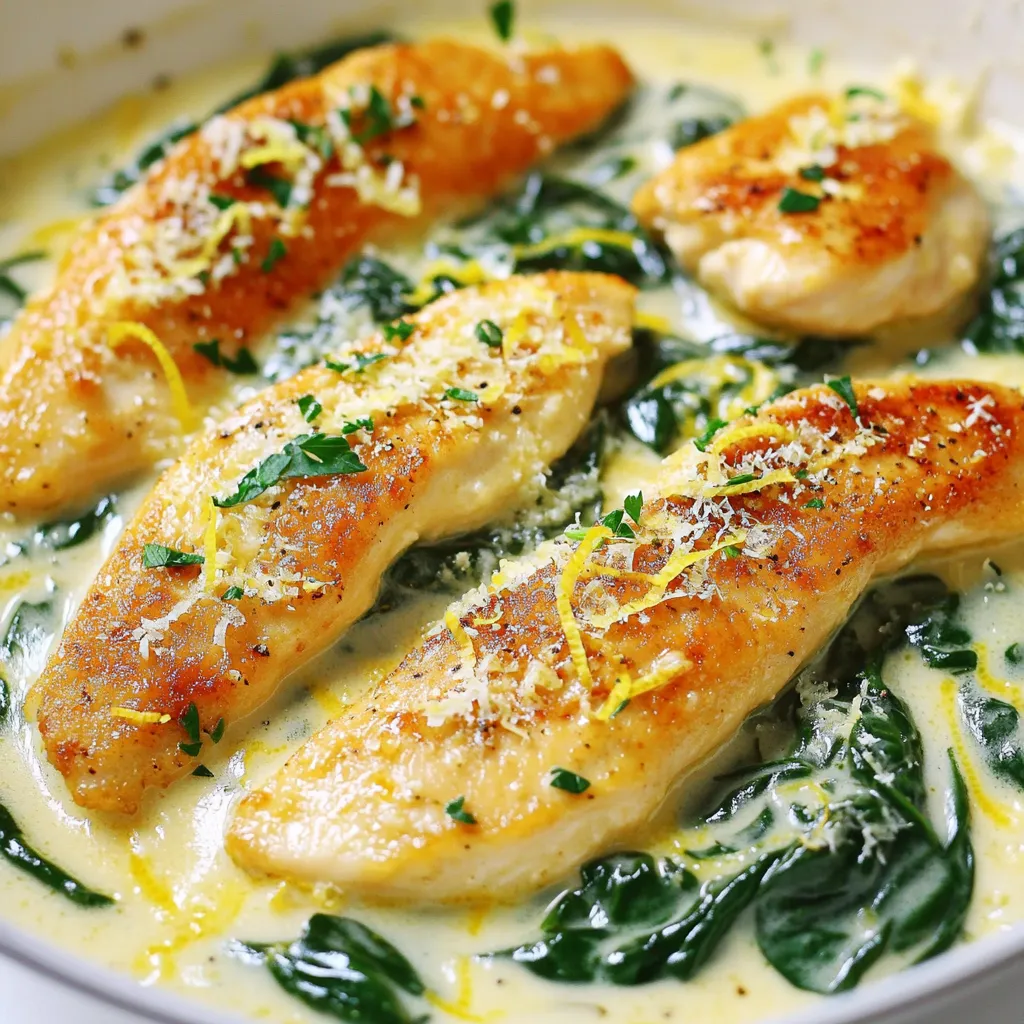
Welcome to your next favorite dinner recipe: Creamy Lemon Chicken & Spinach Skillet Delight! This dish combines juicy chicken, fresh spinach, and a rich, tangy sauce, all made in one …
Welcome to your next favorite dinner recipe: Creamy Lemon Chicken & Spinach Skillet Delight! This dish combines juicy chicken, fresh spinach, and a rich, tangy sauce, all made in one …
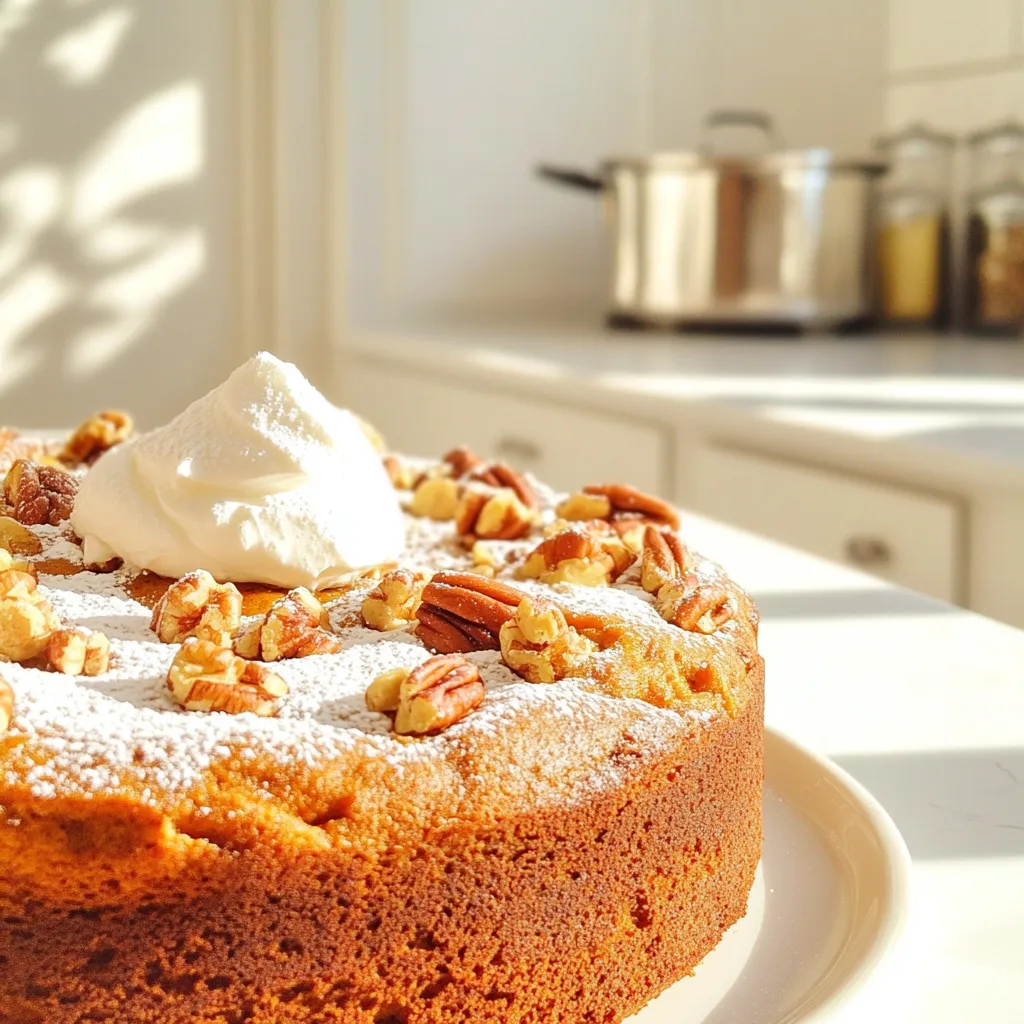
If you love the cozy flavors of fall, you’ll adore my Pumpkin Pecan Coffee Cake! This delightful treat blends warm spices, sweet pumpkin, and crunchy pecans, making it perfect for …
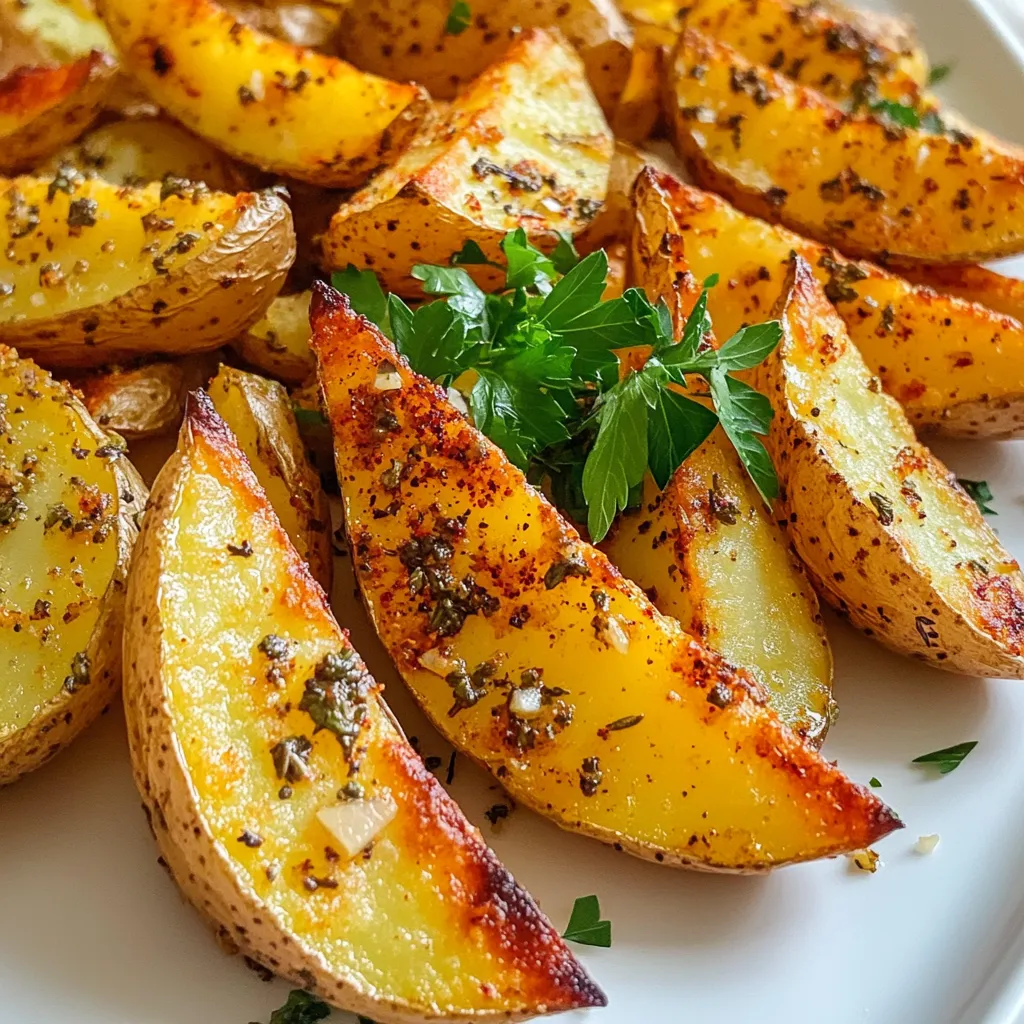
If you’re craving a tasty side that’s both crispy and savory, you’re in the right place! My Air Fryer Garlic Herb Potato Wedges are bursting with flavor and are easy …

Looking to spice up your dinner routine? My Cajun White Chicken Chili is a perfect blend of flavors and warmth. This hearty dish combines tender chicken with zesty Cajun seasonings, …
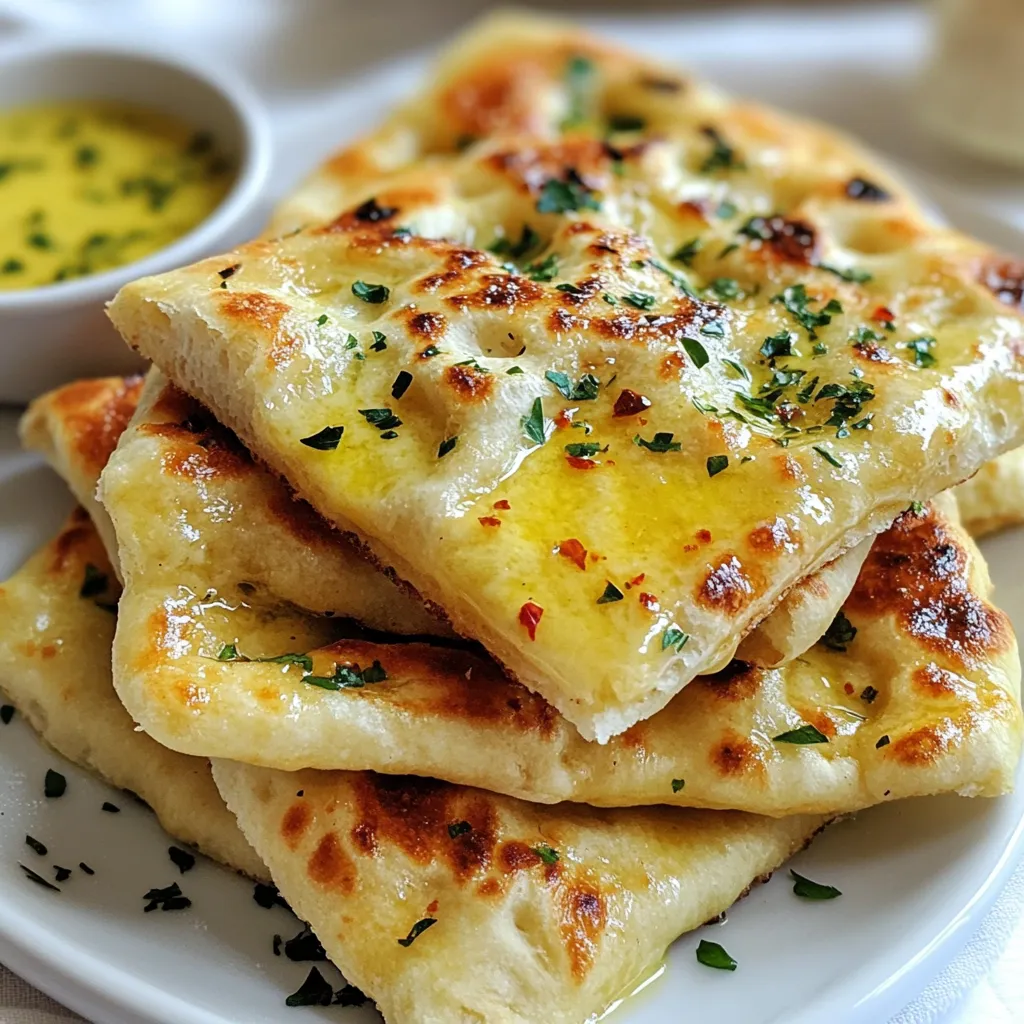
Are you ready to elevate your snack game? This Garlic Butter Flatbread recipe is both simple and packed with flavor. With just a few common ingredients, you can create a …
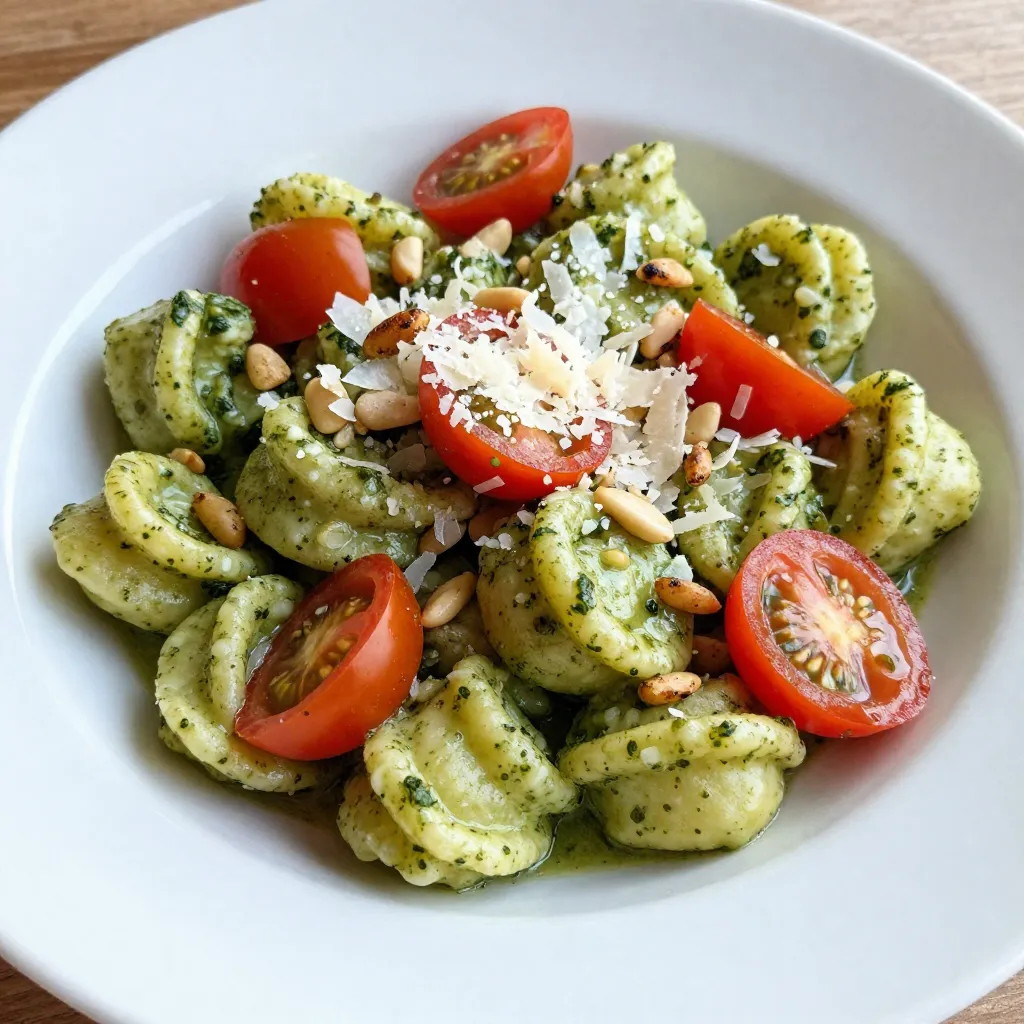
Creamy pesto gnocchi is a delight that you can whip up with ease! Packed with flavor from fresh basil, rich cream, and savory pine nuts, this dish is both comforting …
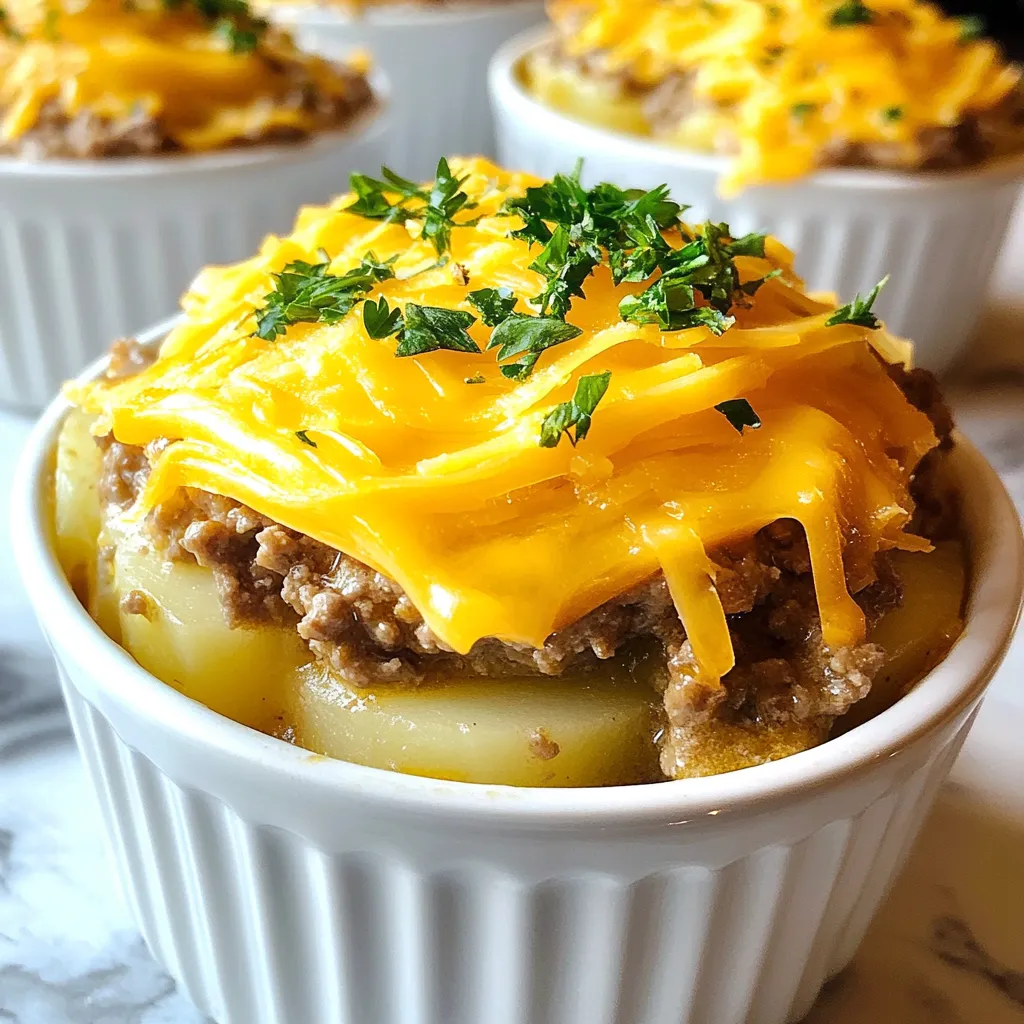
Are you ready to enjoy a warm, hearty meal that cooks while you go about your day? My Crockpot Hamburger Potato Casserole combines ground beef, creamy soup, and tender potatoes …
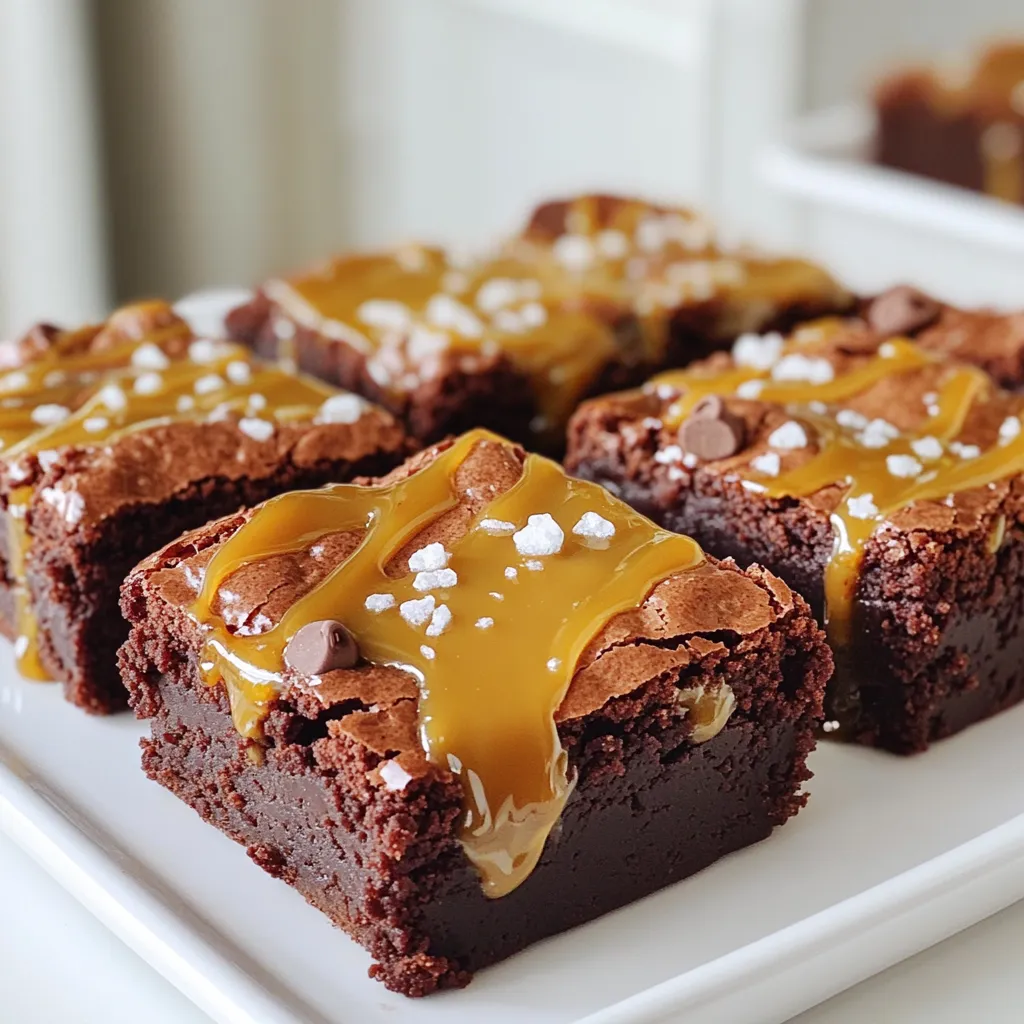
Welcome to your next baking adventure! These Salted Caramel Espresso Brownies are not just a treat; they are a decadent delight. Imagine fudgy brownies infused with rich espresso and swirled …
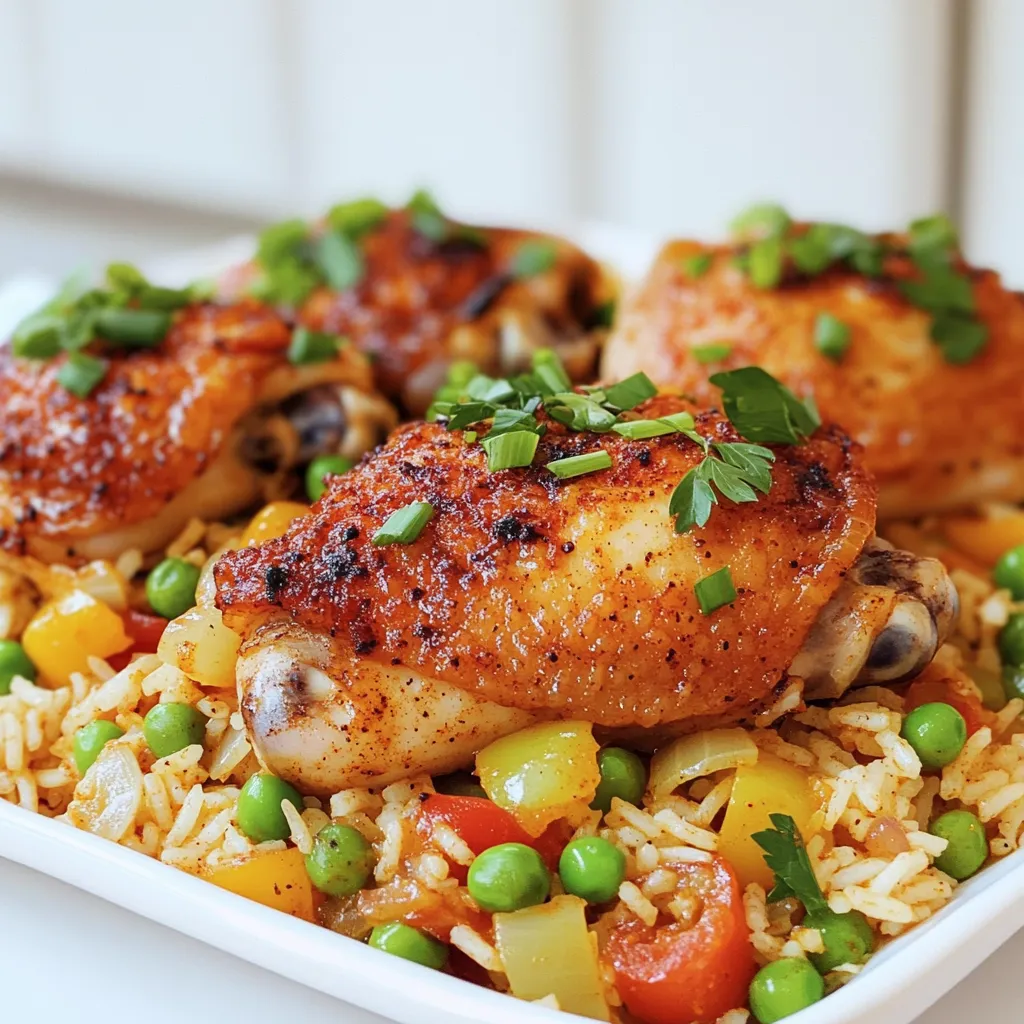
Ready for a meal that packs a punch? This Spicy Cajun Chicken & Rice One Pan Feast is bursting with flavor and easy to make! With tender chicken thighs, fragrant …
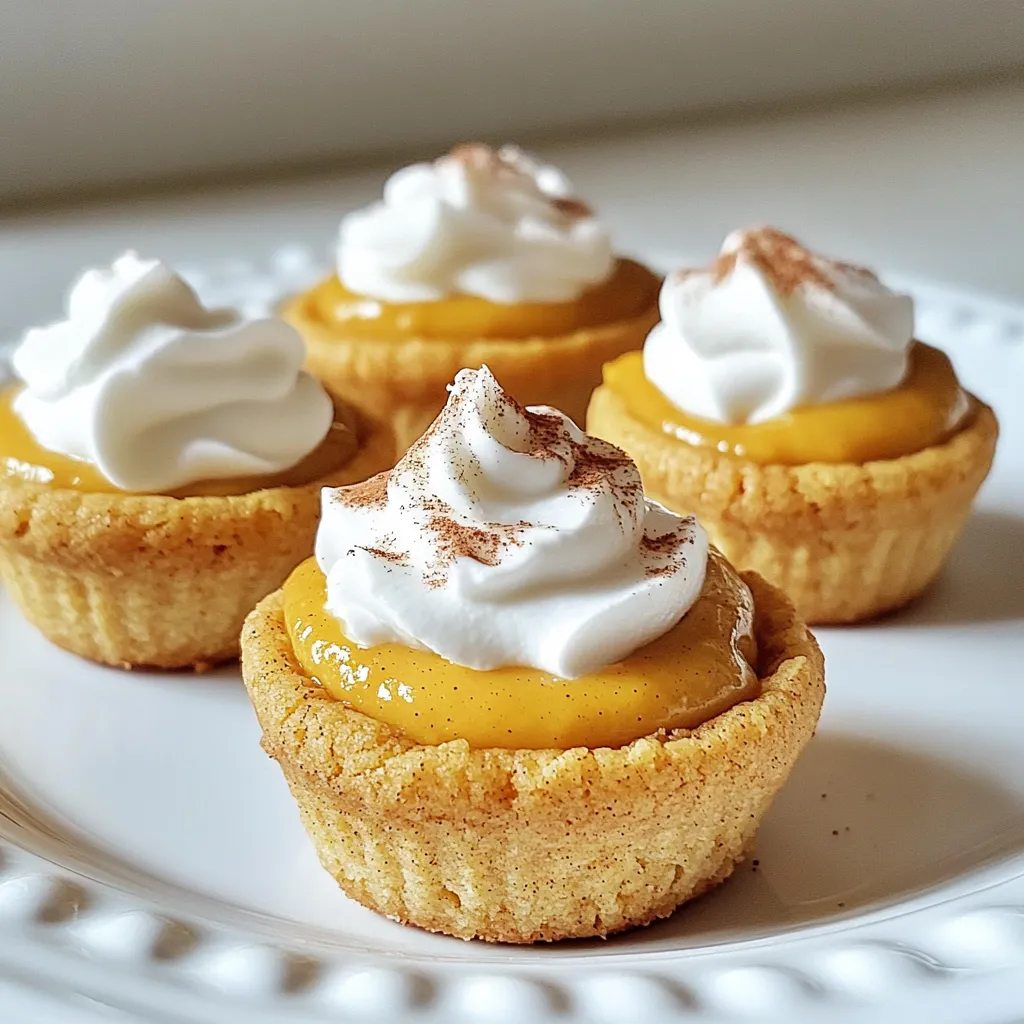
Get ready to fall in love with pumpkin! My Pumpkin Cheesecake Cookie Cups are a delightful treat that blends warm flavors with a creamy filling. Perfect for gatherings or cozy …