20-Minute Quick Pickled Onions Easy and Tasty Recipe
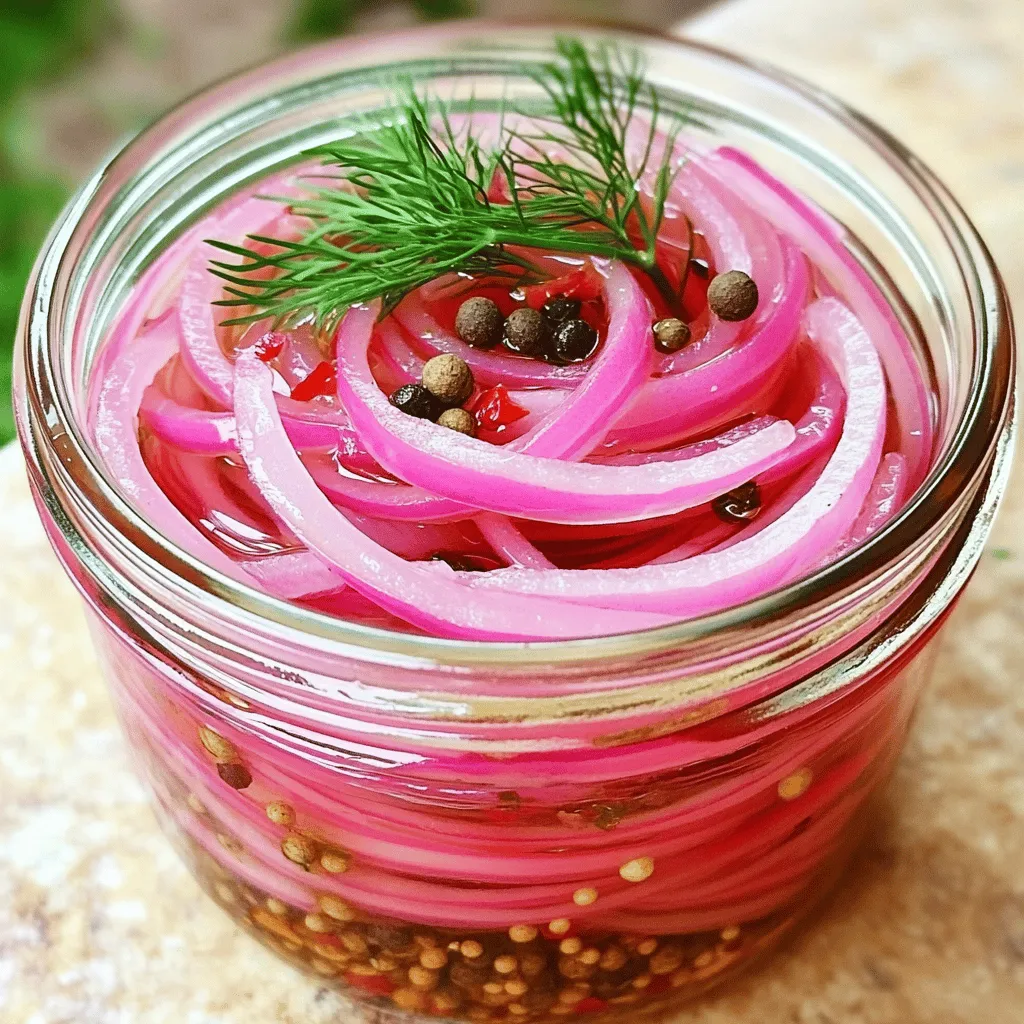
Craving a burst of tangy flavor in your meals? Try my 20-Minute Quick Pickled Onions! This easy recipe transforms simple ingredients into a zesty topping for salads, tacos, and more. …
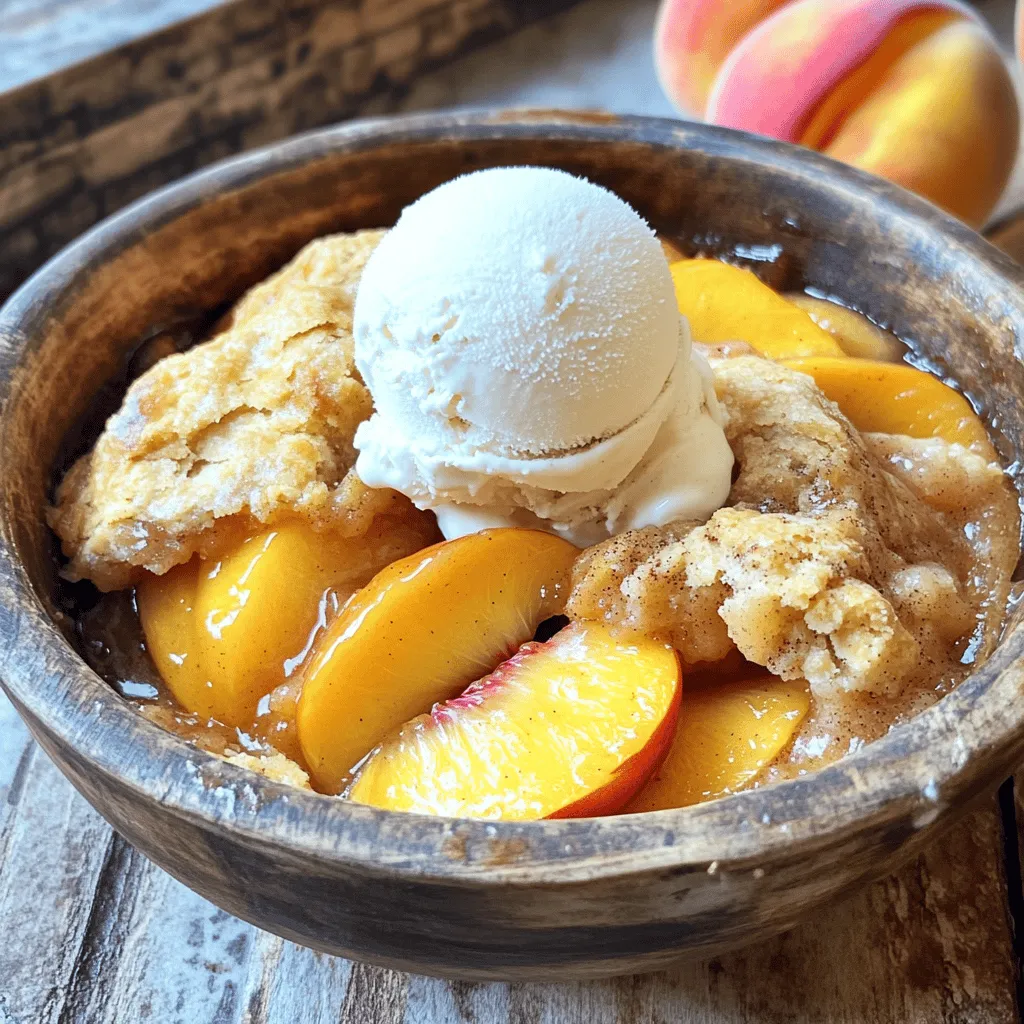


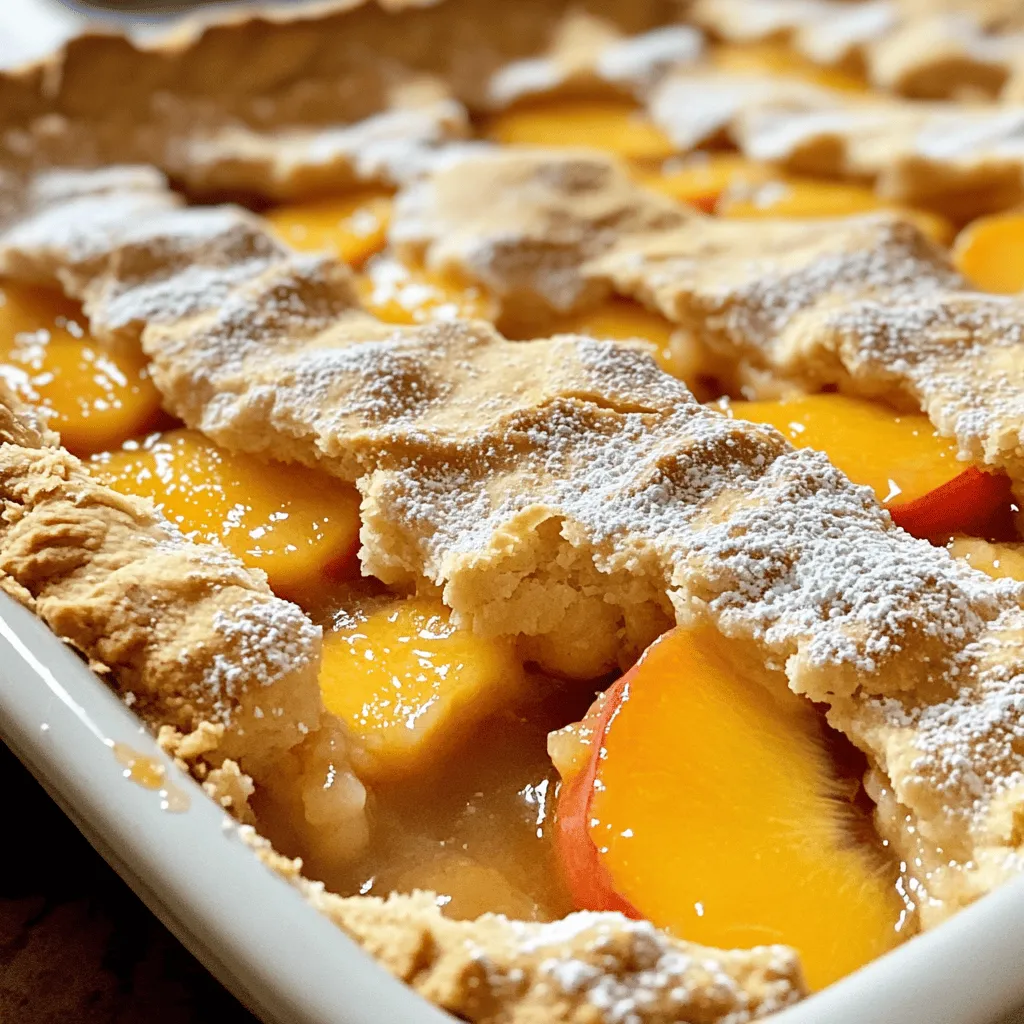
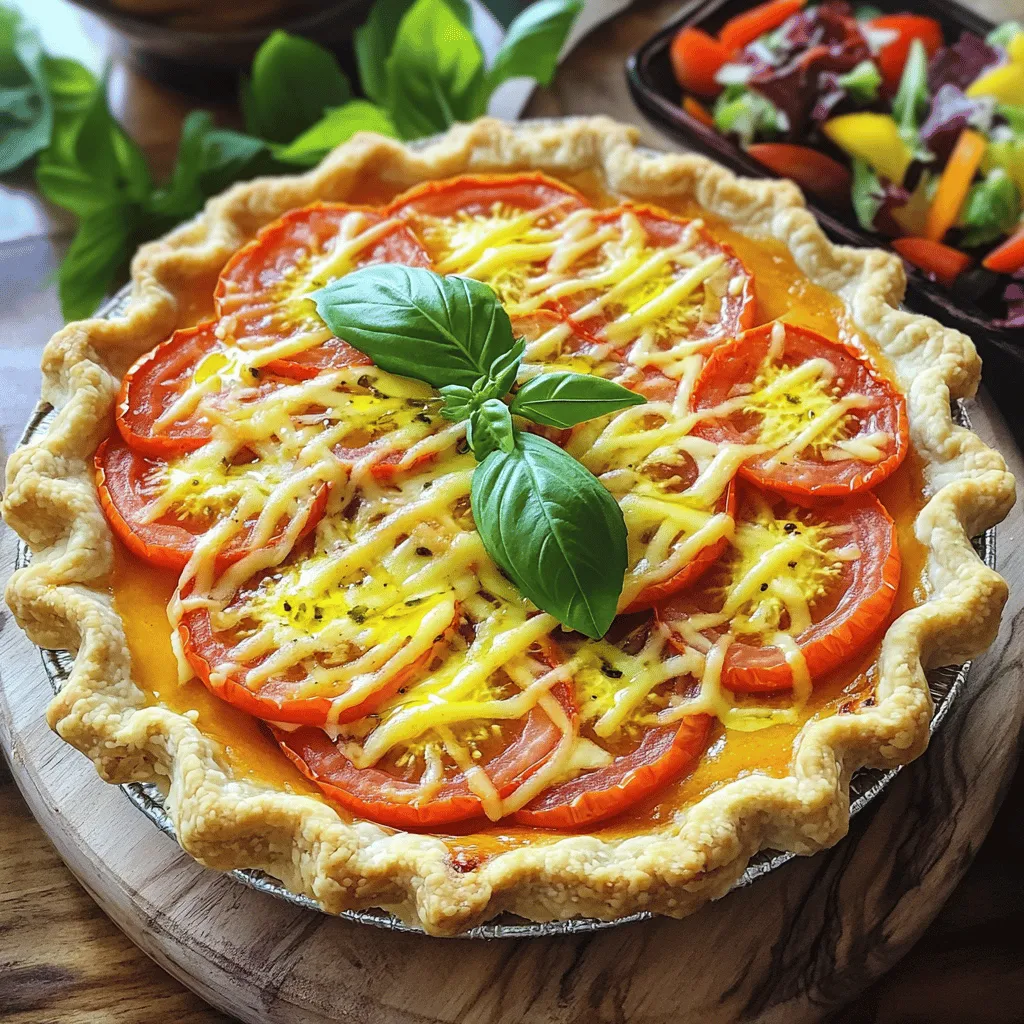
![To make a delicious homemade peach cobbler, you need fresh and simple ingredients. Here’s what you will need: - 6 ripe peaches, pitted and sliced - 1 cup granulated sugar, divided - 1/4 cup brown sugar - 1 tablespoon lemon juice - 1 teaspoon ground cinnamon - 1 teaspoon vanilla extract - 1 cup all-purpose flour - 1 teaspoon baking powder - 1/4 teaspoon salt - 1/2 cup milk - 1/3 cup unsalted butter, melted - 1/4 teaspoon nutmeg (optional) Each ingredient plays a key role in creating the perfect cobbler. The peaches bring sweetness and a juicy texture. The sugars help to caramelize the fruit and create a syrupy filling. Lemon juice brightens the flavor, while cinnamon and vanilla add warmth. The flour, baking powder, salt, and milk form a thick batter that sits atop the peaches. Lastly, melted butter gives richness to the topping. Using ripe peaches is crucial. They should smell sweet and feel slightly soft. If you can’t find fresh peaches, you can use canned ones, but fresh is best for flavor. For the full recipe, check the complete instructions to guide you through the cooking process. Enjoy making your peach cobbler! 1. Preheat your oven to 350°F (175°C). Grease a 2-quart baking dish. 2. In a large bowl, toss the sliced peaches with 1/2 cup of granulated sugar, brown sugar, lemon juice, cinnamon, and vanilla extract. Let this sit for 15 minutes. This helps the peaches blend with the sugars. 3. In another bowl, mix the flour, remaining 1/2 cup sugar, baking powder, salt, and nutmeg if you'd like. Whisk these dry ingredients together. Then, stir in the milk and melted butter. Mix until just combined. The batter will be thick. 1. Pour the peach mixture into the prepared baking dish. Spread it out evenly. 2. Dollop the batter on top of the peaches. Use a knife to swirl the batter with the peaches. This creates a marbled effect that looks great. 1. Place the dish in the oven and bake for about 40-45 minutes. Check for doneness by inserting a toothpick in the center. If it comes out clean, your cobbler is ready. 2. If the top gets too brown, cover it loosely with aluminum foil. After baking, let the cobbler cool for 10 minutes before serving. You can find the detailed instructions in the Full Recipe. Enjoy your homemade peach cobbler! To get the best texture for your cobbler, avoid overmixing the batter. Mix just enough to combine the ingredients. This keeps the batter light and fluffy. Use a swirl technique to create beautiful marbling. After pouring the peach mixture into the baking dish, dollop the batter on top. Then, take a knife and gently swirl it through the peaches. This adds a lovely look and taste. You can add nutmeg and cinnamon to boost the flavor. A little nutmeg gives warmth, while cinnamon adds sweetness. You can also experiment with sweeteners. Try using brown sugar or honey for a different taste. If you want to get creative, think about adding a splash of almond extract or vanilla bean. These variations can make your cobbler even more special. Serve your peach cobbler warm for the best experience. A scoop of vanilla ice cream on top is a classic choice. Whipped cream works well too. For a nice touch, garnish with fresh mint leaves. This not only adds flavor but makes your dish look pretty. Enjoy your cobbler straight from the oven for a cozy dessert! {{image_2}} You can switch up the peaches for other fruits. Try using ripe berries like strawberries or blueberries. Apples also work well in this recipe. Mixing fruits can give your cobbler a fun twist. Imagine biting into a warm cobbler with sweet peaches and tart berries! That unique mix makes every bite exciting. Want a lighter cobbler? You can lower the sugar. Use half the amount of sugar or try natural sweeteners like honey. You can also make it gluten-free. Simply swap the all-purpose flour for almond flour or a gluten-free mix. If you need a dairy-free option, use almond milk and coconut oil instead of butter. These changes keep the dish tasty and light. Spice can take your cobbler to the next level. Adding a pinch of nutmeg or a dash of ginger can enhance the flavor. You might also want to add vanilla extract for extra depth. For a crunchy topping, mix in some chopped nuts or oats. This adds texture and a nutty flavor that pairs well with the sweet fruit. These creative tweaks make your cobbler stand out. For the full recipe, check this link to the Sweet Summer Peach Cobbler. Store leftover cobbler in the fridge. Let it cool down before you store it. Place the cobbler in an airtight container. You can also cover it with plastic wrap. This helps keep the moisture in and the flavors fresh. Leftover peach cobbler can last for about 3-4 days in the fridge. To freeze your cobbler, first, let it cool completely. Cut it into portions for easy serving. Wrap each piece in plastic wrap. Then, place them in a freezer-safe bag or container. Be sure to label it with the date. When you want to eat it, take out a piece and let it thaw in the fridge overnight. You can reheat it in the oven at 350°F for about 20-25 minutes. This warms it up nicely and keeps the crust crisp. Peach cobbler lasts for about 3-4 days in the fridge. If you freeze it, it can last for about 2-3 months. Always check for signs of spoilage. Look for mold or an off smell. If the cobbler looks dry or hard, it’s best to toss it. Enjoy your delightful peach cobbler while it’s fresh, but know you can save it for later! What is the best way to peel peaches for the cobbler? The best way is to blanch them. Boil water and drop the peaches in for about 30 seconds. Then, place them in ice water. The skins will peel off easily. Can I use canned peaches instead of fresh ones? Yes, you can use canned peaches. Drain them well to avoid excess liquid. They may be sweeter, so adjust the sugar in the recipe. How can I make my cobbler crust crispy? To get a crispy crust, make sure to bake it until golden brown. You can also use a bit more butter in the batter for added richness. Is it necessary to let the cobbler cool before serving? Yes, letting it cool for about 10 minutes is best. This allows the juices to settle and makes it easier to serve. Can I substitute the milk in the recipe? Absolutely! You can use almond milk or oat milk for a dairy-free option. Just make sure to keep the same amount. How can I make individual servings of peach cobbler? Use ramekins instead of a large dish. Divide the peach mixture and batter into each ramekin. Bake until golden and bubbly. What size baking dish is best for this recipe? A 2-quart baking dish works perfectly. If you want a thicker cobbler, you can use a smaller dish. What tools do I need to make peach cobbler? You will need a sharp knife for slicing peaches, mixing bowls, a whisk, and a baking dish. How to troubleshoot common cobbler issues? If your cobbler is too soggy, reduce the liquid from the peaches. If it burns on top, cover it loosely with foil while baking. What is the history of peach cobbler? Peach cobbler dates back to the early American settlers. They made it with local fruits and simple ingredients. It remains a beloved dessert today. For the full recipe, check [Full Recipe]. Peach cobbler is a simple and delicious treat. We covered the ingredients needed, how to prepare and bake the dish, and some useful tips. Remember to experiment with different fruits or flavors to make it your own. Don’t forget to store leftovers properly and enjoy them later. With these steps, you’ll impress everyone at your table. Enjoy your sweet creation!](https://grilledflavors.com/wp-content/uploads/2025/06/b523d076-3e34-4872-aa9e-d6a8f50ca3b5.webp)