Garlic Butter Roasted Mushrooms Perfectly Flavorful Dish
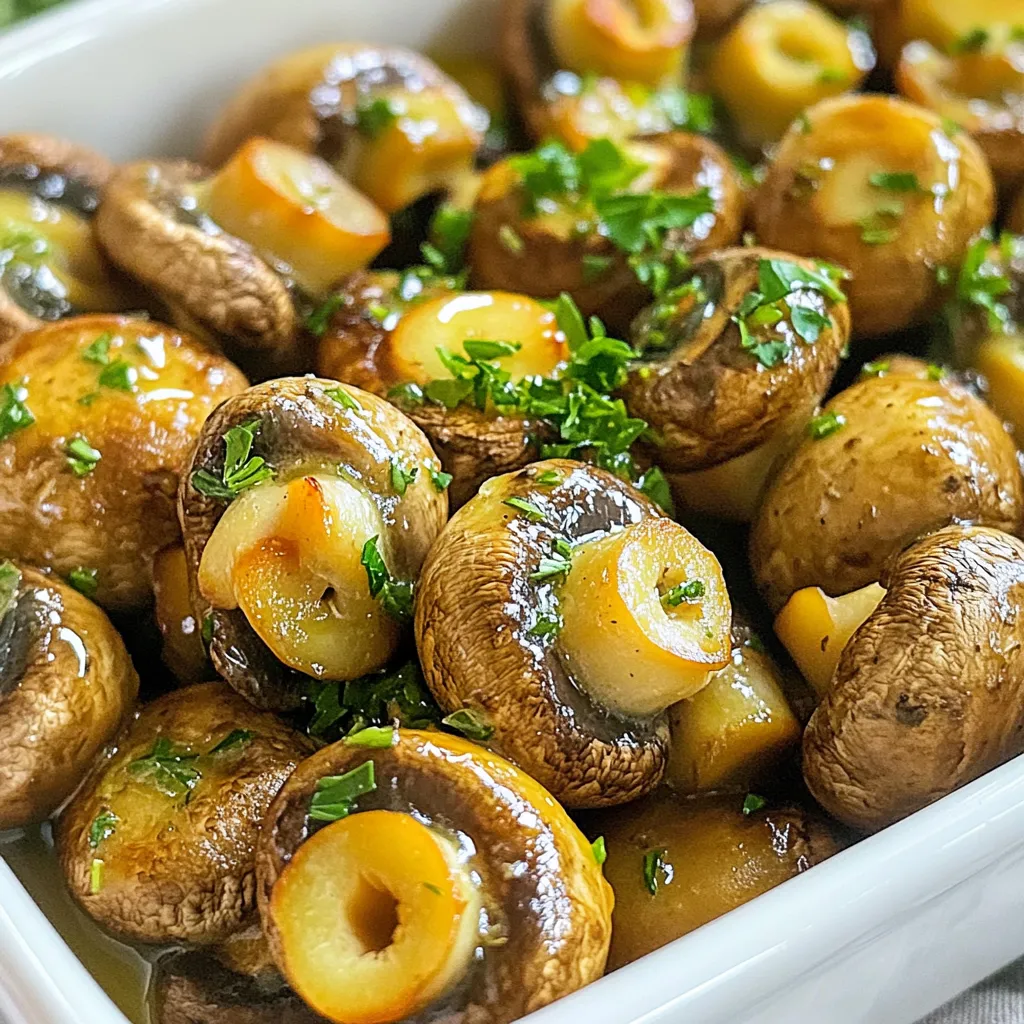
If you crave a dish that’s bursting with flavor, garlic butter roasted mushrooms are the answer. This simple recipe transforms ordinary mushrooms into an irresistible side. With just a few …