Cajun Shrimp Rice Skillet Flavorful One-Pan Meal
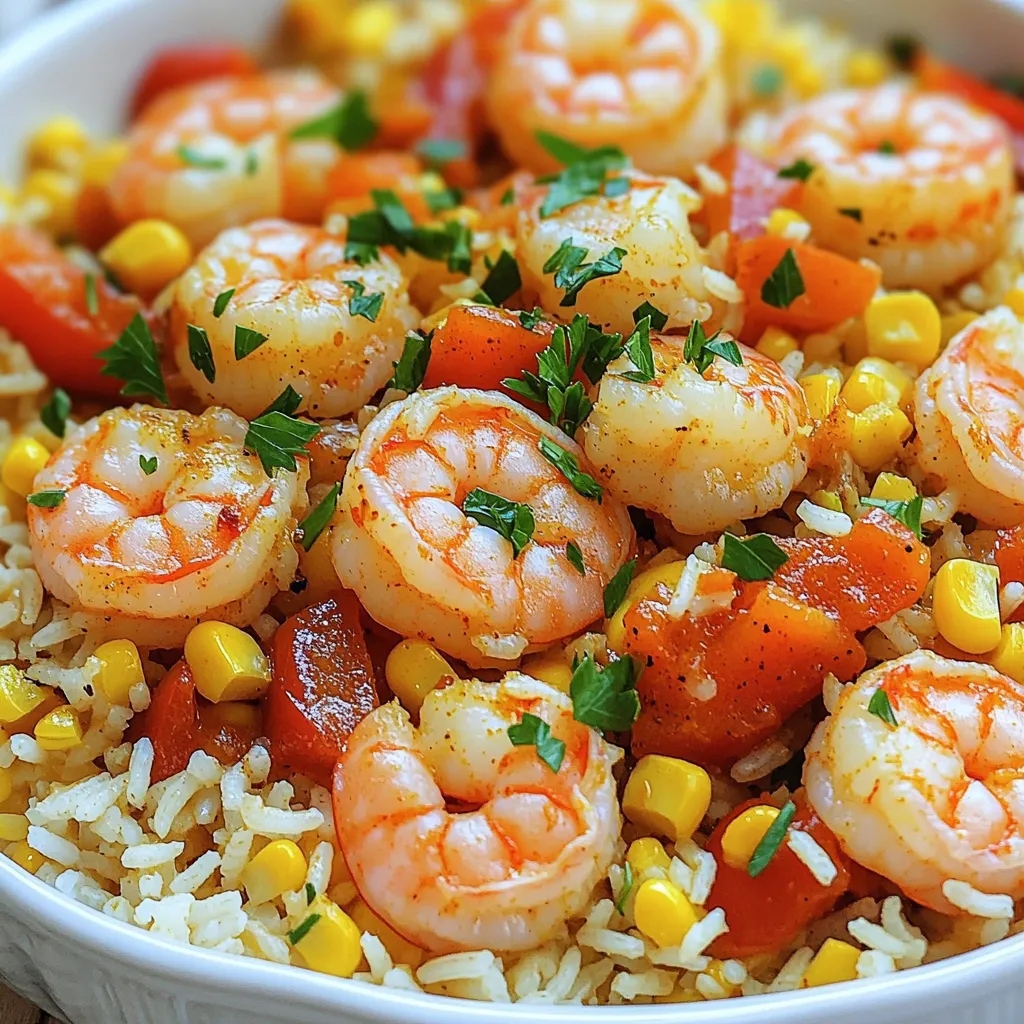
Looking for a meal that’s bursting with flavor and easy to make? You’ll love this Cajun Shrimp Rice Skillet! In just one pan, you can whip up a tasty dish …
Looking for a meal that’s bursting with flavor and easy to make? You’ll love this Cajun Shrimp Rice Skillet! In just one pan, you can whip up a tasty dish …
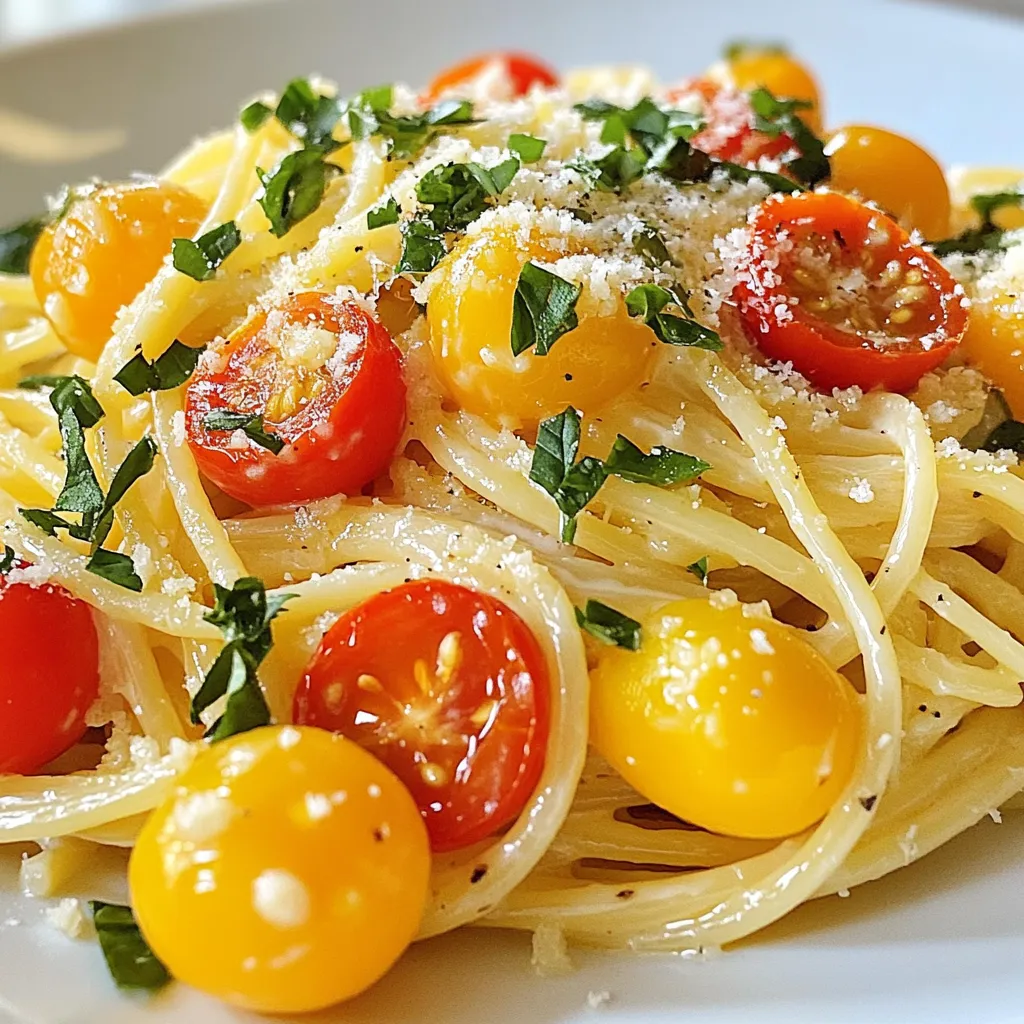
If you crave a dish that’s both simple and tasty, you’ll love Cream Cheese Spaghetti. This creamy, savory meal is perfect for busy nights or cozy weekends. With just a …
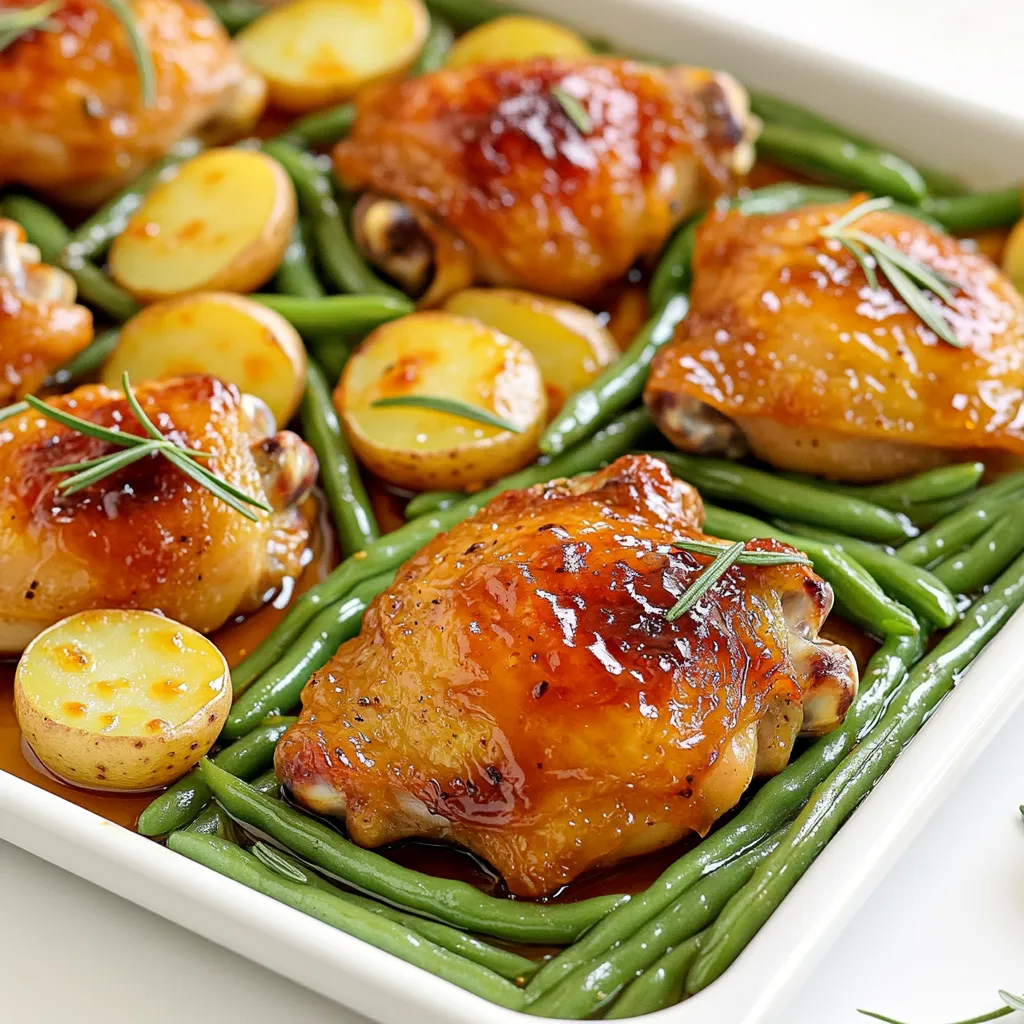
If you love quick and tasty dinners, you need to try my Honey Mustard Chicken Thighs Sheet-Pan Delight. This meal combines juicy chicken thighs and fresh veggies, all cooked in …
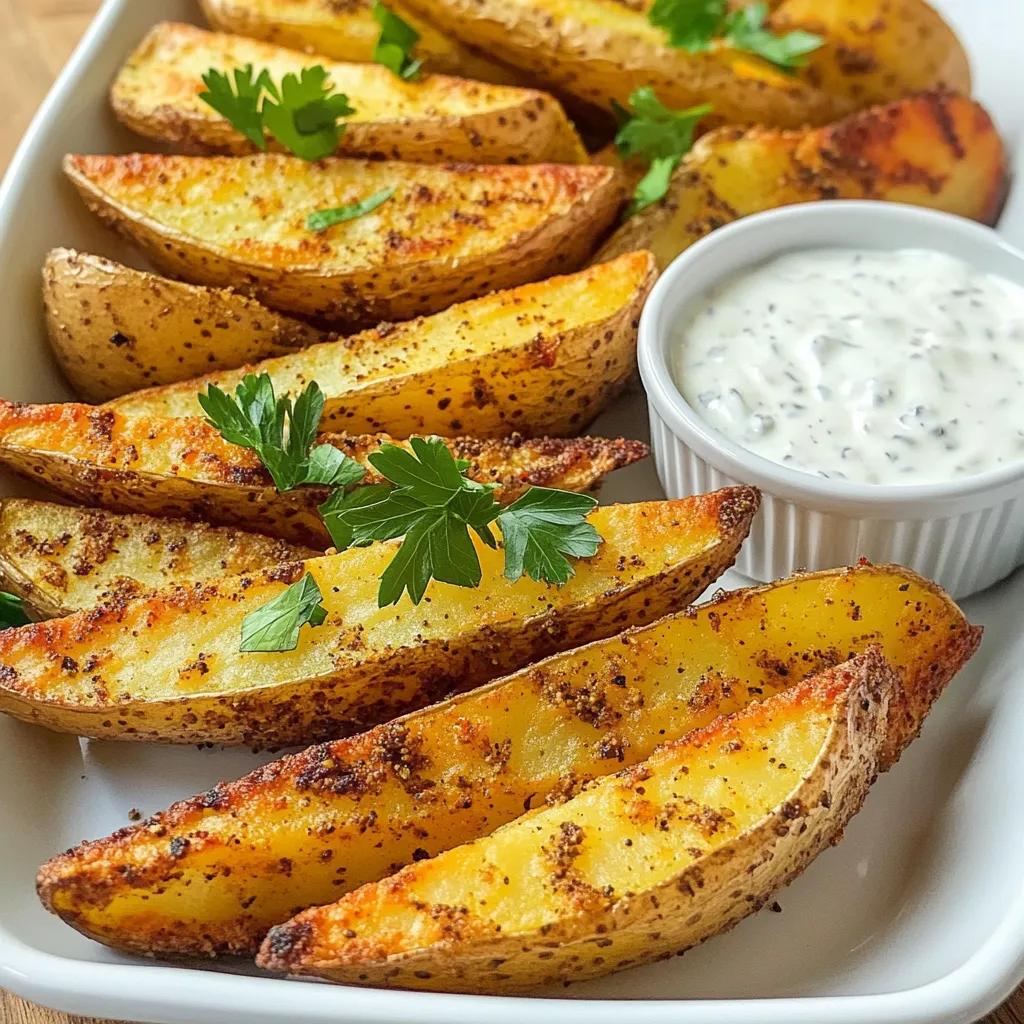
Get ready to spice up your snack game with Air Fryer Cajun Potato Wedges! These crispy, flavorful bites pack a punch and are super easy to make. I’ll guide you …
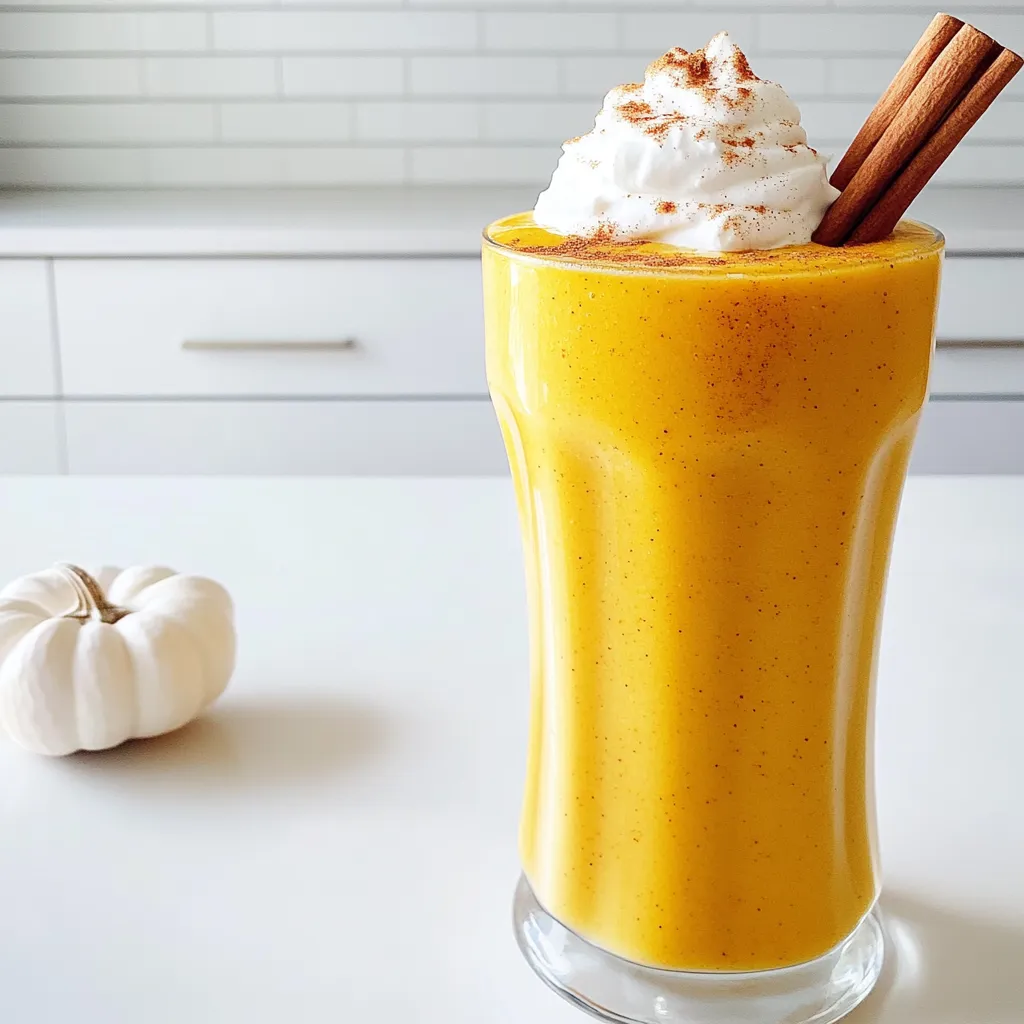
If you’re craving the warm flavors of fall but need a healthy boost, I’ve got the perfect treat for you! My Cozy Pumpkin Pie Protein Smoothie combines rich pumpkin and …
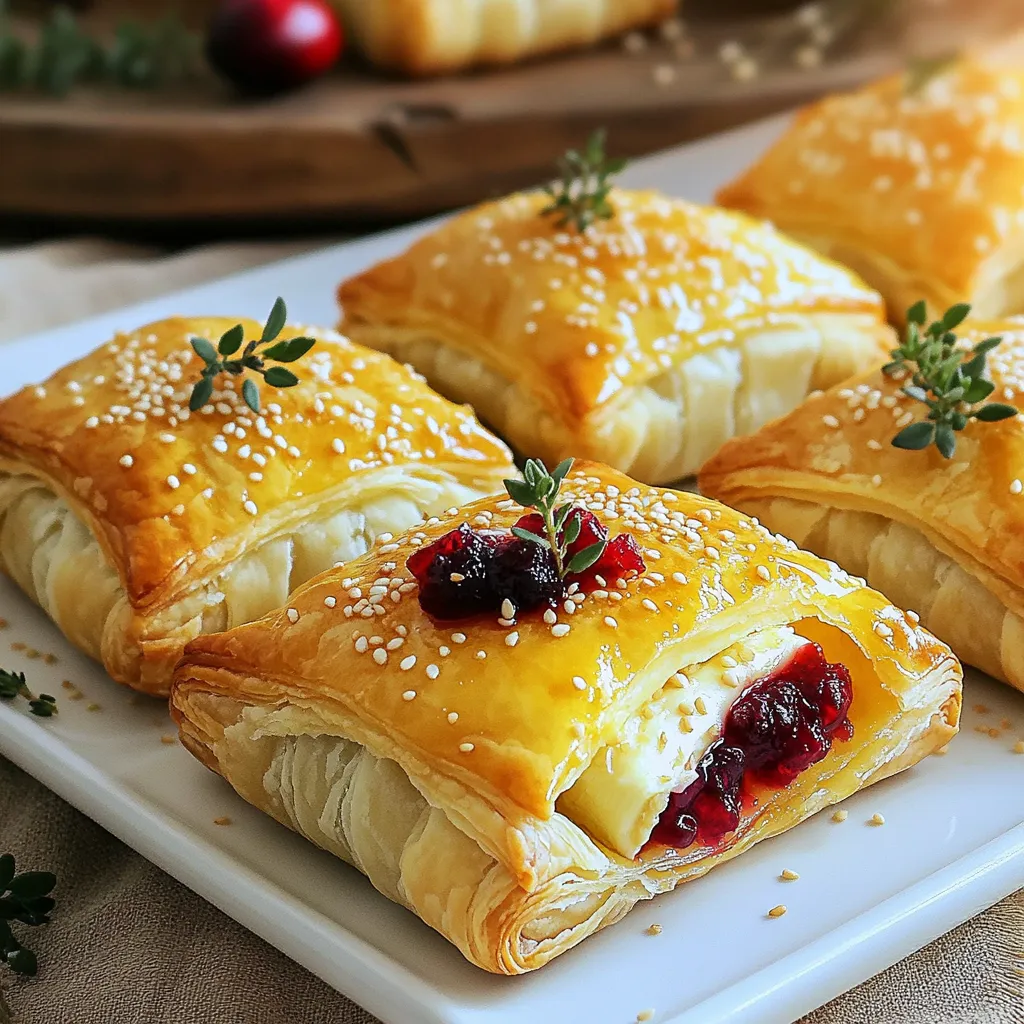
If you’re looking for a simple yet delicious appetizer, this Savory Brie and Cranberry Puff Pastry Bites recipe is for you! Imagine golden, flaky pastry filled with creamy brie and …
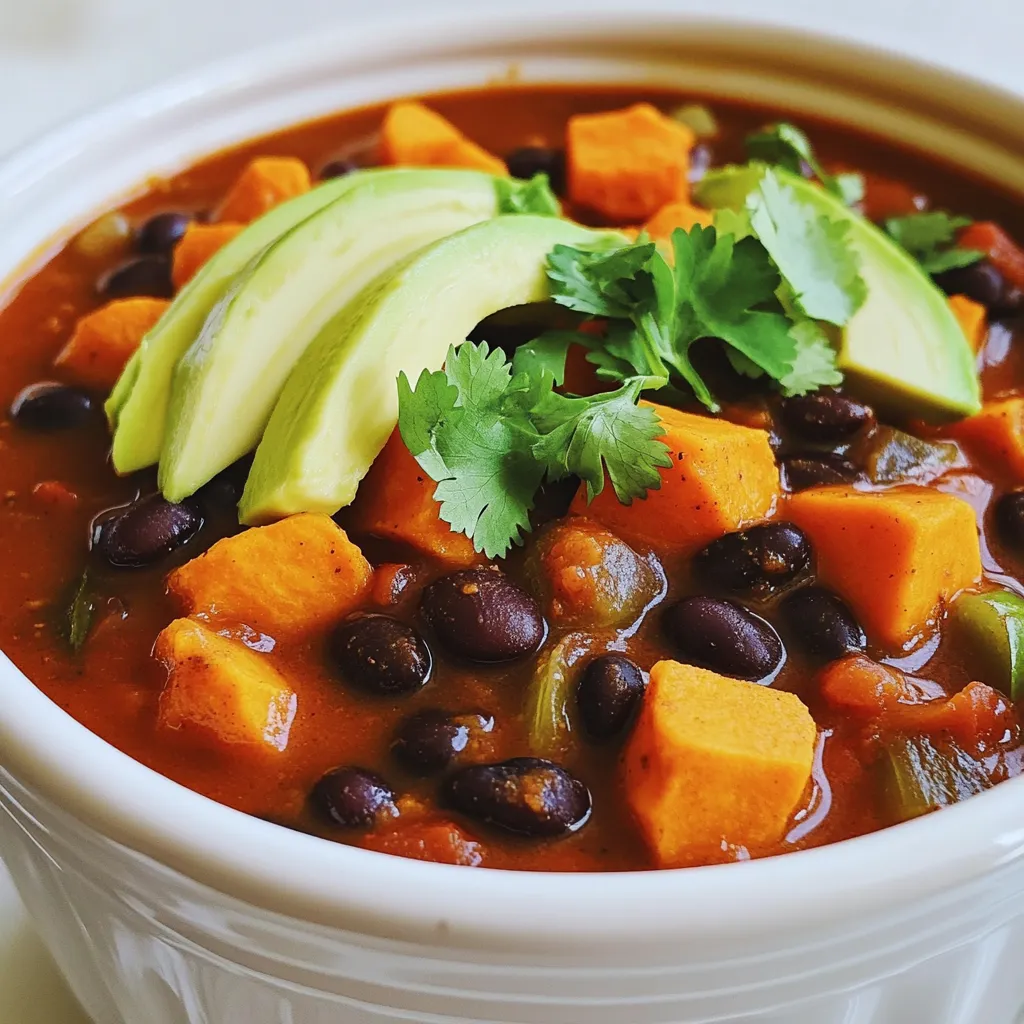
Warm up your kitchen with my Slow Cooker Sweet Potato Black Bean Chili Delight! This hearty dish is perfect for any day. You’ll enjoy rich flavors and smooth textures with …
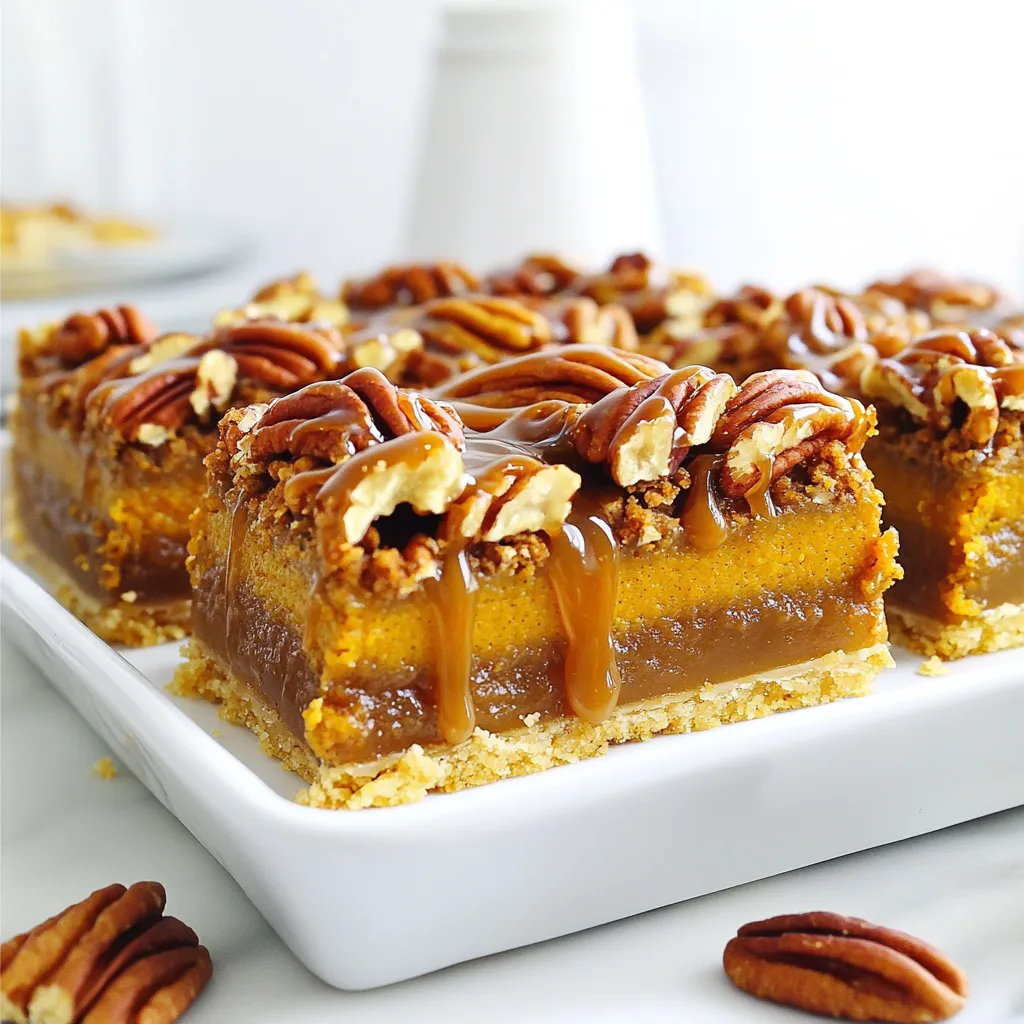
Get ready to enjoy a festive twist on dessert with my Caramel Pecan Pumpkin Pie Bars! These bars blend rich pumpkin flavor with sweet caramel and crunchy pecans, making them …
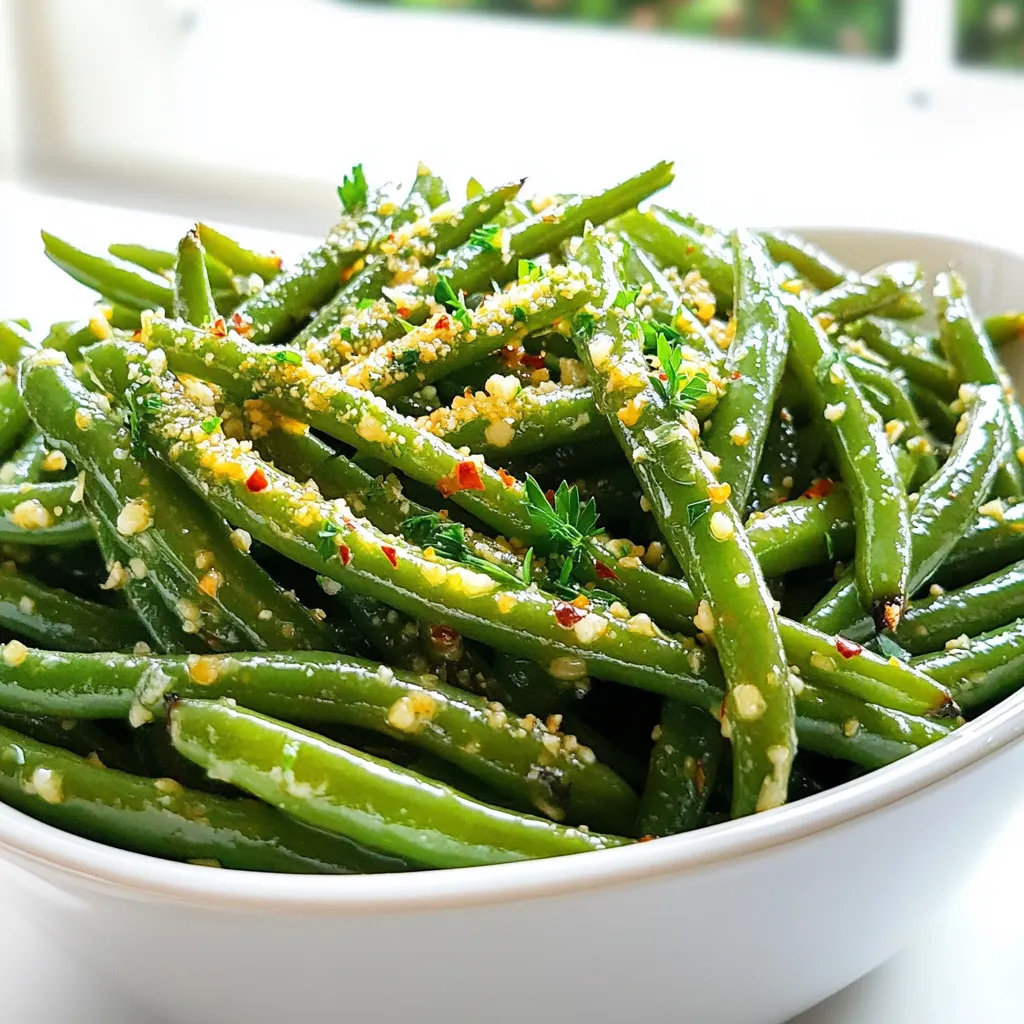
If you want a quick and tasty side dish, you’ve come to the right place! In this post, I’ll show you how to make Air Fryer Crispy Garlic Parmesan Green …
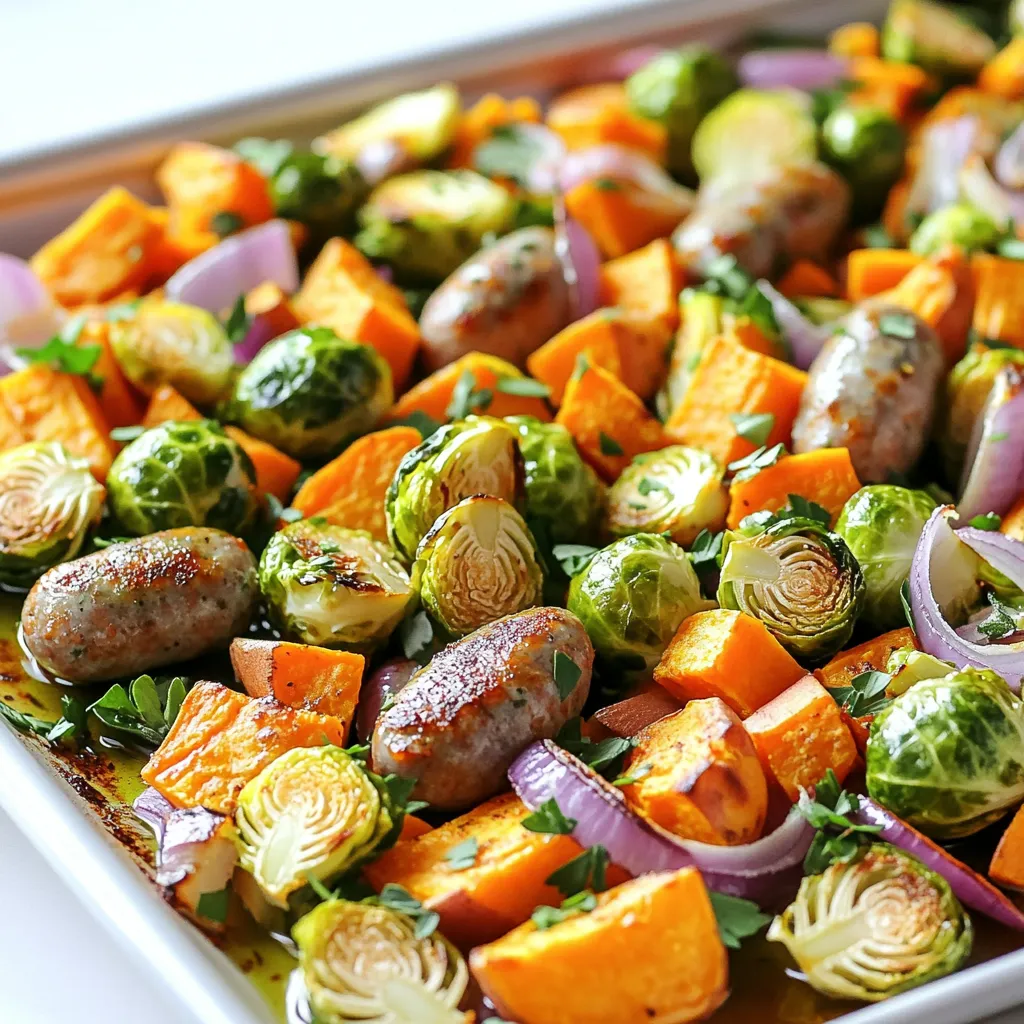
Welcome to a cozy dinner idea that’s perfect for fall! In this post, I’ll show you how to create delicious sheet-pan roasted sausage with seasonal vegetables. This simple dish balances …