Refreshing Watermelon Pineapple Salad Easy Summer Dish
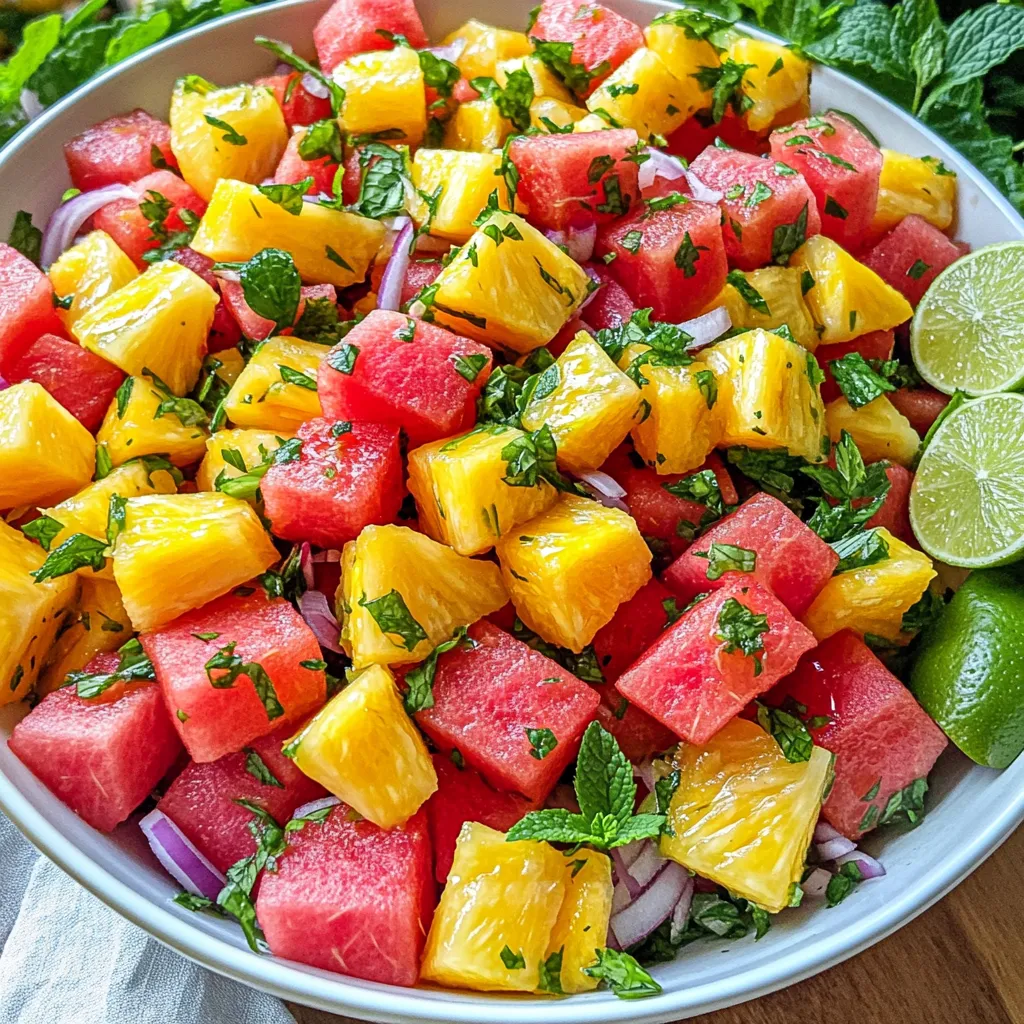
Are you ready to beat the summer heat with a cool twist? My Refreshing Watermelon Pineapple Salad is the perfect easy dish for any sunny day. Bursting with juicy watermelon …
Are you ready to beat the summer heat with a cool twist? My Refreshing Watermelon Pineapple Salad is the perfect easy dish for any sunny day. Bursting with juicy watermelon …
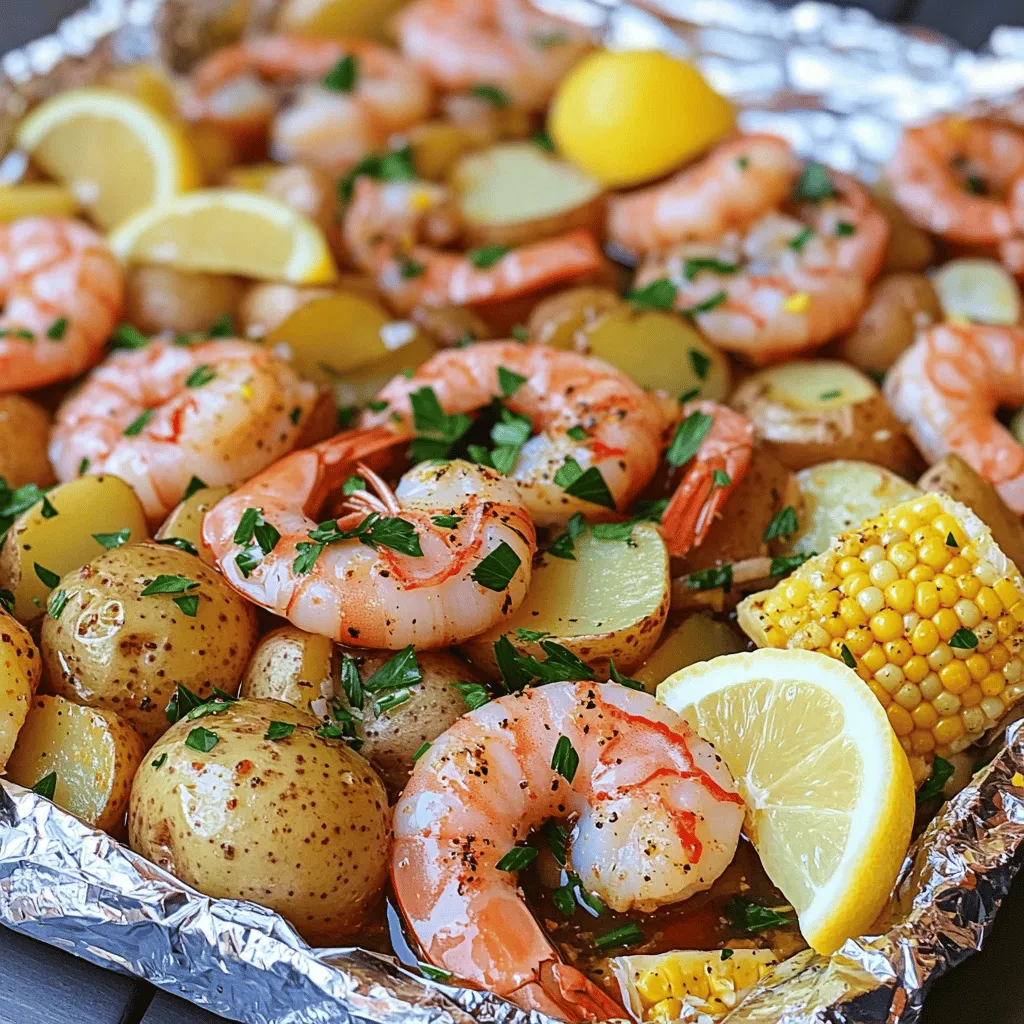
Are you ready for a meal that’s packed with flavor and super easy to make? Shrimp boil foil packs are the perfect solution! You get tender shrimp, sweet corn, and …
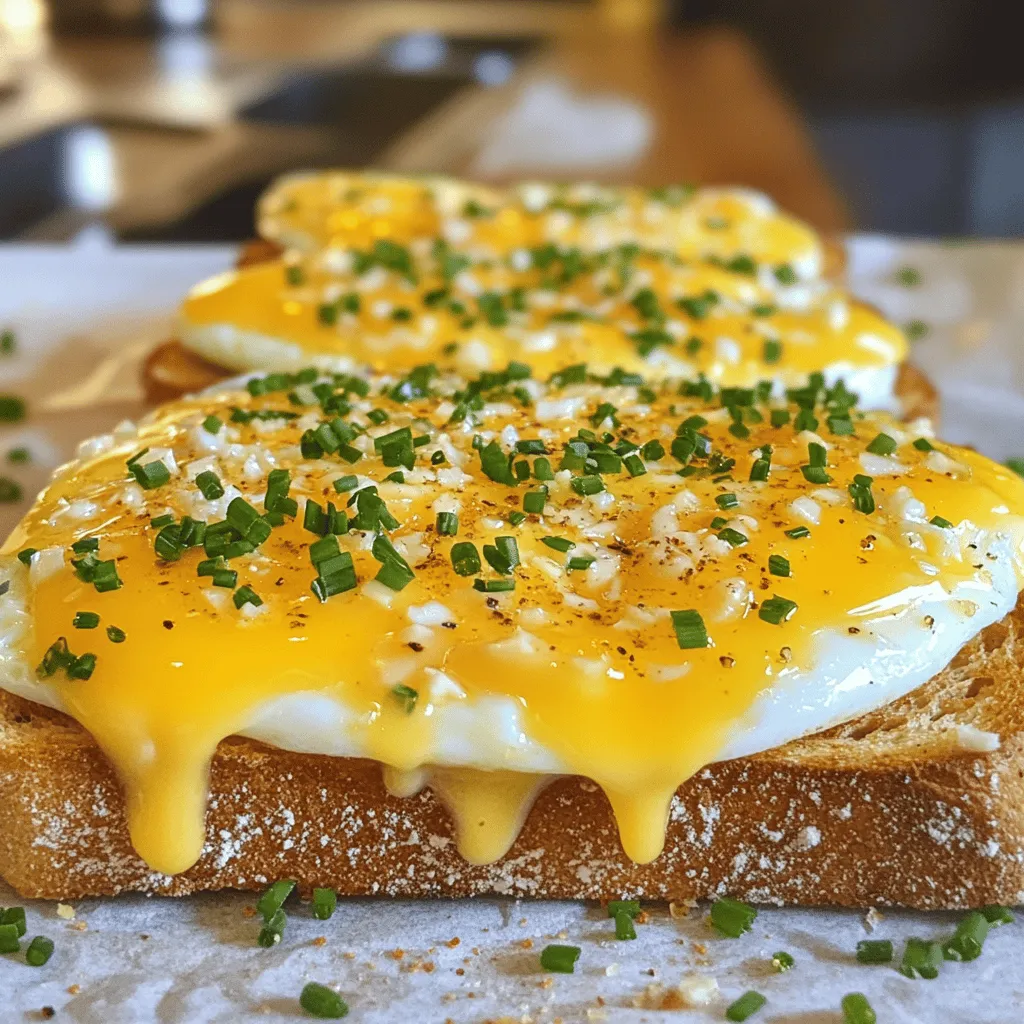
Looking for a quick and tasty breakfast? My Savory Air Fryer Egg and Cheese Toast recipe is just what you need! With simple ingredients like whole grain bread, eggs, and …
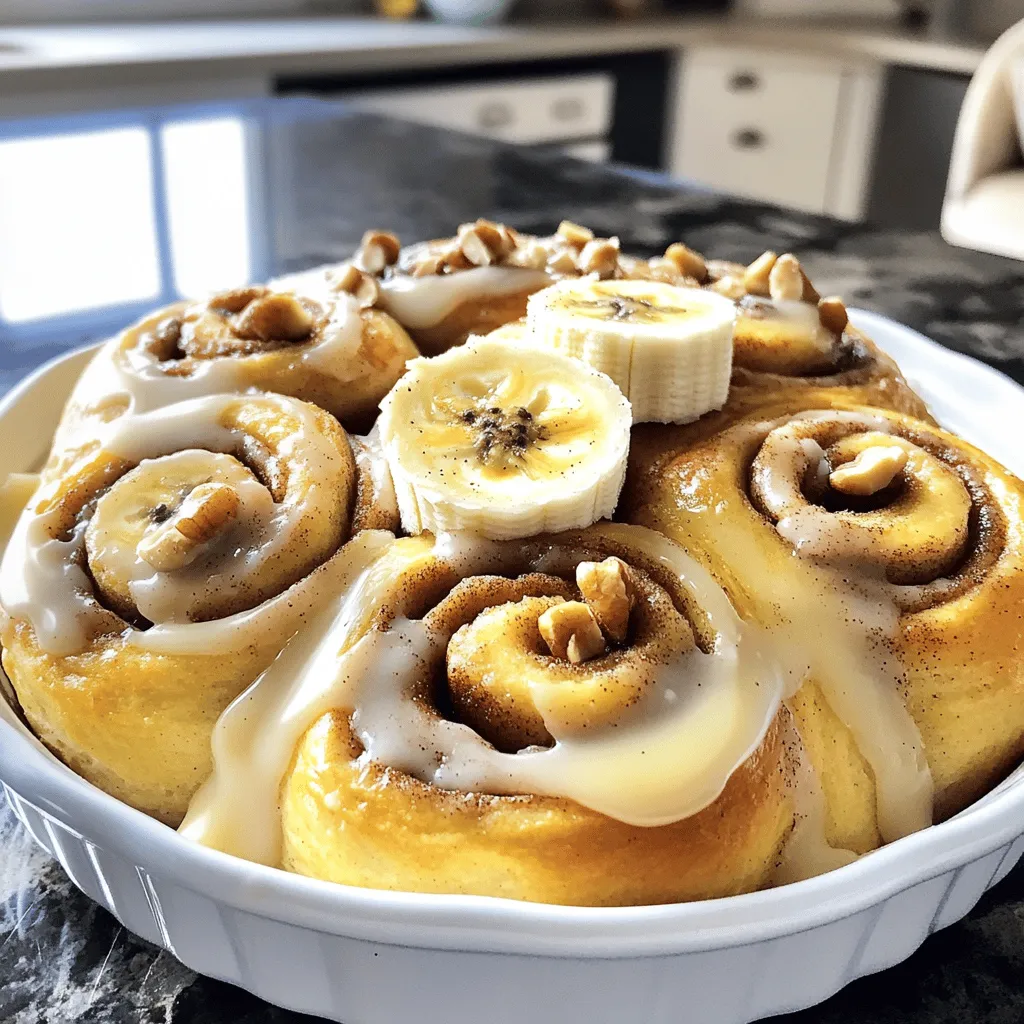
Are you ready to treat yourself to an amazing twist on two classic favorites? In this article, I’ll share my delightful and easy recipe for banana bread cinnamon rolls. You’ll …

Are you ready for a treat that combines two of your favorite desserts? Fried Strawberry Cheesecake Sandwiches are a delightful mix of sweet cream cheese and fresh strawberries, all wrapped …

Ready to impress your brunch guests? This Overnight Crème Brûlée French Toast Delight Recipe brings a gourmet twist to your morning. Soft brioche bread, creamy custard, and a sugar-crusted topping …
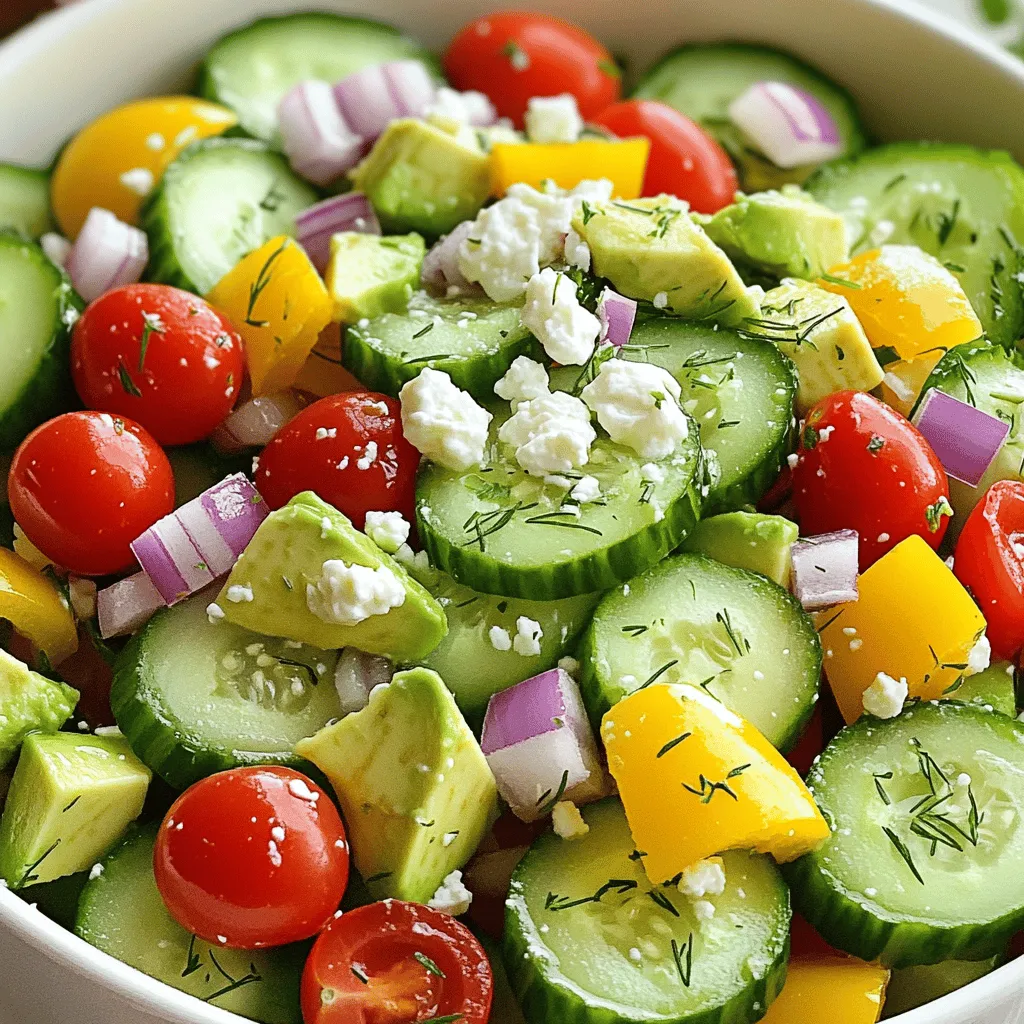
Looking for a fresh and tasty snack? Try my Cucumber Snack Bowl! It’s crisp, colorful, and packed with flavors. With easy steps, you’ll combine cucumber, cherry tomatoes, and avocado, topped …
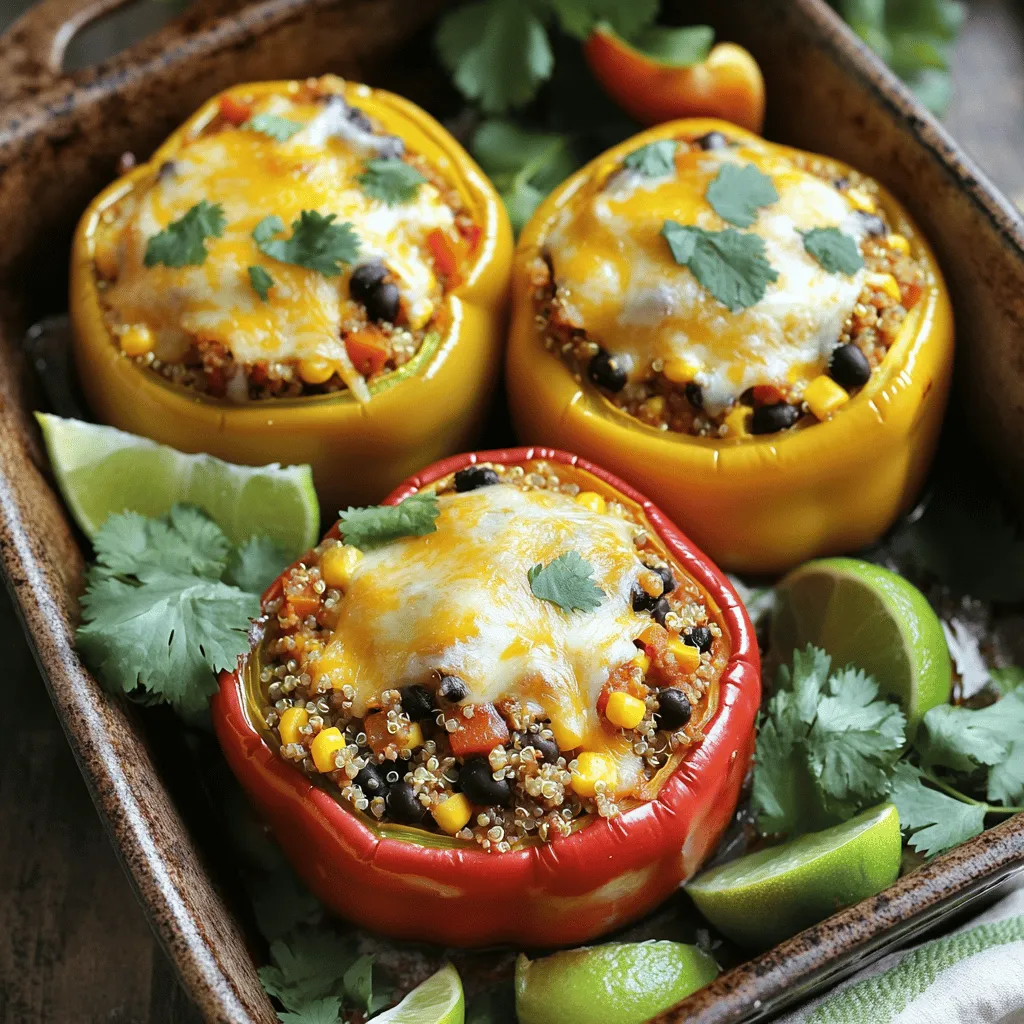
![- 2 cups cooked chicken breast, shredded - 1 can (15 oz) black beans, rinsed and drained - 1 cup corn kernels (fresh or frozen) - 1 red bell pepper, diced - Additional salad toppings: 1 avocado, diced; 1 cup cherry tomatoes, halved; ¼ cup cilantro, chopped For this salad, I love using fresh and colorful ingredients. The shredded chicken provides protein and a hearty feel. Black beans add fiber and a nice texture. Corn kernels bring a sweet crunch. Diced red bell pepper adds a pop of color and flavor. Toppings like diced avocado and halved cherry tomatoes enhance the salad's freshness. Finally, cilantro ties everything together with its unique taste. - 3 tablespoons lime juice - 3 tablespoons olive oil - 1 teaspoon chili powder - 1 teaspoon cumin - Salt and pepper to taste A great salad needs a good dressing. Here, I mix lime juice and olive oil for brightness. Chili powder and cumin add warmth and depth. Salt and pepper ensure the flavors pop. This dressing is simple but so effective. It makes the salad sing with flavor. - ½ cup tortilla strips (for garnish) Tortilla strips add a fun crunch. They are a great optional garnish for this dish. When you sprinkle them on top, they give the salad a nice finish. You can skip them if you want a lighter option. But I think they are worth it for the extra texture. For the full recipe, check out the details provided. Enjoy making this vibrant salad! - Combine all salad ingredients in a large mixing bowl. - Whisk together dressing ingredients in a small bowl. Start by taking your cooked chicken and shredding it. I like to use rotisserie chicken for ease and flavor. Then, add the black beans, corn, diced red bell pepper, red onion, avocado, cherry tomatoes, and chopped cilantro to the mixing bowl. Each bite will burst with flavor! Next, grab a small bowl to prepare the dressing. Add the lime juice, olive oil, chili powder, cumin, salt, and pepper. Whisk until everything blends well. This dressing adds a zesty kick that ties the salad together. - Pour dressing over salad mixture and gently toss. - Let the salad sit to meld flavors. Once the dressing is ready, pour it over the salad mixture. Use a large spoon to gently toss everything together. You want to coat each ingredient without mashing them. After tossing, let the salad sit for about 10 minutes. This waiting time allows the flavors to meld. It’s worth the wait as it brings out the best in each ingredient. - Serve in bowls or on a platter with tortilla strips. When it’s time to serve, you can dish it up in individual bowls or arrange it on a large platter. For that extra crunch, top with tortilla strips. These add a nice texture that complements the creamy avocado and juicy tomatoes. Enjoy your vibrant, zesty Southwest chicken salad! For the full recipe, check out the details above. - Use different proteins like grilled shrimp or tofu. - Substitute lime juice with lemon for a different twist. If you want variety, shrimp or tofu can add new flavors. Shrimp gives a sweet taste, while tofu offers a hearty bite. Lemon juice can brighten the salad in a new way. Switch it up and see what you like best! - Adjust the spice level with extra chili powder or jalapeños. - Allowing the salad to chill before serving for better flavor infusion. Want more heat? Add extra chili powder or fresh jalapeños. This helps the salad have a nice kick. Chilling the salad also helps blend the flavors. I often let it sit for at least ten minutes before serving. You’ll taste the difference! - Arrange with colorful seasonal veggies for visual appeal. - Use a variety of bowls to enhance the dining experience. Make your salad look amazing! Use bright veggies like carrots or radishes. They add color and crunch. Choose fun bowls to serve it in. This can make your meal feel extra special. A great look makes the dish taste even better! For the full recipe, check out the [Full Recipe]. {{image_2}} You can change the protein in this salad to fit your taste. - Swap chicken for shredded beef or turkey. - Use chickpeas for a vegetarian option. They add protein and fiber. Dressing can change the whole taste of the salad. - Experiment with a creamy avocado dressing instead. It adds a rich texture. - Add honey or agave for a touch of sweetness. This can balance the spice. Pairing your salad with sides can make it a full meal. - Serve with tortilla chips or a side of guacamole for crunch. - Pair with a refreshing fruit salad for a complete meal. This adds color and flavor. Feel free to try these ideas to make the Zesty Southwest Chicken Salad your own! For the full recipe, check the earlier section. Store your Zesty Southwest Chicken Salad in an airtight container. This keeps it fresh and tasty. It is best to eat it within 3 days. You can freeze the chicken salad components separately. Freeze the chicken, beans, and veggies in different bags. This helps keep their taste and texture. When ready to eat, thaw them in the fridge overnight. This way, you will enjoy the best texture and flavor. This salad is best served cold. I recommend avoiding reheating. It helps to keep the crunch and flavor of the ingredients. Enjoy it fresh for a delightful experience. For the complete recipe, check out the Full Recipe. Typically retains quality for up to 3 days when properly stored. Keep it in an airtight container. This helps the flavors stay fresh. Yes, for best results, prepare dressing separately and combine before serving. This keeps the salad crunchy. You can mix it right before eating. Kidney beans or pinto beans can be used as alternatives. Both add similar texture and taste. Choose what you have on hand. Packed with protein and vegetables, it's a nutritious choice for balanced meals. The chicken and beans boost protein. The veggies add vitamins. Incorporate diced jalapeños or increase the chili powder amount. Both options add a nice kick. Adjust to your heat level preference. For the full recipe, check out the details above and enjoy this tasty treat! This Zesty Southwest Chicken Salad is a crowd-pleaser. You learned about key ingredients, step-by-step prep, and tasty variations. Remember, you can switch proteins or dressings to suit your taste. Serving cold enhances flavor. Store it right to keep it fresh. Enjoy this healthy, fun dish at your next gathering. It’s simple, colorful, and full of bold flavors. Make it your own and impress everyone!](https://grilledflavors.com/wp-content/uploads/2025/05/b2370277-3f26-4719-9a03-778e287f692e.webp)
Looking for a fresh and flavorful dish? My Zesty Southwest Chicken Salad is just what you need! Packed with tender chicken, black beans, and a burst of zesty lime, it’s …
Looking for a simple yet tasty dinner? Ground Turkey and Peppers is the answer! This delicious meal is packed with lean protein and colorful veggies, making it perfect for the …
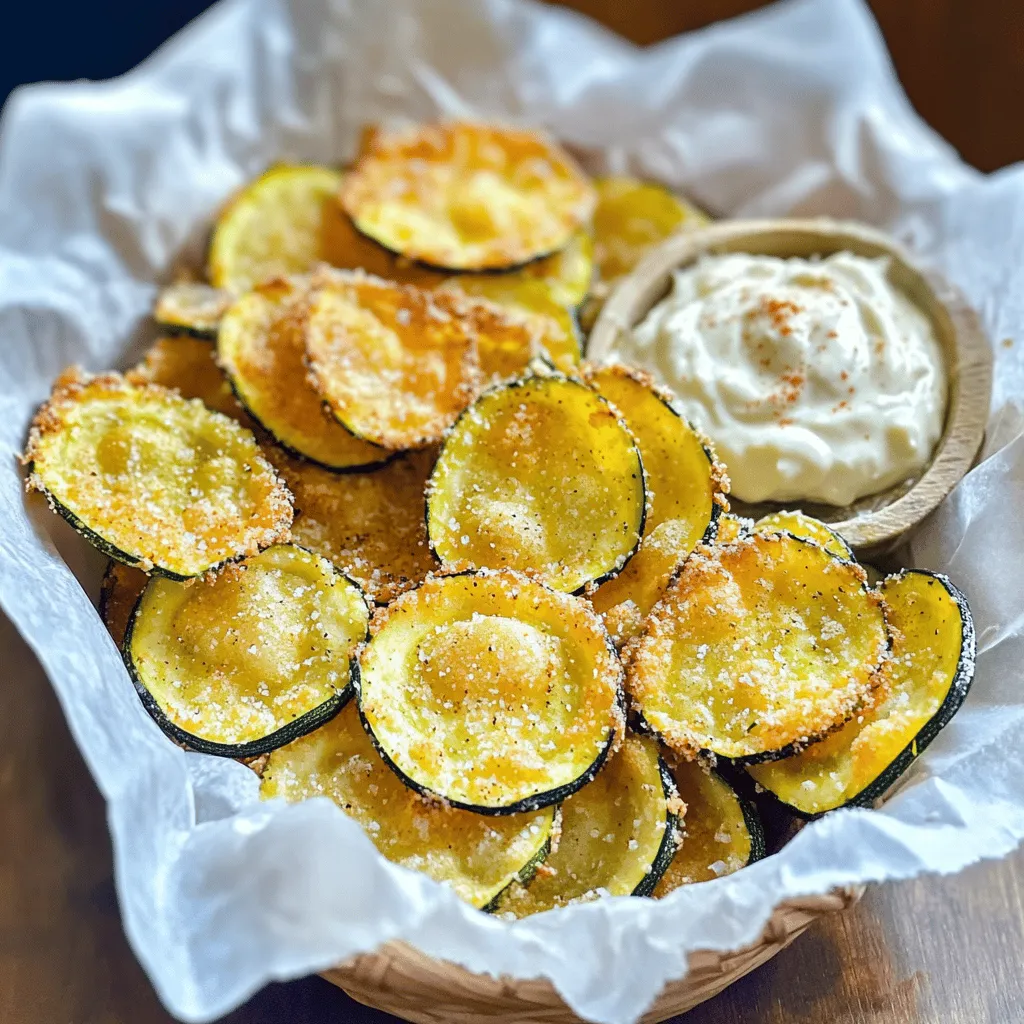
Are you ready to discover your new favorite snack? Crunchy Zucchini Chips are simple to make and utterly delicious. With just a few basic ingredients like zucchini, panko, and parmesan, …