Brown Sugar Pineapple Chicken Flavorful and Easy Meal
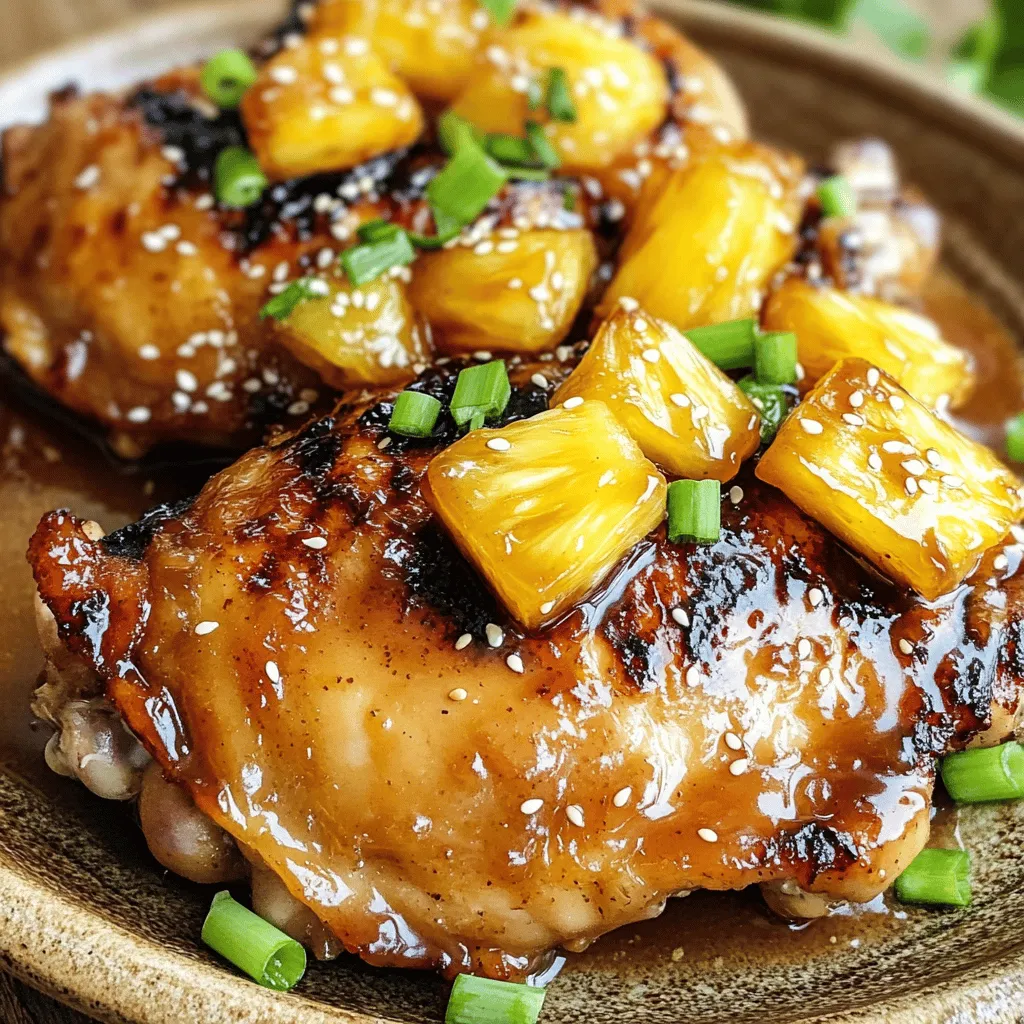
Looking for a quick and tasty meal? Brown Sugar Pineapple Chicken is here to save the day! This dish brings sweet and savory flavors together, delighting your taste buds. In …
Looking for a quick and tasty meal? Brown Sugar Pineapple Chicken is here to save the day! This dish brings sweet and savory flavors together, delighting your taste buds. In …
![- 2 cups cooked chicken breast, shredded - 1 ripe avocado, mashed - 1 cup shredded lettuce - 1 cup diced tomatoes - ½ cup shredded cheese (cheddar or Mexican blend) - 4 large flour tortillas The chicken is the star of this dish. You can use any leftover chicken or cook fresh chicken breasts. Shred it finely for the best texture. A ripe avocado adds creaminess and healthy fats. Fresh produce like lettuce and tomatoes adds crunch and freshness. The cheese brings a rich flavor that blends well with the ranch dressing. - ½ cup ranch dressing - 1 tablespoon lime juice - Salt and pepper to taste Ranch dressing gives the burritos a tasty kick. The lime juice brightens the flavors and balances the richness of the avocado. Salt and pepper are key to enhancing the taste. Mix these ingredients well into the chicken and avocado for a great flavor base. - Fresh cilantro - Additional toppings like salsa or chips Fresh cilantro adds a burst of flavor and color. You can also serve your burritos with salsa or tortilla chips for added crunch. These garnishes aren't just pretty; they also boost the taste and make your meal more fun. For the full recipe, check out Chicken Avocado Ranch Burritos. Start by mixing the ingredients in a large bowl. Combine 2 cups of shredded chicken, 1 ripe avocado, and ½ cup of ranch dressing. Add 1 tablespoon of lime juice for zest. Stir until the mixture is smooth and creamy. Now, season with salt and pepper to taste. This step is key for a balanced flavor. Lay one large flour tortilla flat on your clean surface. Spoon about ½ cup of the chicken mixture right in the center. Next, add a handful of shredded lettuce, some diced tomatoes, and a sprinkle of cheese. Fold the sides of the tortilla over the filling. Then, roll it from the bottom up, tucking in the filling as you go. Repeat this for the remaining tortillas. For a crispy finish, use a skillet. Heat it over medium heat. Place the burritos seam-side down in the skillet. Cook for about 2-3 minutes on each side. Look for a golden-brown color. This method ensures even cooking, making your burritos delicious and crunchy. Enjoy your Chicken Avocado Ranch Burritos with extra ranch dressing drizzled on top. Check the Full Recipe for more details. To boost the taste of your Chicken Avocado Ranch Burritos, you can add spices or herbs. Try cumin or smoked paprika for warmth. Fresh herbs like cilantro or parsley also add brightness. Using different types of cheese can change the flavor and texture. Cheddar gives a sharp taste, while pepper jack adds a kick. Mixing cheeses can create a fun twist! Rolling burritos can be tricky. A common mistake is overfilling them. Keep the filling to about half a cup to make rolling easy. Make sure to fold the sides in before rolling from the bottom up. This keeps the filling inside. You also want to ensure a good balance of filling. Too much meat or too much lettuce can make it hard to eat. Aim for even layers for the best bite. For a fun meal, serve your burritos with sides like chips or salsa. Crispy tortilla chips pair well with the creamy ranch. You can also add a fresh salsa for extra flavor. A side salad can lighten up the meal too. {{image_2}} You can make simple swaps for a healthier burrito. Instead of ranch dressing, try Greek yogurt. It adds creaminess and protein. You can also use homemade ranch with herbs and yogurt. For a plant-based option, swap out the chicken for tofu or beans. Both options provide great texture and flavor. Want to spice things up? Add jalapeños to your filling for a kick. You can also mix in spices like cumin or smoked paprika. For cheese, try different blends. Pepper jack adds heat, while mozzarella gives a milder taste. Experimenting with cheese can change the whole flavor. Need gluten-free options? Use corn tortillas instead of flour. They work well and hold the filling nicely. If you're vegan, skip the chicken and cheese. Use black beans or lentils for protein. You can also use avocado and veggies to keep it tasty and filling. To keep your leftover burritos tasty, wrap each one in foil or plastic wrap. Place them in an airtight container. This helps keep them fresh in the fridge. You can store them this way for up to three days. After that, the flavors may fade. If you want to save burritos for a longer time, freezing is a great option. Start by letting them cool completely. Wrap each burrito tightly in foil or plastic wrap, then place them in a freezer-safe bag. This method helps prevent freezer burn. You can freeze them for up to three months. When you’re ready to eat, take a burrito out and thaw it in the fridge overnight. To reheat, you can use the microwave or a skillet. Heat until warm all the way through. The key ingredients in your Chicken Avocado Ranch Burritos have different shelf lives. Cooked chicken breast lasts about three to four days in the fridge. Avocados can be tricky; they stay fresh for one to two days once cut. Shredded lettuce and diced tomatoes are best used within two to three days. Tortillas can last for weeks if kept sealed and dry. Using fresh ingredients helps keep your burritos flavorful and safe to eat. To make Chicken Avocado Ranch Burritos, follow these steps: 1. Mix the Filling: In a bowl, combine 2 cups of shredded chicken, 1 mashed avocado, 1 tablespoon of lime juice, and ½ cup of ranch dressing. Stir it well and add salt and pepper to taste. 2. Prepare the Tortillas: Lay out a flour tortilla on a clean surface. Spoon about ½ cup of the chicken mixture in the center. 3. Add Toppings: Top the mixture with 1 cup of shredded lettuce, 1 cup of diced tomatoes, and ½ cup of shredded cheese. 4. Roll the Burrito: Fold the sides of the tortilla inward, then roll it from the bottom up to seal the filling. 5. Cook for Crispiness: Heat a skillet over medium heat. Place the burritos seam-side down and cook for 2-3 minutes on each side until golden brown. 6. Serve: Let them rest for a minute, slice in half, and enjoy! Yes, you can prepare these burritos ahead of time. Here are some tips: - Assemble and Wrap: Prepare the burritos as directed but do not cook them. Wrap them tightly in foil or plastic wrap. - Refrigerate: Store them in the fridge for up to 24 hours. - Freezing: For longer storage, freeze wrapped burritos. They can last up to 3 months in the freezer. - Reheat: When ready to eat, thaw in the fridge overnight. Heat in a skillet or microwave until warmed through. You can enhance your burritos with various ingredients. Consider these options: - Spicy Elements: Add sliced jalapeños for heat. - Beans: Black beans or pinto beans boost protein and fiber. - Cheese Varieties: Experiment with different cheese, like pepper jack or feta. - Fresh Herbs: Include chopped cilantro or green onions for brightness. Yes, Chicken Avocado Ranch Burritos can be healthy, but consider these factors: - Nutritional Balance: They provide protein from chicken, healthy fats from avocado, and fiber from veggies. - Dressing Choices: Use a lighter ranch dressing or Greek yogurt for fewer calories. - Portion Control: Keep burrito sizes reasonable to manage calorie intake. - Swaps: Use whole wheat tortillas or add more veggies for added nutrition. For the complete recipe, check out the [Full Recipe]. In this post, we covered how to make Chicken Avocado Ranch Burritos. We discussed key ingredients like chicken, avocado, and tortillas. You learned seasoning tips and steps to prepare, assemble, and cook the burritos. I shared ways to enhance flavor and texture, plus possible ingredient swaps for health. These burritos are not just tasty; they are easy to customize. Try different variations, store leftovers properly, and enjoy your creations!](https://grilledflavors.com/wp-content/uploads/2025/05/d1cadbde-03c1-4bd0-8f0c-d5e8bdb41208.webp)
Looking for a quick and tasty meal? Try my Chicken Avocado Ranch Burritos! This easy recipe combines tender chicken, creamy avocado, and fresh veggies, all wrapped in a warm tortilla. …

If you love chocolate, get ready for a treat! My Death by Chocolate Cake is the ultimate dessert for any chocoholic. This rich, moist cake is layered with silky ganache …
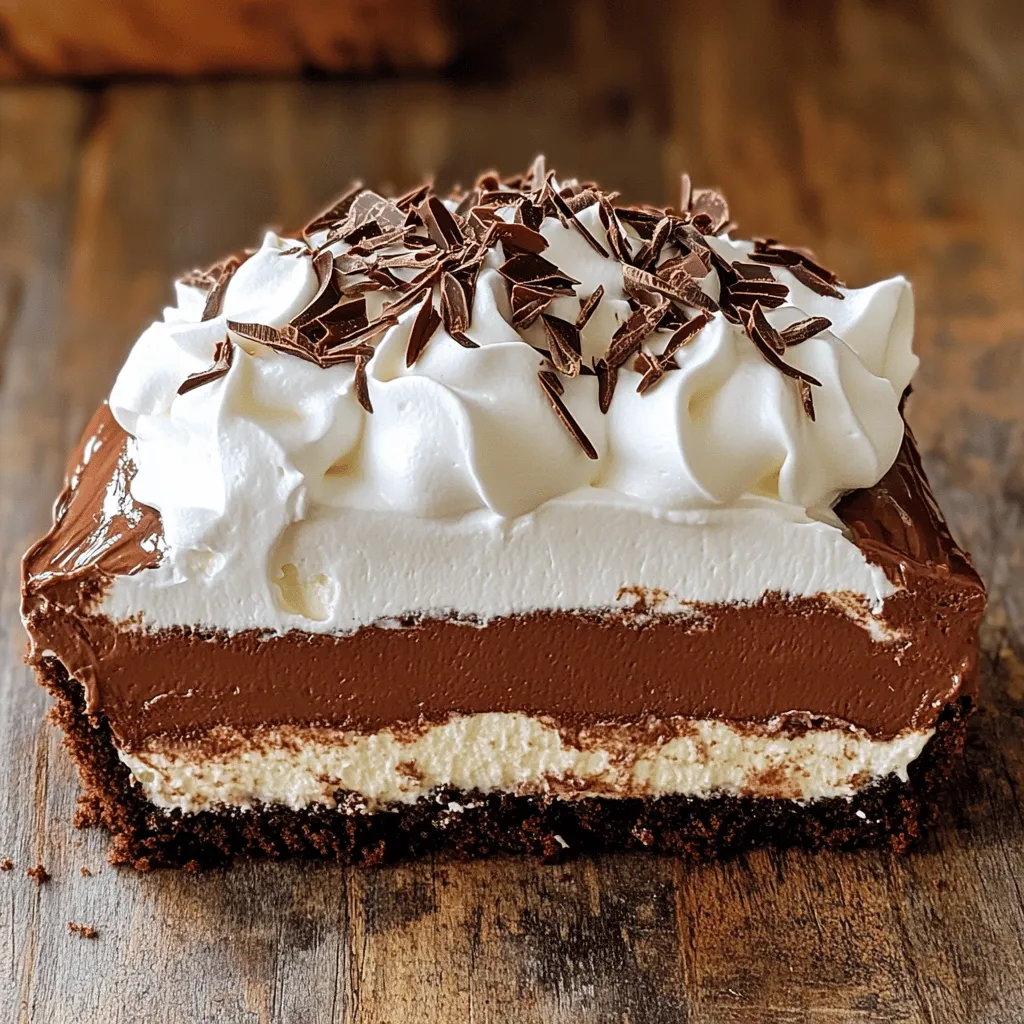
If you crave rich, chocolatey desserts, you’re in for a treat! My French Silk Pie Cake is the perfect blend of classic flavors and textures. This delightful treat combines a …
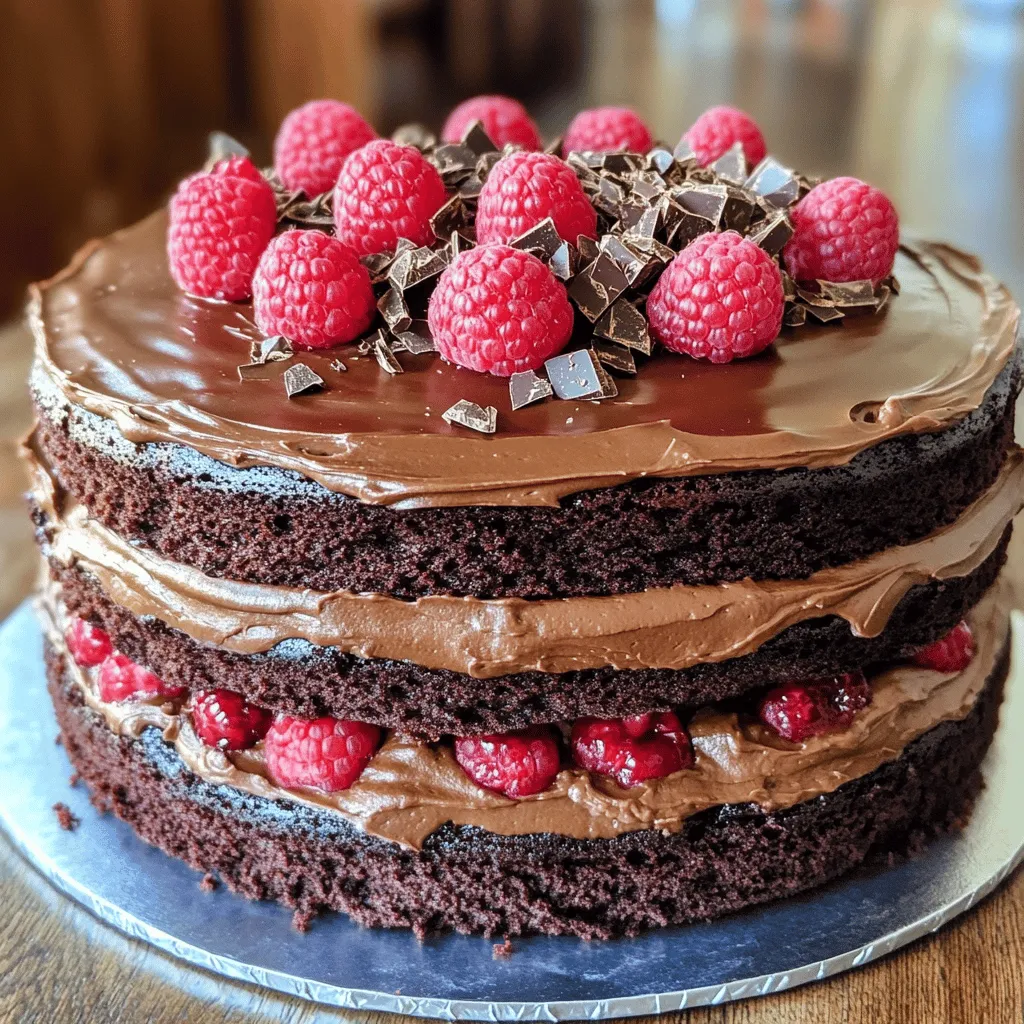
If you love sweet treats that wow your taste buds, you’re in for a delight! This Chocolate Raspberry Cake recipe is rich, simple, and sure to impress. With soft, moist …
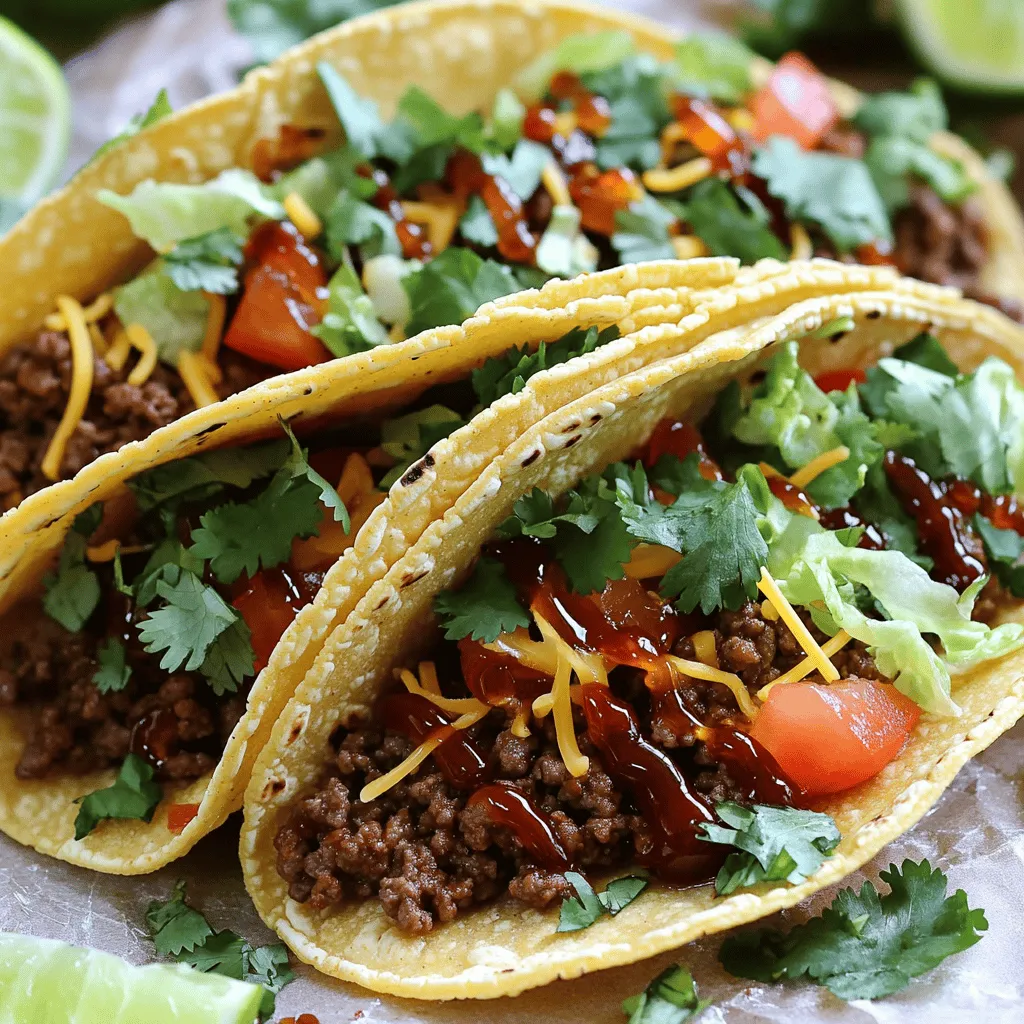
Craving a tasty meal that’s quick and easy? You’ve come to the right place! These Garlic Butter Honey BBQ Beef Tacos combine bold flavors and simple steps to create a …
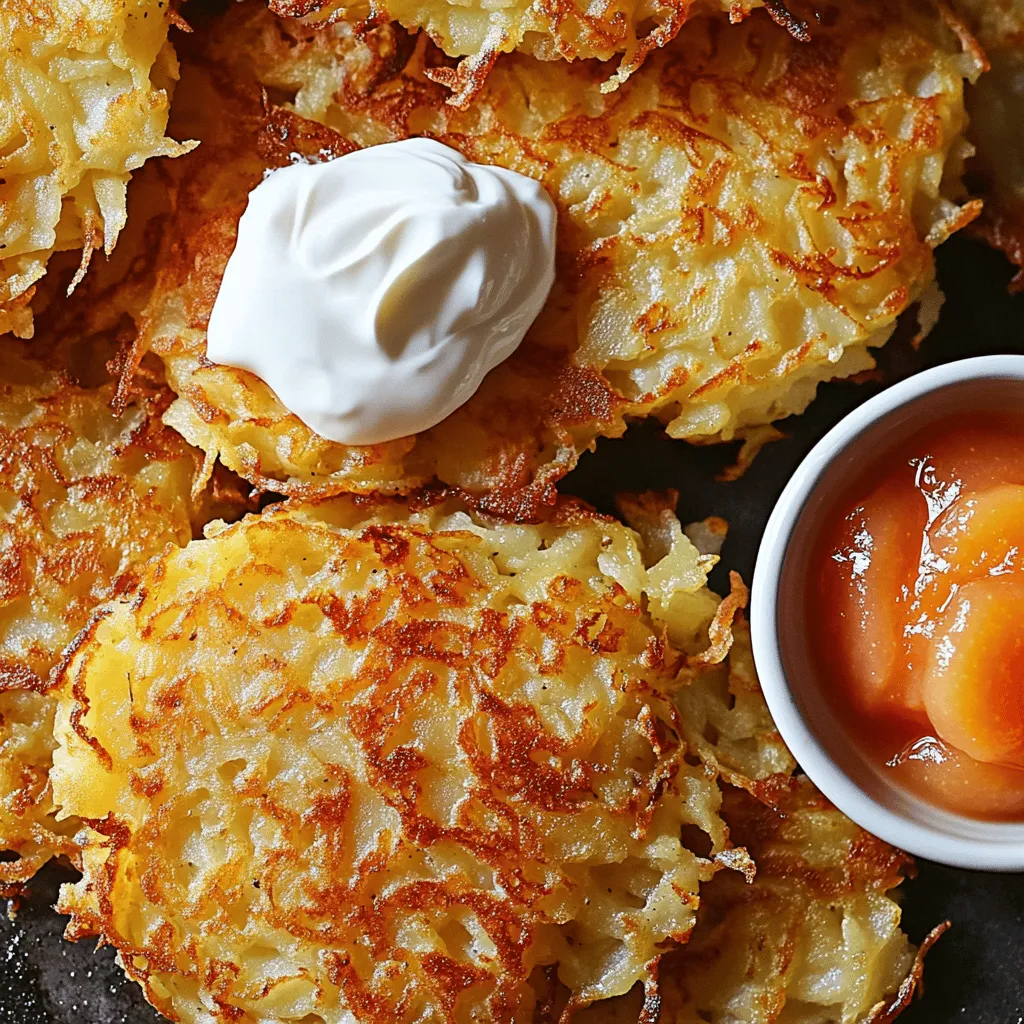
Are you ready to dive into a delicious recipe for German potato pancakes? This dish combines simplicity with rich flavors, making it a favorite for any meal. I will guide …
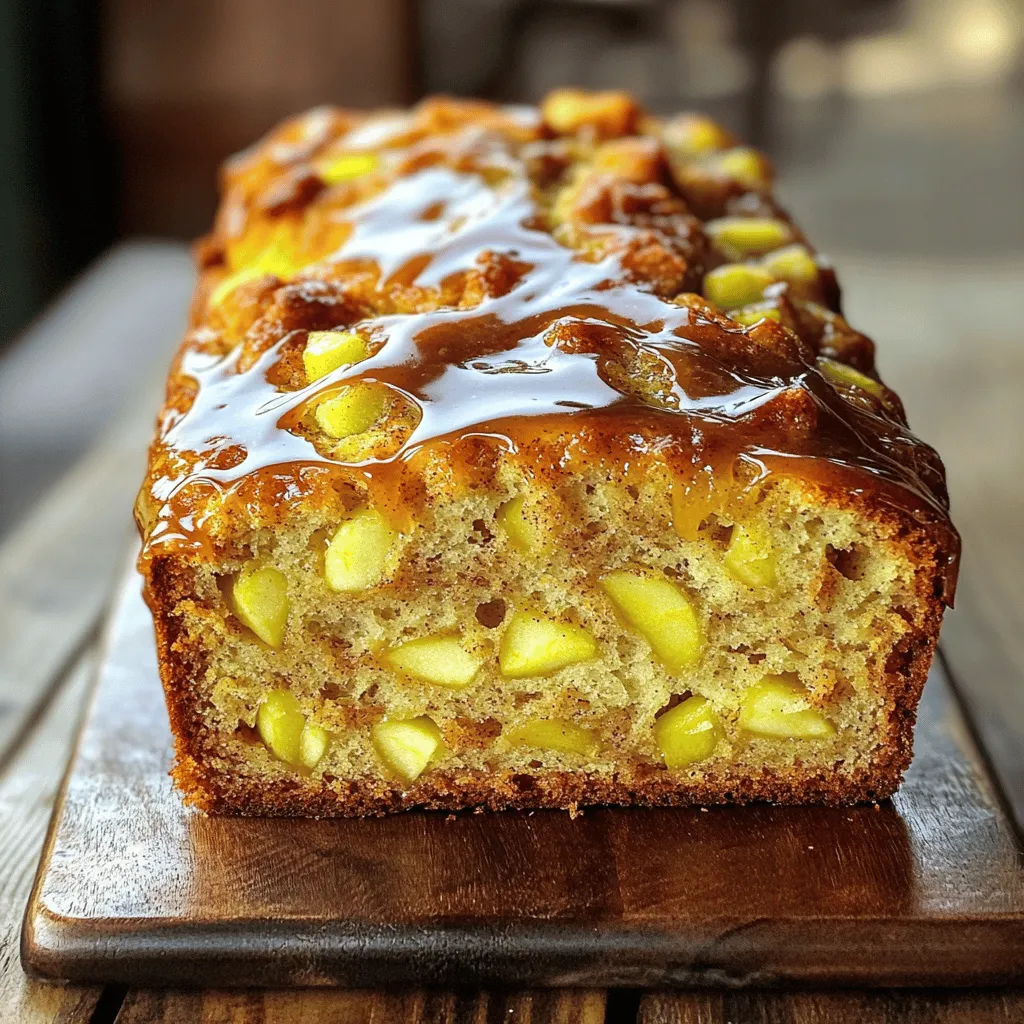
Craving a sweet and warm treat? You’ll love this Easy Amish Apple Fritter Bread! This simple recipe combines juicy apples with a fluffy bread that’s perfect for breakfast or dessert. …
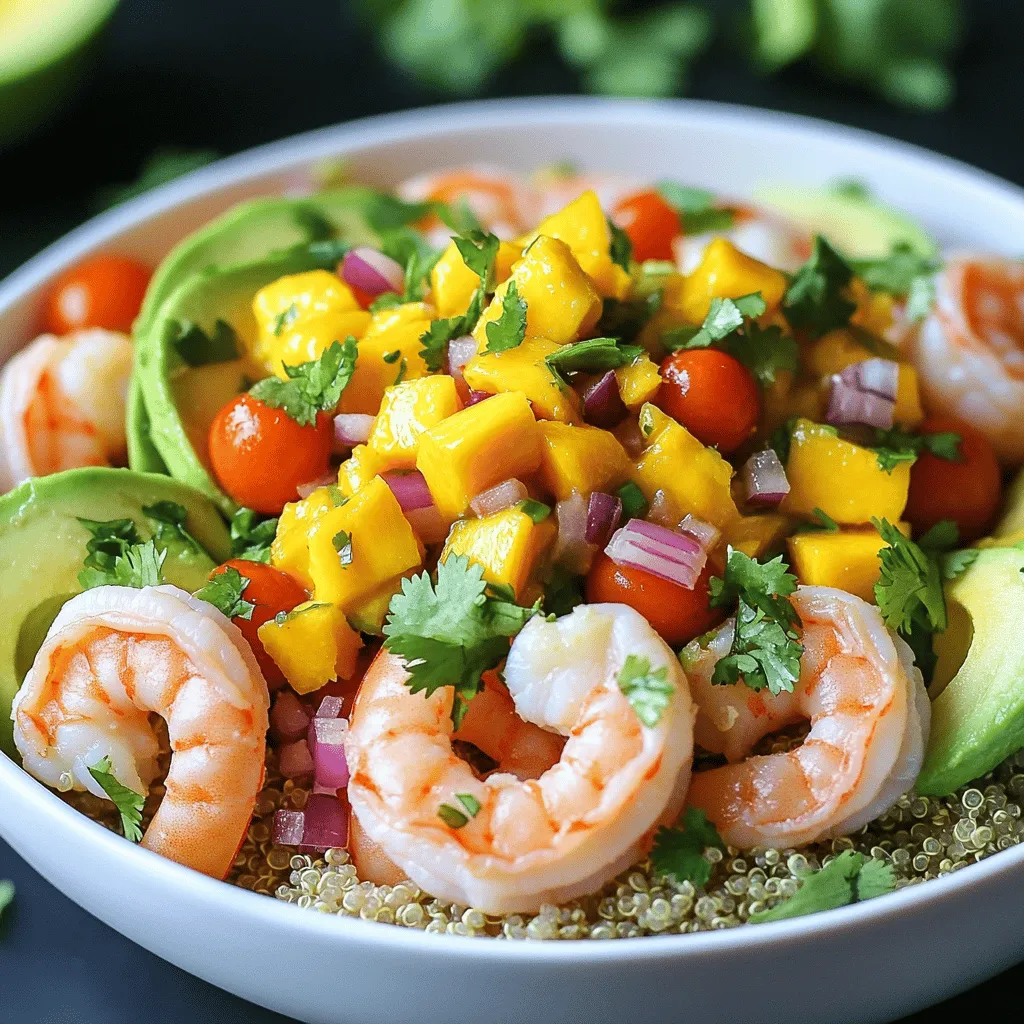
Are you ready to take your taste buds on a tropical adventure? My Savory Shrimp and Avocado Bowls with Mango Salsa bring together juicy shrimp, creamy avocado, and sweet mango …
![To make these tasty maple donut bars, you need a few key items: - 1 ½ cups all-purpose flour - 1 tsp baking powder - ½ tsp baking soda - ½ tsp salt - ½ tsp ground cinnamon - ¼ tsp ground nutmeg - ½ cup unsalted butter, softened - ½ cup brown sugar, packed - ½ cup granulated sugar - 2 large eggs - ½ cup buttermilk - 1 tsp pure vanilla extract - ½ cup maple syrup (plus extra for drizzling) - 1 cup powdered sugar (for glaze) These ingredients work together to create soft, fluffy bars with a rich maple flavor. The spices add warmth and depth. Using both brown and granulated sugar gives the bars the perfect balance of sweetness. You can make your maple donut bars even better with some fun toppings: - Additional maple syrup for drizzling - Nuts or sprinkles Drizzling more maple syrup adds extra sweetness and a lovely shine. You can also top them with chopped nuts for crunch or colorful sprinkles for a festive touch. Play around with these options to make your bars unique! For the full recipe, check out the detailed instructions. 1. First, preheat your oven to 350°F (175°C). This step is key for even baking. 2. Next, grease and line an 8x8 inch baking pan with parchment paper. Leave some overhang for easy lifting. 3. In a mixing bowl, whisk together the dry ingredients. This includes flour, baking powder, baking soda, salt, cinnamon, and nutmeg. Mix until well combined. 1. In a large bowl, cream the softened butter with brown and granulated sugars. Use an electric mixer on medium speed. Mix for about 3-4 minutes until it looks light and fluffy. 2. Next, add the eggs one at a time to the butter mixture. Mix well after each egg. Then, add buttermilk and vanilla extract. Stir until everything is combined. 3. Gradually add the dry ingredients to the wet mix. Keep the mixer on low speed and mix until just combined. Be careful not to overmix; this keeps the bars light. 1. Now, pour the batter into your prepared baking pan. Spread it evenly with a spatula. Bake for 25-30 minutes. Check if a toothpick comes out clean to know when it's done. 2. After baking, let the bars cool in the pan for about 10 minutes. Then, transfer them to a wire rack to cool completely. 3. For the glaze, mix powdered sugar and maple syrup in a small bowl. Stir until smooth. Adjust the thickness by adding more syrup or sugar if needed. 4. Drizzle the glaze over the cooled bars. You can use a spoon or a piping bag for a pretty finish. If you like, add chopped nuts or sprinkles for extra flair. 5. Finally, cut the bars into pieces and enjoy this tasty treat! For the full recipe, refer back to the section above. - Ingredient temperature matters. Use room temperature butter and eggs. It helps your batter mix well and bake evenly. Cold ingredients can lead to dense bars. - Avoid overmixing. Once you combine wet and dry ingredients, mix just until smooth. Overmixing can make your bars tough. You want them soft and fluffy. - Adjust glaze thickness. For a thicker glaze, use more powdered sugar. For a thinner glaze, add more maple syrup. Aim for a nice drizzle over your bars. - Add decorative elements. Chopped nuts or colorful sprinkles can make your bars pop. They add texture and fun. Use your favorite toppings to make them yours. You can find the full recipe for these delightful Maple Donut Bars above. Enjoy creating your sweet treats! {{image_2}} You can make maple donut bars even more fun by adding new flavors. Here are two tasty ideas: - Chocolate maple donut bars: To make these, add cocoa powder to the batter. Use 1/3 cup of unsweetened cocoa powder. This gives your bars a rich, chocolatey taste. Top with a chocolate glaze for a double treat. - Spiced maple bars: For a warm twist, add more spices like ginger or allspice. You can use 1/4 teaspoon of each spice. This will give your bars a cozy flavor, perfect for chilly days. If you have dietary needs, you can still enjoy these tasty bars. Here are some easy swaps: - Gluten-free maple donut bars: Use gluten-free all-purpose flour instead of regular flour. Make sure your baking powder is gluten-free too. This way, everyone can enjoy them. - Vegan maple donut bars: To make these vegan, replace the eggs with flax eggs. Mix one tablespoon of ground flaxseed with three tablespoons of water for each egg. Use plant-based butter and non-dairy milk instead of buttermilk. These swaps keep the bars soft and moist. Explore these variations to find your favorite way to enjoy maple donut bars! For the full recipe, check out the [Full Recipe]. To keep your maple donut bars fresh, store them at room temperature. Place them in an airtight container. This method works well for about 3-4 days. You can also use parchment paper between layers to prevent sticking. If you want longer freshness, refrigeration is the way to go. Just remember, chilling can change the texture slightly. Wrap the bars tightly in plastic wrap or foil before placing them in the fridge. They should last for about a week this way. Freezing is a great option if you want to enjoy your maple donut bars later. Cut them into individual bars first. Then, wrap each bar tightly in plastic wrap. Place the wrapped bars in a freezer-safe bag or container. They can stay frozen for up to three months. When you're ready to eat, just take a bar out and let it thaw at room temperature. If you prefer a warm treat, you can also reheat them in the microwave for about 15-20 seconds. Enjoy your tasty bars anytime! How long do homemade maple donut bars last? Homemade maple donut bars stay fresh for about 3 to 5 days. Store them in an airtight container at room temperature. This keeps them moist and tasty. If you see any signs of spoilage, it’s best to toss them. Can I use a different type of flour? Yes, you can use other flours. For a gluten-free option, try almond flour or a gluten-free blend. Keep in mind that the texture may change a bit. You might need to adjust the liquid in the recipe too. What can I substitute for buttermilk? You can replace buttermilk with regular milk. Just add one tablespoon of vinegar or lemon juice to the milk and let it sit for 5 minutes. This makes a quick buttermilk substitute. You can also use yogurt or sour cream mixed with water. For the complete recipe, check out the Full Recipe. In summary, we explored how to make delicious maple donut bars. I shared key ingredients, from flour to eggs. You learned step-by-step instructions for mixing and baking. I offered tips for perfect bars and glazing. Plus, we covered fun variations and how to store them. Enjoy trying the recipes and make them your own. Remember, baking is about experimenting and having fun. You’ll create a treat everyone will love!](https://grilledflavors.com/wp-content/uploads/2025/05/b2f18fe0-8625-459b-820d-4f8b8571a440.webp)
If you’re craving a sweet treat that’s perfect for any occasion, you’ll love these Maple Donut Bars! With their soft texture and rich flavor, they’re simple to make and a …