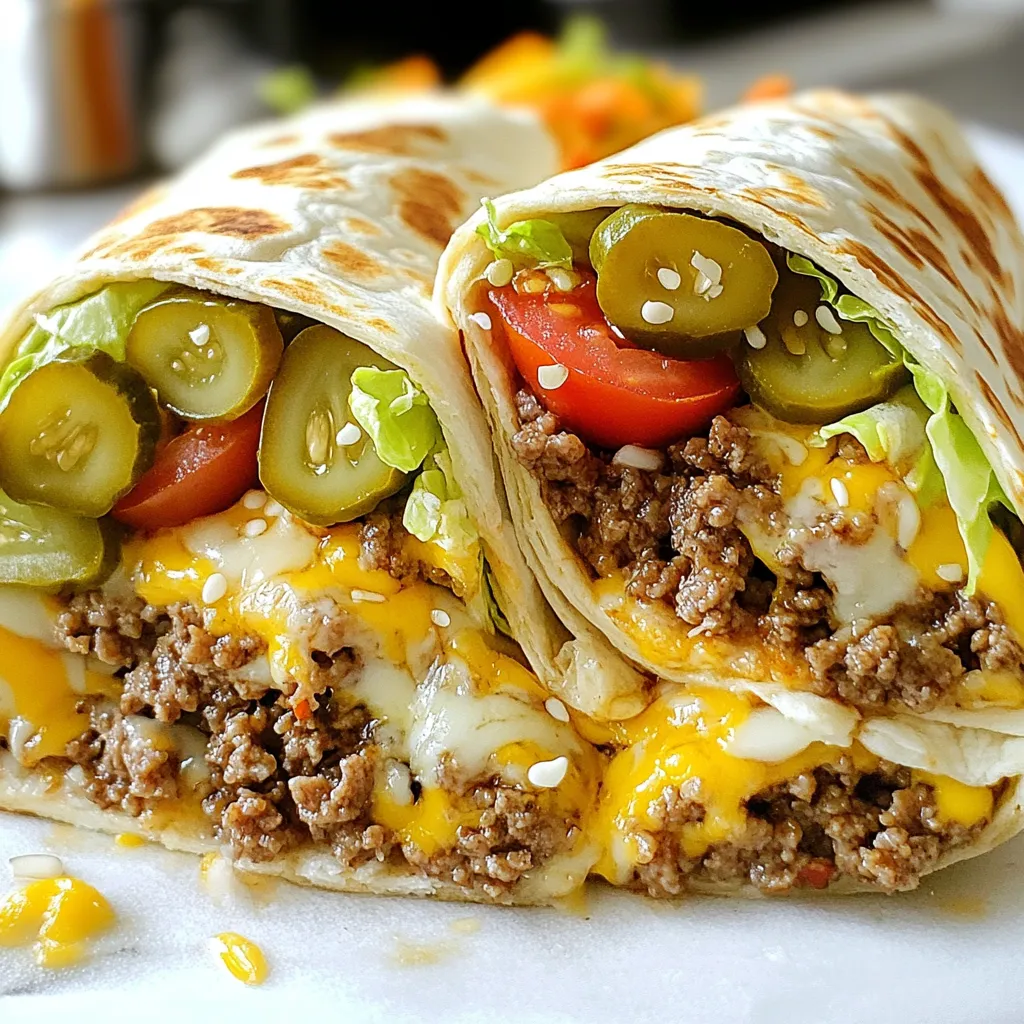
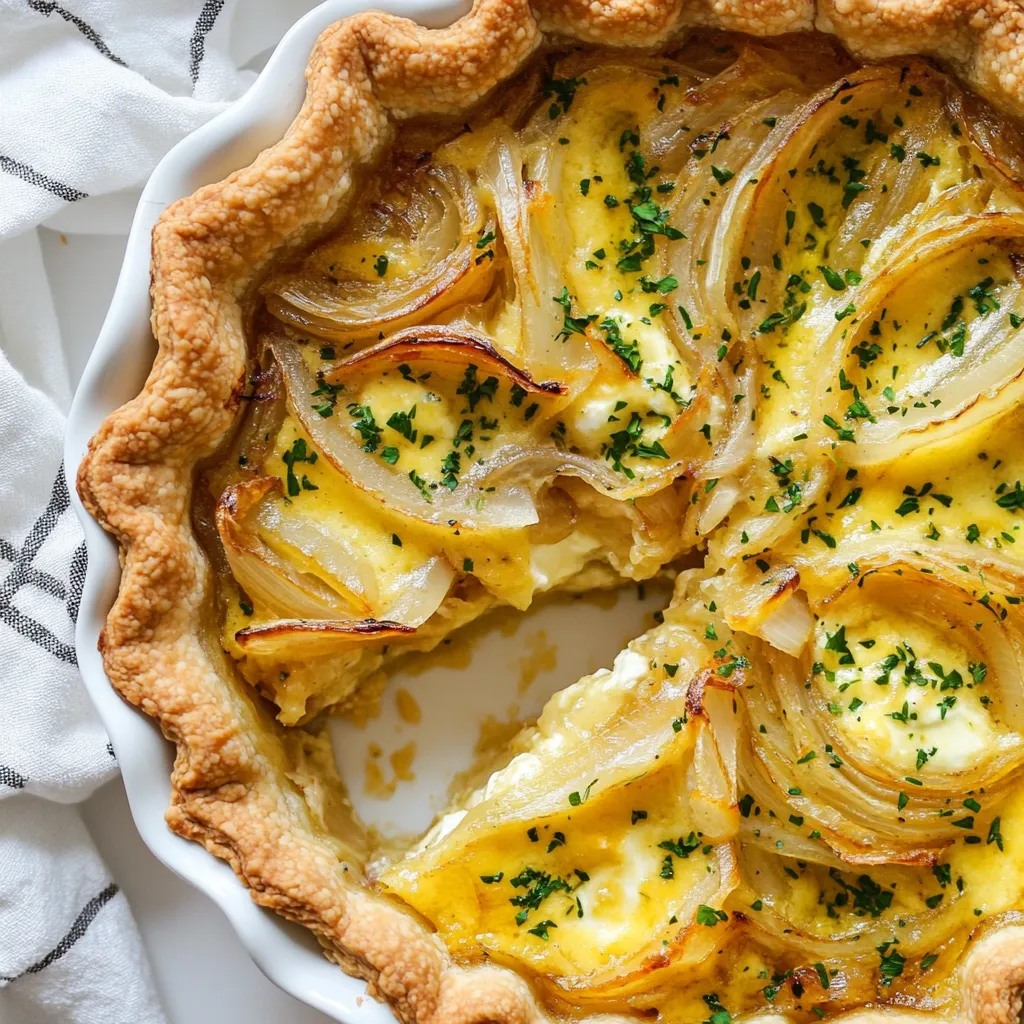
Everything Bagel Breakfast Casserole Easy and Tasty Dish
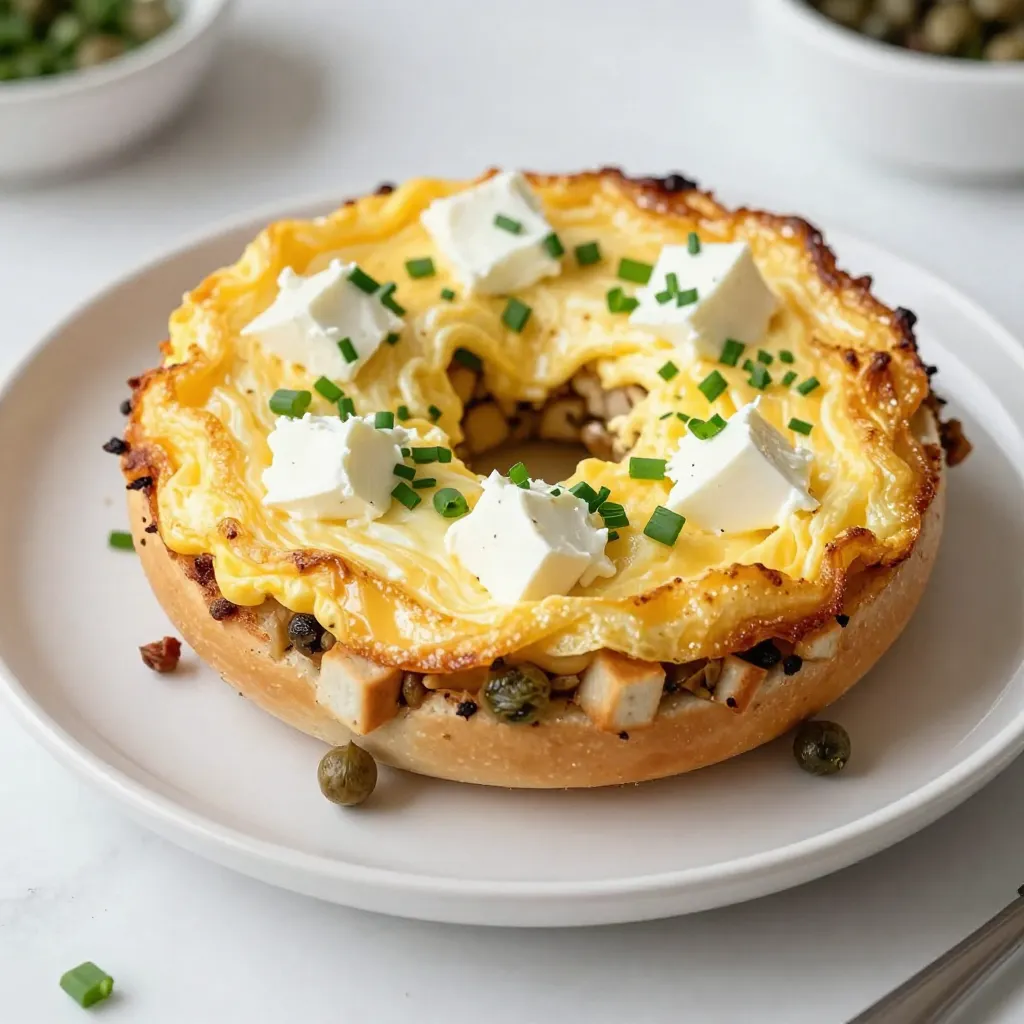
Are you ready to transform your breakfast game? This Everything Bagel Breakfast Casserole is the perfect dish. It’s easy to make and packed with flavor. Imagine fluffy eggs, creamy cheese, …