Cheese Danishes Delightful and Easy Recipe Guide

Are you ready to treat yourself to something truly delicious? In this guide, I’ll show you how to create amazing Cheese Danishes that are easy to make and hard to …
Are you ready to treat yourself to something truly delicious? In this guide, I’ll show you how to create amazing Cheese Danishes that are easy to make and hard to …
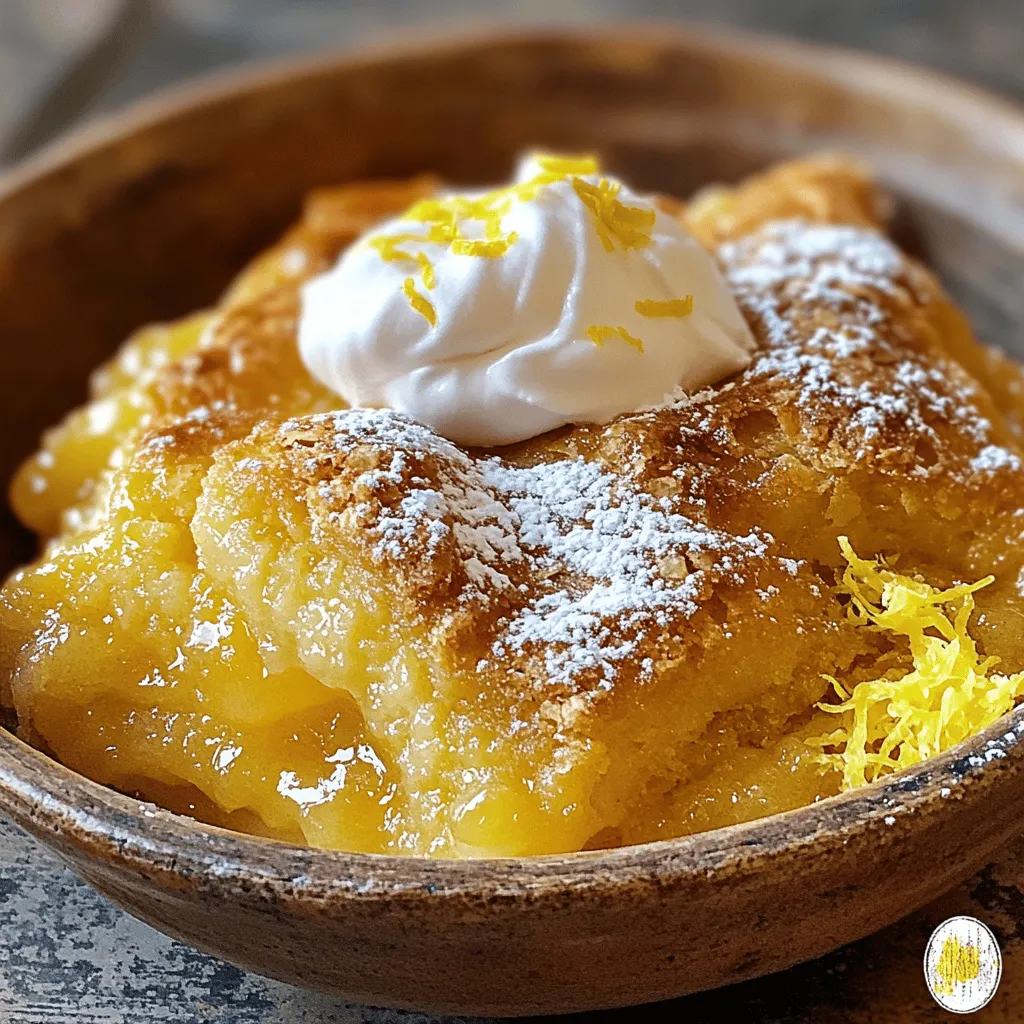
Are you ready to wow your friends and family with a dessert that’s both simple and magical? This Magic Lemon Cobbler combines zesty lemon flavors with a fluffy texture that’s …
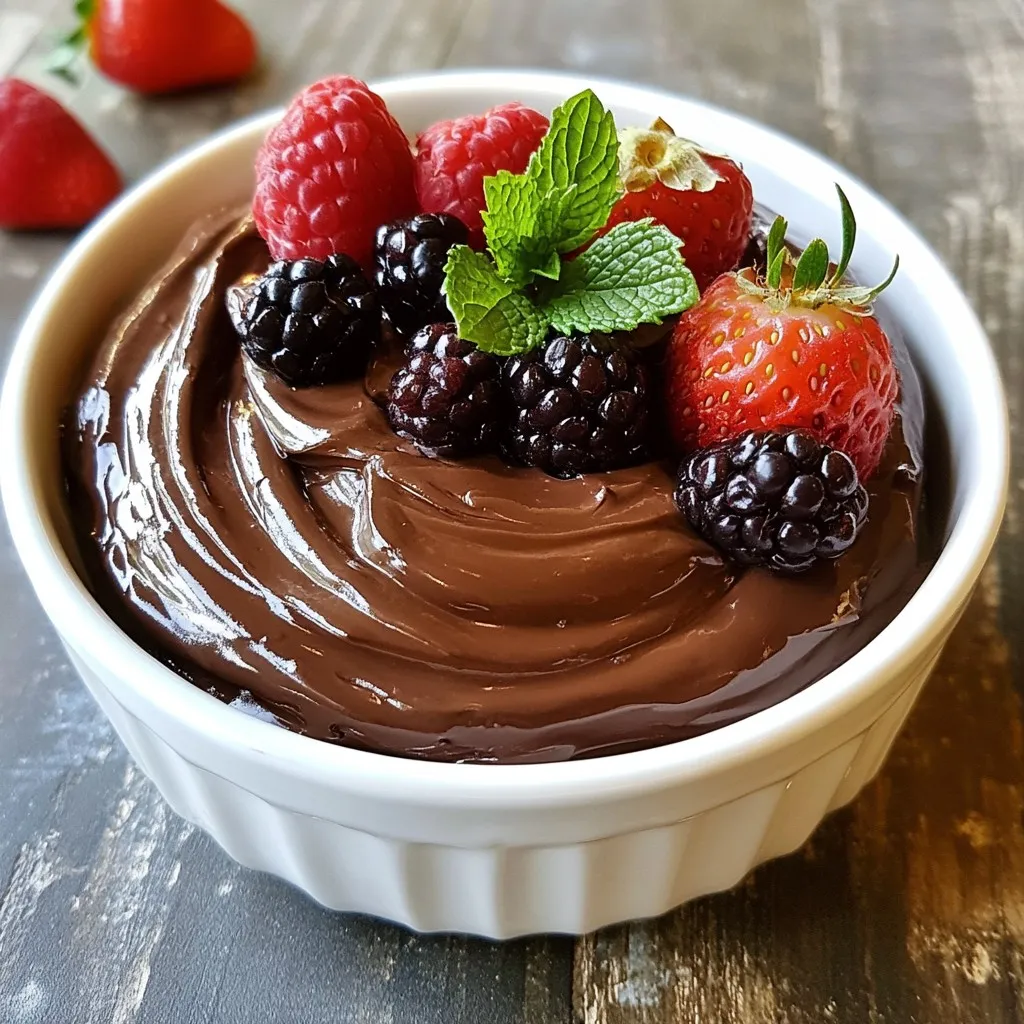
If you love chocolate but want a healthy twist, you’ll adore avocado chocolate mousse. This rich and creamy treat is not just indulgent; it’s also packed with nutrients. In this …

Are you ready to treat yourself? These Coconut Macaroons with Dark Chocolate are a must-try! Simple to make, they combine sweet coconut with rich chocolate for a delightful snack. Whether …
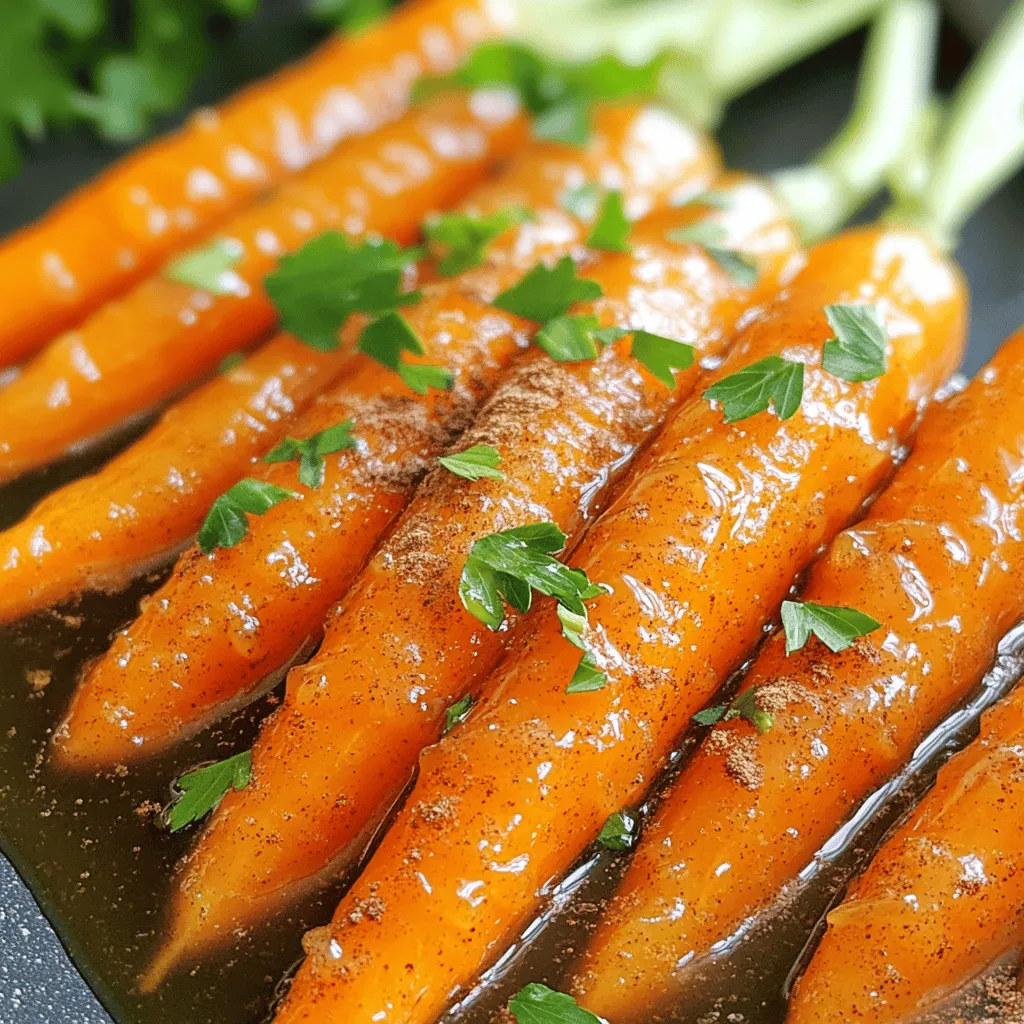
Looking for a side dish that’s simple, tasty, and sure to impress? Maple glazed carrots fit the bill perfectly! In this blog, I’ll guide you through easy steps to create …

Looking for a dish that bursts with flavor? You’ve found it! My Zesty Lemon Garlic Grilled Chicken is the perfect mix of tangy and savory. This juicy meal is easy …

Craving a tasty snack that’s both simple to make and packed with energy? Look no further! My Almond Joy Energy Bites give you the sweet, chocolatey flavor you love without …
![- 1 can (15 oz) chickpeas - 2 tablespoons olive oil - 1 teaspoon cumin - 1 teaspoon smoked paprika - 1/2 teaspoon chili powder - 1/4 teaspoon cayenne pepper (adjust to taste) - Salt and pepper, to taste - 8 small corn tortillas - 1 avocado, sliced - 1 cup red cabbage, shredded - 1/4 cup fresh cilantro, chopped - 1 lime, cut into wedges The main ingredients for spicy chickpea tacos are simple yet packed with flavor. Chickpeas provide a hearty base. I use canned chickpeas for convenience, but you can cook dried ones if you prefer. Olive oil coats the chickpeas, helping spices stick and adding richness. The spices bring the heat and depth. Cumin and smoked paprika create warmth, while chili powder and cayenne add a kick. Salt and pepper balance the dish. Corn tortillas are the perfect vessel for these toppings. They are soft and slightly sweet, enhancing the overall taste. Fresh toppings like avocado and red cabbage give crunch and creaminess. Cilantro adds brightness, and lime juice ties everything together with zest. - Cheese, sour cream, or yogurt - Hot sauce and other condiments You can make these tacos your own with optional add-ons. Cheese adds a creamy layer. Sour cream or yogurt can cool the spice. Hot sauce can boost heat if you love a fiery flavor. Other condiments like salsa or guacamole can be fun as well. - Calories, protein, and fiber content - Health benefits of chickpeas Chickpeas are not just delicious; they are also healthy. A serving of these tacos has about 300 calories, depending on the toppings. They are high in protein and fiber. This makes them filling and good for digestion. Chickpeas are a great plant-based protein source. They help keep you full longer. They also provide essential vitamins and minerals, like iron and magnesium. Eating chickpeas can support heart health, weight management, and blood sugar control. For the full recipe, check out the complete guide to making spicy chickpea tacos. To start, heat 2 tablespoons of olive oil in a medium skillet over medium heat. This oil helps the spices stick to the chickpeas. Add 1 can of drained and rinsed chickpeas to the skillet. Then, sprinkle in 1 teaspoon of cumin, 1 teaspoon of smoked paprika, 1/2 teaspoon of chili powder, and 1/4 teaspoon of cayenne pepper. Add salt and pepper to taste. Mix everything well, and let it cook for about 5 to 7 minutes. Stir occasionally. You want the chickpeas to become slightly crispy and warm. While the chickpeas cook, it’s time to warm your tortillas. You can do this in a separate pan or microwave. If using a pan, warm them for about 30 seconds on each side. If using a microwave, place them on a plate and cover them with a damp paper towel. Heat for about 20 seconds. This keeps them soft and pliable, so they won’t break when you fill them. Once the chickpeas are ready, it’s time to assemble your tacos. Take a warm tortilla and place a generous spoonful of the spicy chickpeas in the center. Next, add slices of avocado, shredded red cabbage, and chopped cilantro on top. Don't forget to squeeze fresh lime juice over the tacos for a zesty kick. Serve them warm for the best taste. Enjoy your delicious spicy chickpea tacos! For a full recipe, follow the detailed steps above. To make your spicy chickpea tacos even tastier, consider adding more spices. A pinch of cayenne pepper can boost the heat. Try adding some ground coriander or a sprinkle of smoked paprika if you want deeper flavors. You can also marinate your chickpeas. Let them sit in olive oil, lime juice, and spices for about 30 minutes before cooking. This step adds great depth to your dish. For the best texture, use a heavy skillet with a non-stick surface. Cast iron works well, but any good skillet will do. If you prefer, try baking your chickpeas. Spread them on a baking sheet and roast at 400°F for about 20 minutes. This method gives a nice crunch. Just toss them halfway through to ensure even cooking. Pair your tacos with a refreshing side. A simple salad of mixed greens is great. You can also serve them with a cold drink like homemade lemonade. For gatherings, set up a taco bar. Let guests build their own tacos with fun toppings like cheese, sour cream, or hot sauce. This way, everyone can customize their meal. Check out the full recipe for more ideas! {{image_2}} You can easily make spicy chickpea tacos for everyone. For vegan or vegetarian diets, this dish already fits perfectly. Use corn tortillas, as they are naturally gluten-free. If you need a gluten-free option, check labels on tortillas. Not all brands are equal, so be careful when choosing. If you want to mix things up, try using different beans. Black beans or pinto beans work great too. You can also try lentils for a unique twist. For toppings, think outside the box! You can add diced tomatoes, jalapeños, or even pickled onions. Each swap can change the taco's flavor, making it fun to experiment. You can take these tacos on an adventure! Add curry powder for an Indian twist. Or mix in soy sauce and sesame oil for an Asian flair. You can also swap in roasted sweet potatoes or zucchini instead of chickpeas. These variations can lead to exciting new flavors, making every meal fresh and different. For the [Full Recipe], follow the steps outlined, and enjoy your culinary journey! To keep your spicy chickpea tacos fresh, store them in separate containers. Place the chickpeas in an airtight container. This helps them stay tasty. If you have leftover tortillas, wrap them in foil or plastic wrap. Keep them at the top of the fridge for easy access. When reheating, you have two main options: microwaving or pan frying. If you use a microwave, heat the chickpeas in short bursts. Stir often to avoid hot spots. For pan frying, use a medium skillet. This method keeps them crispy. Warm tortillas in the microwave for 15-20 seconds. This keeps them soft and pliable. Can you freeze assembled tacos? I do not recommend freezing them once they are put together. The tortillas may get soggy when thawed. Instead, freeze the cooked chickpeas in a freezer-safe bag. This way, you can enjoy them later. Just thaw and reheat when ready to make more tacos. To make spicy chickpea tacos, follow these steps: 1. Heat the oil: Start by heating olive oil in a skillet over medium heat. 2. Add chickpeas and spices: Add the drained chickpeas, cumin, smoked paprika, chili powder, cayenne pepper, salt, and pepper. Cook for 5-7 minutes, stirring occasionally. 3. Warm tortillas: While the chickpeas cook, warm the corn tortillas in another pan or microwave. 4. Assemble tacos: Place a spoonful of chickpeas on each tortilla. 5. Add toppings: Top with avocado, red cabbage, and cilantro. 6. Finish with lime: Squeeze fresh lime juice over the tacos. 7. Serve warm: Enjoy your spicy chickpea tacos! Yes, you can use canned chickpeas. Canned chickpeas save time since they are already cooked. They are ready to use after draining and rinsing. Dried chickpeas require soaking and cooking, which takes longer. Canned chickpeas also have a softer texture, making them easy to mash if desired. Chickpeas are very healthy. They are high in protein and fiber. This helps keep you full and satisfied. They also contain vitamins and minerals, like iron and folate. Eating chickpeas can support heart health and help manage blood sugar levels. They are a great choice for a balanced diet. Yes, you can prepare some parts ahead of time. Cook the chickpeas and store them in the fridge. Warm the tortillas just before serving. You can also chop your toppings in advance. Keep them in separate containers for freshness. This way, you can easily assemble your tacos when ready to eat. For the full recipe, check the earlier sections! In this post, we explored tasty chickpea tacos. You learned about key ingredients, cooking steps, and even storage tips. Chickpeas bring nutrition, plus they are fun to prepare. Remember to be creative with flavors and try different toppings. Use our serving ideas for your next gathering. These tacos are easy to make, healthy, and full of flavor. Enjoy your cooking and share these delicious tacos with others!](https://grilledflavors.com/wp-content/uploads/2025/05/34fc2791-f7ec-4970-8cb0-53836809217e.webp)
Are you craving a quick and tasty meal that packs a punch? Spicy chickpea tacos are your answer! In this easy recipe, I’ll guide you through every step, from cooking …

Get ready to impress your friends and family with Mini Fruit Tarts! These delightful bites are packed with flavor and topped with vibrant fruits. I’ll guide you through easy steps …
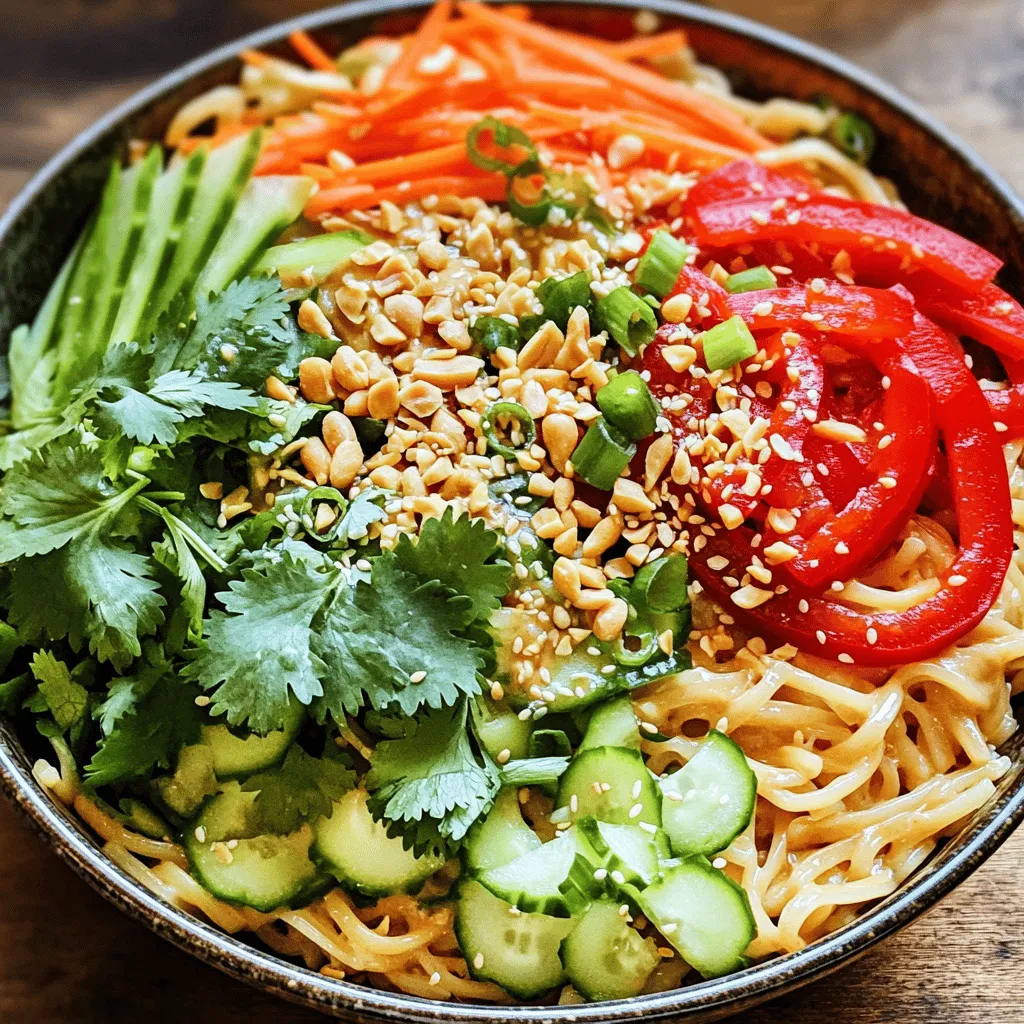
Are you craving a refreshing meal that’s easy to make? My Thai Peanut Noodle Salad is bursting with flavor and packed with healthy ingredients. With chewy rice noodles, crunchy veggies, …