Taco Bell Chicken Quesadilla Recipe Simple and Tasty

Craving the bold flavor of Taco Bell’s chicken quesadilla? You’re in the right place! I’ll show you how to make a simple and tasty version at home. With just a …
Craving the bold flavor of Taco Bell’s chicken quesadilla? You’re in the right place! I’ll show you how to make a simple and tasty version at home. With just a …
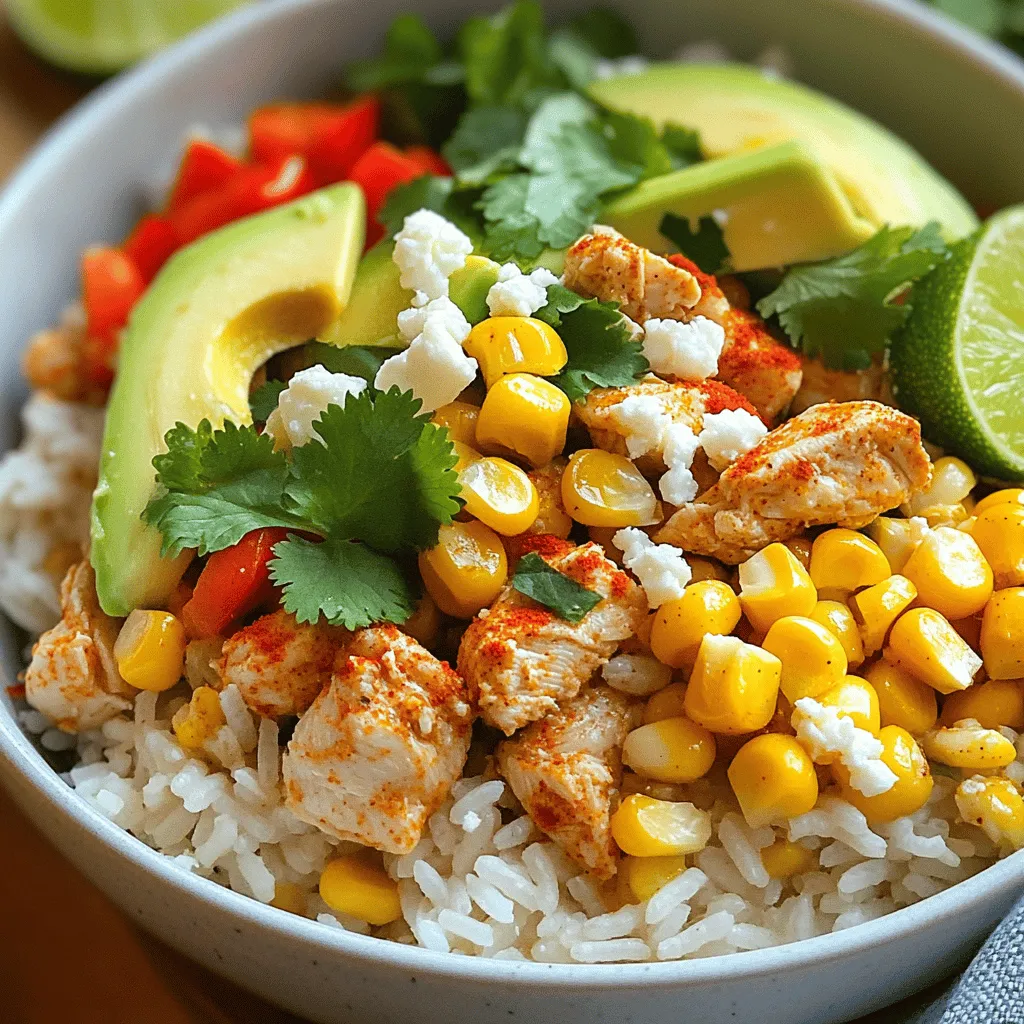
Are you ready to whip up a meal that’s packed with flavor and super easy to make? My Easy Street Corn Chicken Rice Bowl is just what you need! With …

Are you ready for a delicious meal that’s quick and easy? This Korean Ground Beef Bowl packs a punch of flavor and is made in just 30 minutes. With ground …
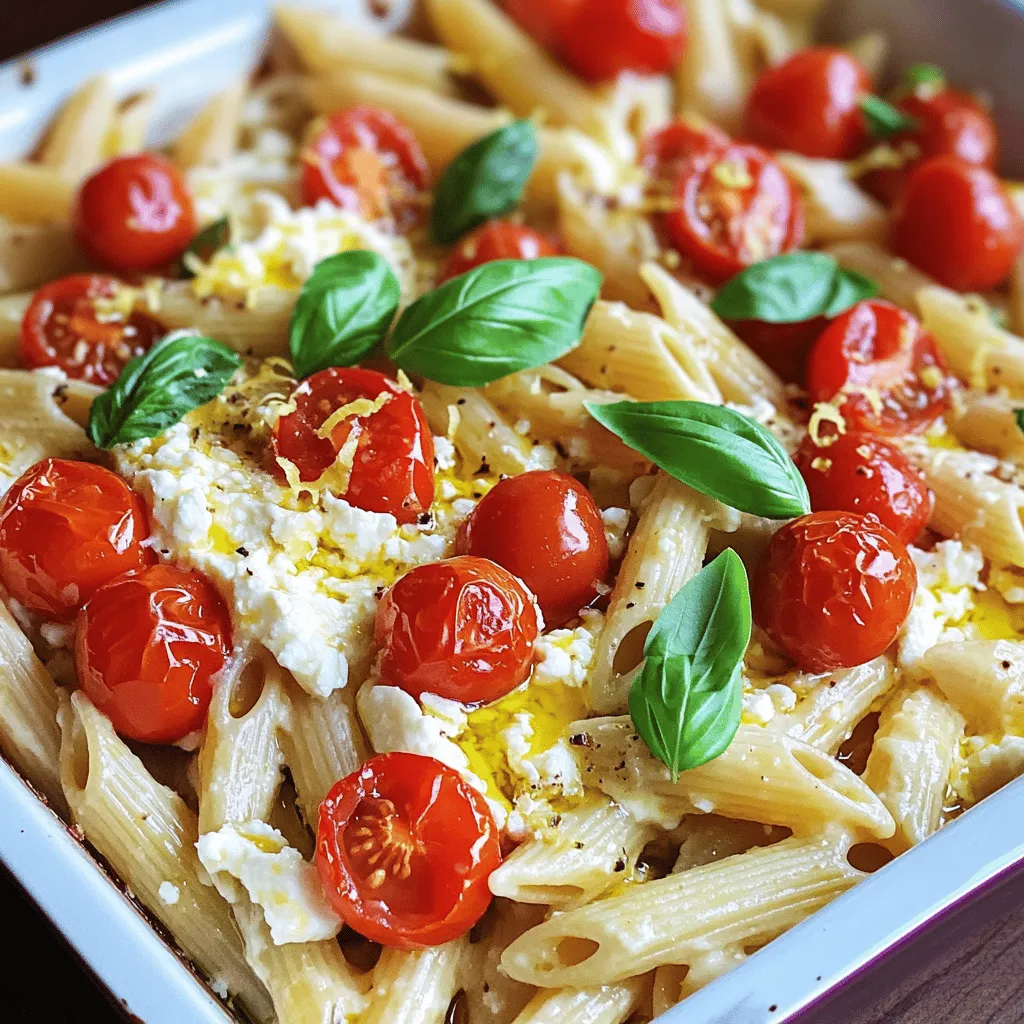
Are you ready for a quick and tasty meal? Baked Feta Pasta is your answer! This simple dish combines creamy feta with juicy tomatoes and garlic, creating a flavor bomb …
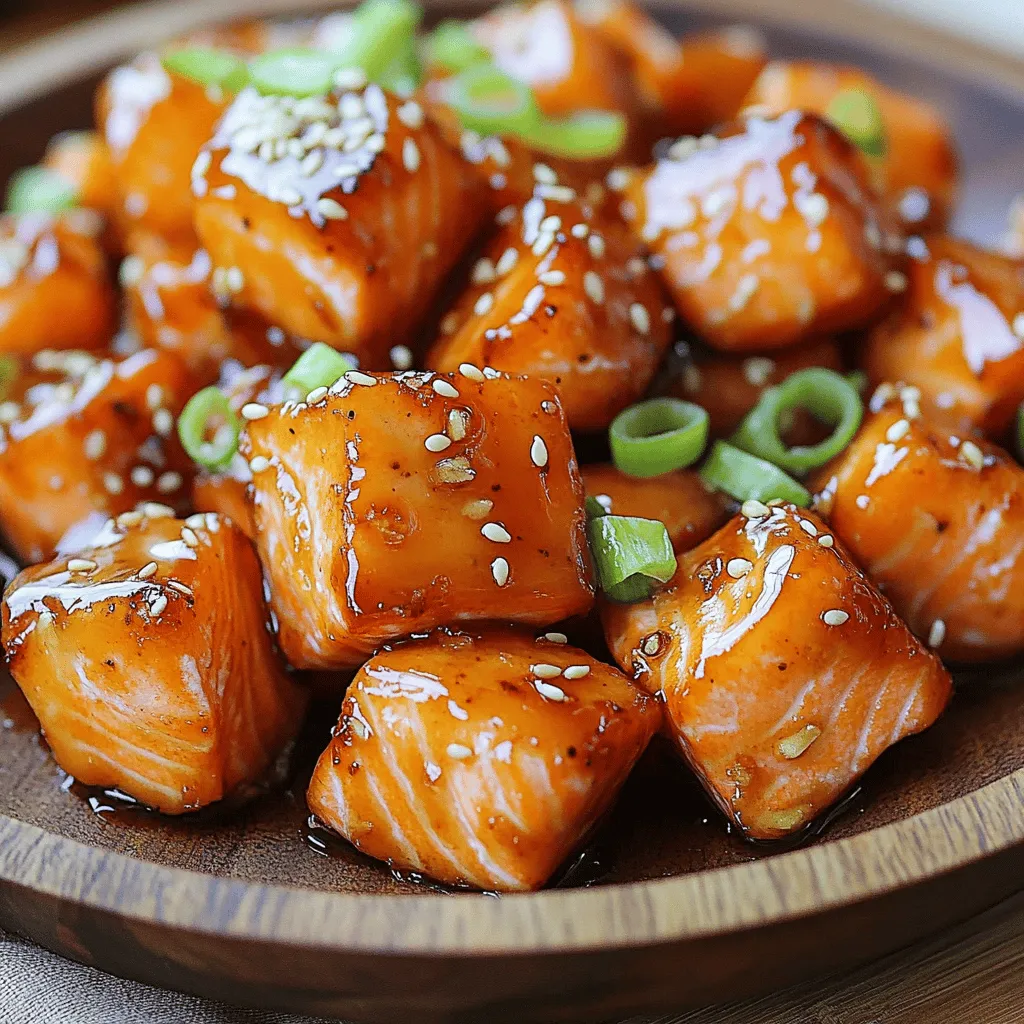
Looking for a quick and tasty snack? Try my Mouthwatering Honey Garlic Salmon Bites! These savory morsels combine sweet honey and bold garlic for a flavor explosion. With just a …
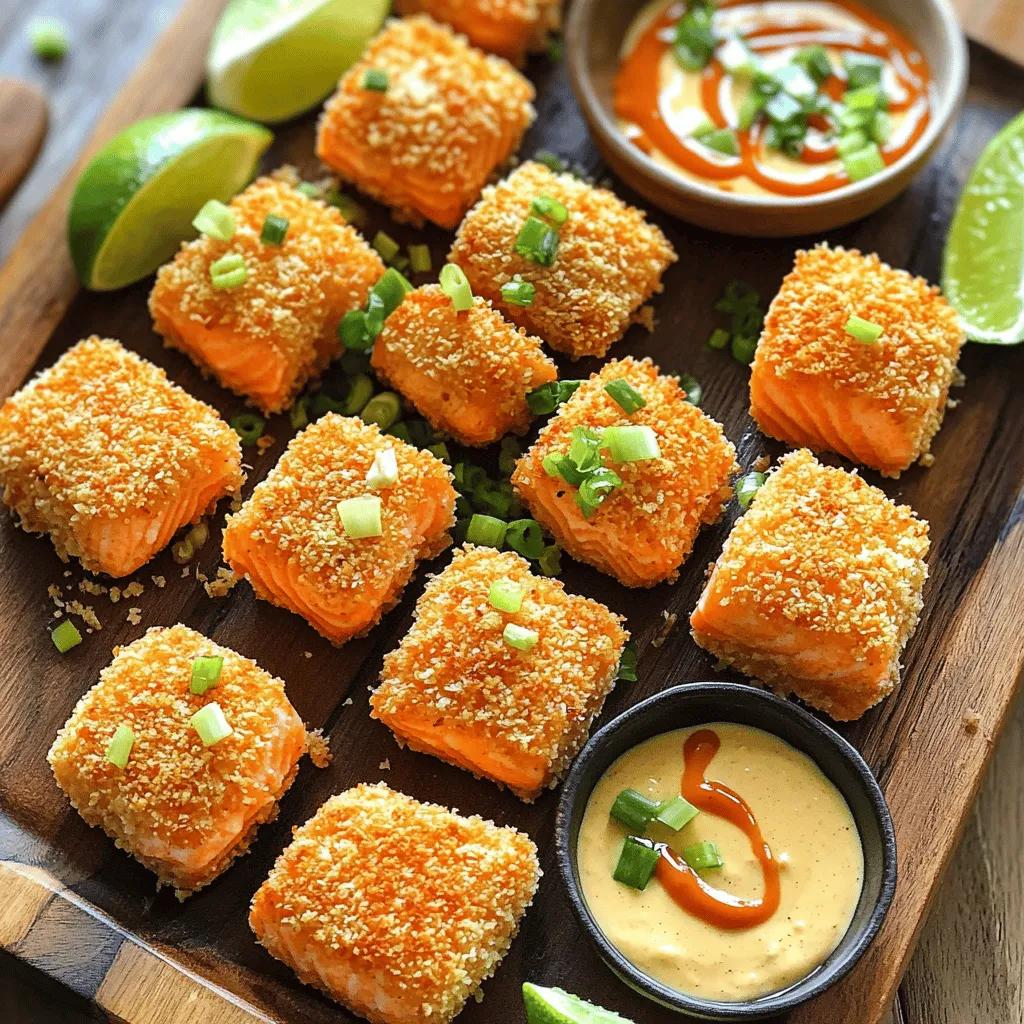
If you crave a tasty snack that’s both easy and fun to make, you’ll love Crispy Bang Bang Salmon Bites! These bites pack a bold flavor punch with simple ingredients …
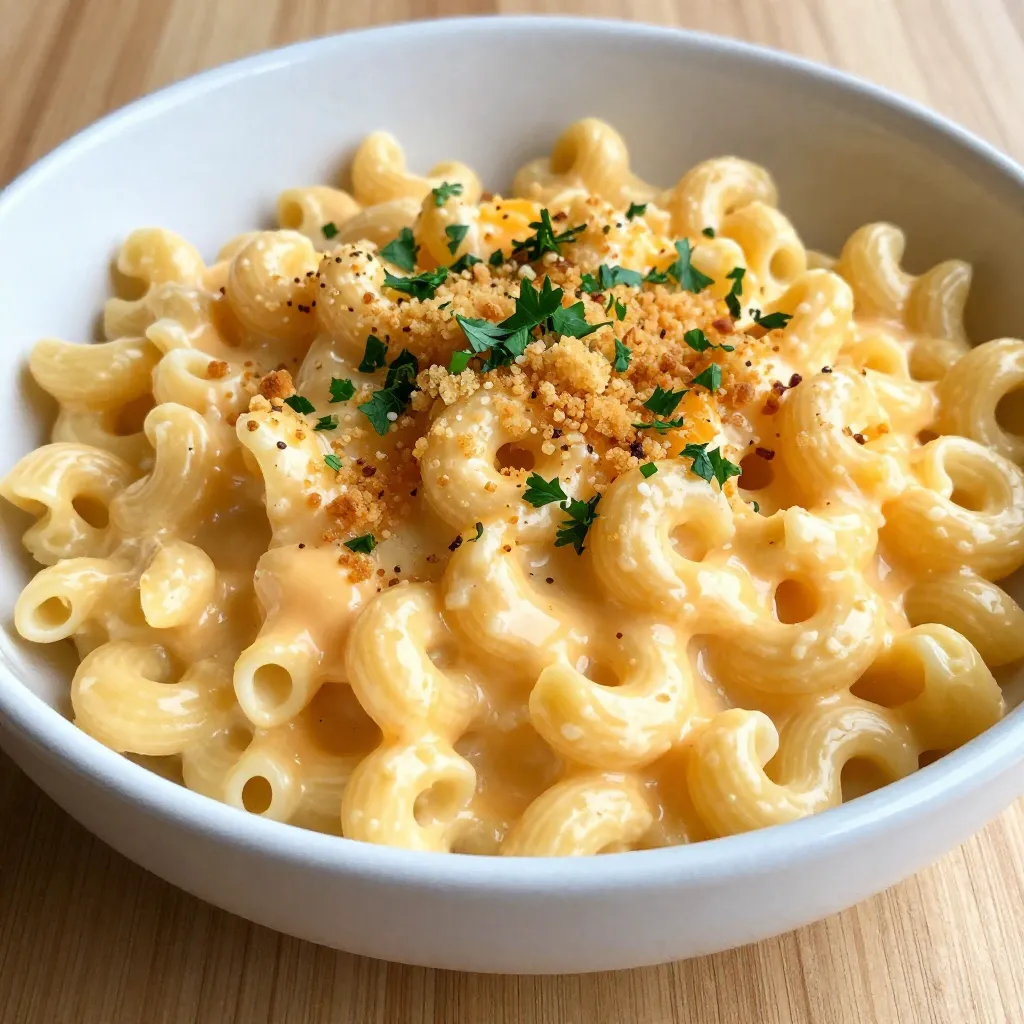
Get ready for a flavor boom with my Smoked Gouda Mac and Cheese! This dish blends rich, creamy cheese with a hint of smokiness that’s simply irresistible. Whether you want …
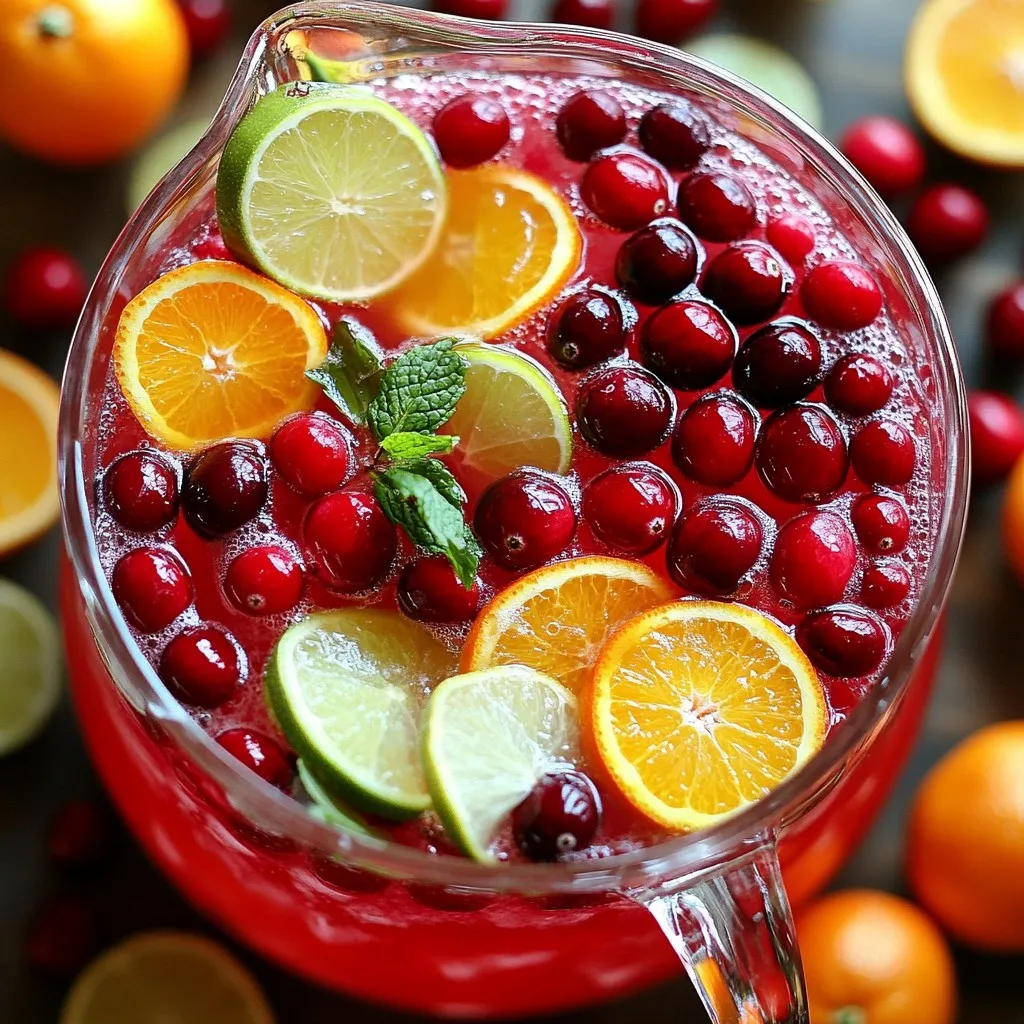
Looking for a festive drink to wow your guests? Sparkling Cranberry Punch is the perfect blend of sweet and tart flavors. This refreshing drink will add sparkle to any celebration. …
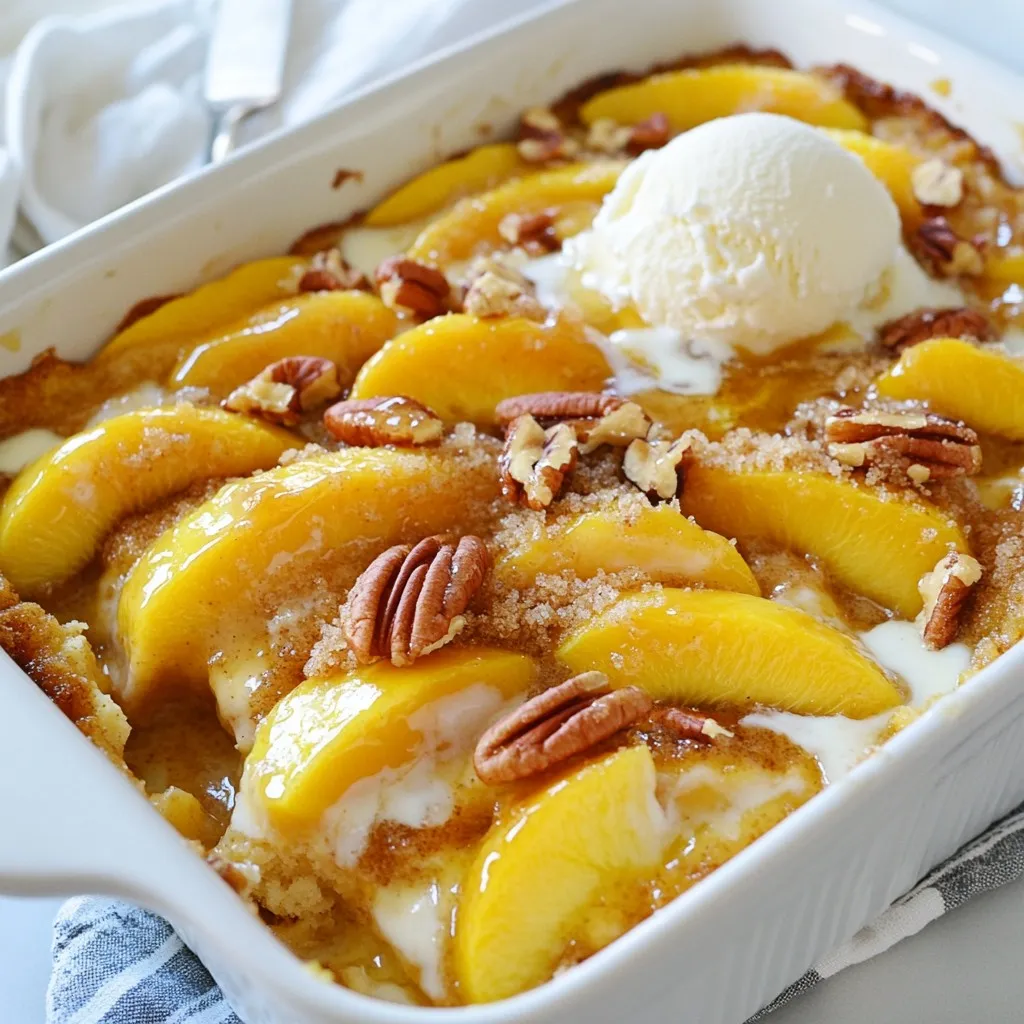
If you love desserts that are easy to make and even better to eat, you’ll love this Peach Cobbler Dump Cake recipe! It combines sweet, juicy peaches with a buttery …
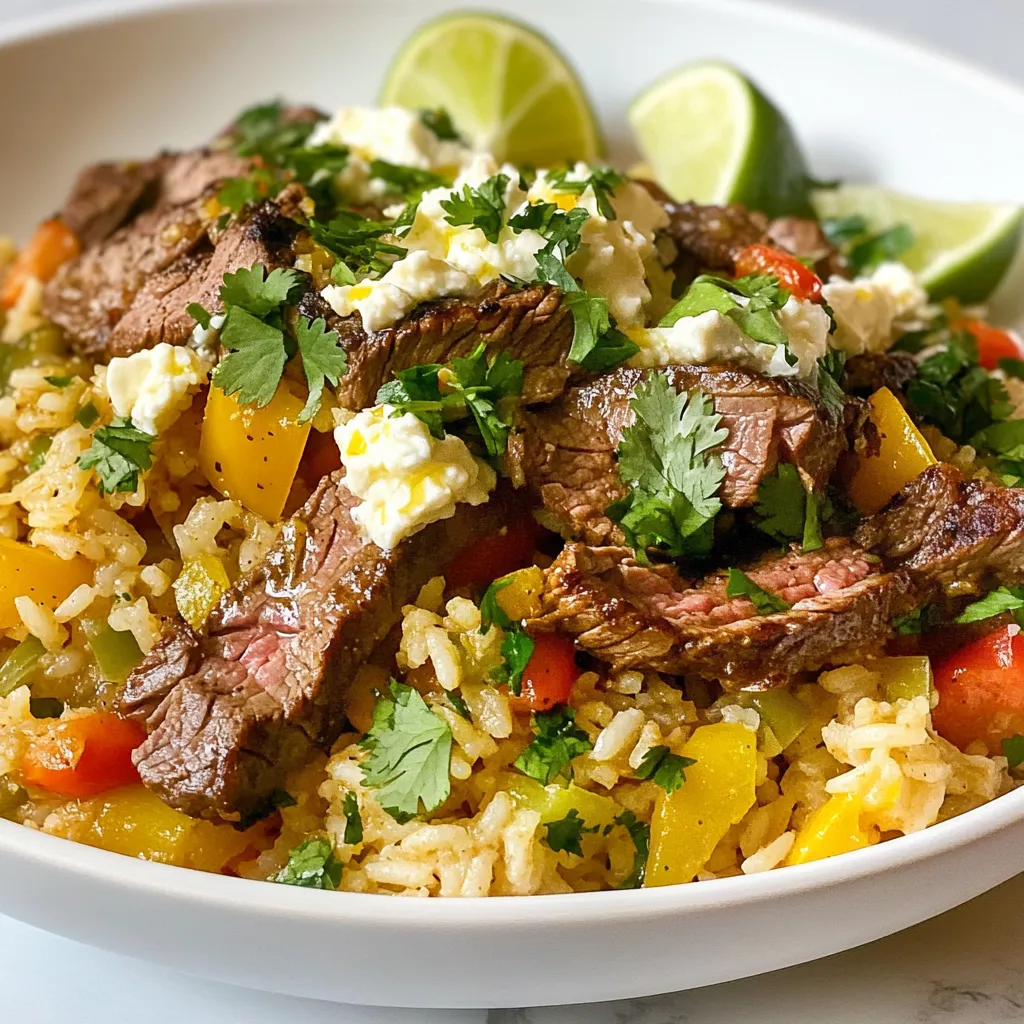
Are you ready to spice up your dinner table? This Savory Steak and Queso Rice Skillet combines tender steak, creamy queso, and fluffy rice in one easy meal. It’s perfect …