Sheet Pan Chicken Fajitas Quick and Flavorful Meal

Get ready for a quick and tasty dinner with my Sheet Pan Chicken Fajitas! This recipe combines juicy chicken and colorful veggies, all cooked on one pan. You’ll savor bold …
Get ready for a quick and tasty dinner with my Sheet Pan Chicken Fajitas! This recipe combines juicy chicken and colorful veggies, all cooked on one pan. You’ll savor bold …
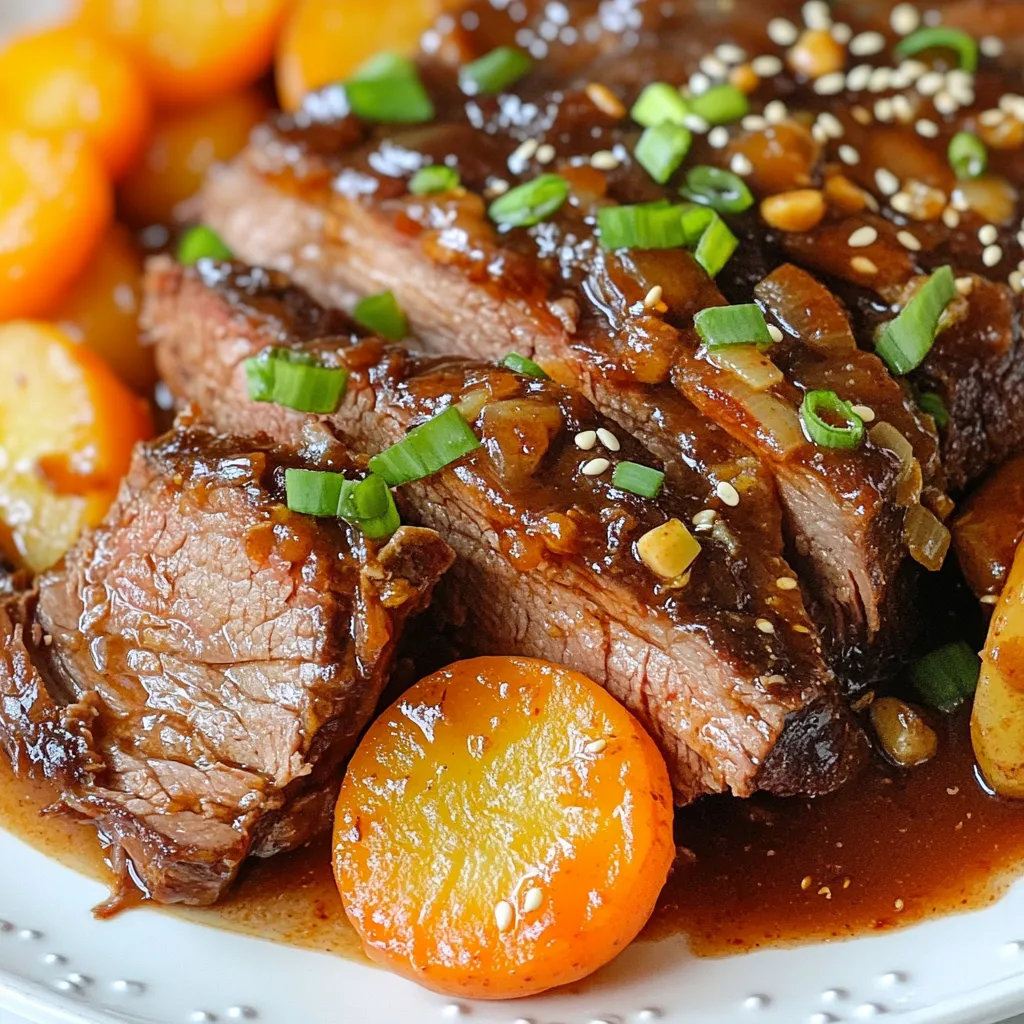
If you’re craving a warm, flavorful meal, Korean Style Pot Roast will hit the spot. This dish blends rich flavors and tender meat for a true comfort experience. I’ll guide …
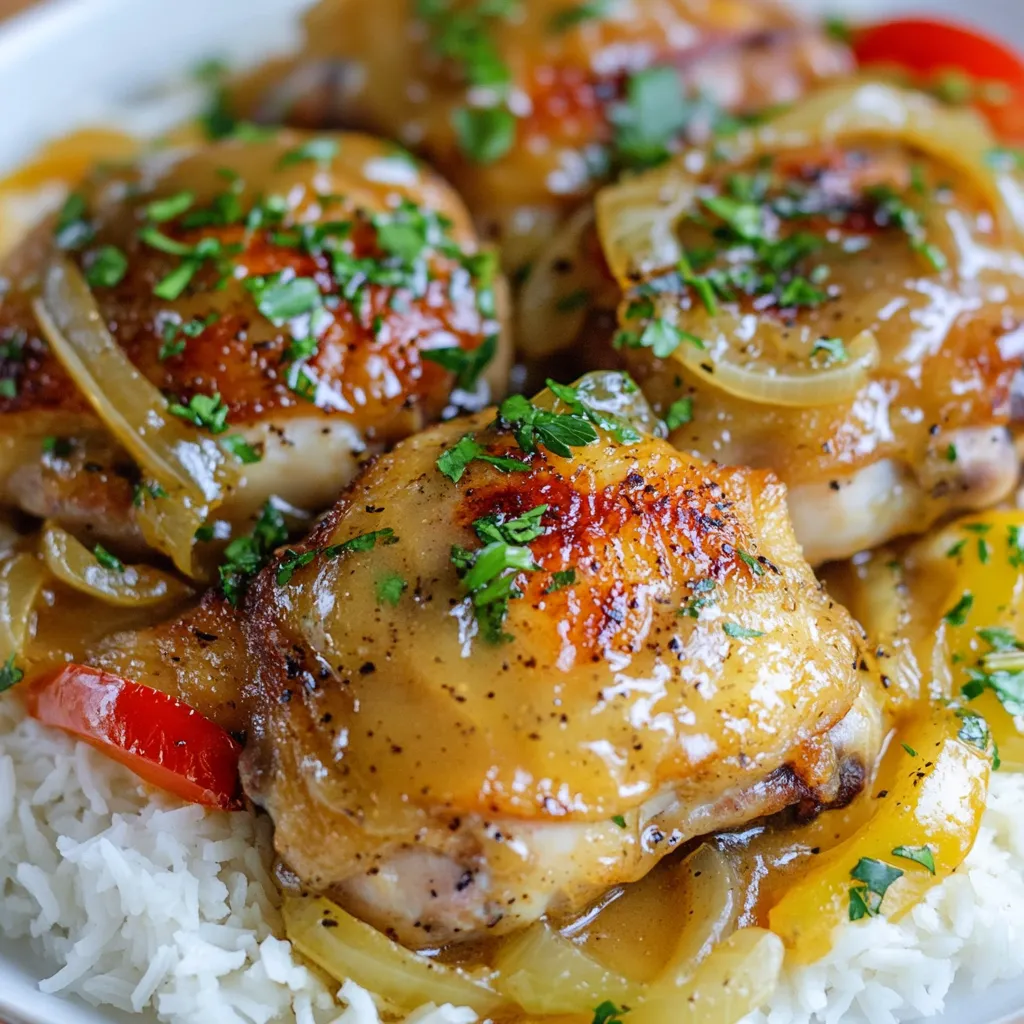
Ready to satisfy your cravings with a plate of comfort? Southern Smothered Chicken is your answer! This dish combines juicy, seasoned chicken with rich gravy and fresh veggies, offering a …
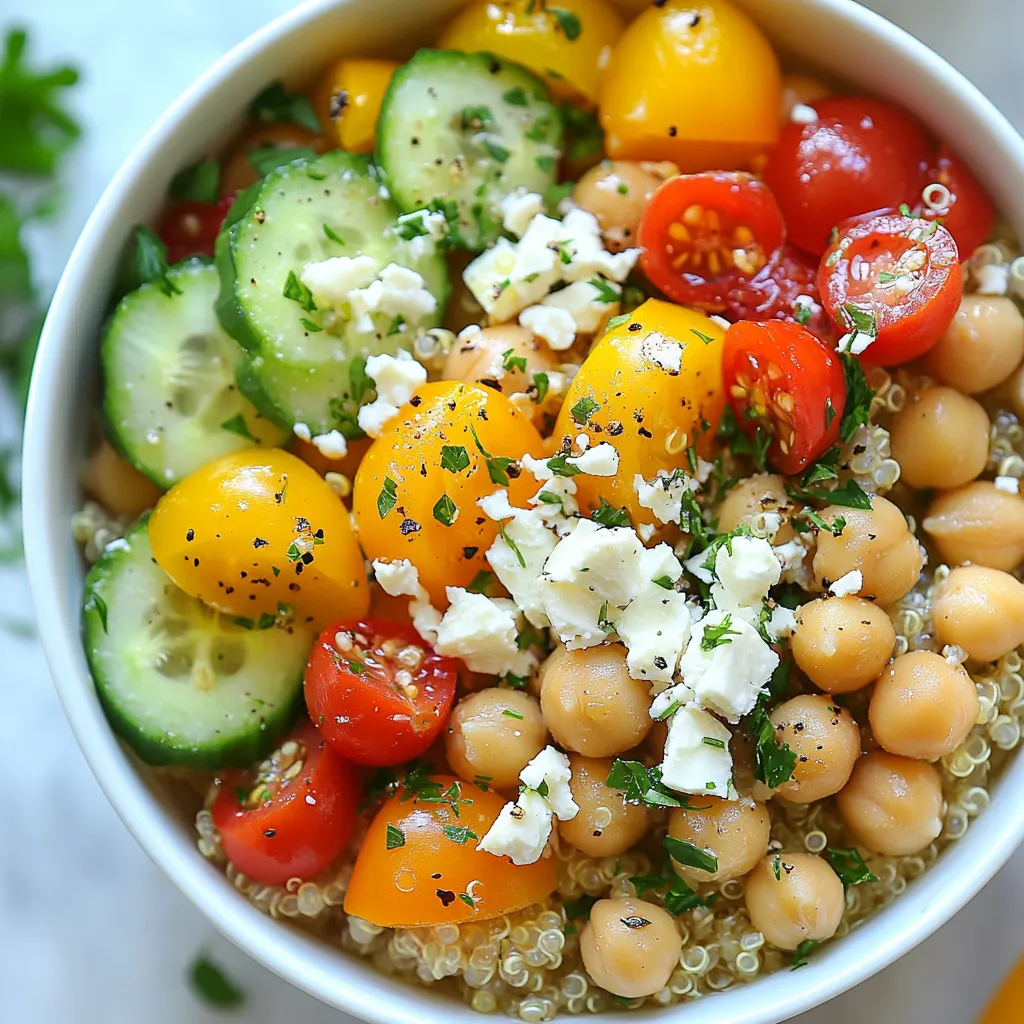
If you want healthy meals that are quick and easy, you’re in the right place! Quick Mediterranean Diet Dinner Bowls are packed with flavor and nutrition. In just a few …

If you’re looking for a simple, tasty meal, you’ve found it! My Italian Sausage Orzo recipe is packed with flavor and comfort. This dish combines hearty sausage and tender orzo, …
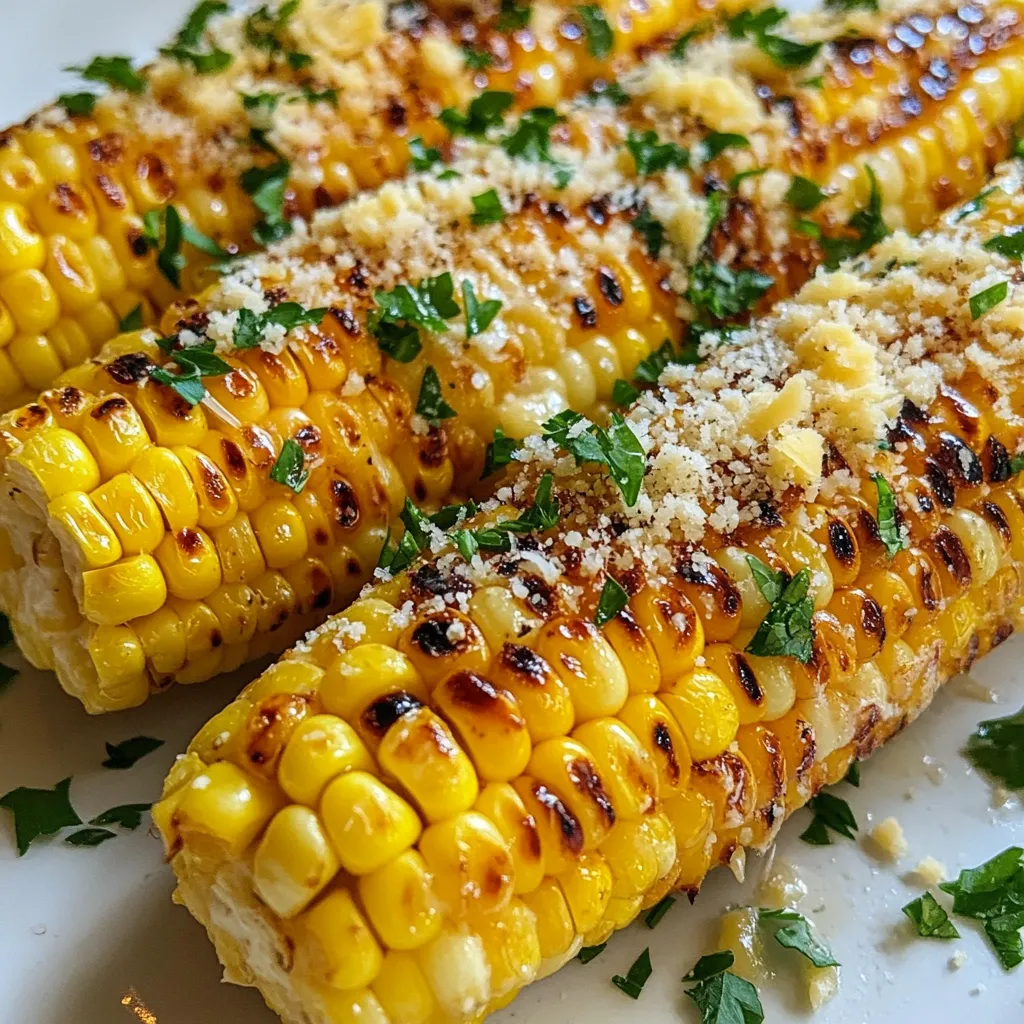
If you love sweet, juicy corn on the cob, you’re in for a treat! My Parmesan Corn on the Cob recipe brings simple ingredients together for a dish that’s bursting …
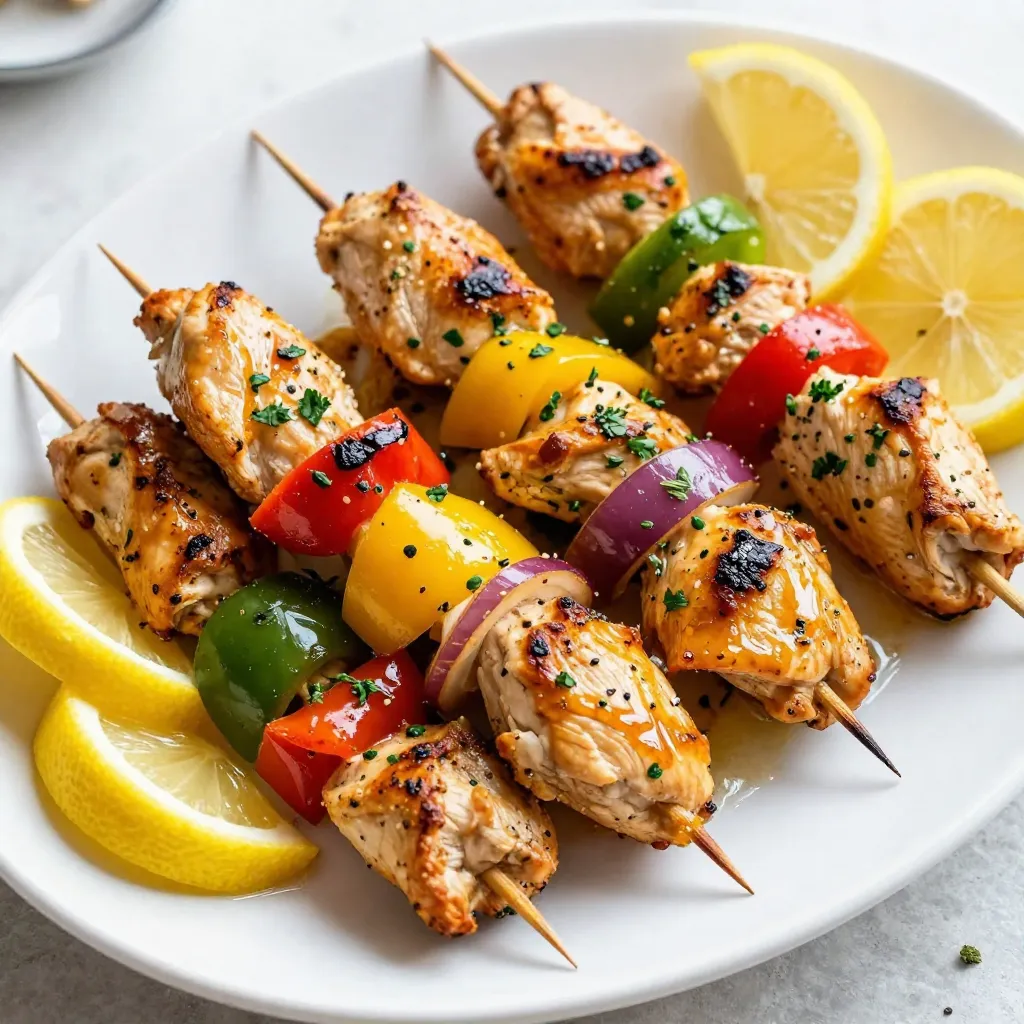
Looking for a quick and tasty meal? You’ll love these Lemon Herb Grilled Chicken Skewers! They are easy to make and bursting with fresh flavors. This recipe uses simple ingredients …

Looking for a quick and tasty dinner option? The Ground Turkey Dinner Skillet is here to save your evening! This one-pan dish combines lean ground turkey with colorful veggies and …
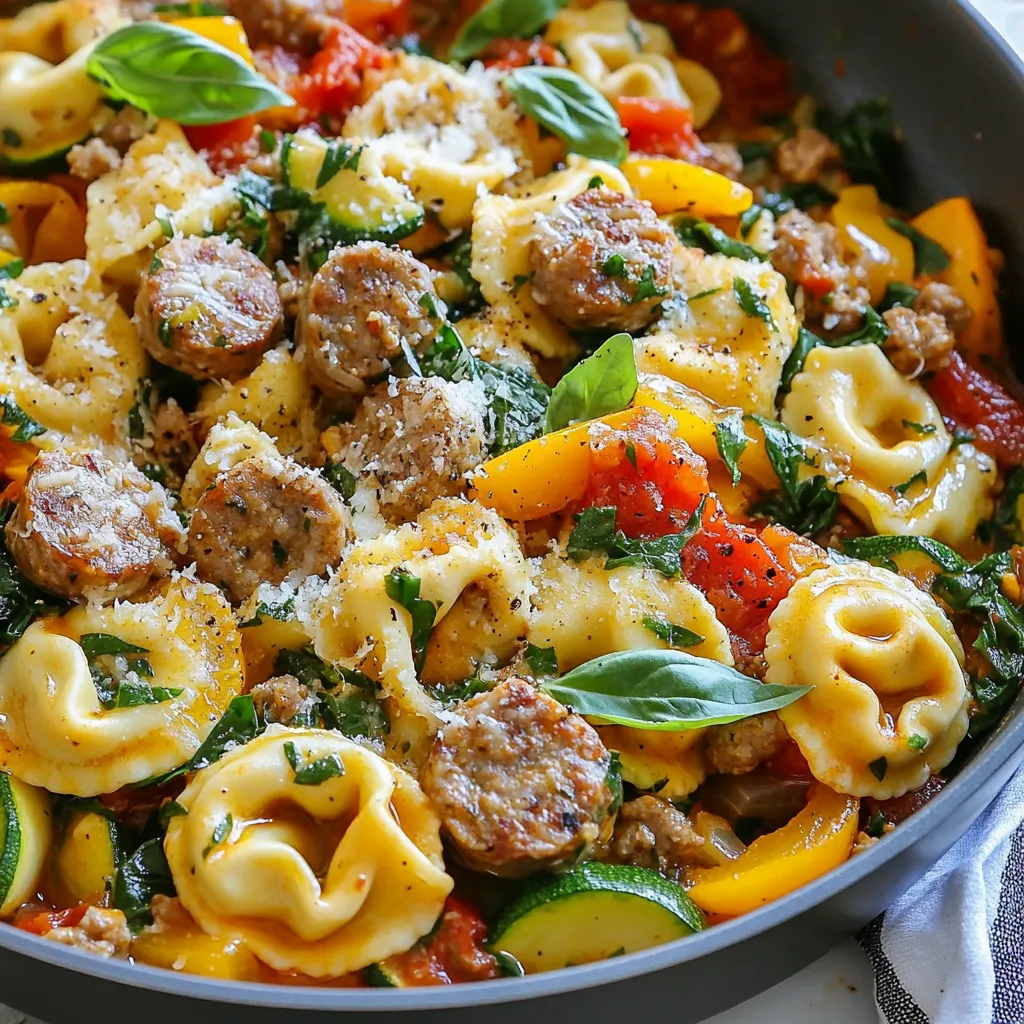
If you’re searching for a quick, delicious dinner idea, look no further! This One Pan Tortellini with Sausage recipe is a game changer. It combines the bold flavors of Italian …

If you’re craving a delicious chicken dish, Chicken Parmesan is a classic choice! This Essential Cooking Guide shares all the ingredients you need, from juicy chicken breasts to rich marinara …