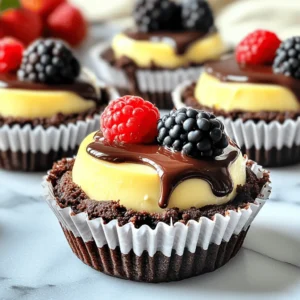
Are you ready to indulge in something truly delicious? These Brownie Bottom Mini Cheesecakes are the perfect blend of rich brownie and creamy cheesecake. They’re easy to make and will wow your friends and family. In this post, I’ll share everything you need to create delectable bites that satisfy any sweet tooth. Get your taste buds ready for a decadent delight that’s hard to resist!
Ingredients
Essential Ingredients for Brownie Bottom Mini Cheesecakes
To make these mini cheesecakes, gather the following ingredients:
– 1 cup brownie mix
– 1/4 cup butter, melted
– 1 egg
– 8 oz cream cheese, softened
– 1/2 cup granulated sugar
– 1 teaspoon vanilla extract
– 1 large egg
– 1 tablespoon all-purpose flour
– 1/4 cup sour cream
These ingredients work together to create a rich and tasty treat. The brownie mix forms a sweet, fudgy base. The cream cheese gives a smooth, creamy topping.
Optional Toppings to Elevate Your Cheesecakes
To make your mini cheesecakes even more special, consider these toppings:
– Chocolate sauce
– Fresh berries
– Whipped cream
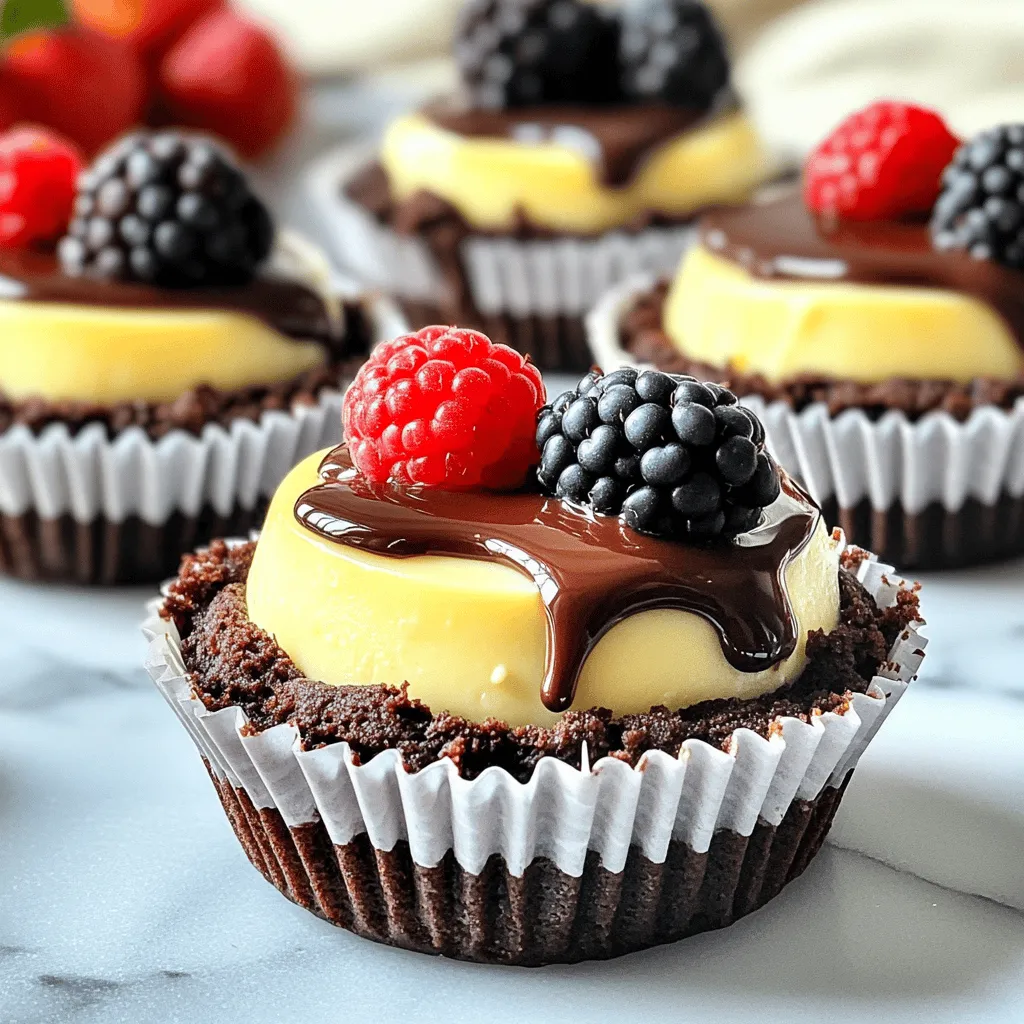
Adding toppings not only enhances the flavor but also makes them look stunning. A drizzle of chocolate adds richness. Fresh berries bring a nice contrast with their tartness.
Ingredient Substitutions and Recommendations
You can make some swaps if you need to:
– Use a gluten-free brownie mix for a gluten-free option.
– Replace cream cheese with Greek yogurt for a lighter version.
– Swap sour cream for plain yogurt if you prefer.
These options keep the flavors but change the texture and health aspects. Feel free to experiment based on what you have at home. For the full recipe, check out the complete guide on making these delightful mini cheesecakes.
Step-by-Step Instructions
Prepping the Brownie Base
To start, we need a rich brownie base. Grab a bowl and mix together:
– 1 cup brownie mix
– 1/4 cup butter, melted
– 1 egg
Stir until the mixture is thick and smooth. This step is key for a fudgy base. Next, take a muffin tin and line it with paper liners. Spoon about 1 tablespoon of the brownie mix into each liner. Make sure to smooth the top slightly with a spatula. Bake these for 10 minutes at 350°F (175°C). The smell will be amazing! Once baked, let them cool for a bit while you make the filling.
Making the Cream Cheese Filling
Now, let’s whip up the cream cheese filling. In a large bowl, beat 8 oz of softened cream cheese until it’s creamy. Slowly add:
– 1/2 cup granulated sugar
– 1 teaspoon vanilla extract
– 1 large egg
– 1 tablespoon all-purpose flour
– 1/4 cup sour cream
Mix this until it’s smooth and free of lumps. The filling should be thick and velvety. This is where the magic happens! Pour the creamy filling over the cooled brownie bases, filling each liner about 3/4 full.
Baking and Cooling Process
It’s time to bake again! Place the muffin tin back in the oven and bake for an additional 15-18 minutes. Keep an eye on them. The centers should be set but might jiggle a bit. Once done, turn off the oven and crack the door open. Let the cheesecakes cool for about 30 minutes inside the oven. This helps prevent cracks on top. After that, transfer them to the fridge for at least 2 hours. This cooling time is crucial for the perfect texture.
You can now enjoy the full recipe anytime!
Tips & Tricks
How to Avoid Cracks in Your Cheesecakes
To keep your cheesecakes smooth, avoid overmixing. While mixing, stop as soon as you see no lumps. Also, use room-temperature cream cheese. Cold cream cheese can cause lumps and cracks. Another tip is to lower the oven temperature slightly. Baking at a lower temp helps set the cheesecake without cracking.
Best Practices for Perfectly Set Cheesecakes
Bake your cheesecakes until the edges are firm but the center is slightly jiggly. This ensures a creamy texture. After baking, turn off the oven and leave the door cracked. This cools the cheesecakes slowly, reducing the chance of cracks. Finally, chill them in the refrigerator for at least two hours to set properly.
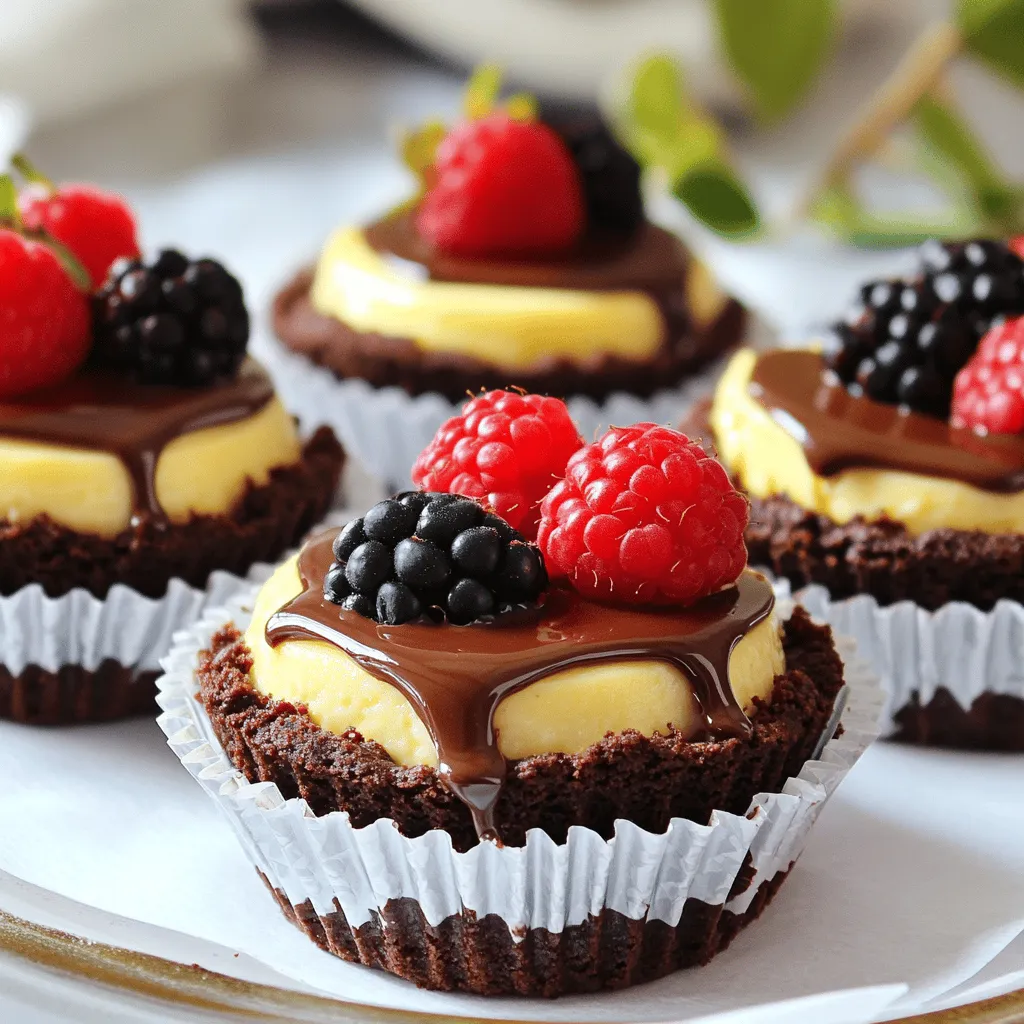
Serving Suggestions for a Beautiful Presentation
Presentation makes your mini cheesecakes look even more tempting. Top each one with a drizzle of chocolate sauce or some fresh berries. A dollop of whipped cream adds a lovely touch too. Arrange them on a decorative plate for a stunning display. Don’t forget to share the Full Recipe with friends; they’ll love these treats!
Variations
Flavor Variations: Adding Chocolate, Fruits, and Spices
You can easily change the flavors of your brownie bottom mini cheesecakes. Adding chocolate chips gives a rich texture. Try mixing in 1/2 cup of mini chocolate chips with the cream cheese filling. For a fruity twist, fold in fresh berries like raspberries or strawberries. You can also use pureed fruit for a smooth texture. If you love spices, consider adding a pinch of cinnamon or nutmeg to the filling. These flavors will create a delightful surprise in every bite.
Gluten-Free Alternative Options
If you need a gluten-free option, don’t worry! You can use gluten-free brownie mix instead of regular mix. This swap keeps the taste and texture similar. For the cream cheese filling, just make sure your ingredients, like flour, are certified gluten-free. It’s an easy way to enjoy these treats without gluten.
Mini Cheesecake Recipes Inspired by Different Desserts
You can create mini cheesecakes inspired by your favorite desserts. For a s’mores flavor, mix in some graham cracker crumbs into the brownie base. Top the cheesecakes with mini marshmallows and a drizzle of chocolate sauce. If you love pumpkin pie, add pumpkin puree and spices to the cream cheese filling. This gives a nice fall flavor. Each of these variations adds a new twist, making every batch special. For the full recipe, check out the details above.
Storage Info
Storing Brownie Bottom Mini Cheesecakes Properly
To keep your brownie bottom mini cheesecakes fresh, store them in an airtight container. Place them in the refrigerator for up to five days. This keeps them cool and tasty. If you use toppings like berries or whipped cream, add them just before serving. That way, they stay fresh and look nice.
Freezing Tips for Longer Shelf Life
You can freeze these mini cheesecakes for later enjoyment. To do this, let them cool completely first. Then, wrap each cheesecake in plastic wrap. After that, place them in a freezer-safe bag or container. They will keep well for about three months. When you want to eat them, just take them out and let them thaw in the fridge overnight.
How to Reheat Leftover Mini Cheesecakes
If you want to warm up your mini cheesecakes, the best way is to use a microwave. Place one cheesecake on a microwave-safe plate. Heat it for about 10 to 15 seconds. This warms them up without cooking them more. Enjoy them warm, or serve cold for a refreshing treat. For the full recipe, check the earlier sections and enjoy making these delicious bites!
FAQs
Can I make the brownie bottom ahead of time?
Yes, you can make the brownie bottom ahead of time. Just bake it and let it cool completely. After cooling, store it in an airtight container. You can keep it in the fridge for up to three days. This gives you more time to prepare the cream cheese filling later.
What should I do if my cheesecakes are too runny?
If your cheesecakes are too runny, they likely need more time in the oven. Check if they are set by gently shaking the pan. If they jiggle too much, bake them a little longer. Another tip is to ensure your cream cheese is well softened and mixed. This helps create a thicker filling.
How long do mini cheesecakes last in the fridge?
Mini cheesecakes last about five days in the fridge. Store them in an airtight container to keep them fresh. If you want them to last longer, consider freezing them. Just wrap each cheesecake tightly in plastic wrap before freezing.
In this guide, we explored making brownie bottom mini cheesecakes. We covered essential ingredients, tips for a smooth bake, tasty variations, and proper storage. Remember, you can swap ingredients for your personal touch. With care, you’ll create a cheesecake that wows. Enjoy sharing these treats with friends and family. Happy baking!