Appetizers

Crispy Air Fryer Chickpeas Flavorful Healthy Snack
If you’re looking for a crunchy, healthy snack that satisfies your cravings, try crispy air fryer chickpeas! With just a few simple ingredients like chickpeas,

Buffalo Cauliflower Bites Crispy and Flavorful Treat
If you crave a tasty snack, look no further than Buffalo Cauliflower Bites. These crispy, flavorful treats are perfect for game day or as a
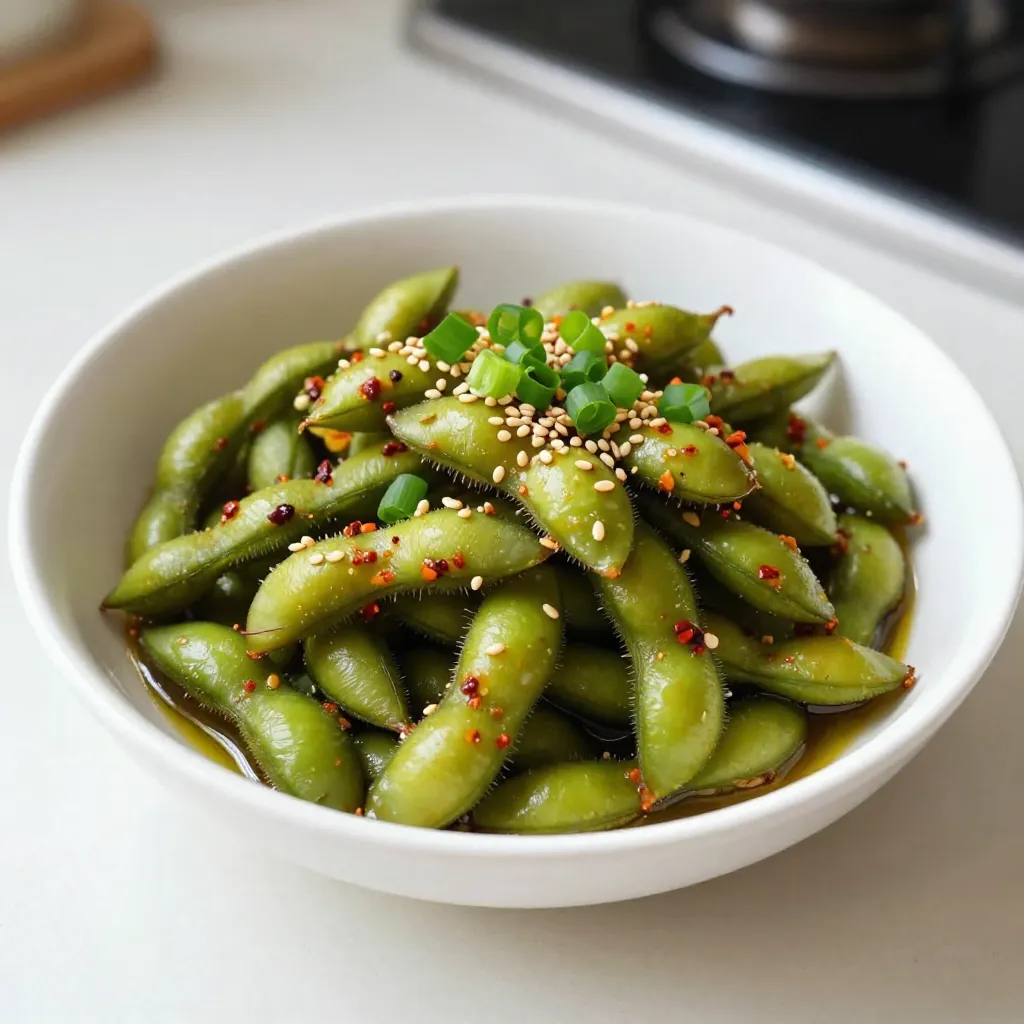
Spicy Garlic Edamame Zesty and Healthy Snack Recipe
Looking for a healthy snack that packs a flavorful punch? Try my Spicy Garlic Edamame! This zesty treat is easy to make and perfect for
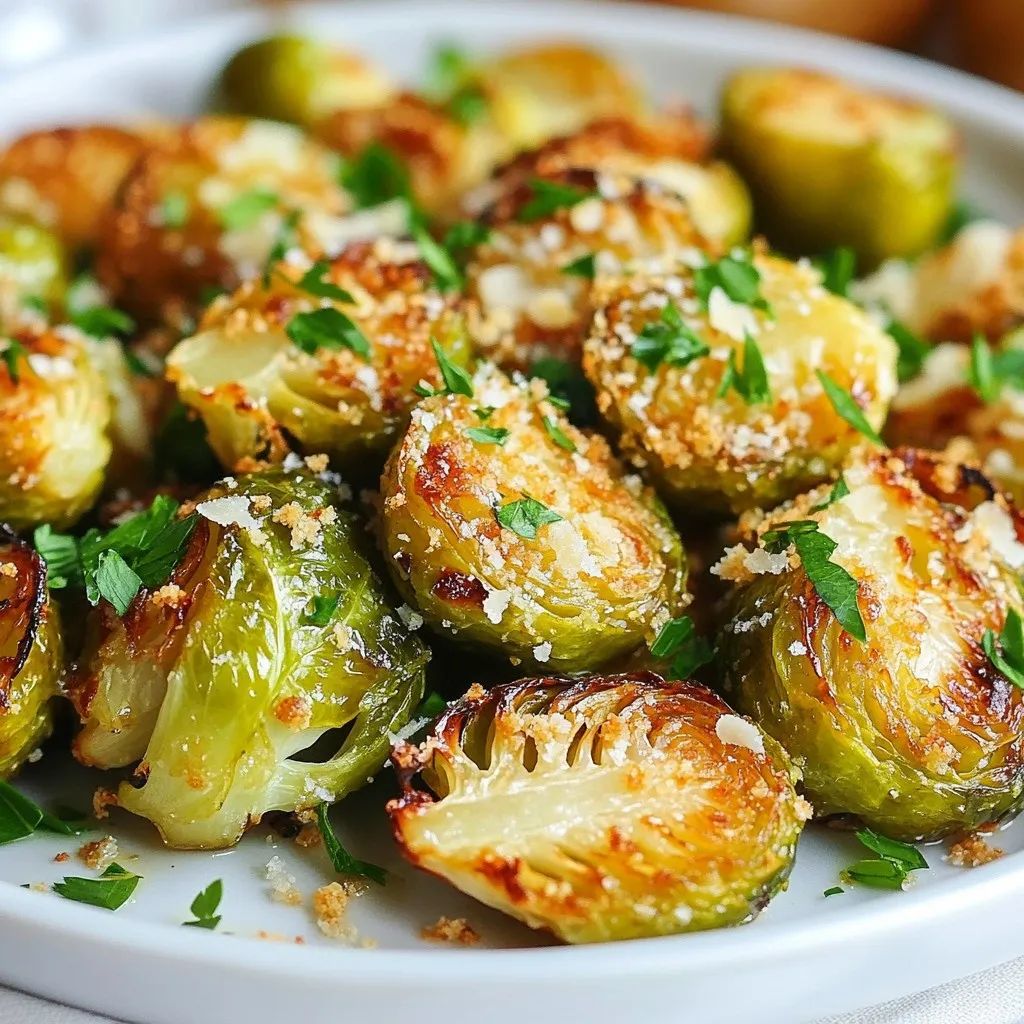
Air Fryer Garlic Parmesan Brussels Sprouts Delight
Looking for a tasty side dish that’s both healthy and easy to make? Air Fryer Garlic Parmesan Brussels Sprouts will delight your taste buds! With
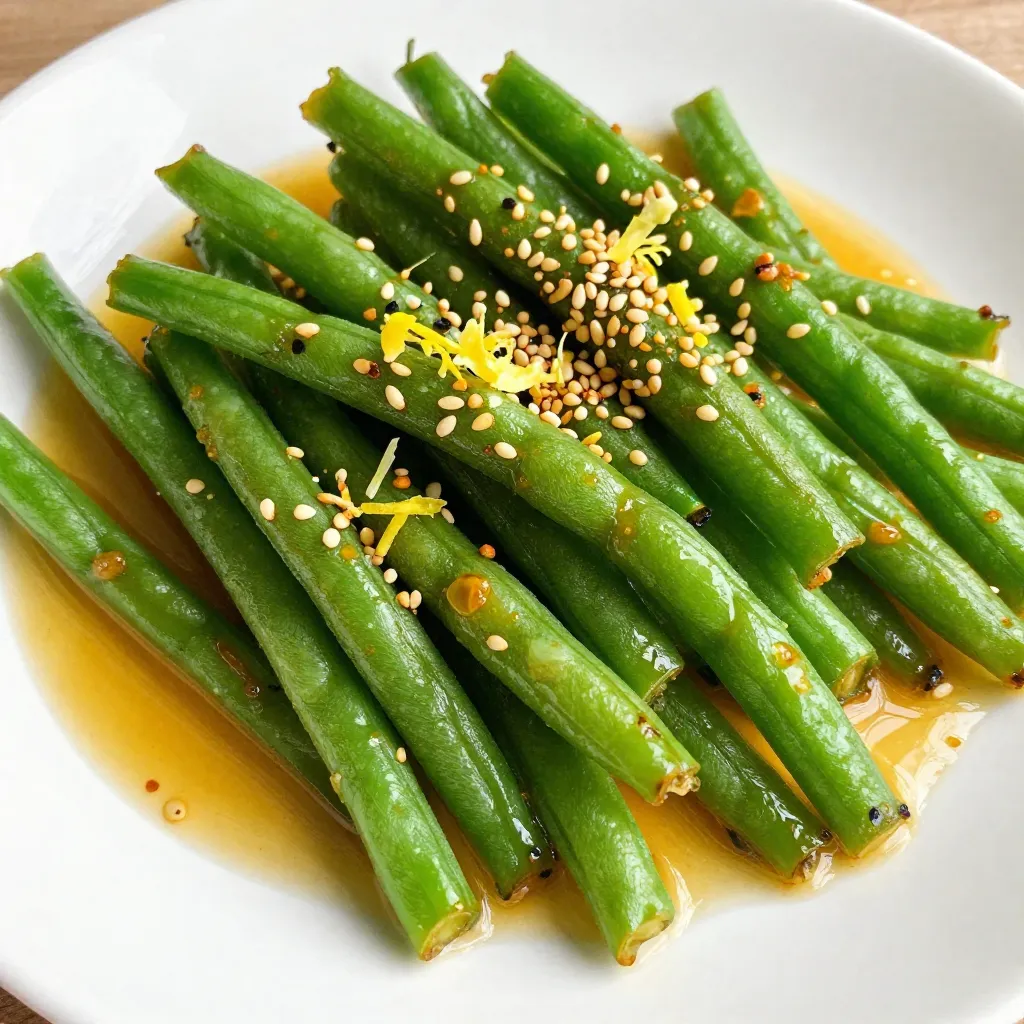
Crispy Garlic Butter Green Beans Delicious Side Dish
Are you ready to transform your green beans into a delicious crispy treat? My Crispy Garlic Butter Green Beans recipe is just what you need.
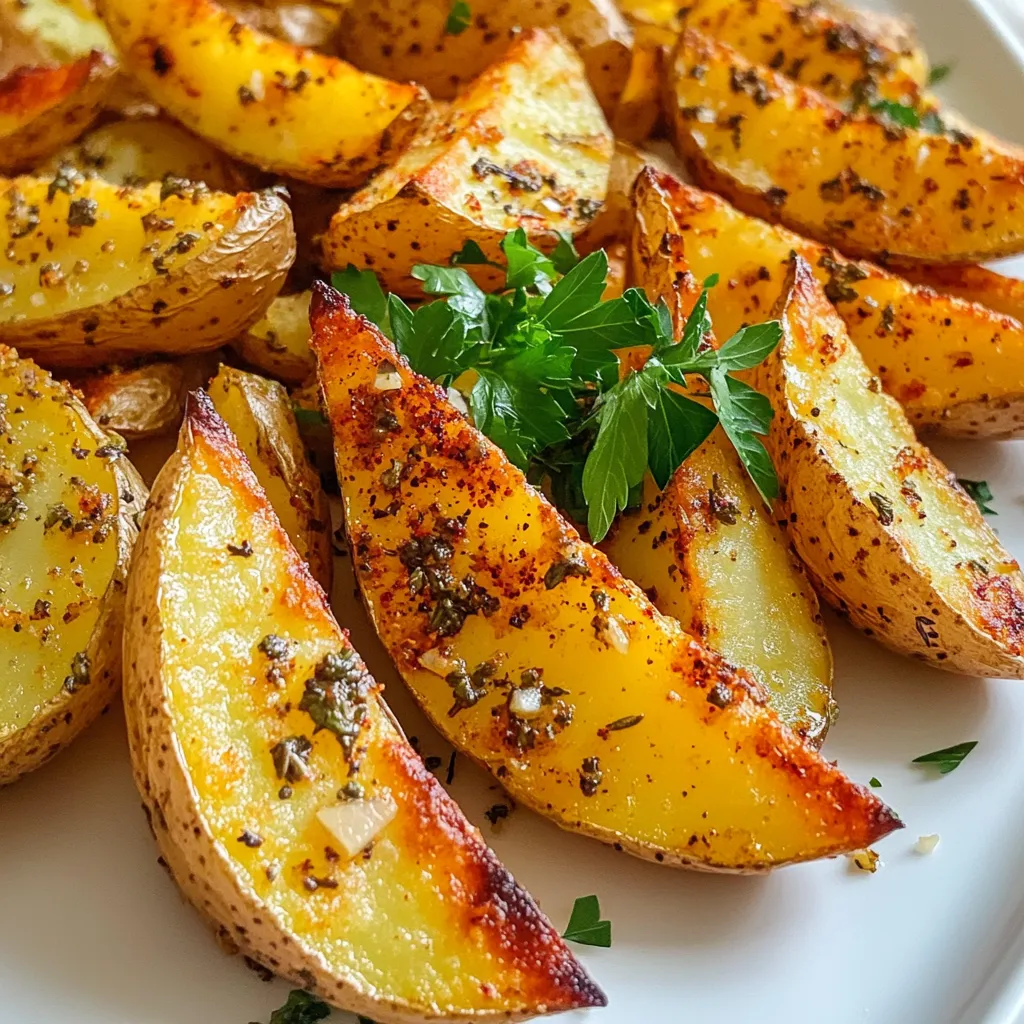
Air Fryer Garlic Herb Potato Wedges Crispy Delight
If you’re craving a tasty side that’s both crispy and savory, you’re in the right place! My Air Fryer Garlic Herb Potato Wedges are bursting

Garlic Butter Flatbread Simple and Flavorful Recipe
Are you ready to elevate your snack game? This Garlic Butter Flatbread recipe is both simple and packed with flavor. With just a few common
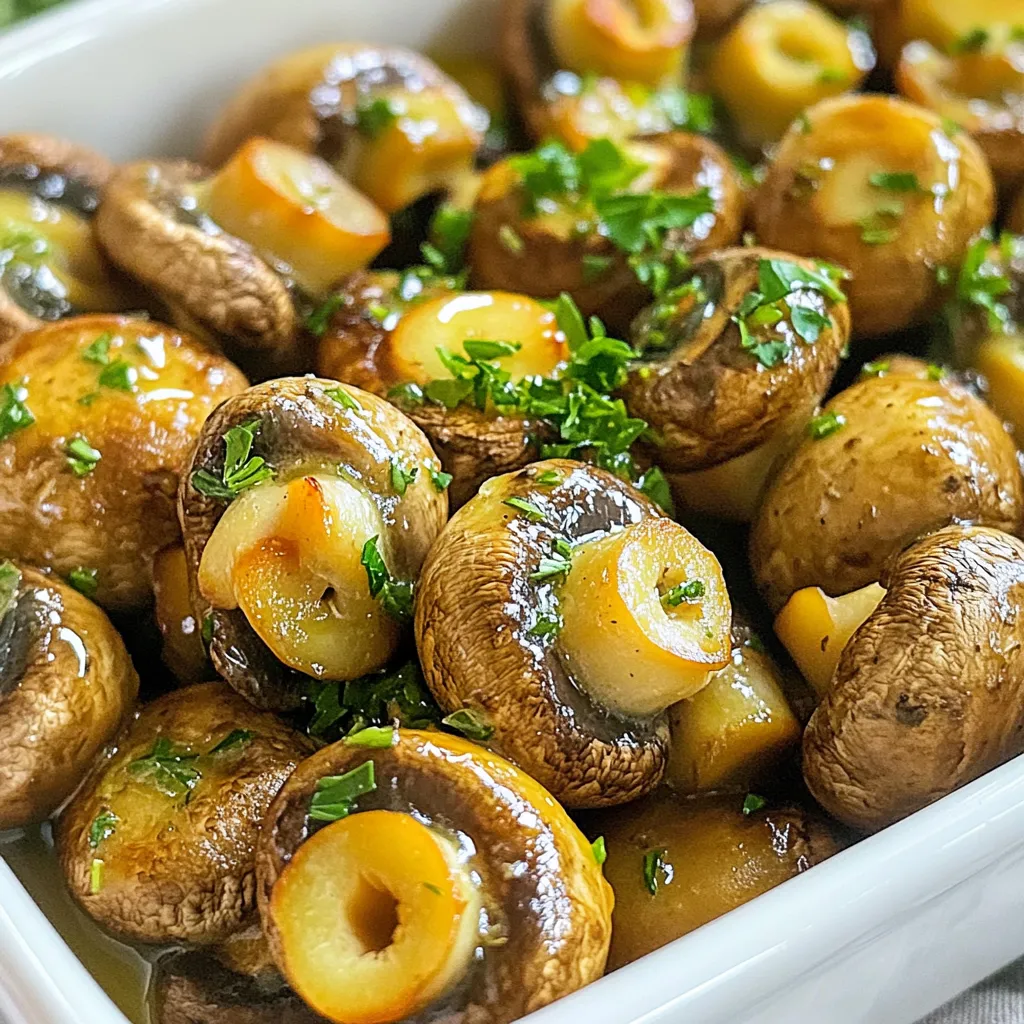
Garlic Butter Roasted Mushrooms Perfectly Flavorful Dish
If you crave a dish that’s bursting with flavor, garlic butter roasted mushrooms are the answer. This simple recipe transforms ordinary mushrooms into an irresistible
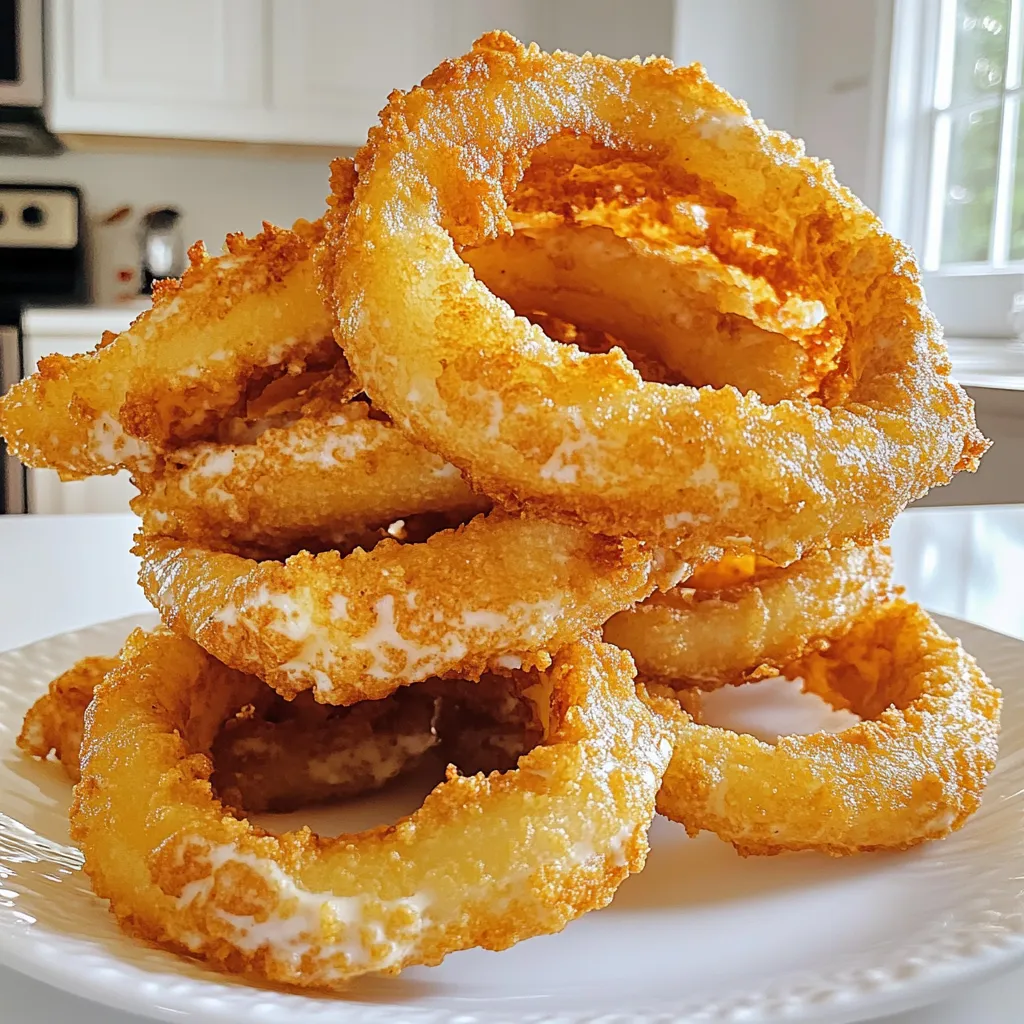
Air Fryer Onion Rings Crispy and Flavorful Snack
Looking for a crispy snack that’s easy to make? Air fryer onion rings are just what you need! With a golden crunch and tasty flavor,
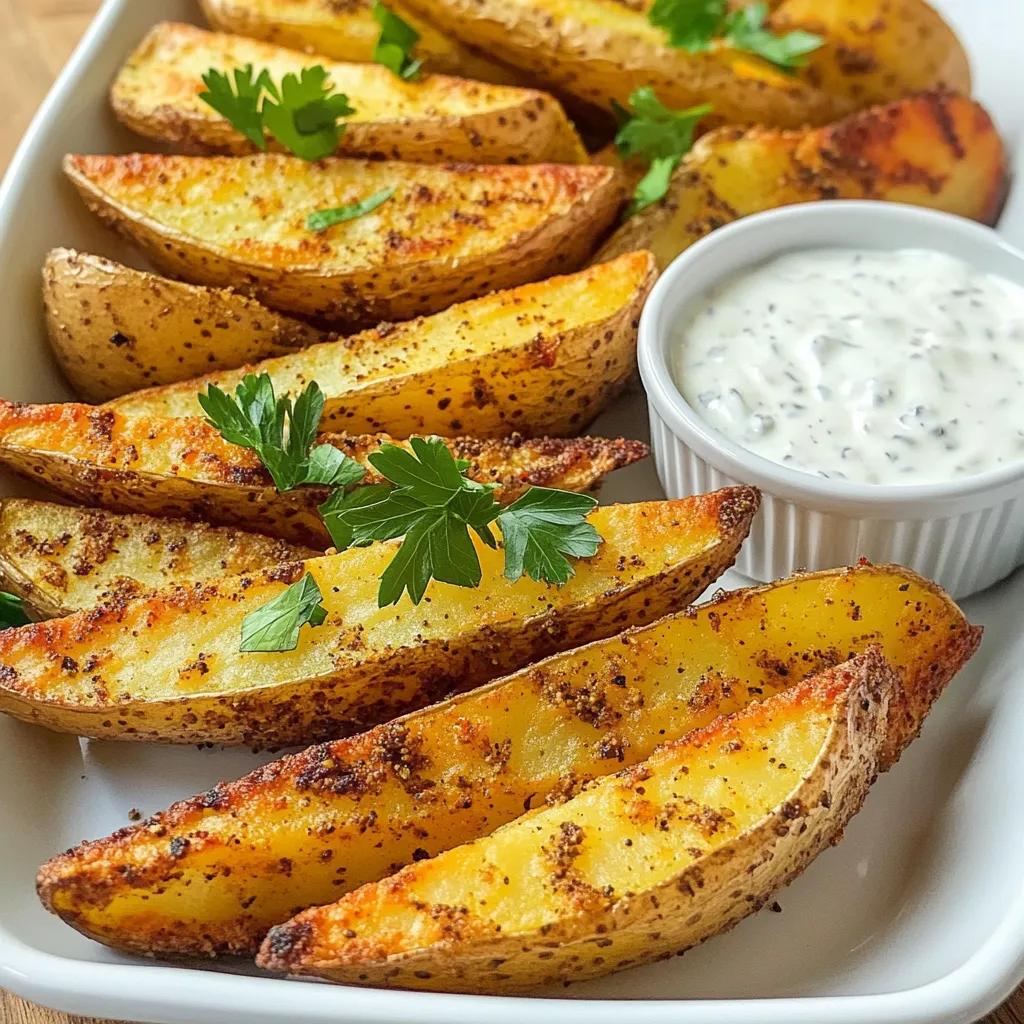
Air Fryer Cajun Potato Wedges Crispy and Flavorful
Get ready to spice up your snack game with Air Fryer Cajun Potato Wedges! These crispy, flavorful bites pack a punch and are super easy