Breakfast
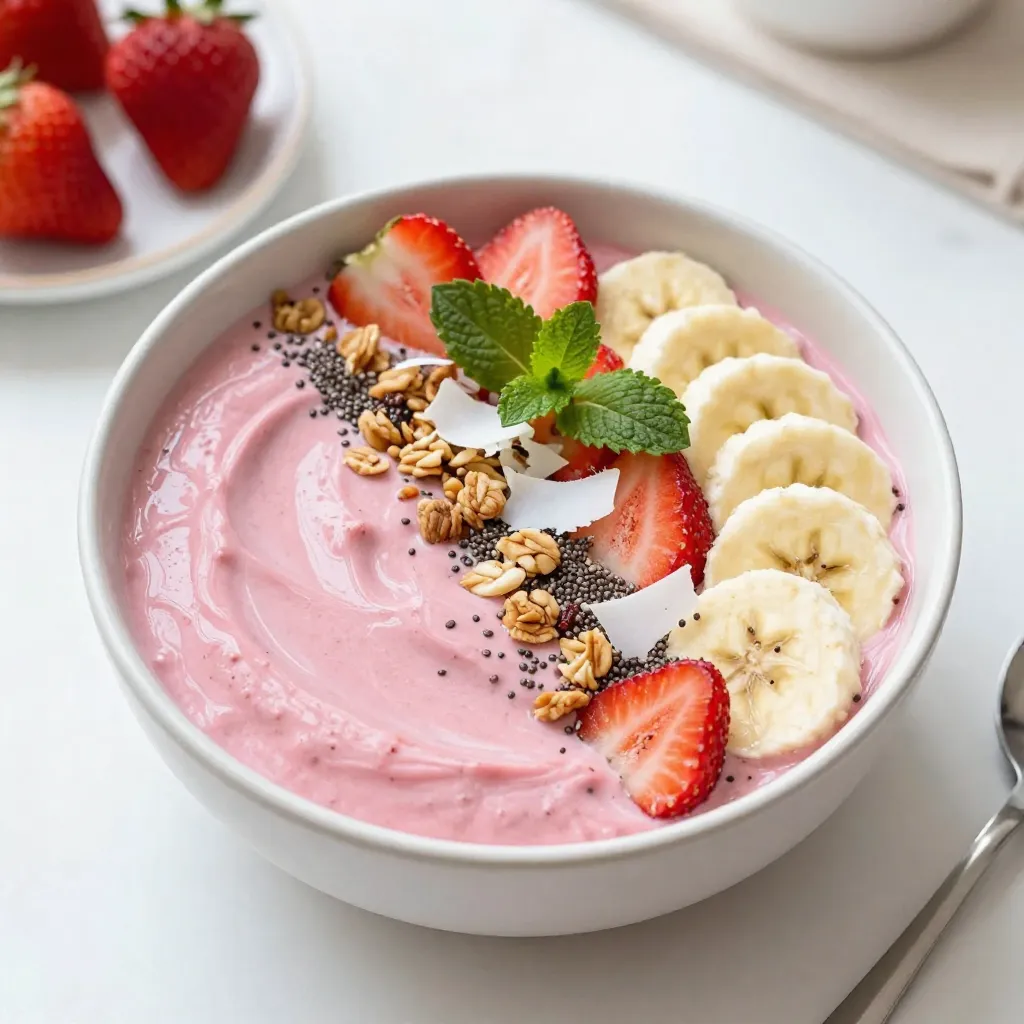
Strawberry Banana Smoothie Bowl Fresh and Nutritious Meal
Start your day with a burst of flavor and nutrition! A Strawberry Banana Smoothie Bowl is both fresh and satisfying. In this post, I’ll share

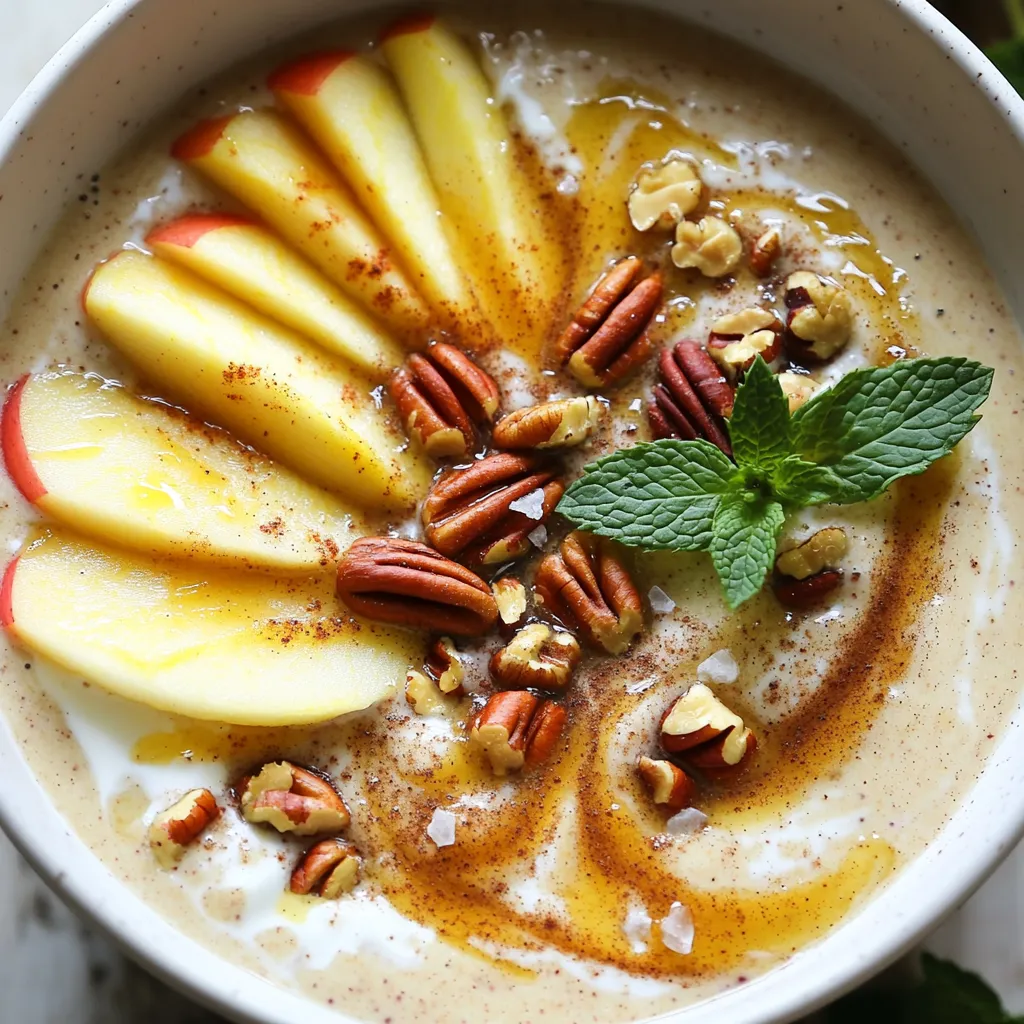
Maple Pecan Overnight Oats Simple and Nutritious Treat
Looking for a quick and tasty breakfast? Maple Pecan Overnight Oats are your answer! In this simple recipe, creamy oats blend perfectly with rich maple
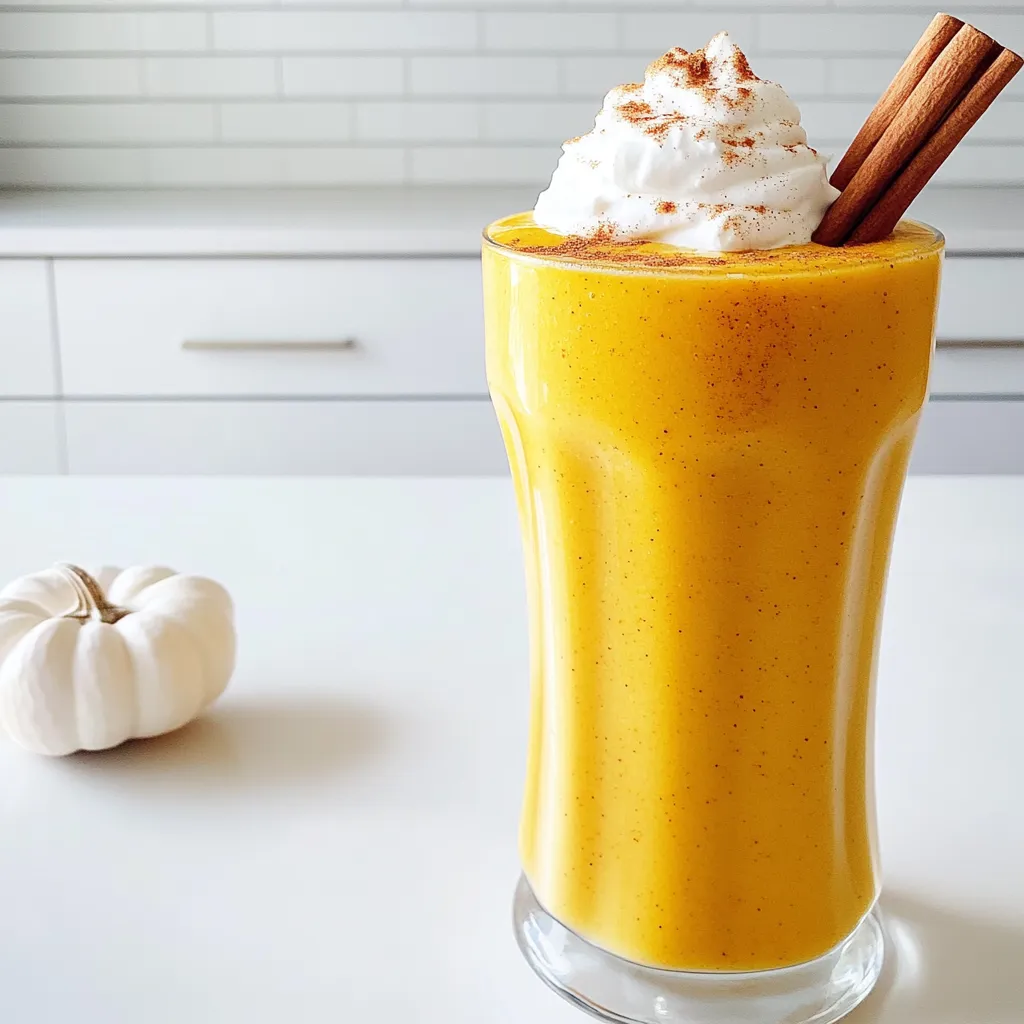
Cozy Pumpkin Pie Protein Smoothie Healthy and Simple
If you’re craving the warm flavors of fall but need a healthy boost, I’ve got the perfect treat for you! My Cozy Pumpkin Pie Protein
Spiced Apple Cider Smoothie Bowl Flavorful Delight
Looking for a cozy and delicious way to enjoy fall’s favorite flavor? This Spiced Apple Cider Smoothie Bowl is your answer! Packed with warm spices
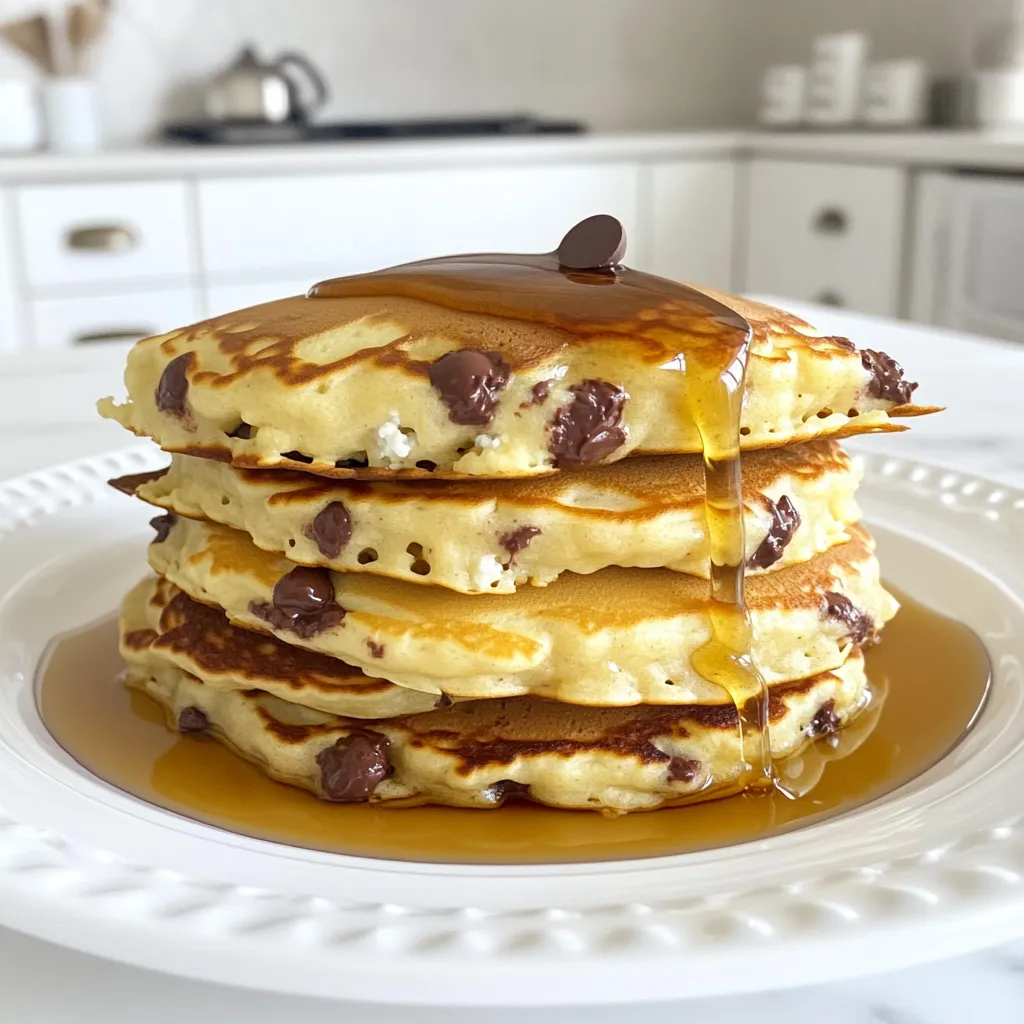
Cottage Cheese Chocolate Chip Pancakes Tasty & Easy
Get ready for a breakfast treat with my Cottage Cheese Chocolate Chip Pancakes! They are soft, tasty, and super easy to make. Packed with protein
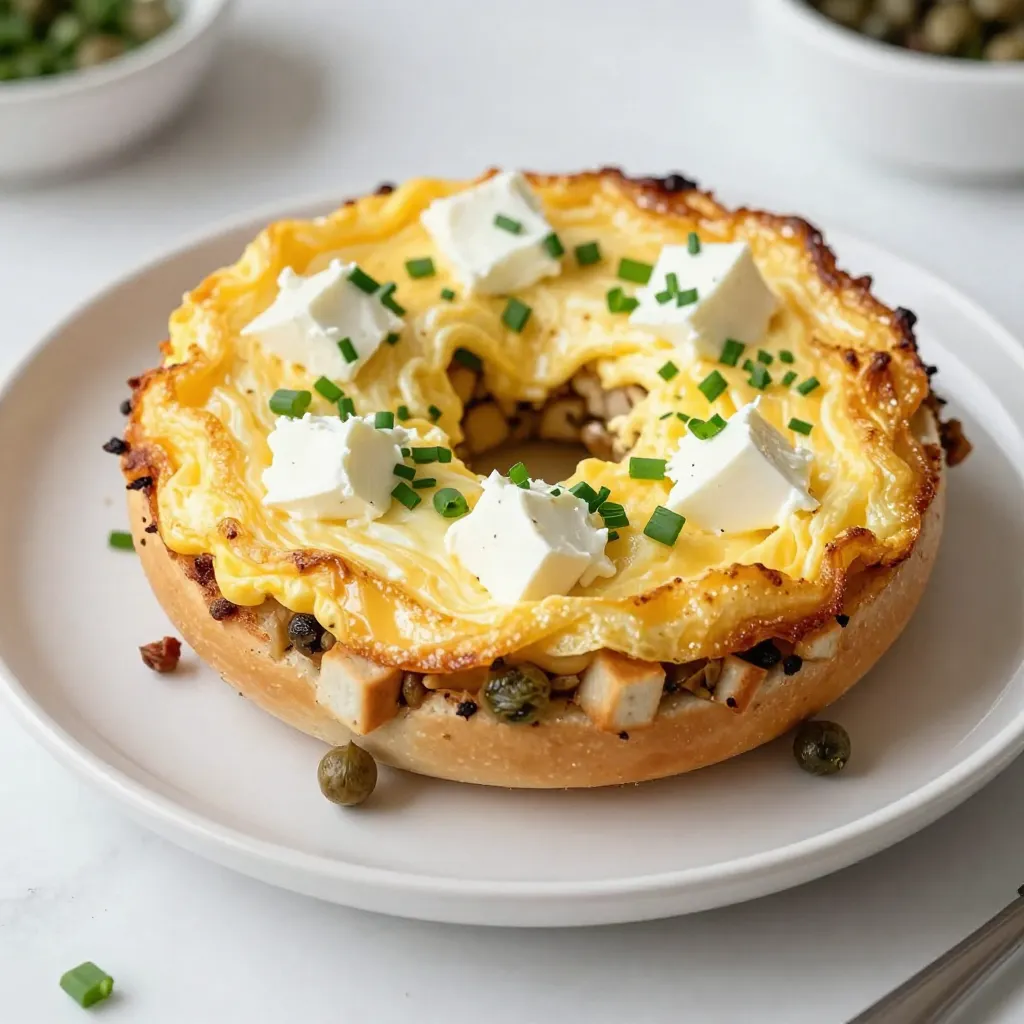
Everything Bagel Breakfast Casserole Easy and Tasty Dish
Are you ready to transform your breakfast game? This Everything Bagel Breakfast Casserole is the perfect dish. It’s easy to make and packed with flavor.
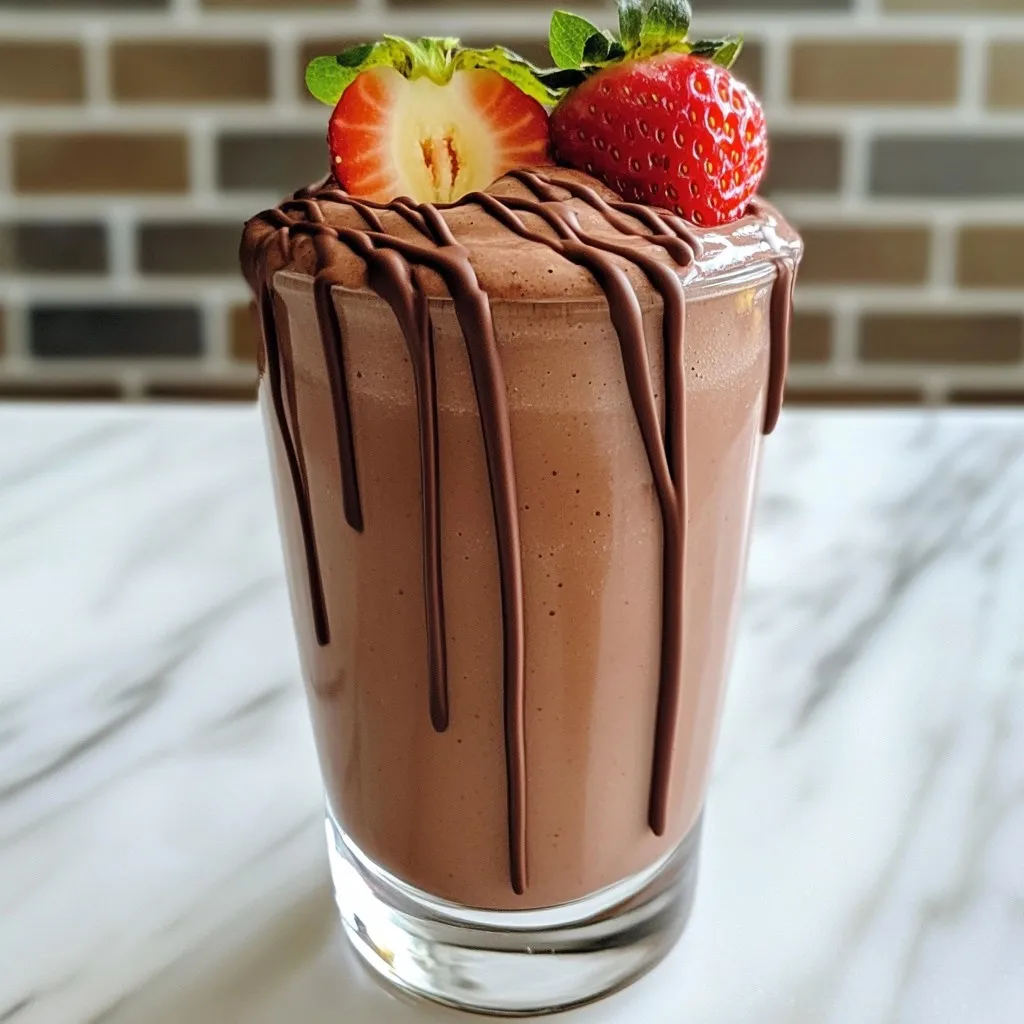
Chocolate Covered Strawberry Smoothie Creamy Delight
Get ready to enjoy a creamy treat that excites your taste buds! My Chocolate Covered Strawberry Smoothie is rich, refreshing, and easy to make. With
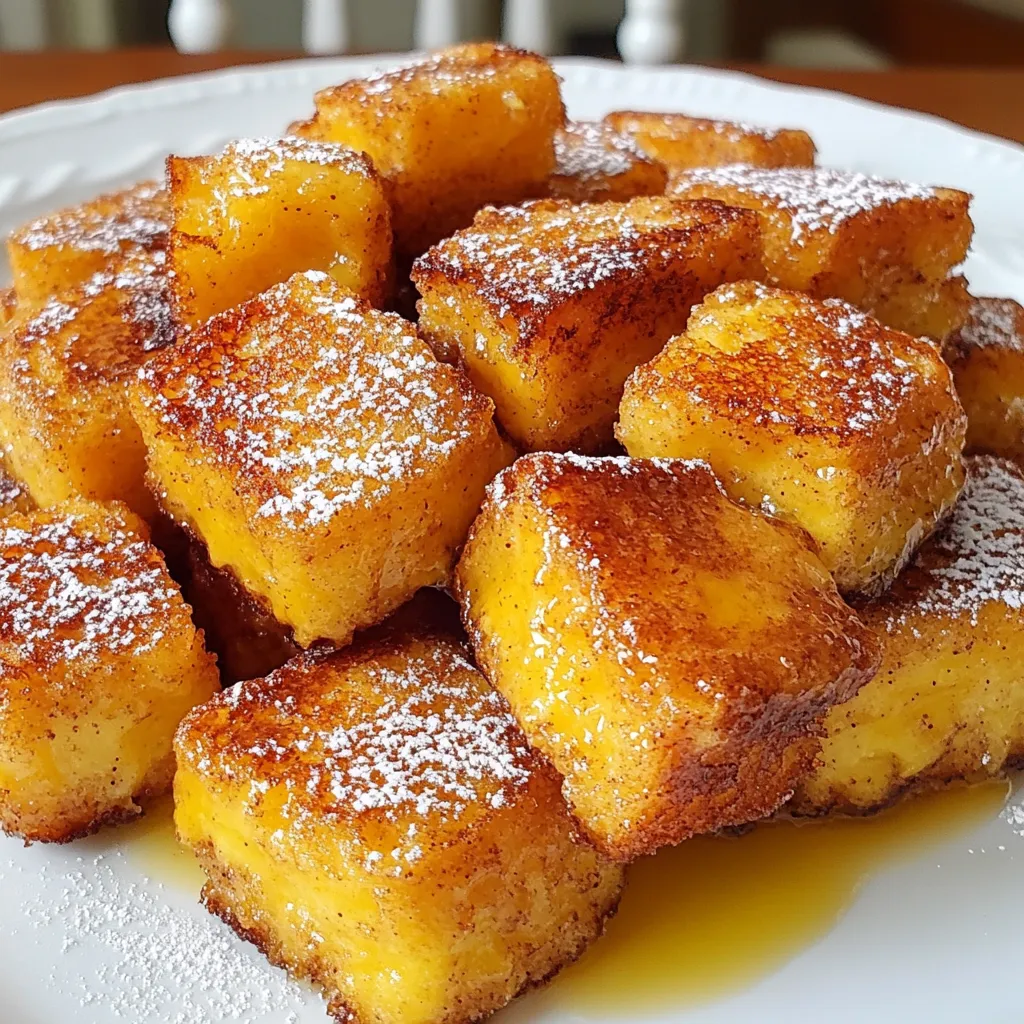
Cinnamon Roll French Toast Bites Irresistible Treat
Imagine waking up to the sweet smell of cinnamon rolls combined with the comfort of French toast. That’s exactly what my Cinnamon Roll French Toast
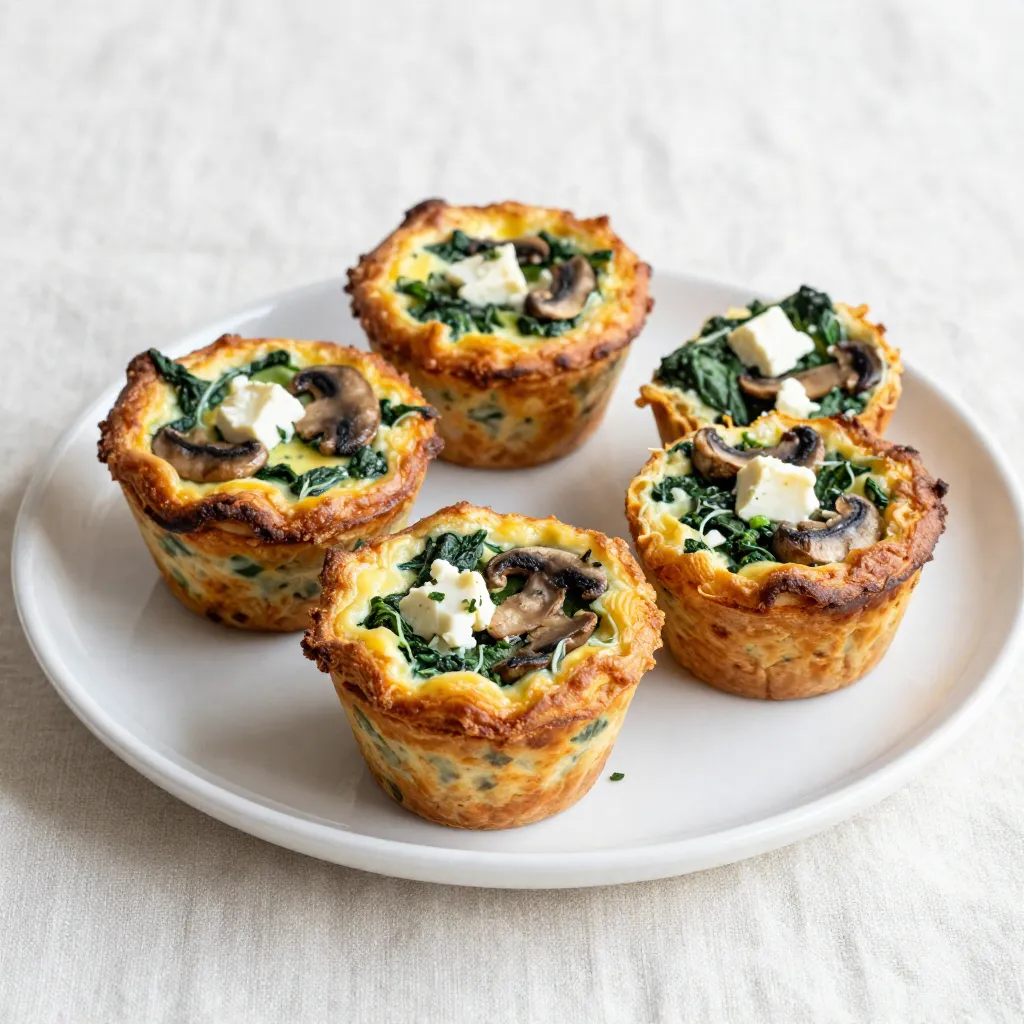
Spinach Mushroom Feta Egg Muffins Easy and Tasty Recipe
Are you craving a quick, healthy, and delicious breakfast? Spinach Mushroom Feta Egg Muffins are the perfect choice! These tasty muffins pack a punch of
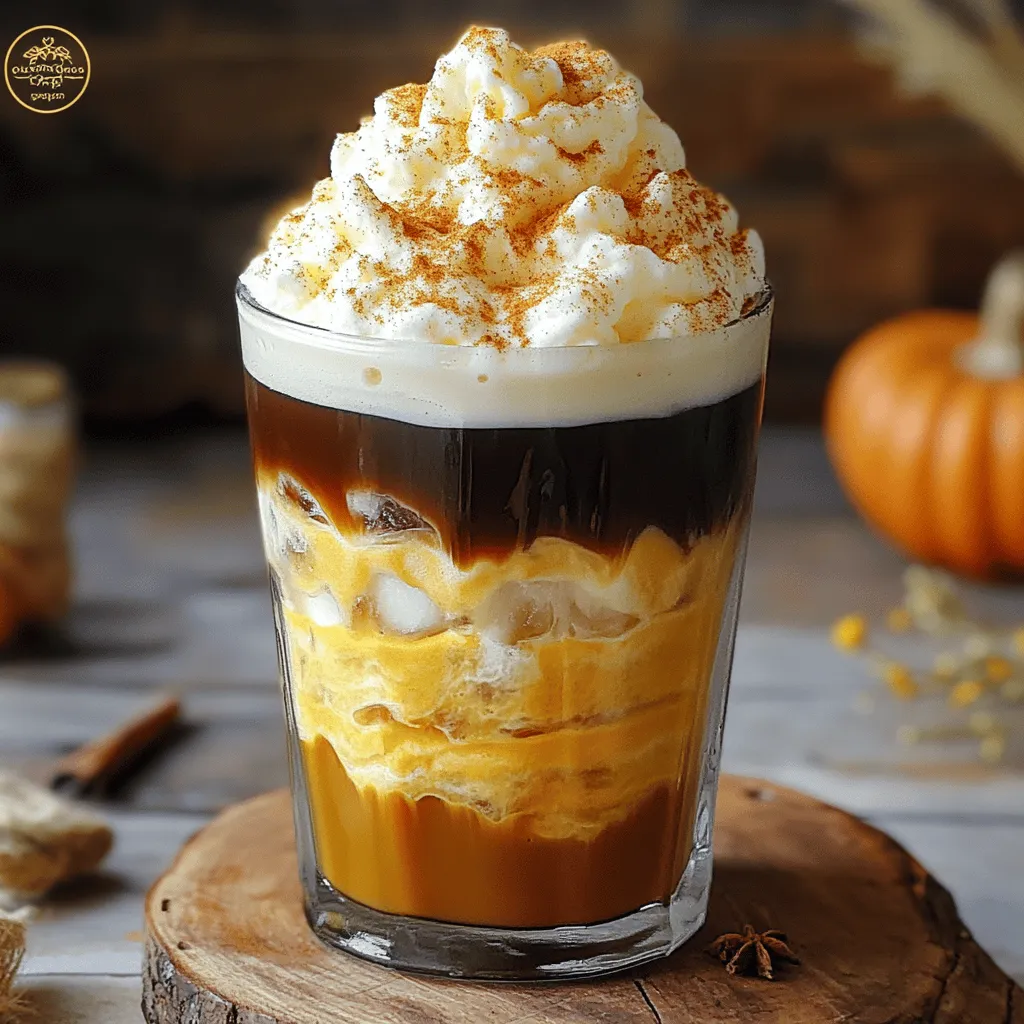
Pumpkin Cream Cold Foam Cold Brew Delightful Treat
If you love fall flavors, you’ll adore the Pumpkin Cream Cold Foam Cold Brew! This drink transforms your cold brew into a cozy treat with