Breakfast
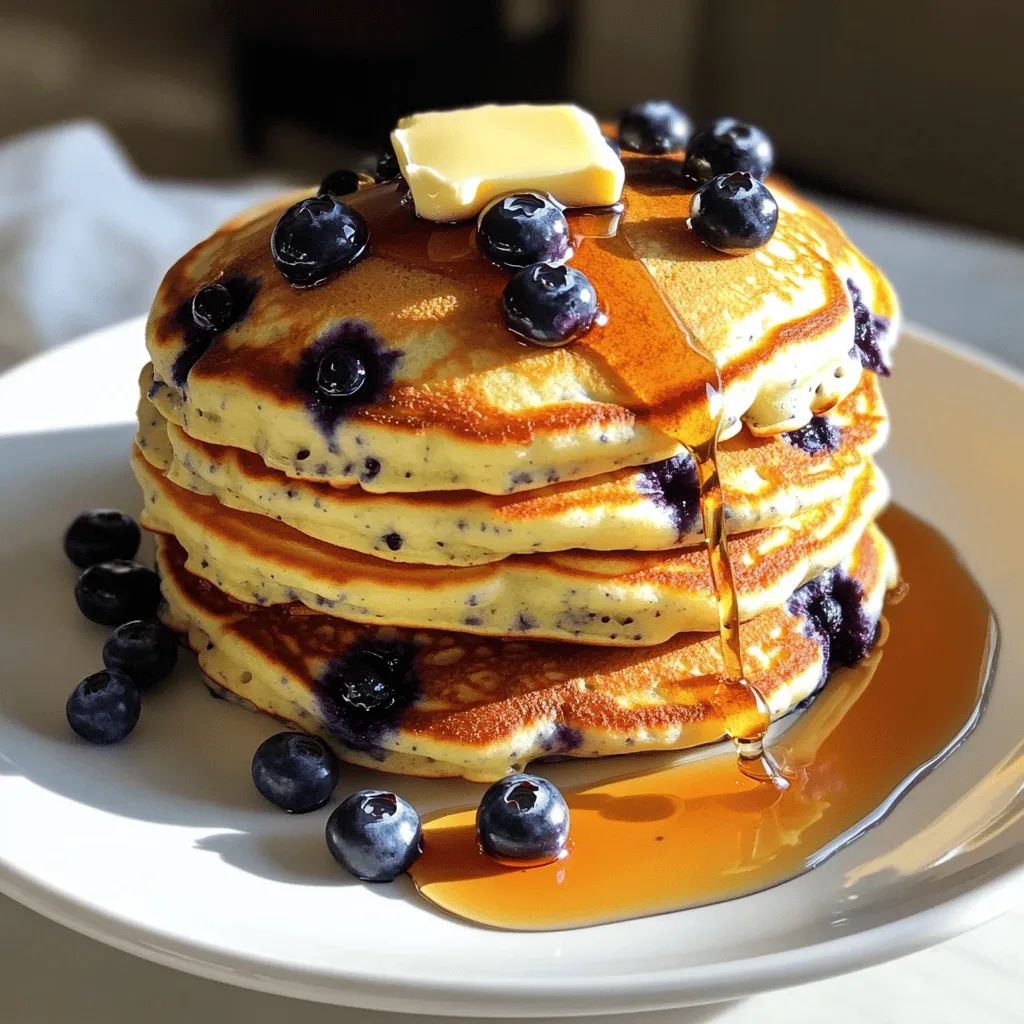
Fluffiest Blueberry Pancakes Perfectly Light and Delicious
Are you ready to make the fluffiest blueberry pancakes you’ve ever tasted? I’ll guide you through each step, from selecting the freshest blueberries to perfecting
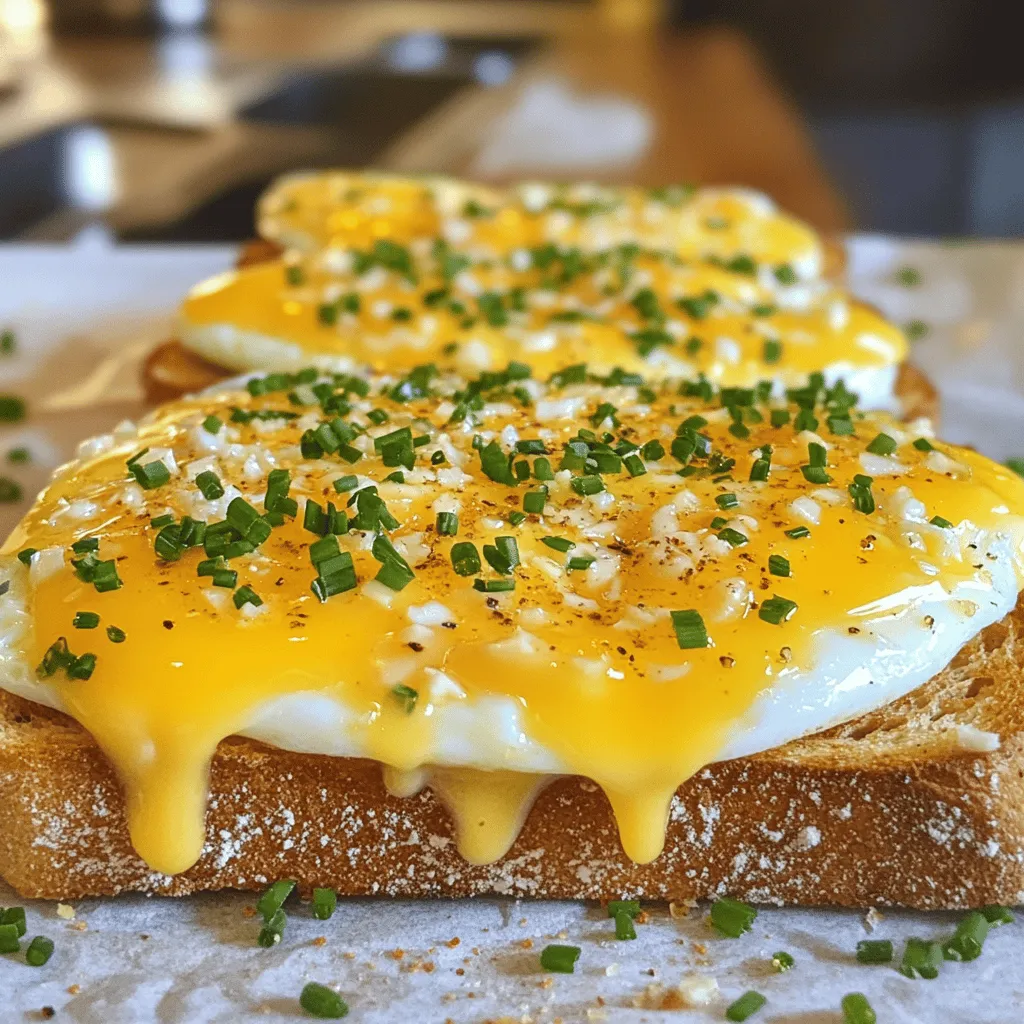
![To create a tasty air fryer egg and cheese toast, you need just a few key items: - 2 slices of whole grain bread - 2 large eggs - 2 slices of sharp cheddar cheese - 1 tablespoon unsalted butter, softened - Salt and pepper to taste These ingredients come together to make a delicious breakfast or snack. The eggs provide protein, while the cheese adds rich flavor. Whole grain bread gives a nice texture and helps keep you full. You can use various types of bread for this recipe. Here are some great options: - Sourdough - Rye - Multigrain - White bread Each type of bread brings its own flavor and texture. Sourdough adds a tangy taste, while rye has a hearty bite. Choose what you like best! Seasonings can elevate your egg and cheese toast. Here are some ideas: - Salt and pepper (basic must-haves) - Fresh herbs, like chives or parsley - Hot sauce for a kick - Avocado slices for creaminess Feel free to mix and match these add-ins. They can make your toast even more exciting. If you want more flavor, try adding fresh herbs on top after cooking. To start, preheat your air fryer to 350°F (175°C). This step is key to getting your toast crispy. While it heats, gather your ingredients. You will need whole grain bread, eggs, cheese, butter, salt, and pepper. Make sure everything is ready for quick assembly. Next, take your slices of bread. Spread softened butter on one side of each slice. This will help create a nice golden crust. Lay the bread, buttered side down, on a clean surface. Place a slice of cheese on each piece of bread. Now, crack an egg onto the cheese. Be careful not to break the yolk. Season the egg with a pinch of salt and pepper. Carefully transfer your prepared toast to the air fryer basket. Ensure they do not overlap. Cook your toast in the air fryer for 8-10 minutes. Keep an eye on the eggs. You want them cooked to your liking, with the cheese melted perfectly. Once done, take the toast out. If you want, sprinkle fresh herbs on top for added flavor. Serve hot and enjoy your delicious creation! For the full recipe, check out [Full Recipe]. To get the perfect egg yolk, crack the eggs gently. Place them directly on the cheese without breaking the yolk. This keeps the yolk runny and the white cooked just right. Cook the toast for 8-10 minutes. Check the eggs at 8 minutes for your desired doneness. If you like firmer yolks, leave them a bit longer. Buttering your bread is key for a golden crust. Use softened butter for easy spreading. Cover one side of each slice evenly. This helps the bread toast up nicely in the air fryer. Don’t skip this step! A golden crust adds flavor and makes it more appealing. Sharp cheddar cheese is my go-to for this recipe. It melts well and packs a punch of flavor. You can also try mozzarella for a milder taste or pepper jack for a bit of heat. Experiment with different cheeses to find your favorite mix. Each cheese adds a unique twist to the dish. {{image_2}} You can make your Air Fryer Egg and Cheese Toast even better by adding veggies. Spinach, tomatoes, or bell peppers work well. To add them, chop your chosen vegetables small. Layer them on the cheese before adding the egg. This extra step gives you more flavor and nutrients. While sharp cheddar is tasty, you can switch it up! Try mozzarella for a creamy melt or pepper jack for a kick. You might even like goat cheese for a tangy twist. Each cheese brings a unique taste, so feel free to experiment! Seasoning can change the whole dish! Besides salt and pepper, consider using smoked paprika or garlic powder. Fresh herbs like basil or chives can add freshness. A dash of hot sauce can bring heat. Mix and match to find your favorite flavors. Use these tips to create your own version of the Air Fryer Egg and Cheese Toast. For the full recipe, check out the details above. If you have leftover egg and cheese toast, store it in an airtight container. Let the toast cool first. This helps keep it fresh. You can keep it in the fridge for up to three days. Avoid stacking the toast, as this can make it soggy. If you have extra toppings, store them separately. To reheat your toast, use the air fryer. Set it to 350°F (175°C) and heat for about 3-5 minutes. This will help bring back its crispiness. You can also use a toaster oven for a similar effect. If using a microwave, place a paper towel over the toast. This keeps it from getting too chewy. You can freeze the toast if you want to save it for later. Wrap each piece in plastic wrap, then place them in a freezer bag. Make sure to remove as much air as possible. The toast can last for up to one month in the freezer. To enjoy, thaw it in the fridge overnight and reheat as mentioned above. Yes, you can use different types of bread. Use sourdough, rye, or even bagels. Each type adds its own flavor. Whole grain bread gives a nice nutty taste. Try what you like best! To keep the yolk intact, crack the egg gently. Hold it close to the bread. Use a bowl to catch the egg first, then slide it onto the toast. This way, you have more control. Cleaning the air fryer is easy. Let it cool first. Then, remove the basket and wash it in warm soapy water. Wipe the inside with a damp cloth. Make sure to dry it well before the next use. To make a vegan version, swap eggs for tofu or chickpea flour. Use vegan cheese as a substitute. You can also try mashed avocado on the toast for creaminess. Enjoy your plant-based twist on this dish! You learned about making tasty egg and cheese toast in an air fryer. We covered the key ingredients, from bread options to seasonings. The step-by-step instructions guide you through cooking it perfectly. Tips shared help you achieve that golden crust and creamy yolk. You can also explore fun variations and proper storage methods. Now, it's your turn to try this easy recipe and make it yours. Enjoy!](https://grilledflavors.com/wp-content/uploads/2025/06/f41c31d2-5ecc-4265-b0d5-8b57673a2257.webp)
Savory Air Fryer Egg and Cheese Toast Recipe
Looking for a quick and tasty breakfast? Try my Savory Air Fryer Egg and Cheese Toast! This simple recipe is perfect for busy mornings when
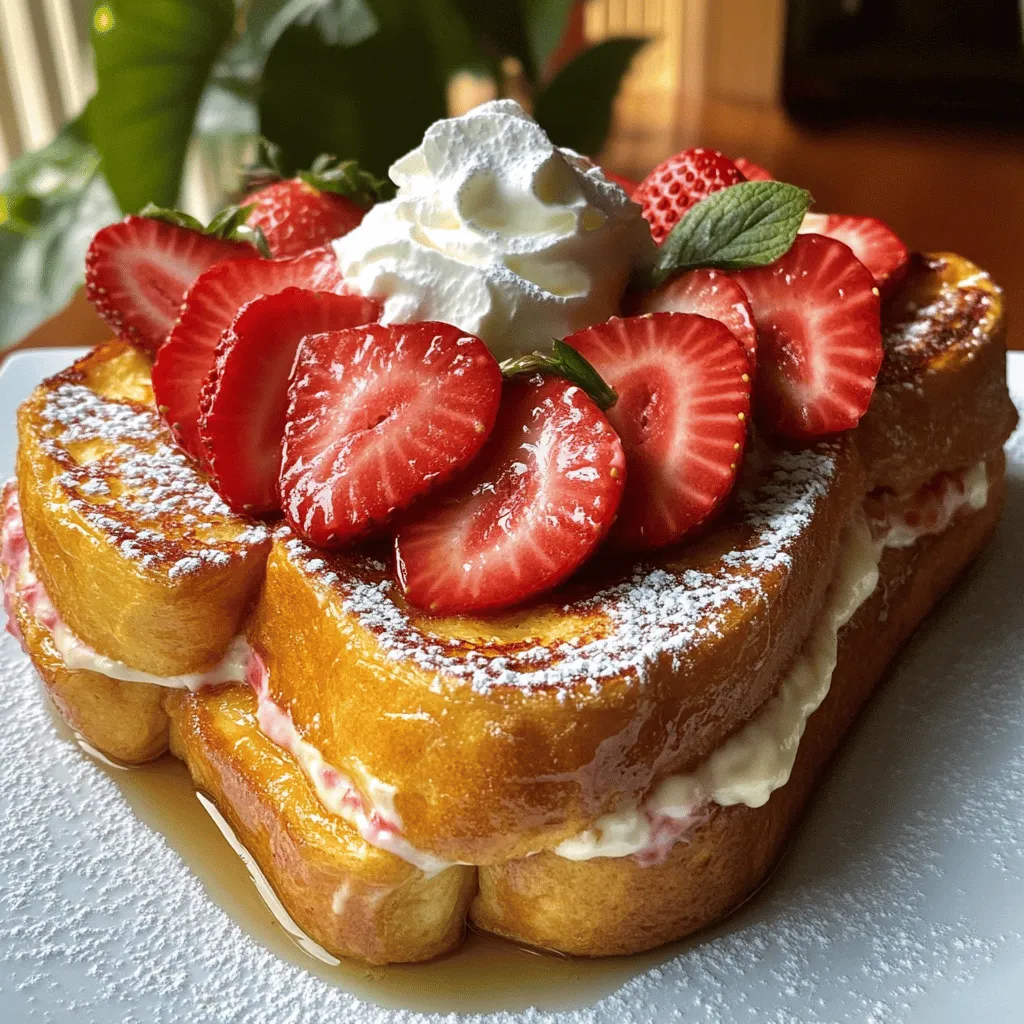
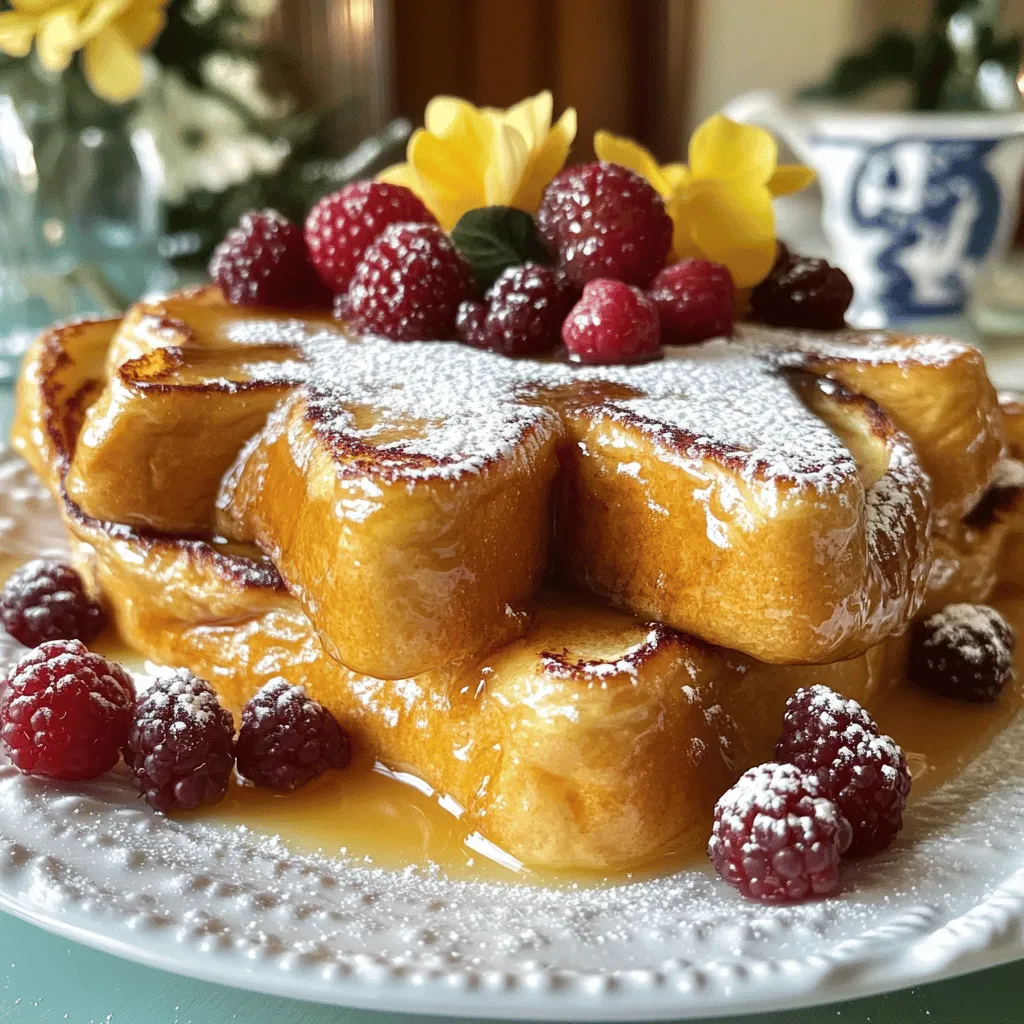
Strawberry Cheesecake Stuffed French Toast Delight
Get ready to treat yourself to a delicious morning delight! Strawberry Cheesecake Stuffed French Toast combines creamy goodness with sweet berries, making breakfast feel like

Cinnamon Roll French Toast Bites Tasty Morning Treat
Looking for a fun, tasty way to start your morning? Cinnamon Roll French Toast Bites are your answer! This quick and easy recipe combines the
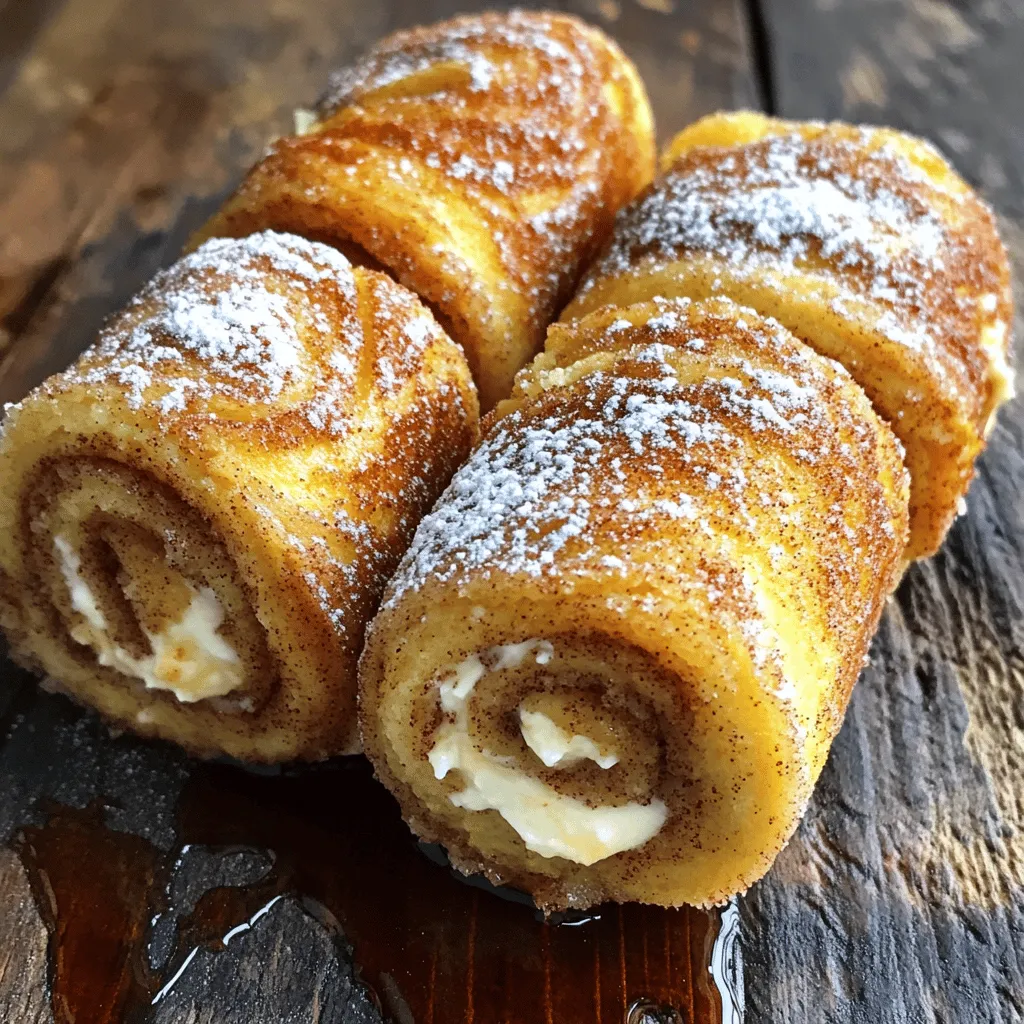
Cinnamon Roll French Toast Roll-Ups Perfectly Delicious
Craving a sweet breakfast that’s easy to make? You’re in the right place! These Cinnamon Roll French Toast Roll-Ups are a fun twist on a
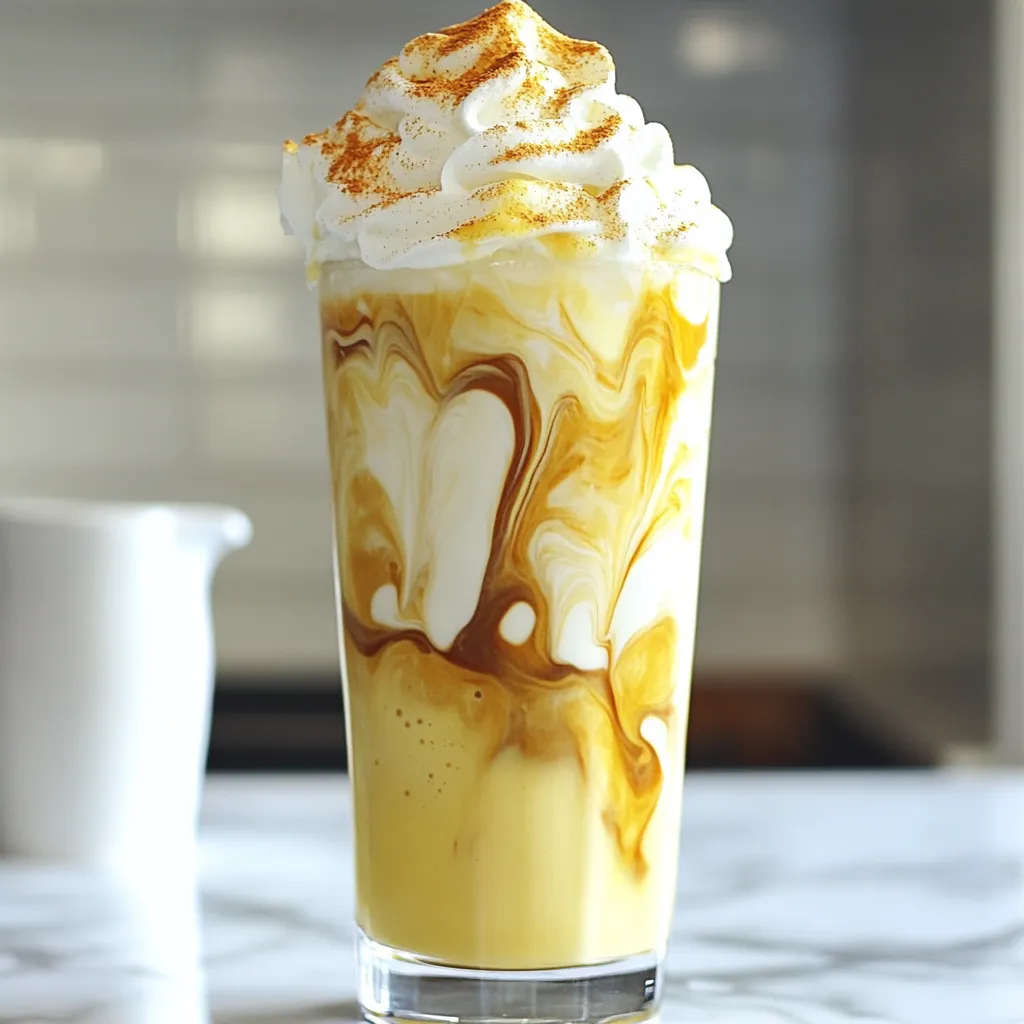
Pumpkin Cream Cold Brew Copycat Recipe You’ll Love
Craving that cozy vibe of a pumpkin cream cold brew? You’re not alone! This copycat recipe will help you whip up a delicious drink at
Savory Air Fryer Egg and Cheese Toast Recipe
Looking for a quick and tasty breakfast? My Savory Air Fryer Egg and Cheese Toast recipe is just what you need! With simple ingredients like
Overnight Crème Brûlée French Toast Delight Recipe
Ready to impress your brunch guests? This Overnight Crème Brûlée French Toast Delight Recipe brings a gourmet twist to your morning. Soft brioche bread, creamy

Breakfast Sausage Crescent Rolls Simple and Tasty Dish
Looking for a quick and tasty breakfast idea? Try my Breakfast Sausage Crescent Rolls! With just a few simple ingredients and easy steps, you’ll have
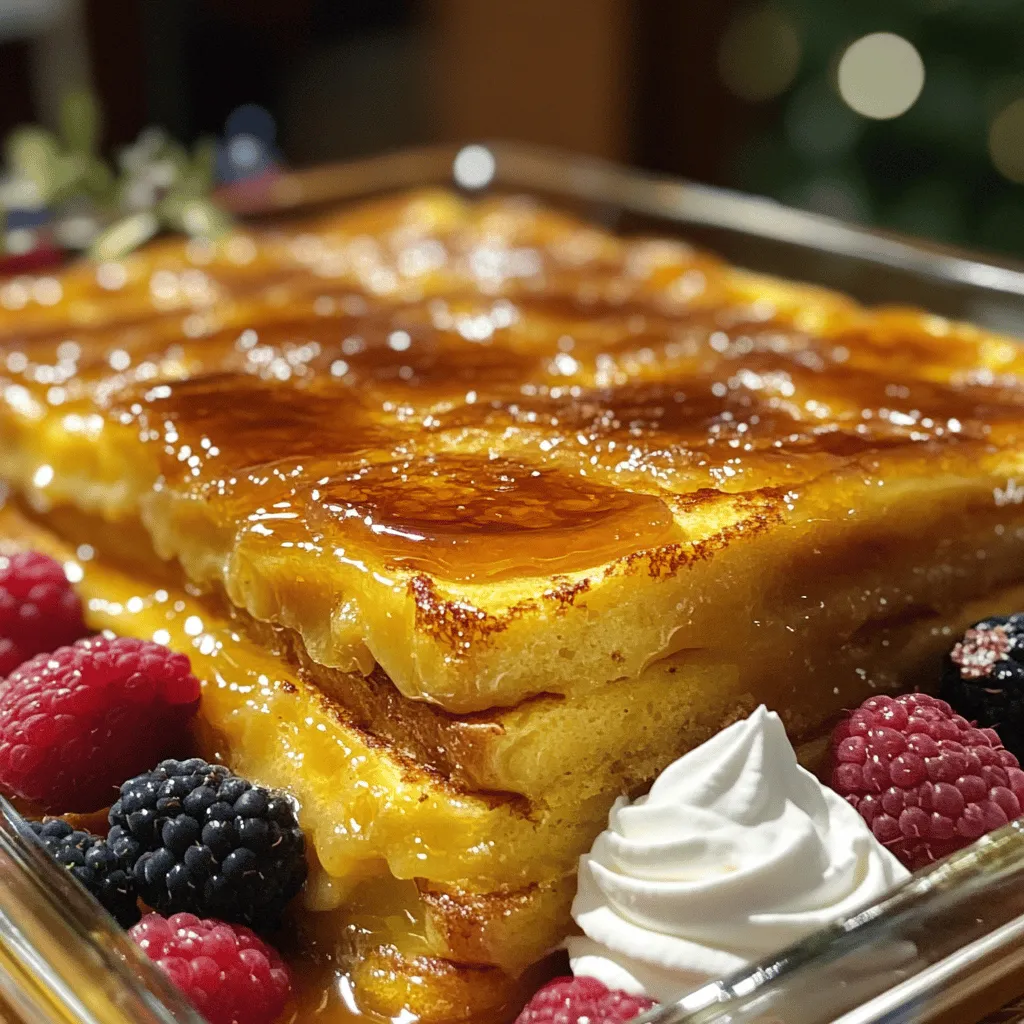
Overnight Crème Brûlée French Toast Delight Recipe
Get ready to impress your family and friends with Overnight Crème Brûlée French Toast! This easy recipe combines the rich flavors of crème brûlée with