Desserts
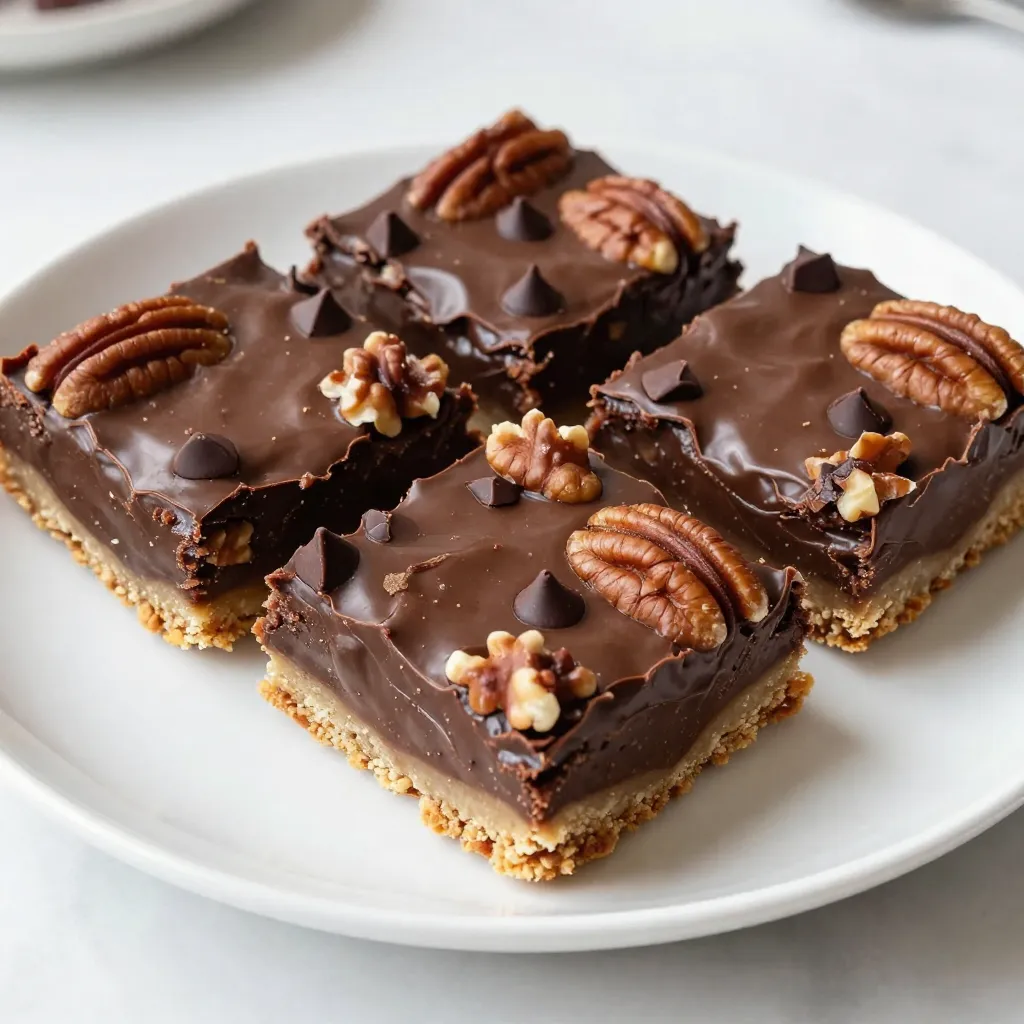
Chocolate Pecan Pie Bars Rich and Decadent Treat
Get ready to indulge in a treat that combines your favorite flavors: chocolate, pecans, and rich creaminess! In this article, I’ll guide you step-by-step to
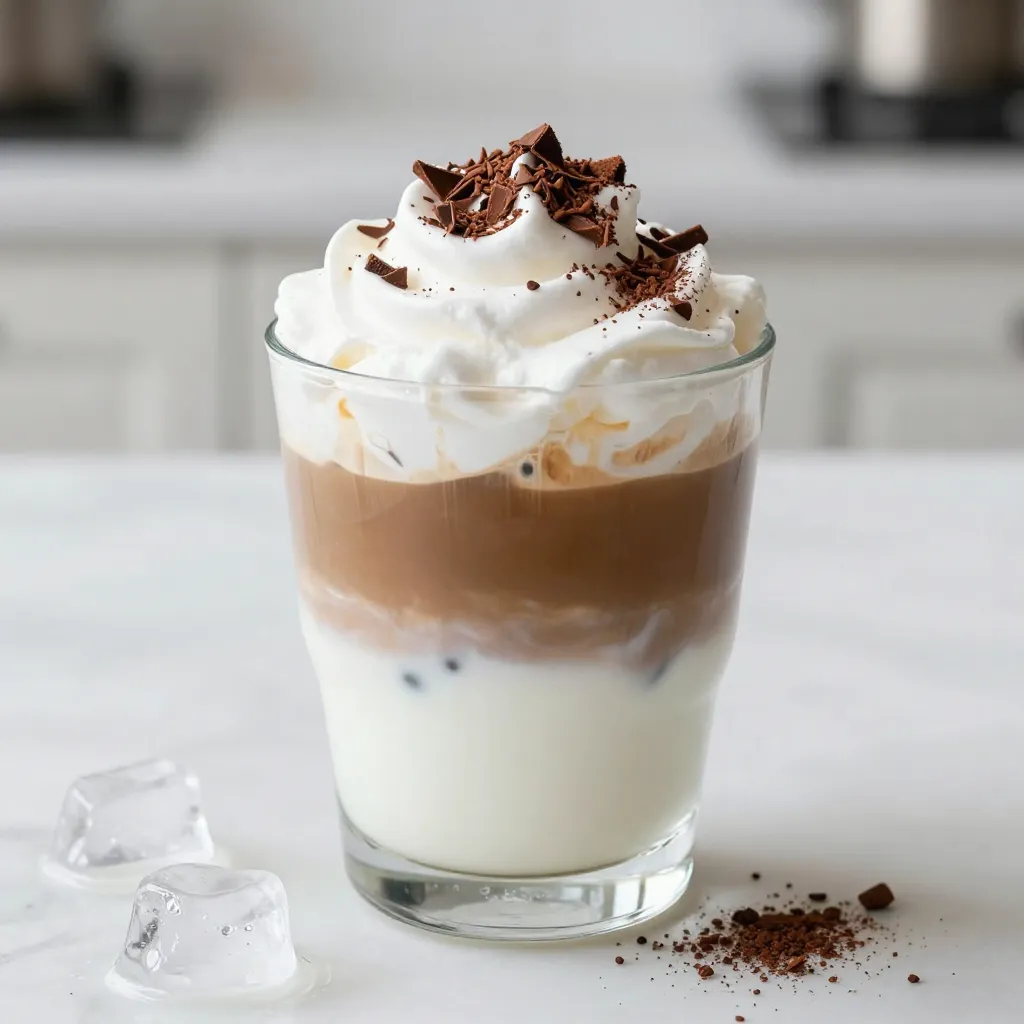
Mocha Dalgona Coffee Quick and Easy Recipe Guide
Looking for a delicious pick-me-up? You’re in the right place! This Mocha Dalgona Coffee recipe is quick and easy, and it delivers a creamy, whipped
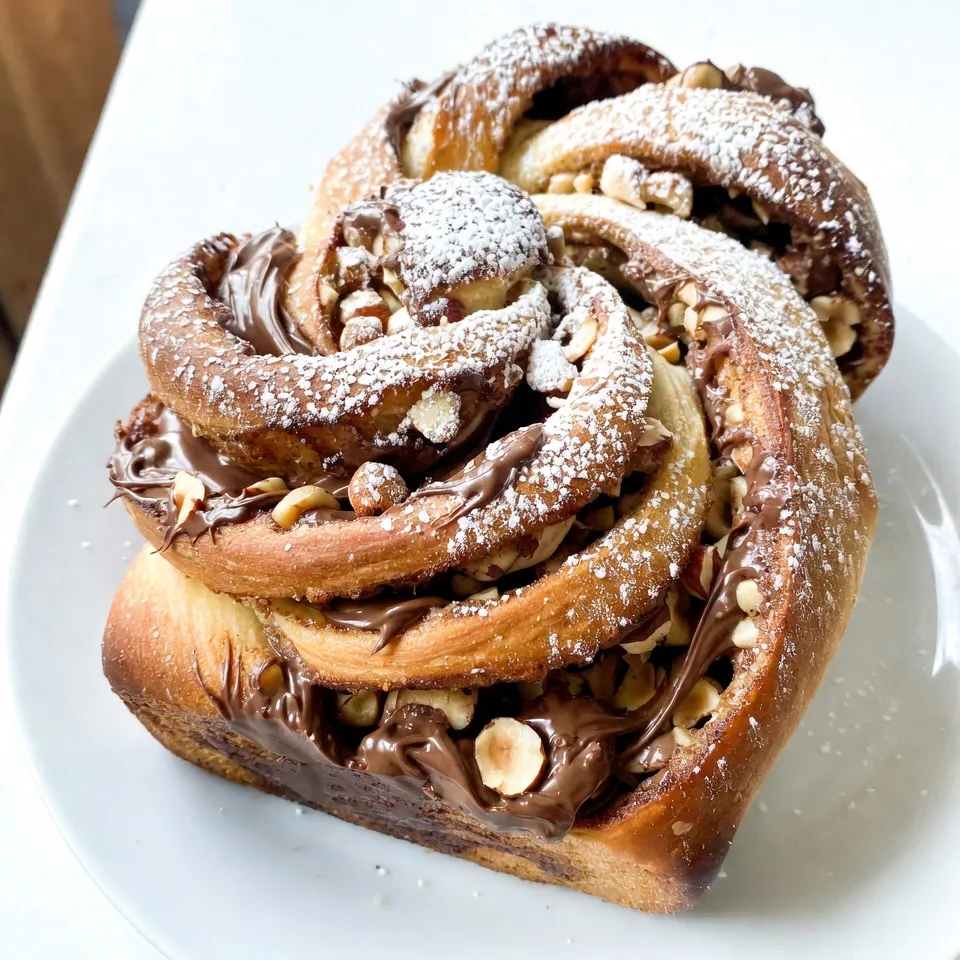
Chocolate Hazelnut Babka Delightful Homemade Recipe
Are you ready to bake something truly special? This Chocolate Hazelnut Babka is a delightful treat that combines rich flavors and soft, sweet bread. In
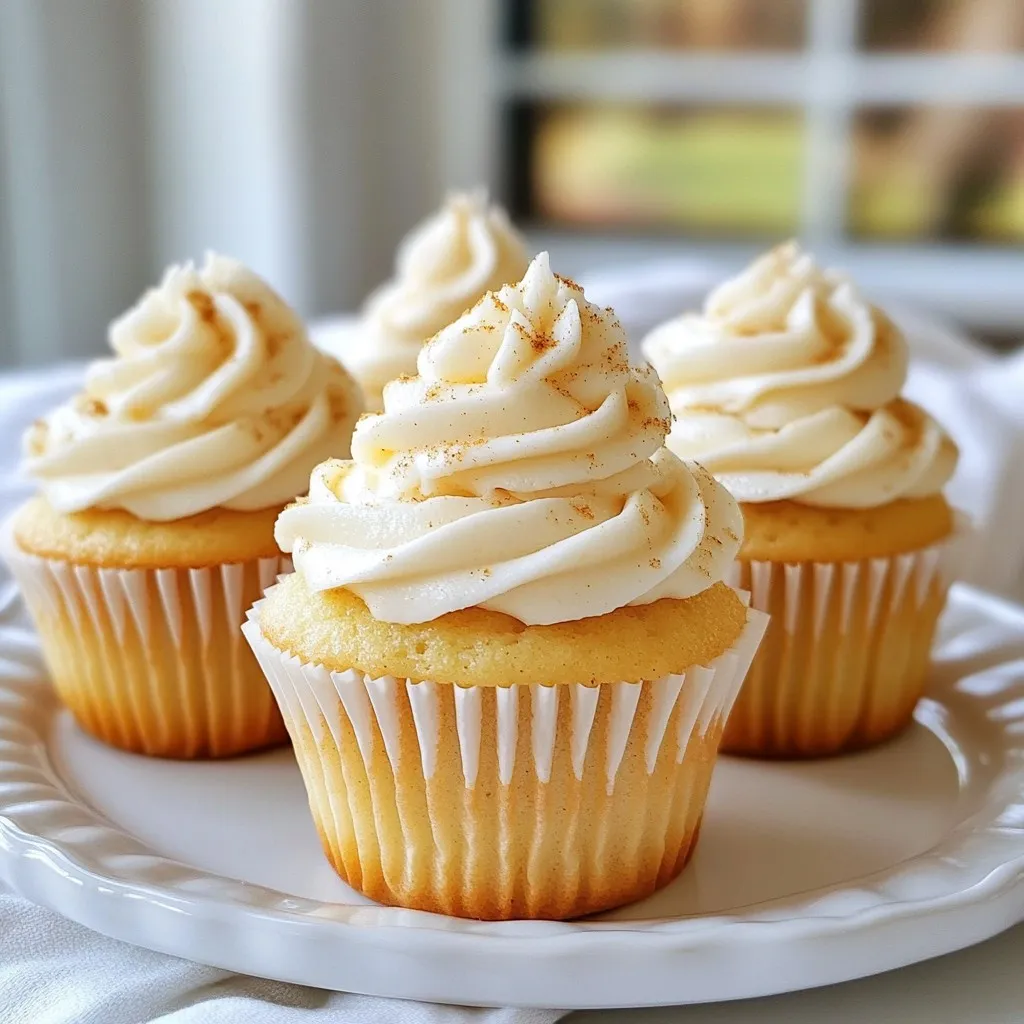
Eggnog Cupcakes with Rum Frosting Festive Delight
Get ready to impress your friends and family with my Eggnog Cupcakes with Rum Frosting! These festive treats blend warm spices and creamy eggnog, capturing
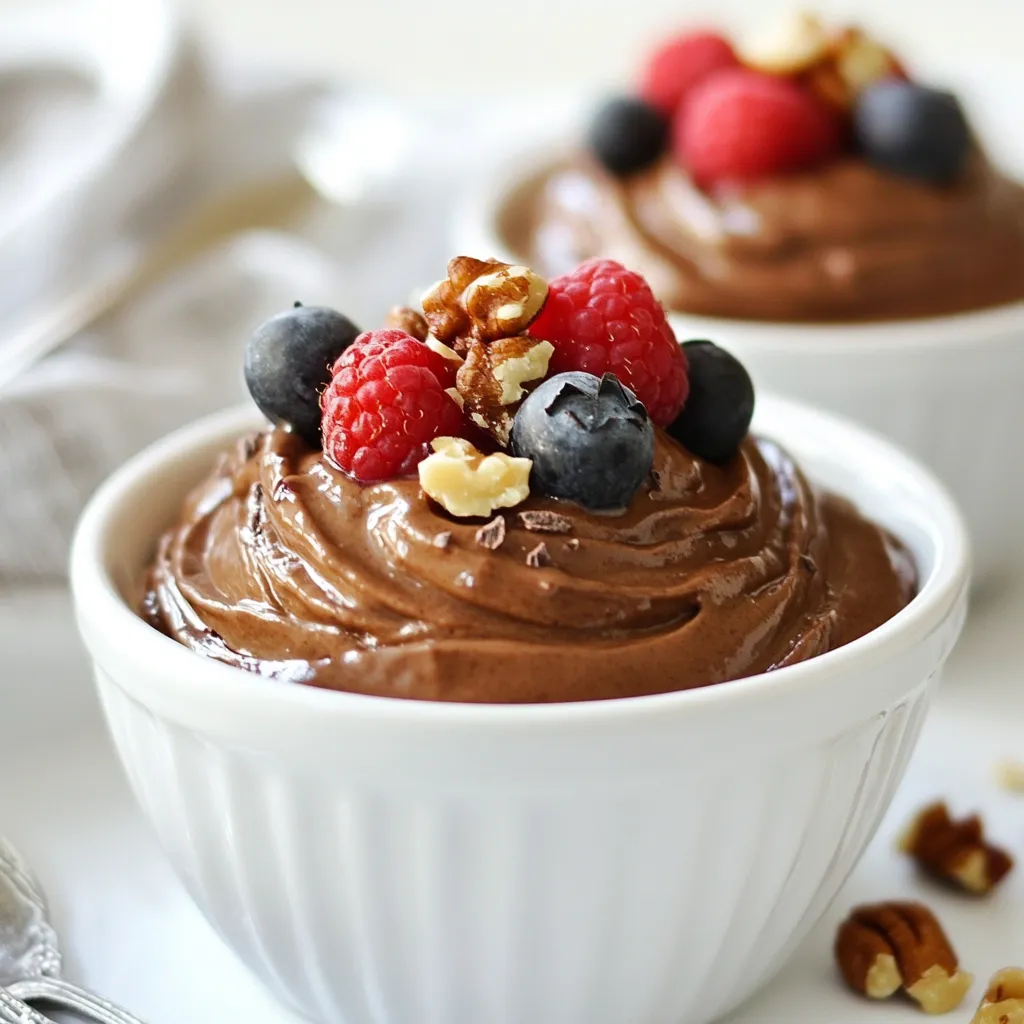
Avocado Chocolate Mousse Rich and Creamy Delight
Are you ready to indulge in a dessert that’s both rich and healthy? This Avocado Chocolate Mousse is your new go-to treat. With just a
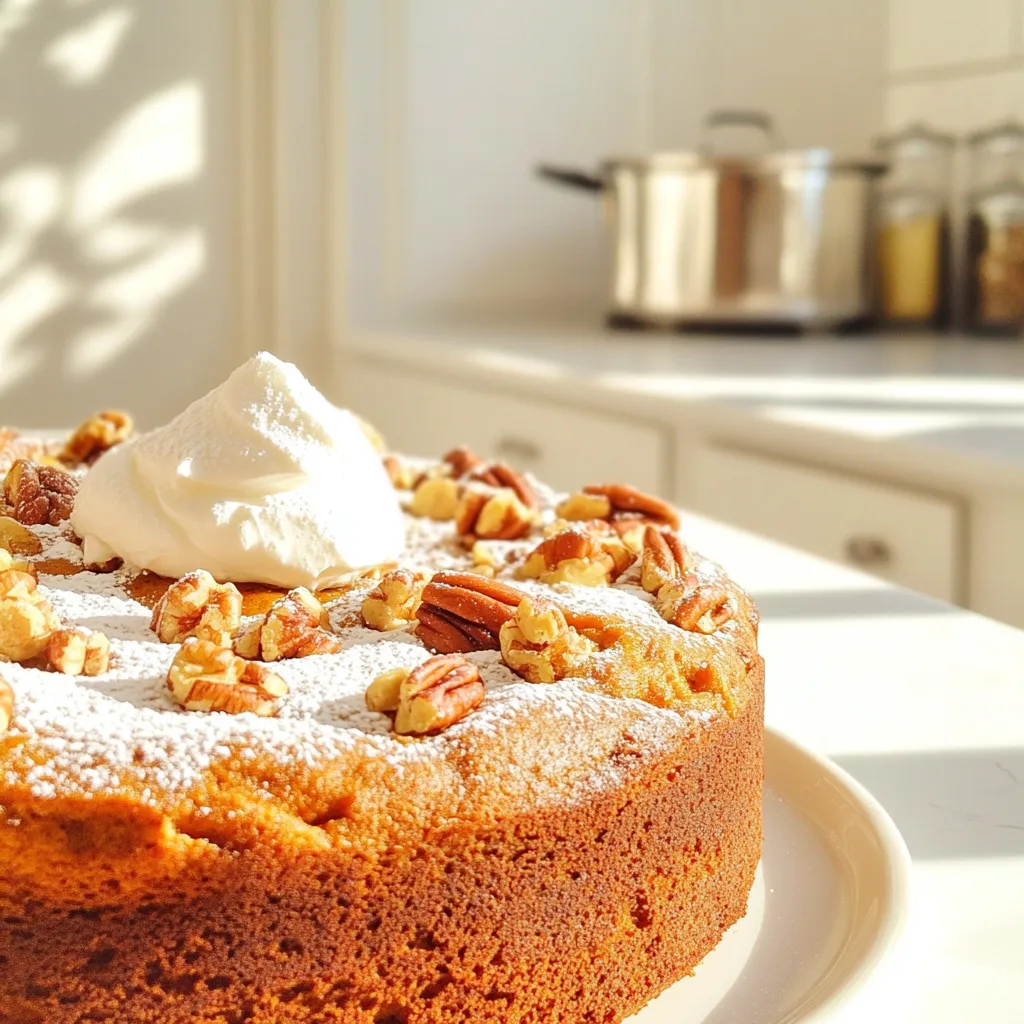
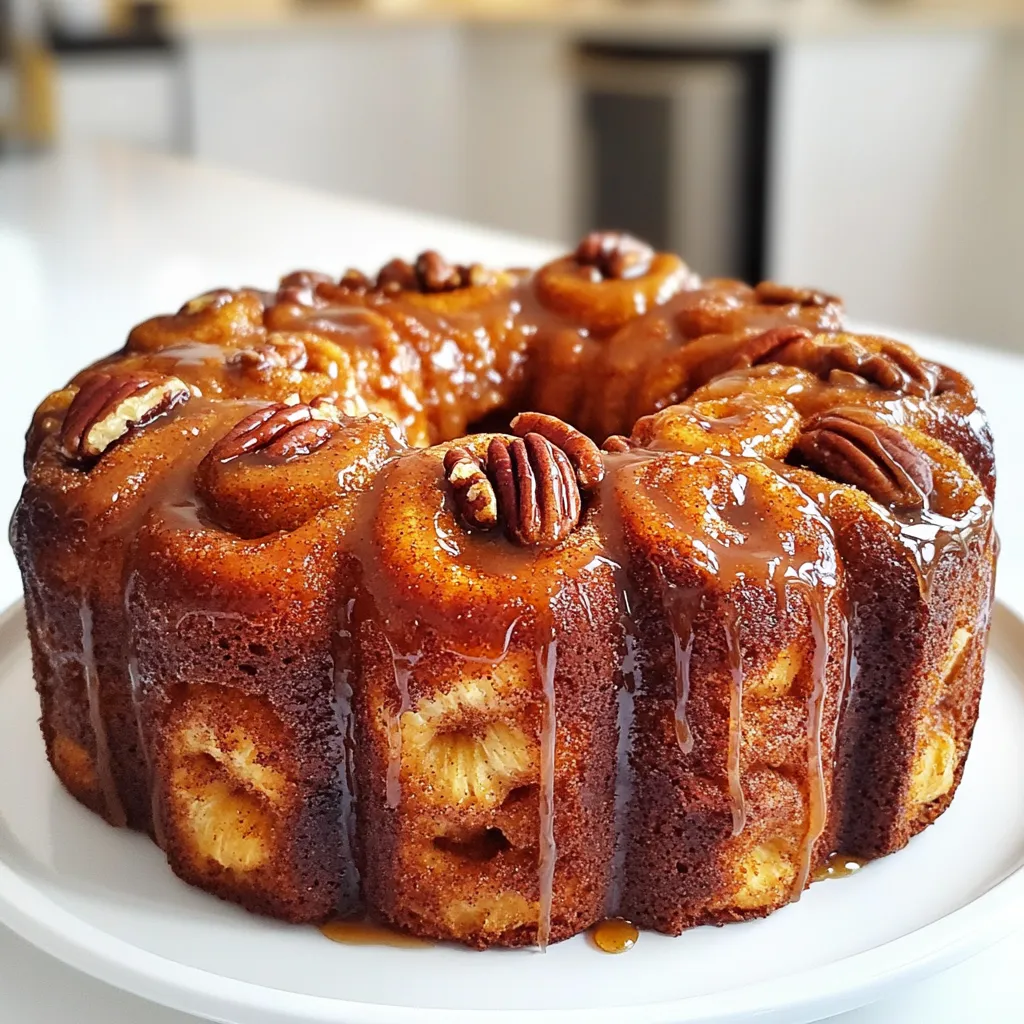
Pumpkin Pecan Coffee Cake Delightful and Cozy Treat
If you love the cozy flavors of fall, you’ll adore my Pumpkin Pecan Coffee Cake! This delightful treat blends warm spices, sweet pumpkin, and crunchy
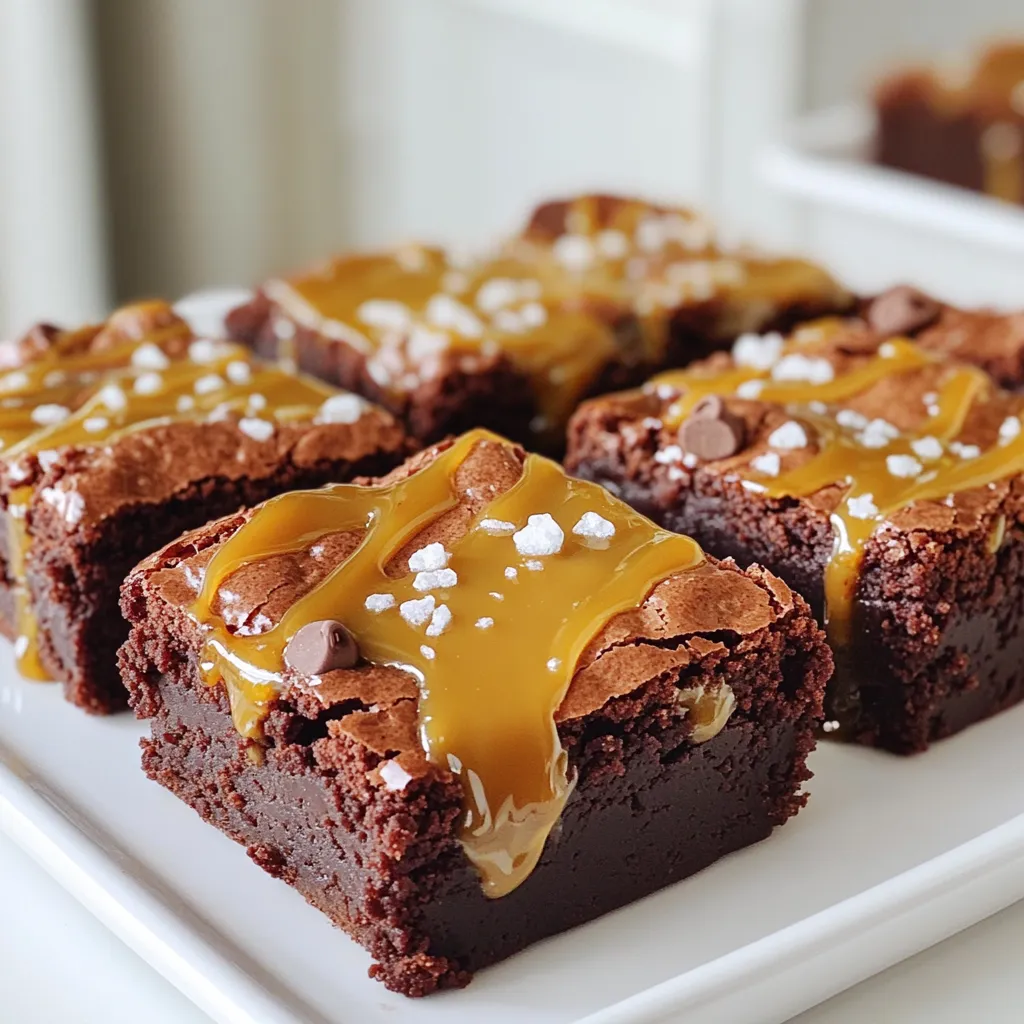
Salted Caramel Espresso Brownies Decadent Chocolate Treat
Welcome to your next baking adventure! These Salted Caramel Espresso Brownies are not just a treat; they are a decadent delight. Imagine fudgy brownies infused
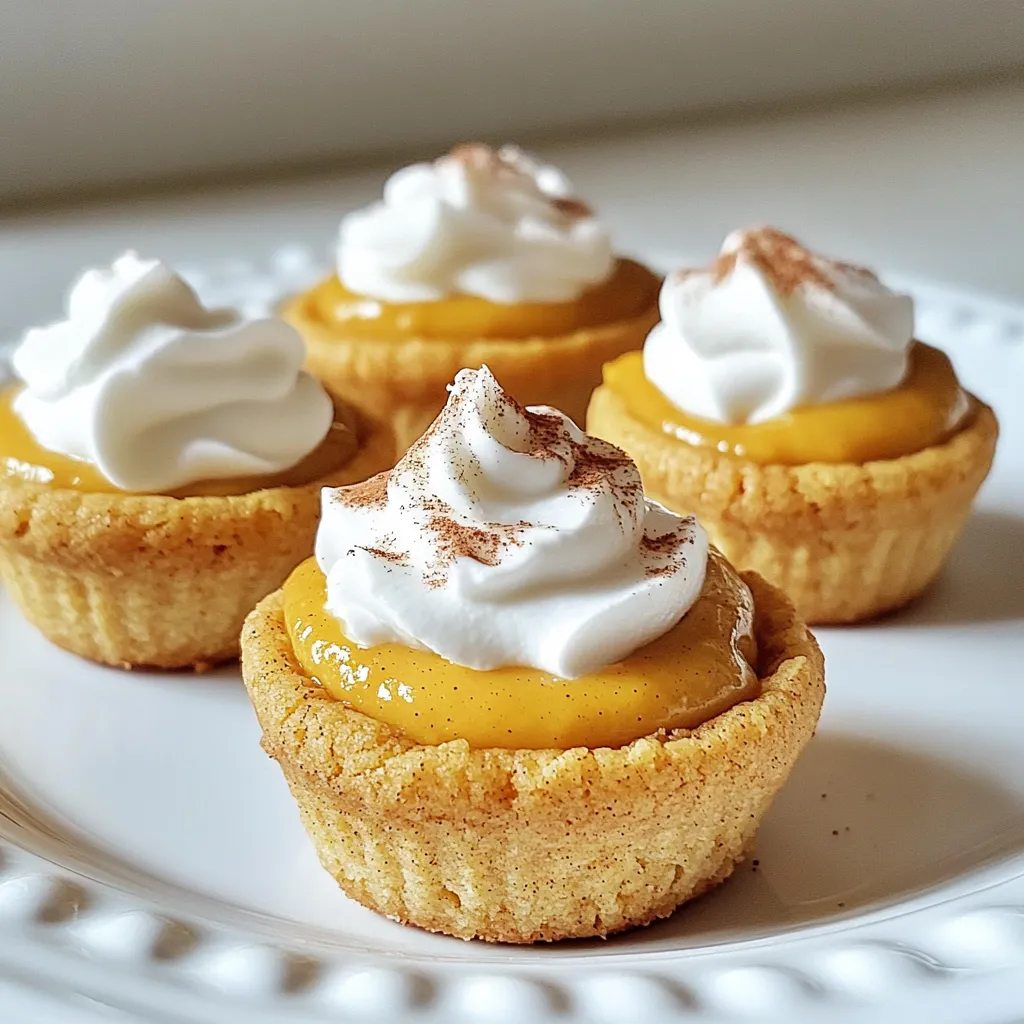
Pumpkin Cheesecake Cookie Cups Delightful Treat Recipe
Get ready to fall in love with pumpkin! My Pumpkin Cheesecake Cookie Cups are a delightful treat that blends warm flavors with a creamy filling.
Monkey Bread Cinnamon Roll Style Irresistible Delight
Get ready to indulge in a sweet treat that will change your breakfast game! My Monkey Bread Cinnamon Roll Style is the ultimate blend of
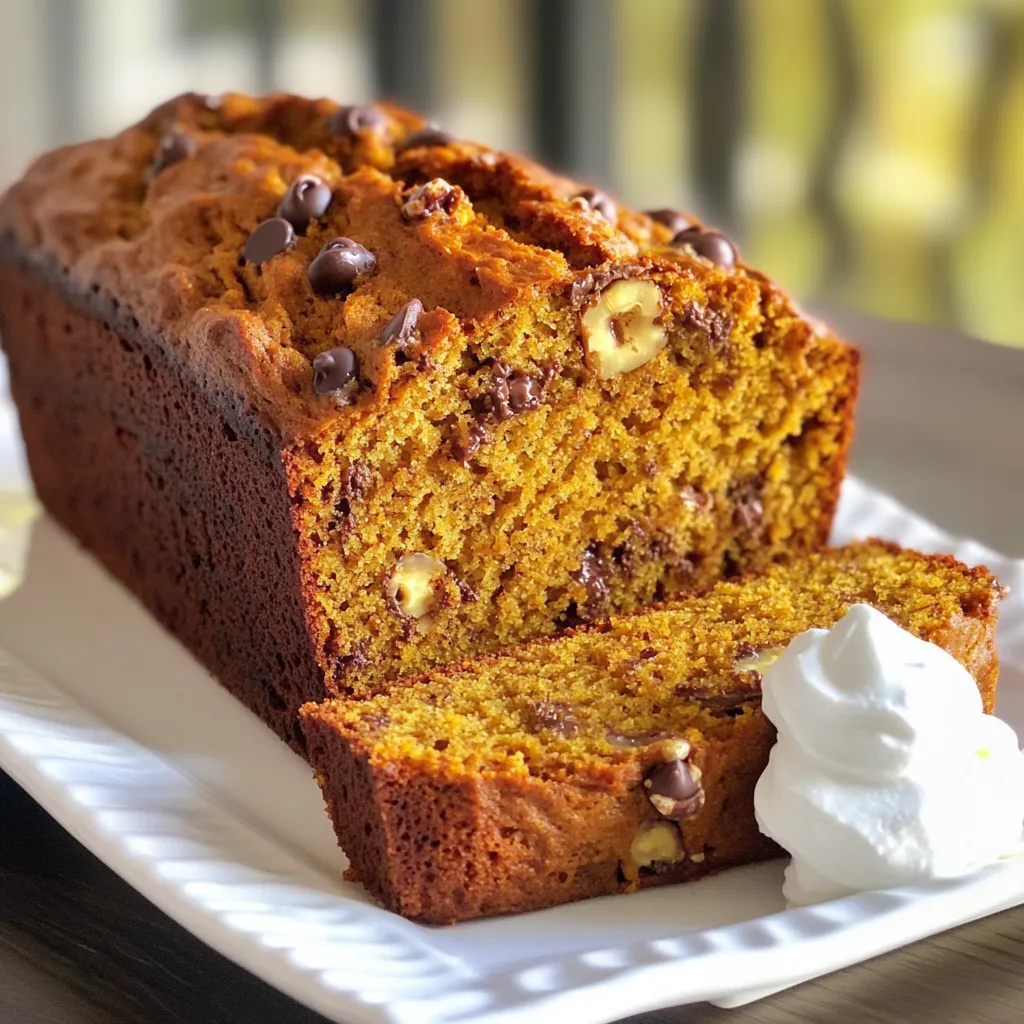
Pumpkin Spice Banana Bread Irresistible and Simple Recipe
Are you ready to take your baking game to the next level? This Pumpkin Spice Banana Bread recipe combines the cozy flavors of fall with