Desserts
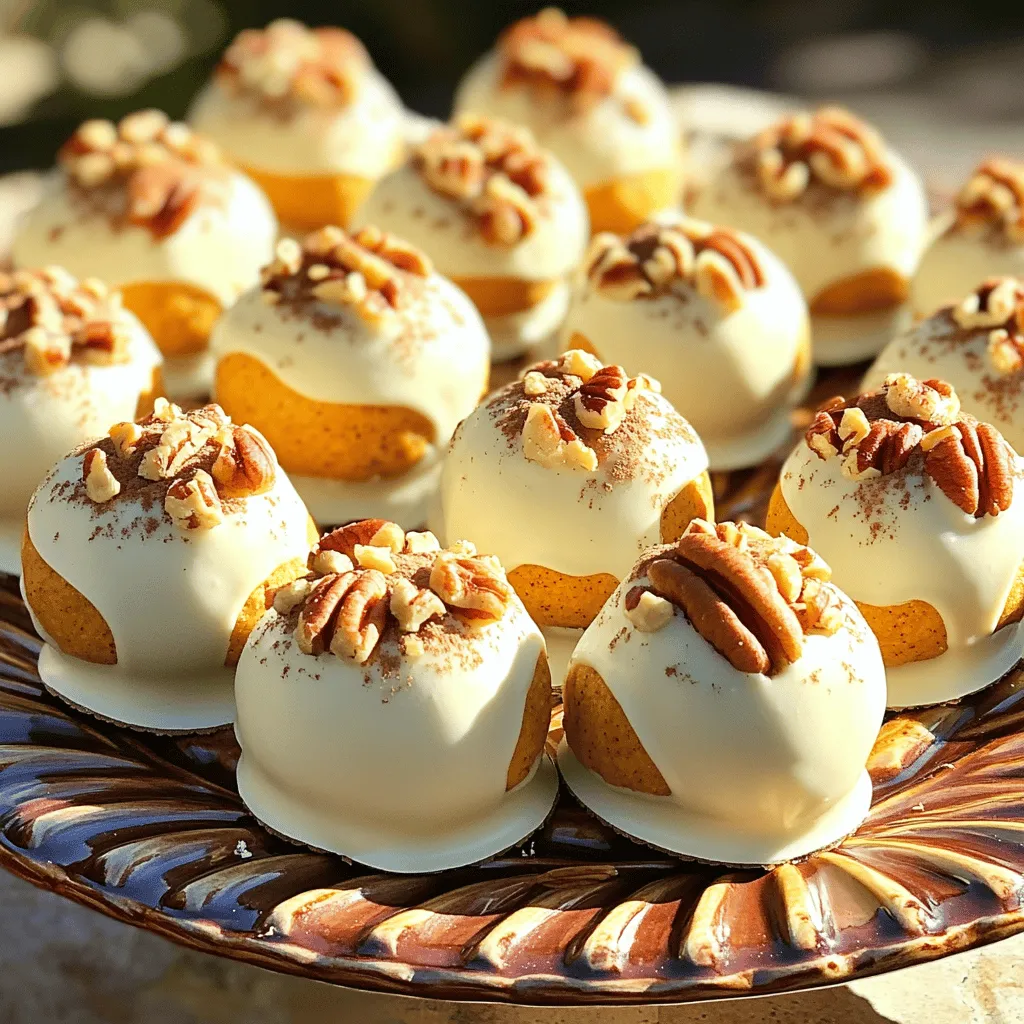
No Bake Pumpkin Cheesecake Balls Irresistible Treat
If you’re craving a simple, tasty treat, look no further! These No Bake Pumpkin Cheesecake Balls are the perfect fall dessert. They combine creamy pumpkin
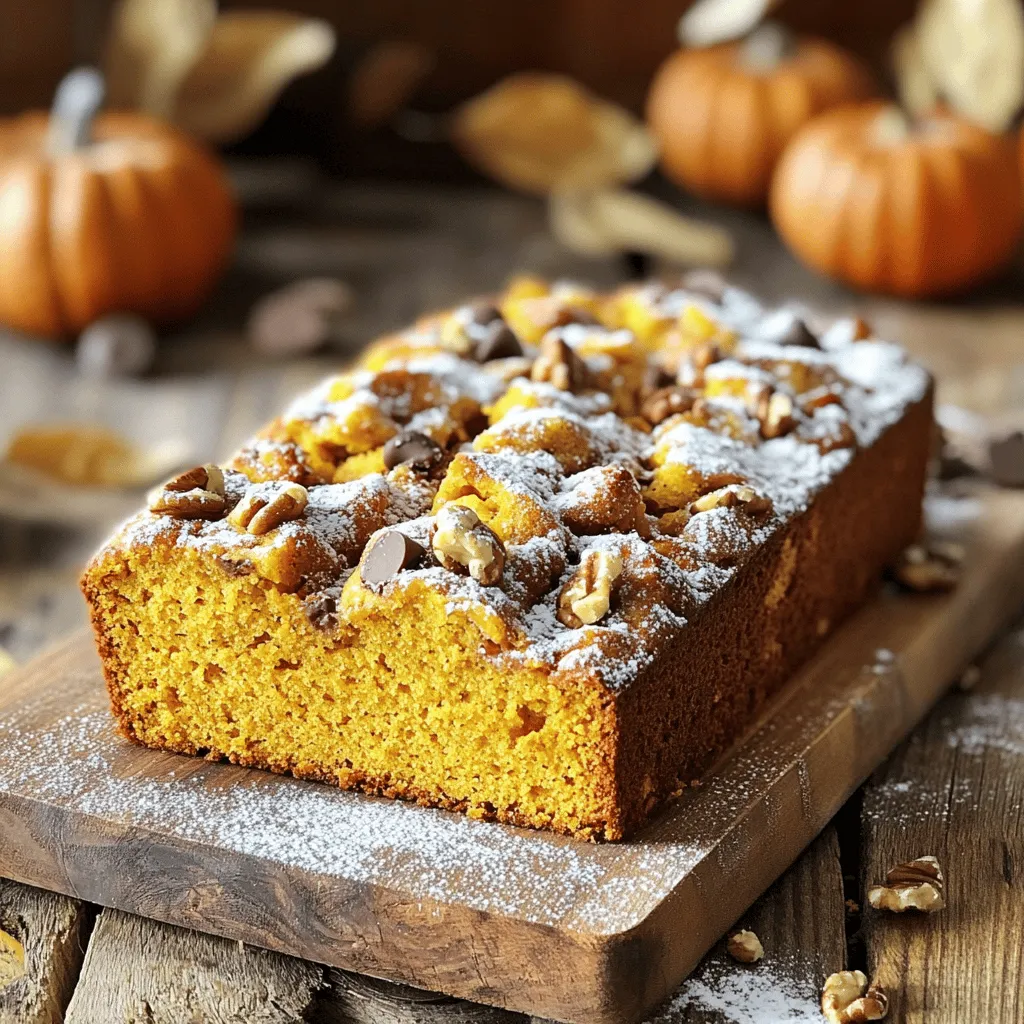
Vanilla Pudding Pumpkin Bread Moist and Easy Recipe
Get ready to delight your taste buds with my Vanilla Pudding Pumpkin Bread! This easy recipe combines creamy vanilla pudding with rich pumpkin, resulting in
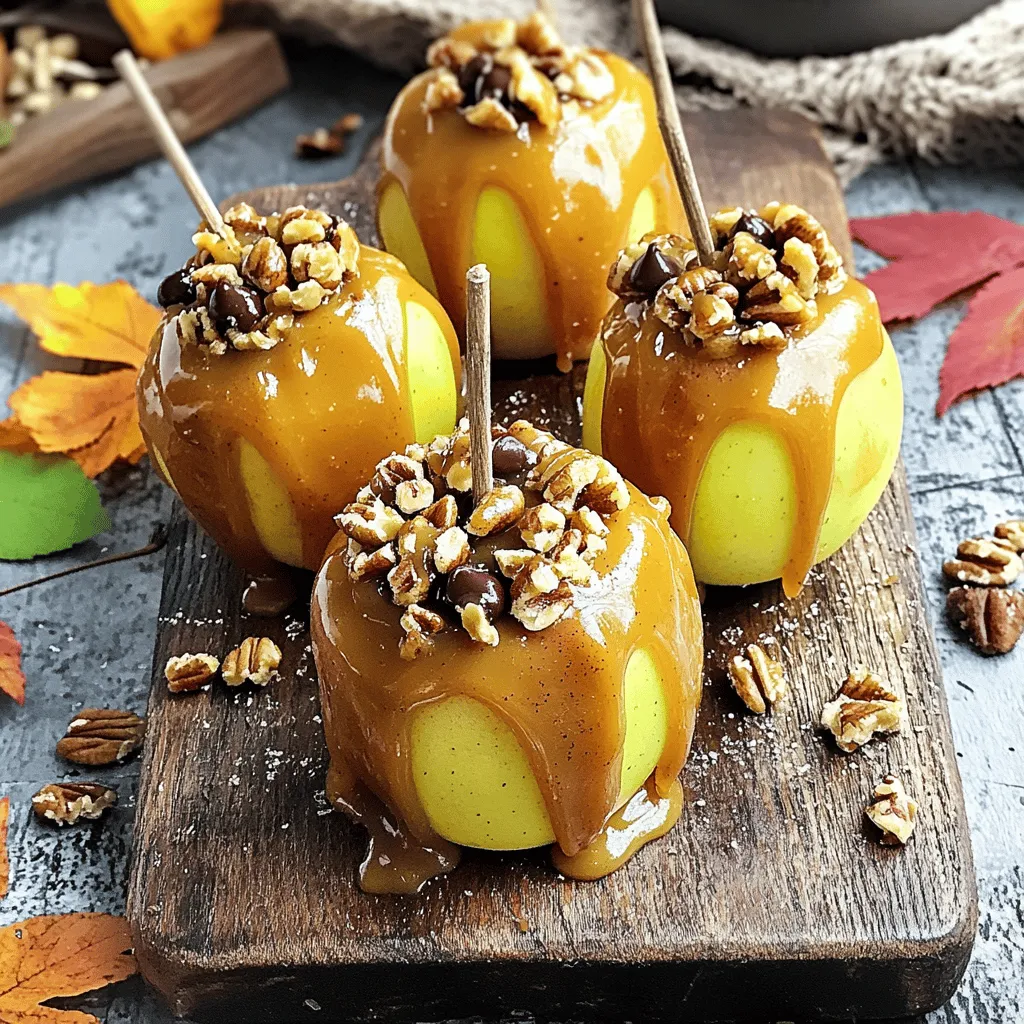
Caramel Apples Ideas for Fall Delicious Treats
Fall is the perfect time for sweet treats, and caramel apples are a classic favorite! In this guide, I’ll share my best tips and tricks
![- 1 cup fresh or frozen cherries, pitted - ½ cup brown sugar - ¼ cup unsalted butter - 1 cup all-purpose flour - ½ cup unsweetened cocoa powder - 1 teaspoon baking powder - ½ teaspoon baking soda - ¼ teaspoon salt - 1 cup granulated sugar - ½ cup vegetable oil - 2 large eggs - 1 teaspoon vanilla extract - ½ cup buttermilk You can use alternative sweeteners if you want to avoid granulated sugar. Honey or maple syrup works well. For those who need gluten-free options, try using almond flour or a gluten-free blend. If you want a dairy-free cake, use almond milk or coconut milk instead of buttermilk. These swaps can keep your cake tasty and friendly for different diets. To make the chocolate cherry upside down cake, you'll need these ingredients. They come together to create a rich, moist cake. The cherries add a lovely sweetness and tartness. The cocoa powder gives it a deep chocolate flavor. If you follow the full recipe, you’ll enjoy each bite! 1. Preheat your oven to 350°F (175°C). This step is key to even baking. 2. Grease a 9-inch round cake pan with butter or oil. This prevents sticking. 3. In a small saucepan, melt the butter over medium heat. Stir in the brown sugar. 4. Mix them well until smooth. Pour this mixture evenly into the bottom of the pan. 5. Arrange the cherries in a single layer on top of the brown sugar mixture. 1. In a medium bowl, whisk together the flour, cocoa powder, baking powder, baking soda, and salt. Ensure they are well combined. 2. In a large bowl, beat together granulated sugar and vegetable oil. Mix until fluffy. 3. Add the eggs, one by one. Mix well after each egg. Stir in the vanilla extract. 4. Gradually mix the dry ingredients into the wet mixture. Alternate with buttermilk until just combined. 5. Be careful not to overmix. This keeps the cake light and fluffy. 1. Pour the batter gently over the cherries. Spread it evenly to cover them. 2. Bake in the preheated oven for 30-35 minutes. Check for doneness using a toothpick. 3. Insert it in the center. If it comes out clean, your cake is ready. 4. Let the cake cool in the pan for 10 minutes. This step helps it set. 5. Carefully invert it onto a serving plate. The cherries should be on top. 6. Allow the cake to cool completely before slicing. This keeps it from falling apart. For the complete recipe, refer to the [Full Recipe]. Enjoy making your Chocolate Cherry Upside Down Cake! To make a moist cake, use fresh or frozen cherries. They add great moisture. The buttermilk also helps keep the cake light and soft. Always measure your ingredients correctly. Too much flour can make the cake dry. Ingredient temperature matters. Use eggs and buttermilk at room temperature. This helps them mix better with other ingredients. Cold ingredients can lead to a dense cake. I love to serve this cake warm. Top it with whipped cream or vanilla ice cream for a tasty treat. A scoop of ice cream melts over the warm cake, making it extra special. For a nice look, dust the top with powdered sugar. You can add fresh cherries on top for color. This makes the cake look fancy and fun. To avoid burning the cherries, bake the cake at the right temperature. Watch the baking time closely. If the cherries burn, they can taste bitter. Make sure to check for even baking. Rotate the cake halfway through baking. This helps it cook evenly. A toothpick should come out clean when it’s done. Following these tips will help you create a perfect Chocolate Cherry Upside Down Cake. For the complete guide, you can refer to the Full Recipe. {{image_2}} You can make your Chocolate Cherry Upside Down Cake even better. Try adding nuts or chocolate chips. Walnuts or pecans add a nice crunch. Chocolate chips bring extra richness. You can mix them into the batter or sprinkle them on top of the cherries. You can also experiment with different fruit toppings. Peaches, apricots, or even blueberries work well. Each fruit brings its own unique flavor. This makes your cake fun and fresh. If you want a vegan version of this cake, it's easy to swap some ingredients. Use flax eggs instead of regular eggs. Mix one tablespoon of flaxseed meal with three tablespoons of water. Let it sit until it thickens. For buttermilk, use almond milk with a splash of vinegar. This will give you a great flavor without dairy. You can also make a low-carb version using almond flour. This flour gives a nice texture and taste. It cuts down on carbs while keeping the cake delicious. For a twist, try using almond extract instead of vanilla. Almond gives a warm, nutty flavor. Just a little goes a long way. It pairs nicely with the cherries and chocolate. You can also switch the cherries for other fruits. Sliced strawberries or raspberries can add a fun twist. These swaps keep the cake exciting each time you make it. Store your Chocolate Cherry Upside Down Cake at room temperature for up to two days. Keep it covered with plastic wrap or in an airtight container. This helps keep the cake moist and fresh. If you want to keep it longer, place it in the fridge. Wrap it tightly in plastic to avoid drying out. You can freeze this cake for up to three months. First, let the cake cool completely. Then, slice it into pieces for easy serving. Wrap each slice in plastic wrap, then place them in a freezer bag. When you want to enjoy a piece, take it out and let it thaw in the fridge overnight. You can warm it in the microwave for a few seconds if you prefer it warm. This cake lasts about three days at room temperature. In the fridge, it can last about a week. Watch for signs of spoilage, like a sour smell or mold. If the cherries start to look dull or mushy, it’s time to toss the cake. Always trust your senses when it comes to food safety. For the best taste, enjoy it fresh! Can I use canned cherries instead of fresh? Yes, you can use canned cherries. Just make sure to drain them well. Canned cherries can be softer, so they may not hold their shape as well as fresh ones. They still taste great in the cake. How do I know when my cake is done baking? To check if your cake is done, insert a toothpick into the center. If it comes out clean, your cake is ready. If it has wet batter, give it a few more minutes. What to do if my cake sinks in the middle? If your cake sinks, it may be due to underbaking or overmixing. Make sure to bake until a toothpick comes out clean. Also, avoid mixing too much, as that can add air and cause sinking. Why is my cake too dry or dense? A dry or dense cake can happen if you use too much flour or bake too long. Always measure flour correctly and check for doneness early. Adding a bit more buttermilk can help keep it moist. Where to find more Chocolate Cherry Upside Down Cake recipes? You can find more recipes online on cooking websites and food blogs. Many of these sites offer unique twists on this classic cake. You can also check cookbooks that focus on desserts. Recommended tools for cake baking and decoration Some helpful tools include a good quality cake pan, a whisk, and measuring cups. A cake tester is handy for checking doneness. For decoration, consider using a sifter for powdered sugar and a spatula for spreading frosting. In this post, we explored how to make a Chocolate Cherry Upside Down Cake. We covered the ingredients, step-by-step instructions, and handy tips to perfect your bake. We also mentioned variations for different diets, storage methods, and answered common questions. Baking this cake is fun and rewarding. With these guidelines, you can create a delicious dessert. Enjoy sharing this treat with friends and family, and feel proud of your baking skills!](https://grilledflavors.com/wp-content/uploads/2025/07/7ae32d36-32bc-4392-a0d1-495fbe48e54b.webp)
Chocolate Cherry Upside Down Cake Delightful Recipe
Dive into the delightful world of Chocolate Cherry Upside Down Cake! This mouthwatering dessert combines rich chocolate with juicy cherries for a treat you won’t
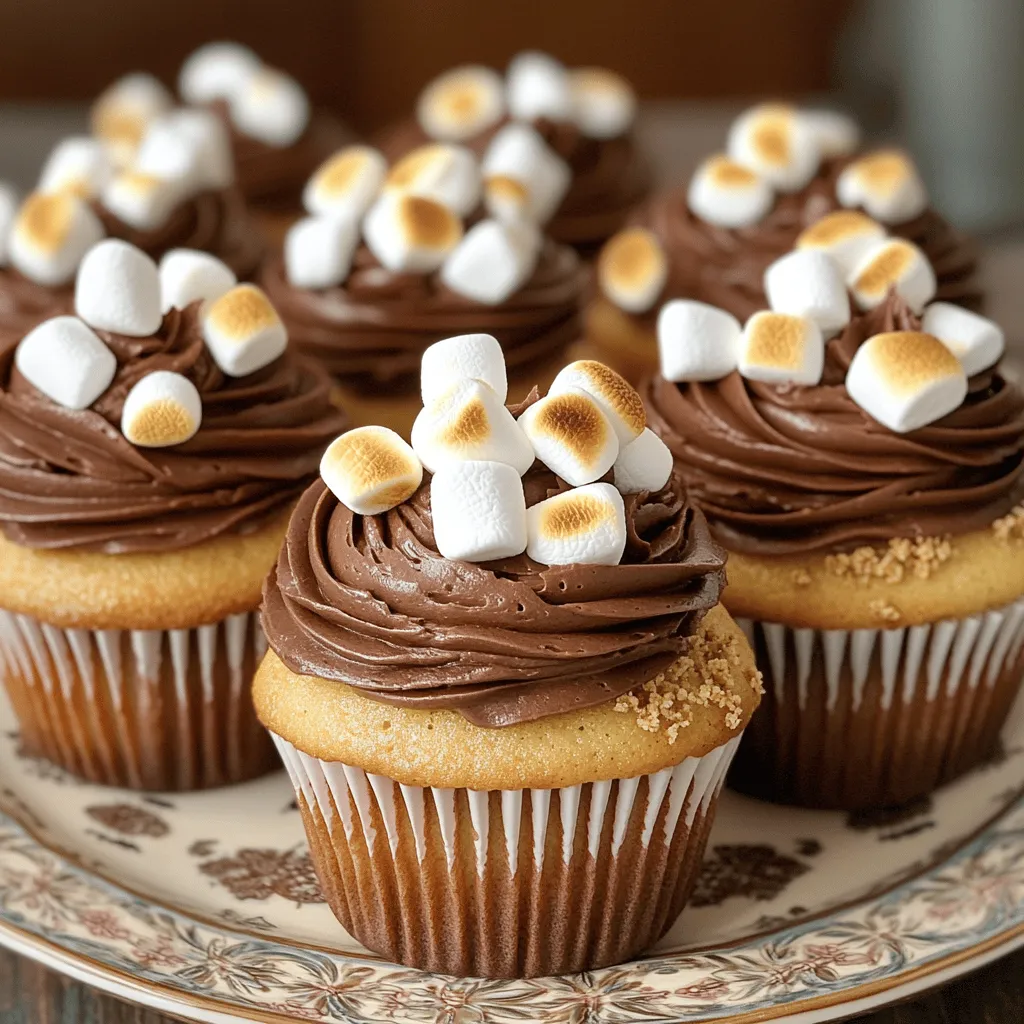
S’mores Cupcakes Irresistible Sweet Treat Delight
If you love the classic campfire treat, get ready for a twist! S’mores Cupcakes combine chocolate, marshmallows, and graham crackers in delightful little cakes. They’re
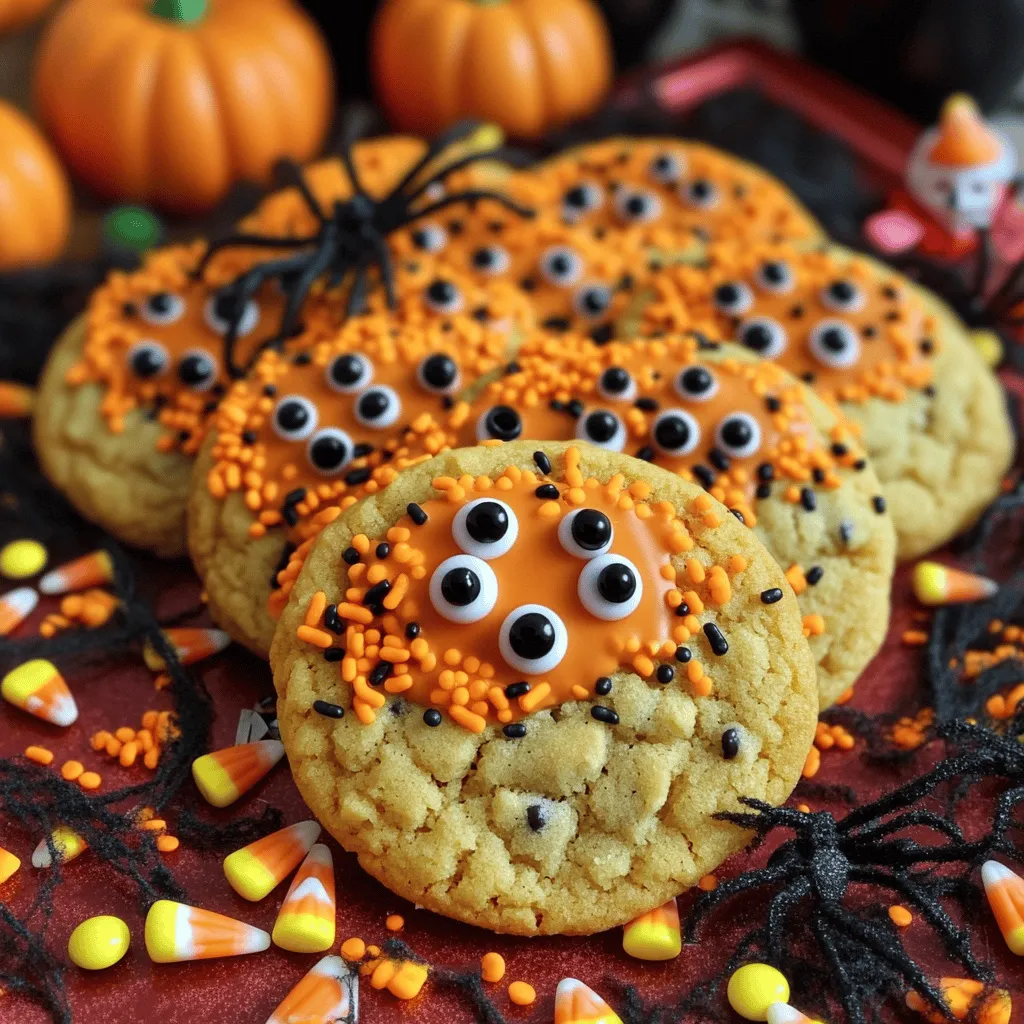
Spooky Fun Halloween Cookies Easy to Make Treats
Get ready for a Halloween treat that’s both spooky and fun! In this guide, I’ll show you how to make easy Halloween cookies that will
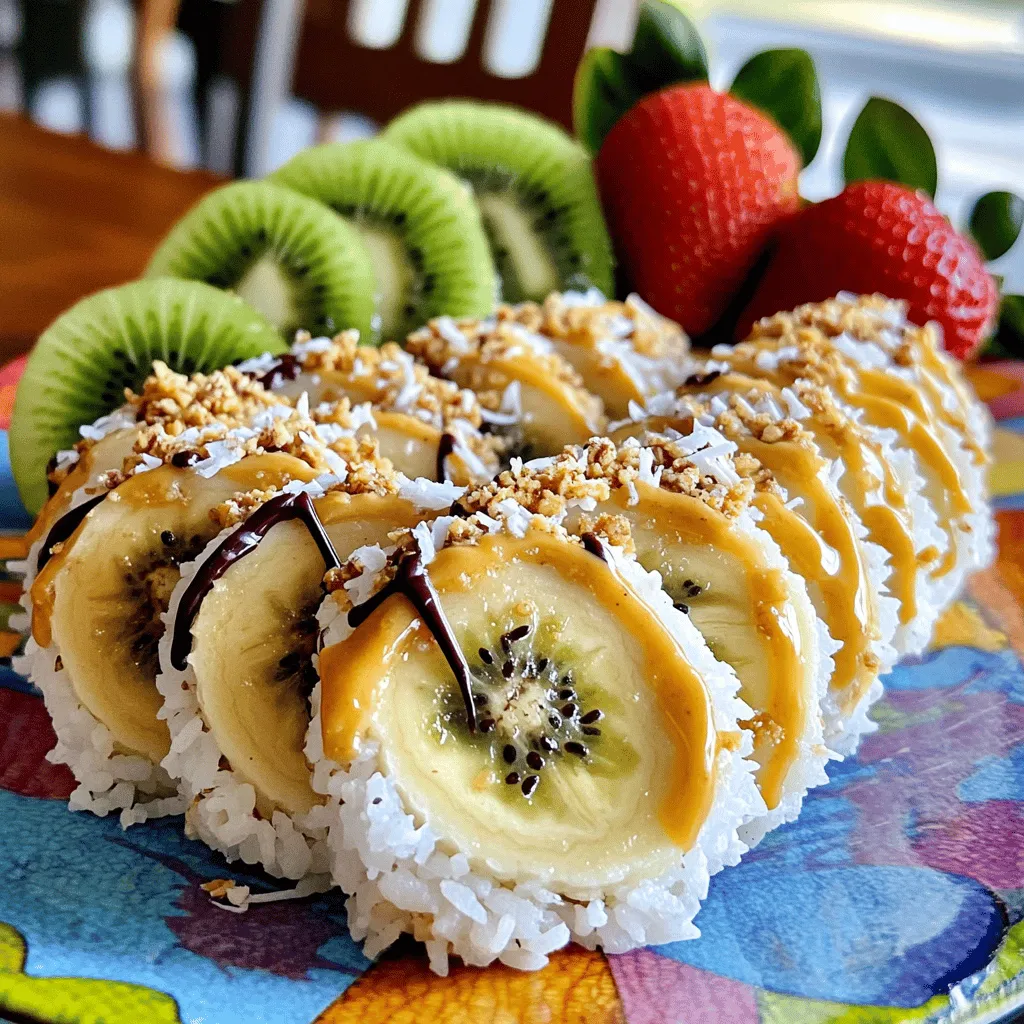
How to Make Banana Sushi Tasty and Fun Treat
Want a fun and tasty treat that’s easy to make? Banana sushi is the perfect choice! This fun twist on sushi is great for kids
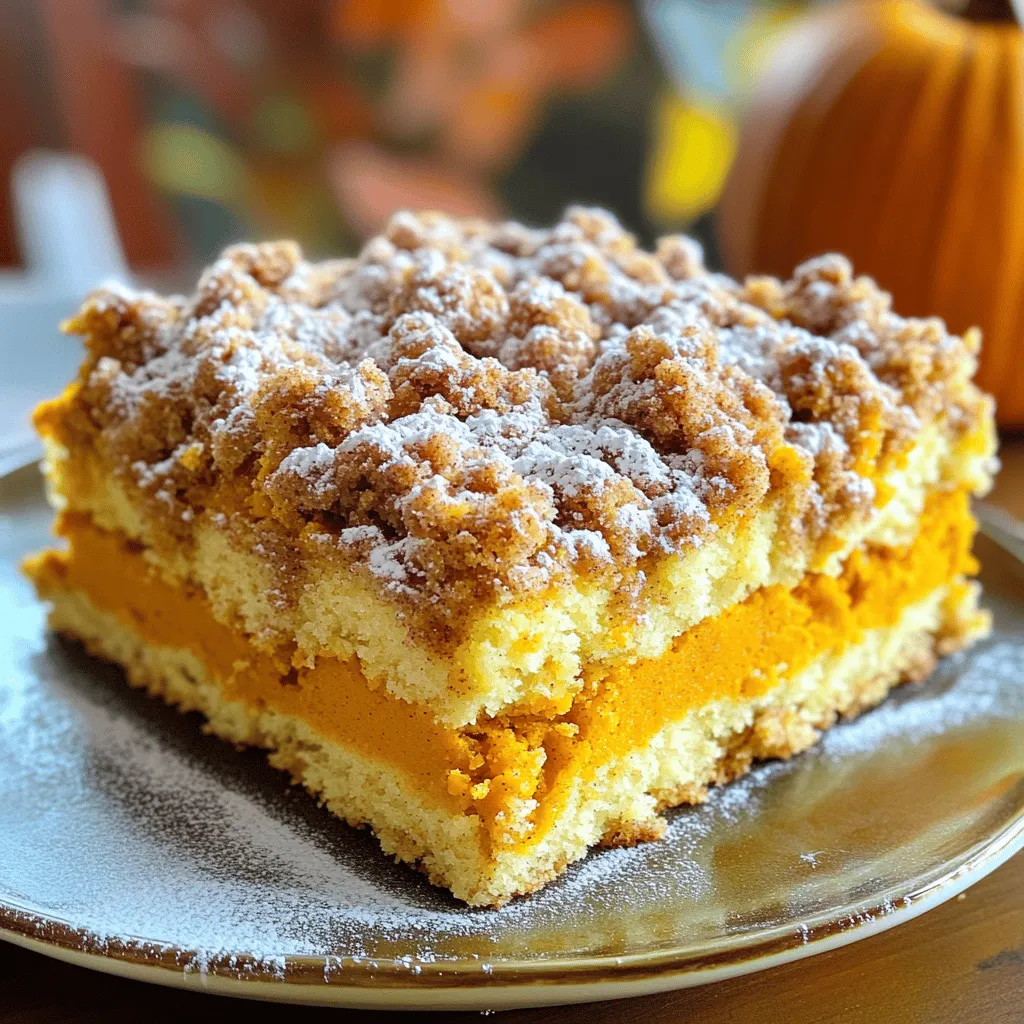
Cinnamon Streusel Pumpkin Coffee Cake Delightful Recipe
Are you ready for a delectable fall treat? This Cinnamon Streusel Pumpkin Coffee Cake combines warm spices and rich pumpkin for a delightful dessert experience.

Salted Honey Pie Deliciously Simple Dessert Recipe
Craving a simple yet delightful dessert? Let me introduce you to Salted Honey Pie! This sweet treat combines rich honey, creamy goodness, and a hint

Delectable Apple Crisp Baked Apples Recipe to Enjoy
Dive into the world of warm, flavorful treats with my Delectable Apple Crisp Baked Apples recipe! This dish brings together sweet apples, a crunchy topping,