Desserts
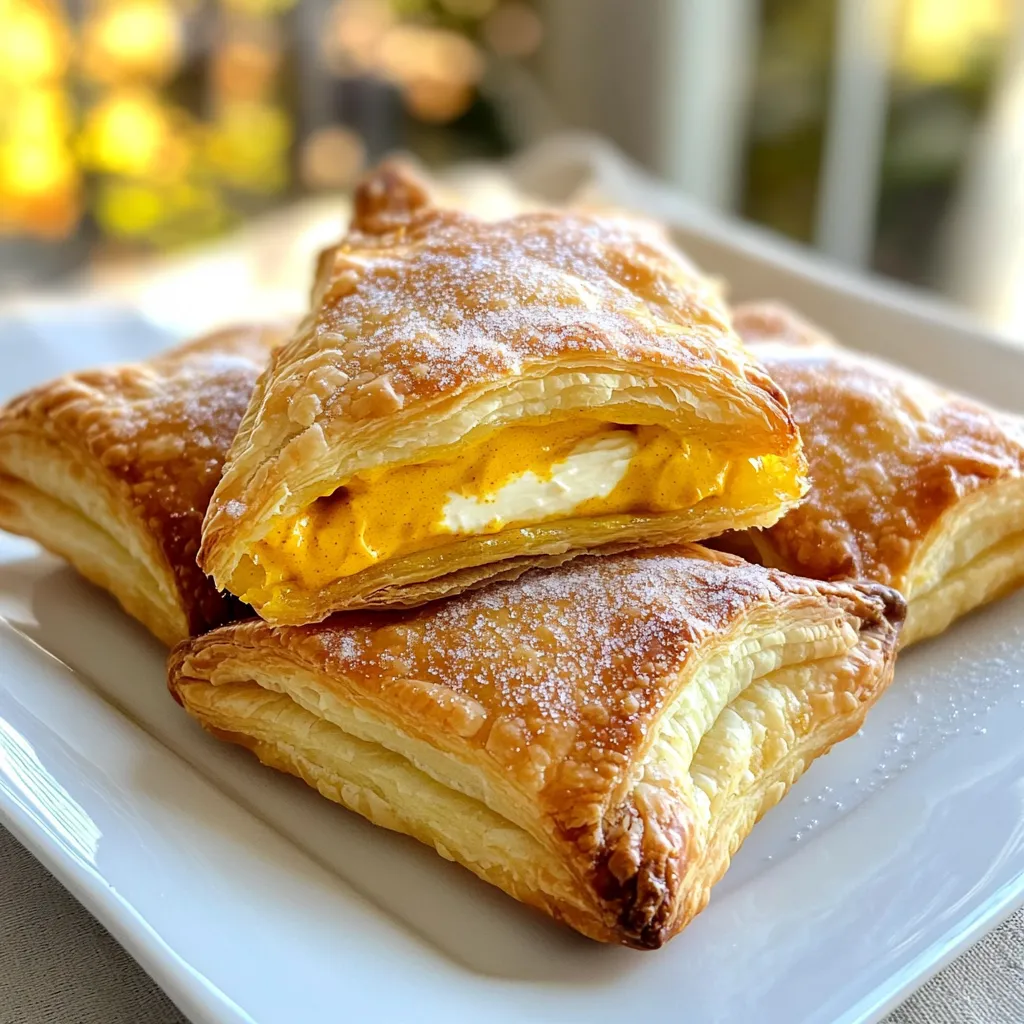
Pumpkin Cream Cheese Danish Delightful and Easy Recipe
Are you ready to indulge in a sweet treat that celebrates fall? My Pumpkin Cream Cheese Danish is not only easy to make but also
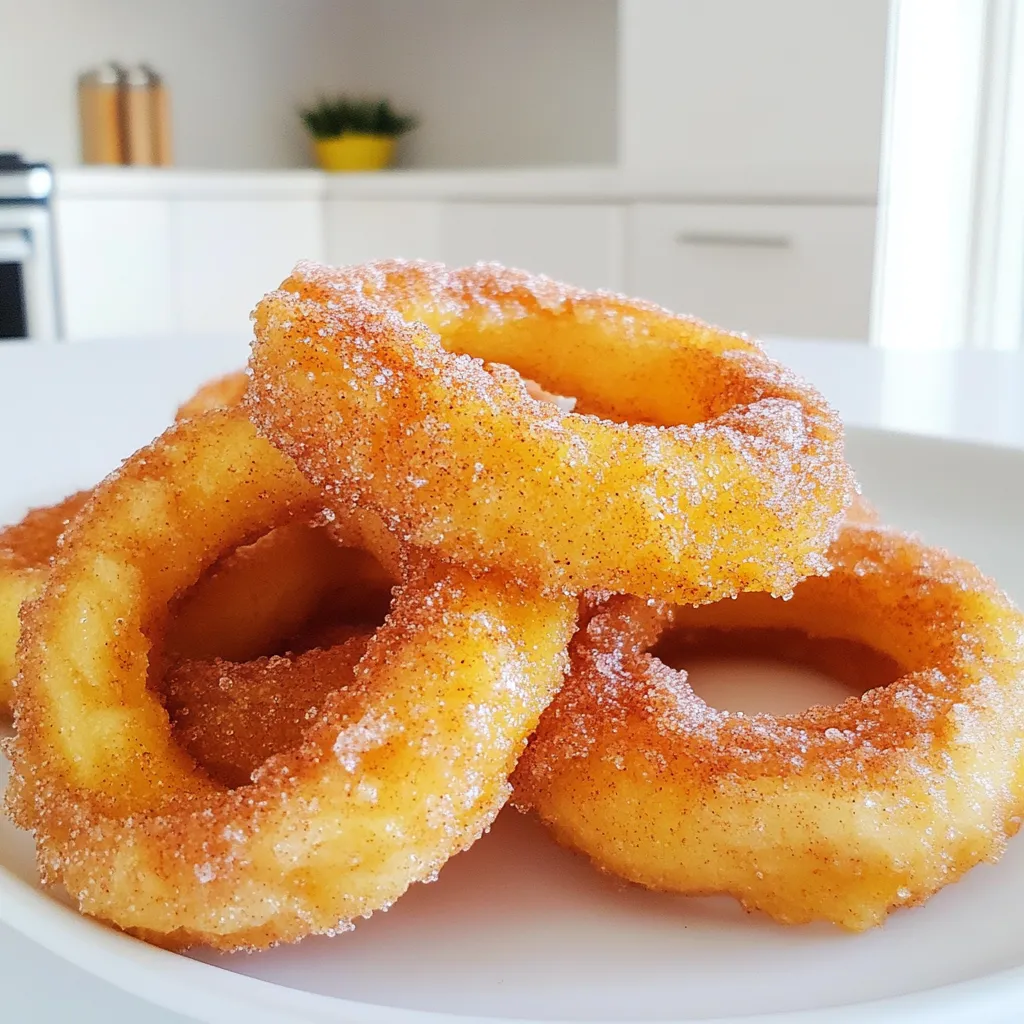
Cinnamon Sugar Apple Rings Air Fryer Delightful Treat
Get ready to treat yourself to a crunchy delight! My Cinnamon Sugar Apple Rings in the air fryer are easy to make and packed with
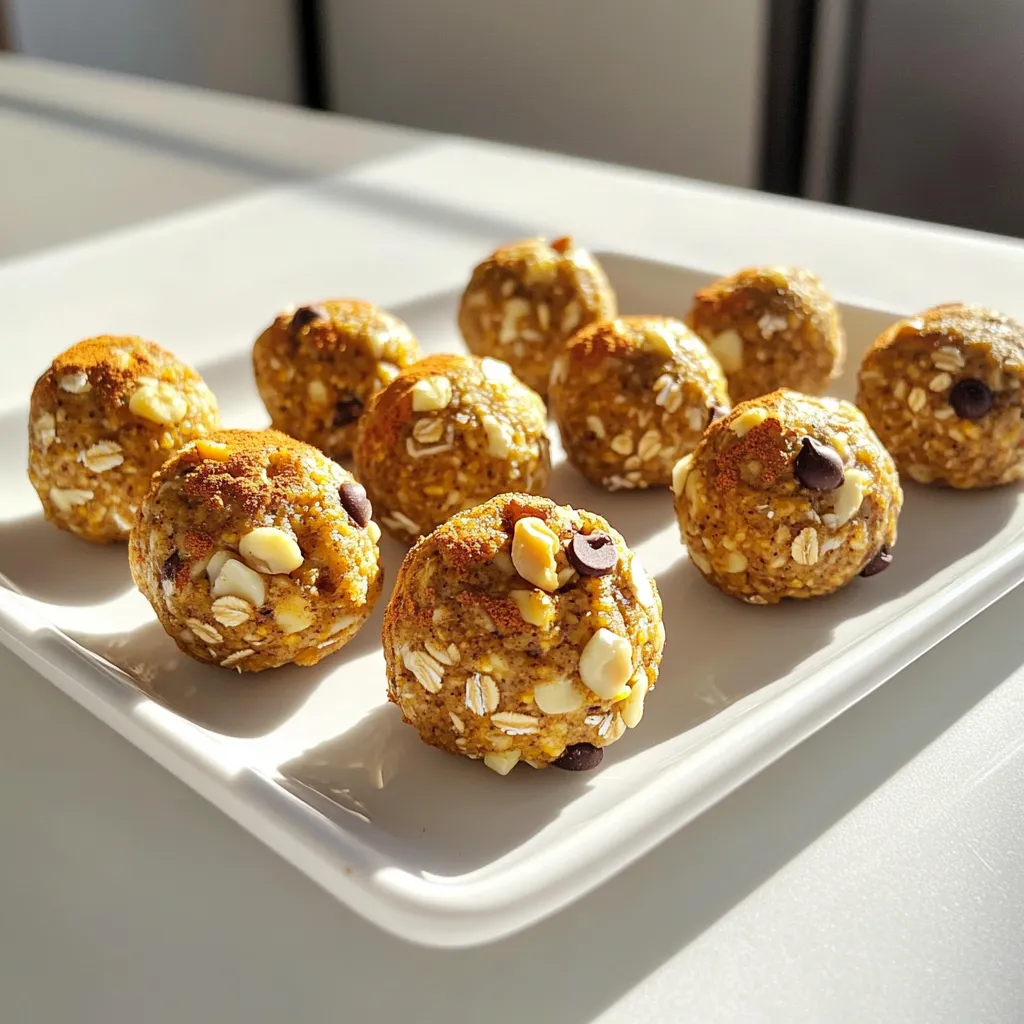
Pumpkin Spice Protein Balls Simple and Tasty Snack
Are you looking for a tasty and simple snack that packs a protein punch? I’ve got just the thing for you: Pumpkin Spice Protein Balls!
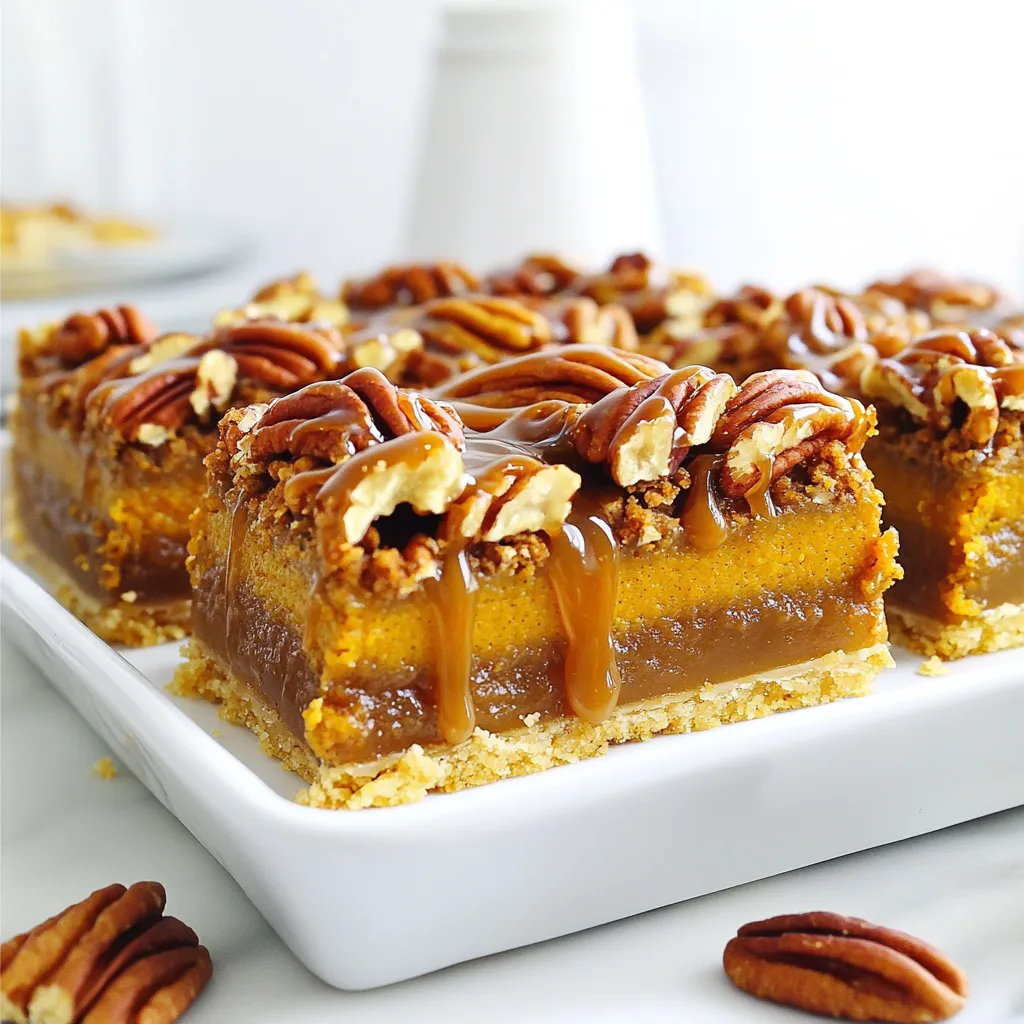
Caramel Pecan Pumpkin Pie Bars Irresistible Delight
Get ready to enjoy a festive twist on dessert with my Caramel Pecan Pumpkin Pie Bars! These bars blend rich pumpkin flavor with sweet caramel
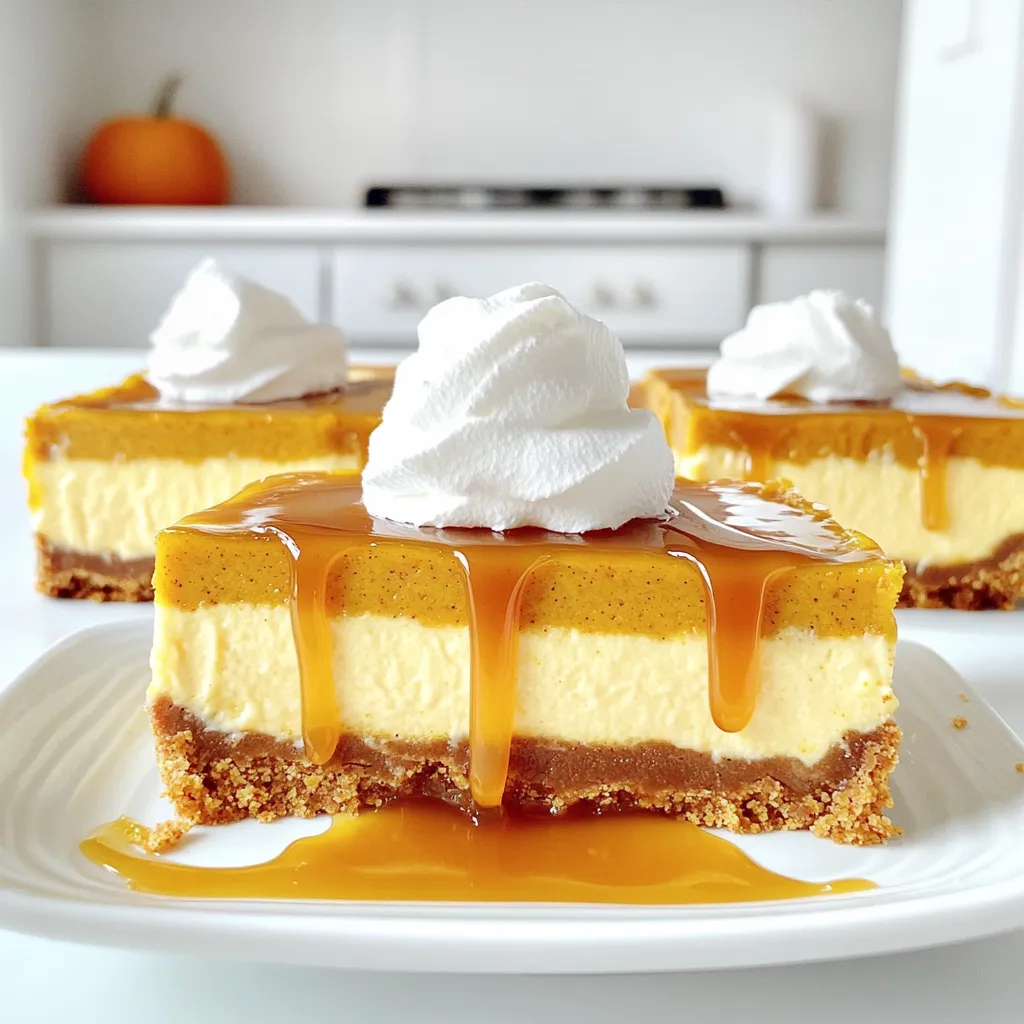
Pumpkin Cheesecake Bars with Caramel Delightfully Easy
Are you ready to delight your taste buds with Pumpkin Cheesecake Bars topped with caramel? These treats are a perfect blend of creamy and sweet,
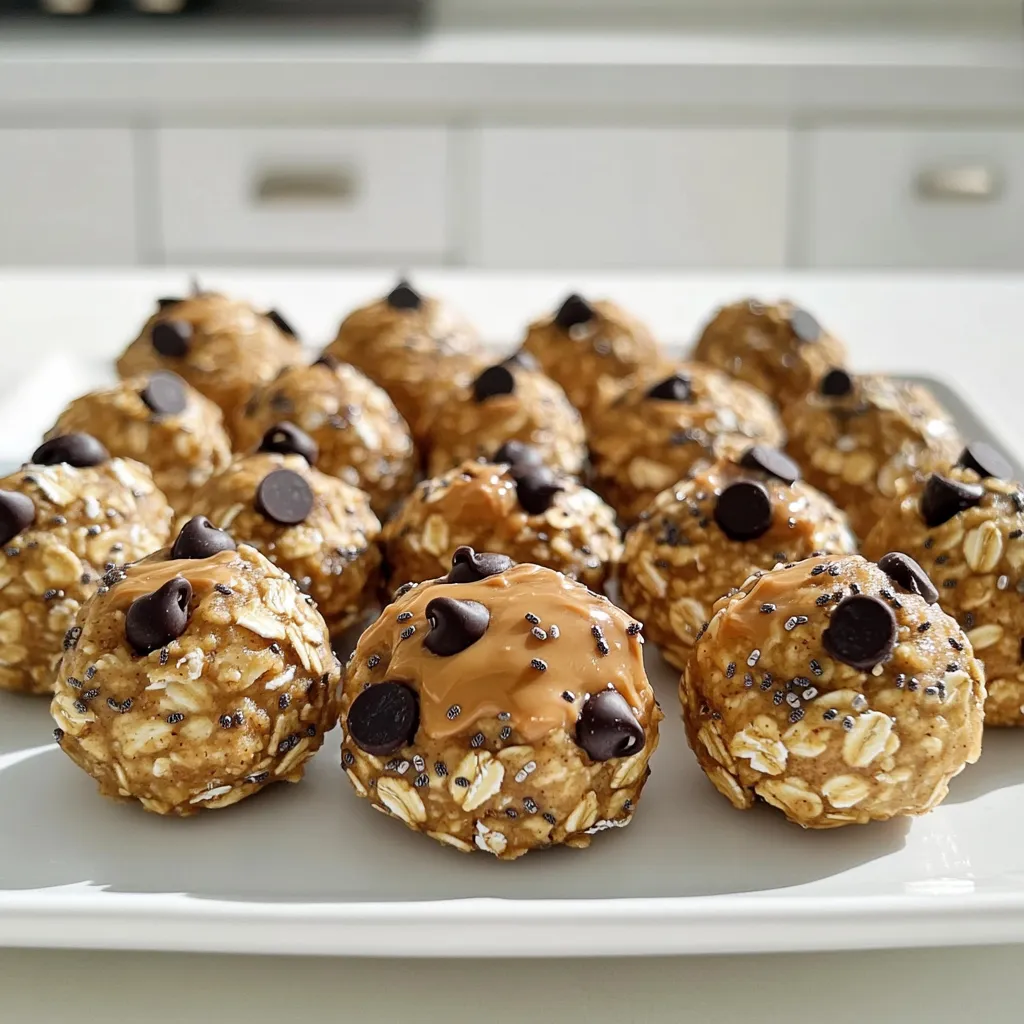
Peanut Butter Oat Bites No Bake Easy Snack Recipe
Looking for a quick, tasty snack that packs a punch? Try these Peanut Butter Oat Bites! I’ll show you how to whip up these easy
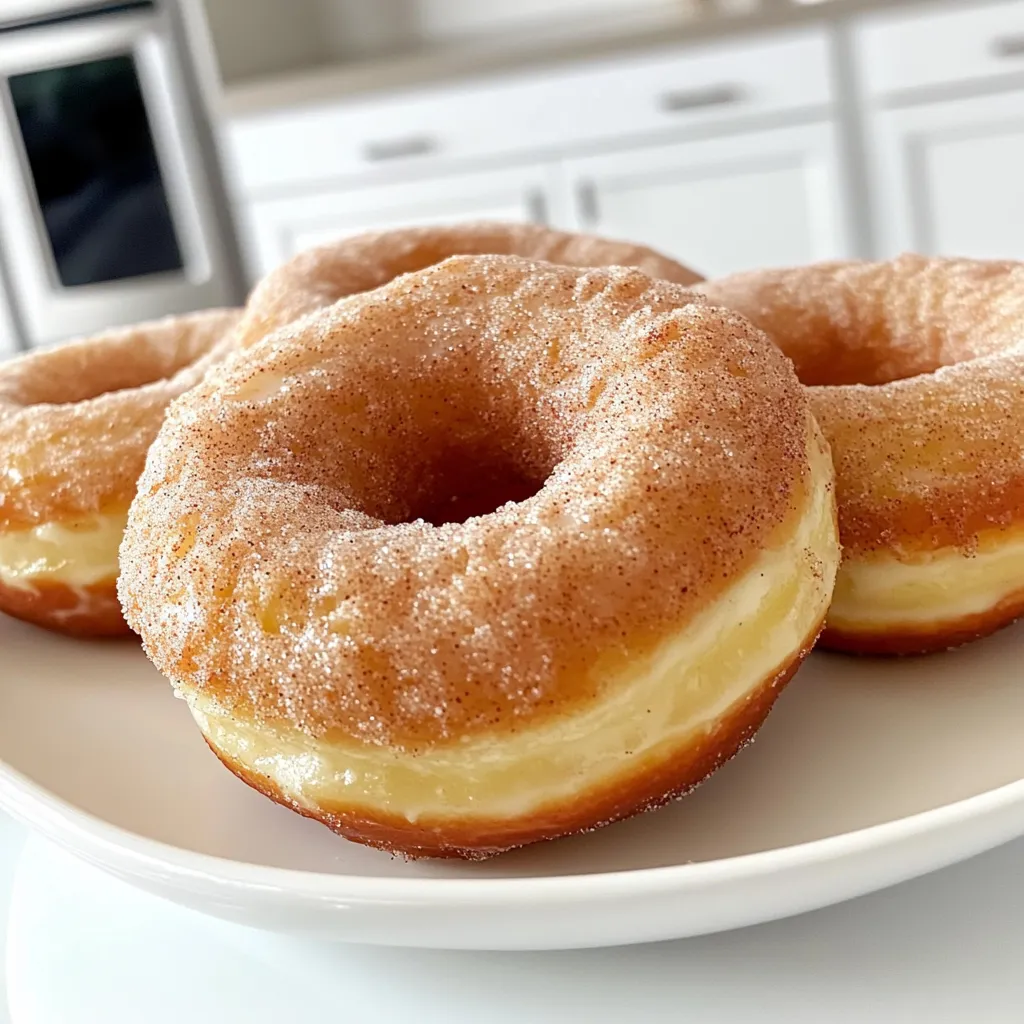
Cinnamon Sugar Donuts Bakery Style Delightful Treat
Who doesn’t love a warm, sweet treat that fills the kitchen with delightful scents? In this post, I’ll guide you through making Cinnamon Sugar Donuts
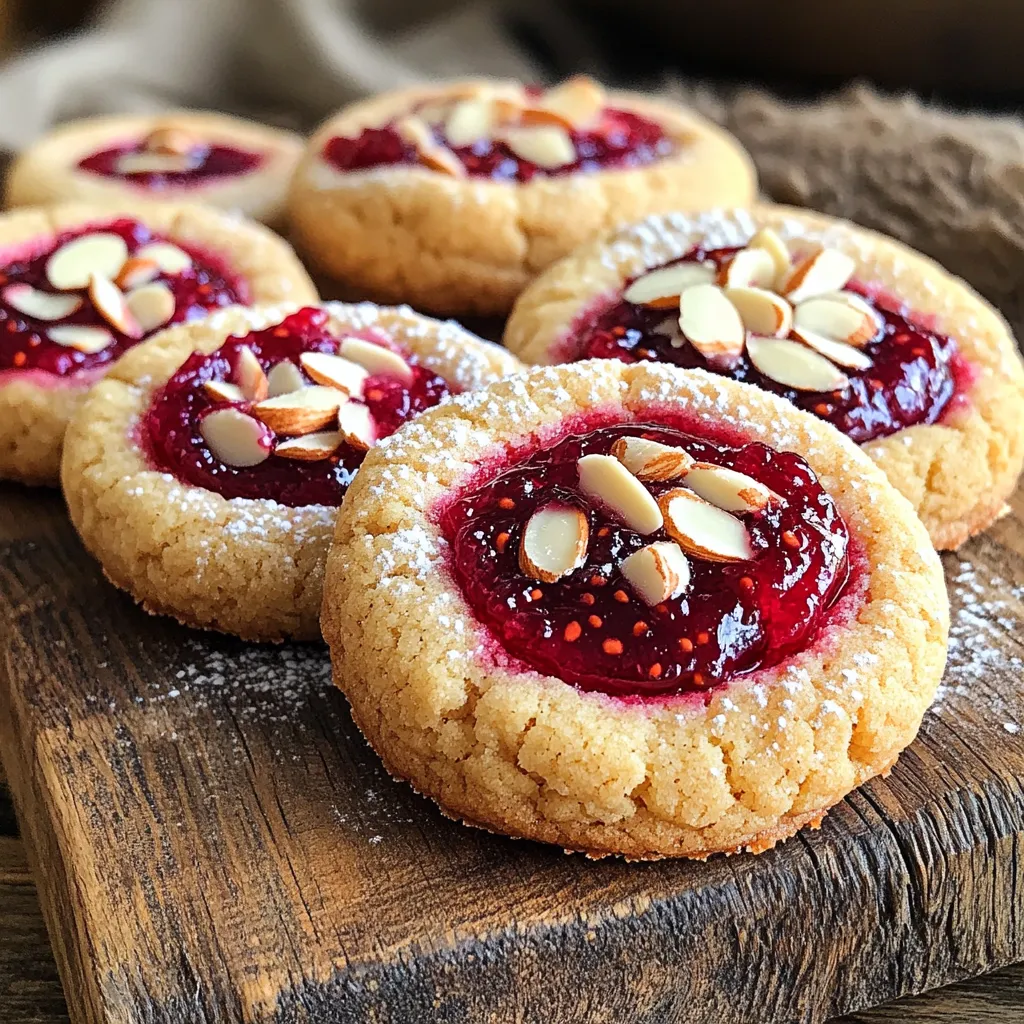
Raspberry Almond Thumbprint Cookies Delightful Treat
Do you love cookies that burst with flavor? Raspberry Almond Thumbprint Cookies are the perfect treat! These delightful cookies combine rich almond flavor with sweet
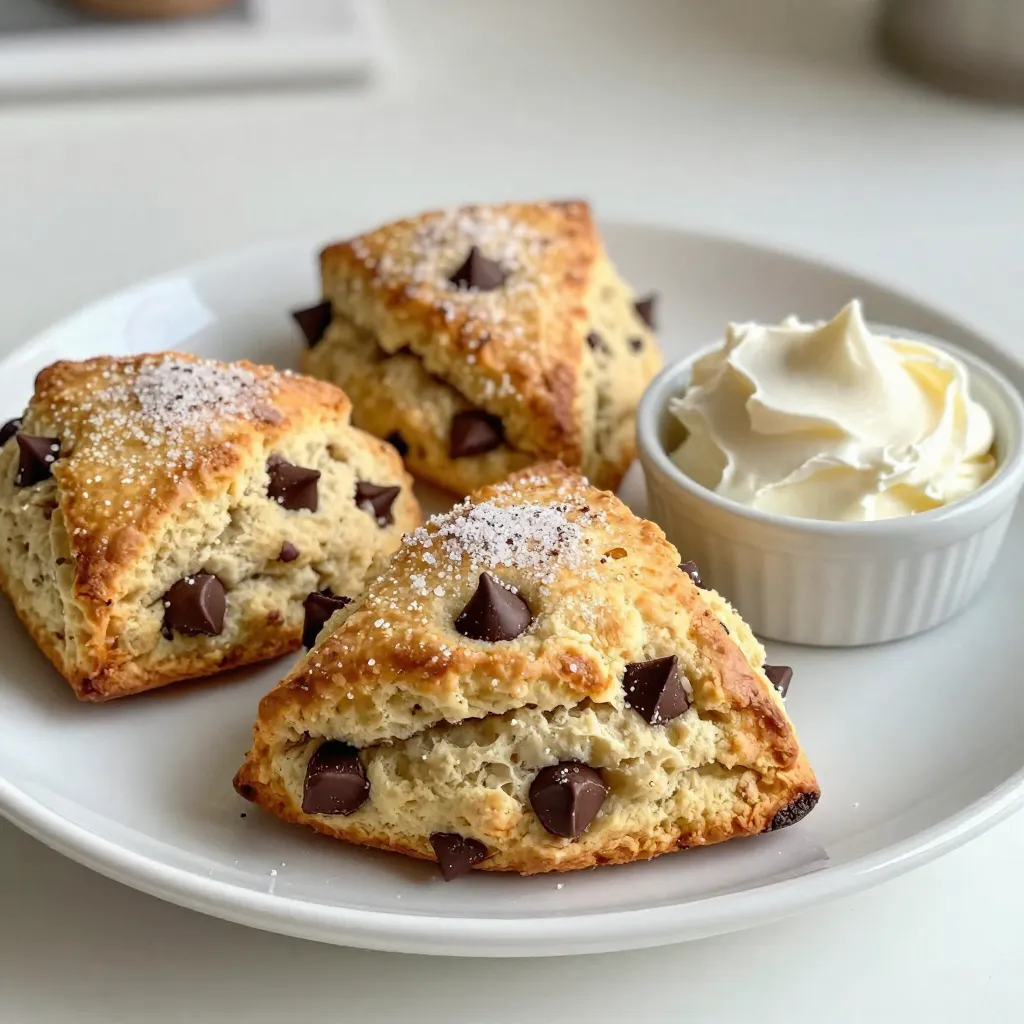
Chocolate Chip Scones Easy and Flavorful Recipe
If you crave a sweet treat that’s easy to make, you’re in the right place! Today, I’ll share my favorite Chocolate Chip Scones recipe that
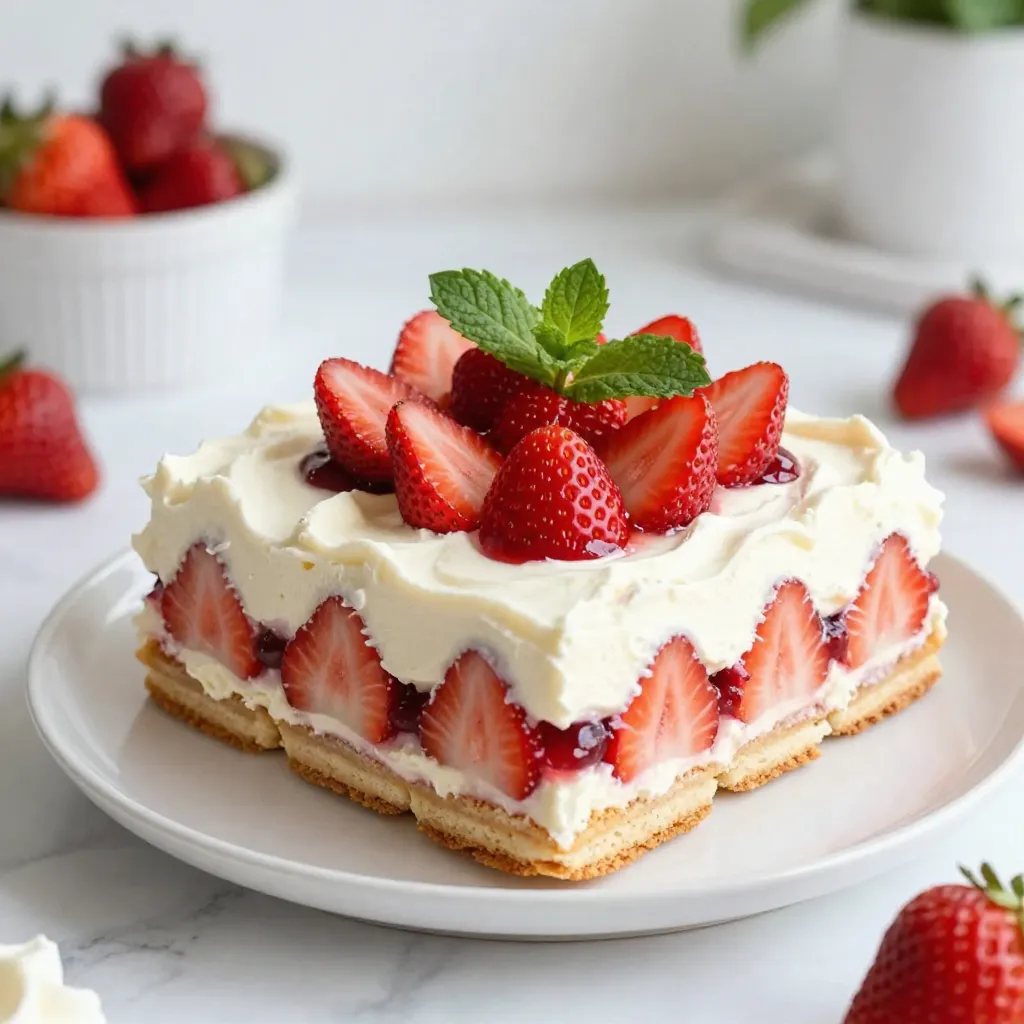
No-Bake Strawberry Icebox Cake Simple Treat Recipe
Looking for a dessert that’s both easy and delicious? You’ve come to the right place! This No-Bake Strawberry Icebox Cake is a simple treat packed