Desserts

Peach Crumble Delight Simple and Delicious Recipe
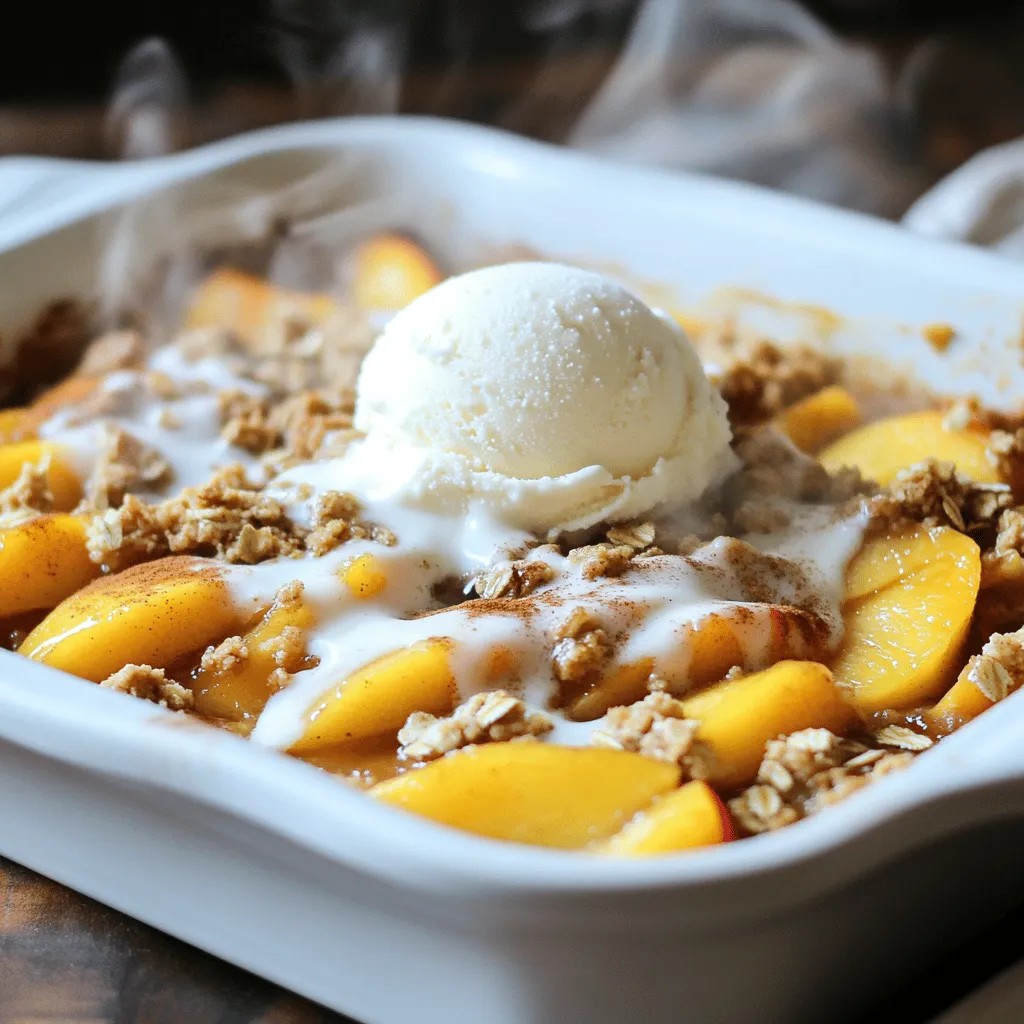
Ready to make a mouthwatering Peach Crumble? I’m excited to share my simple and delicious recipe with you! This dessert is easy to whip up
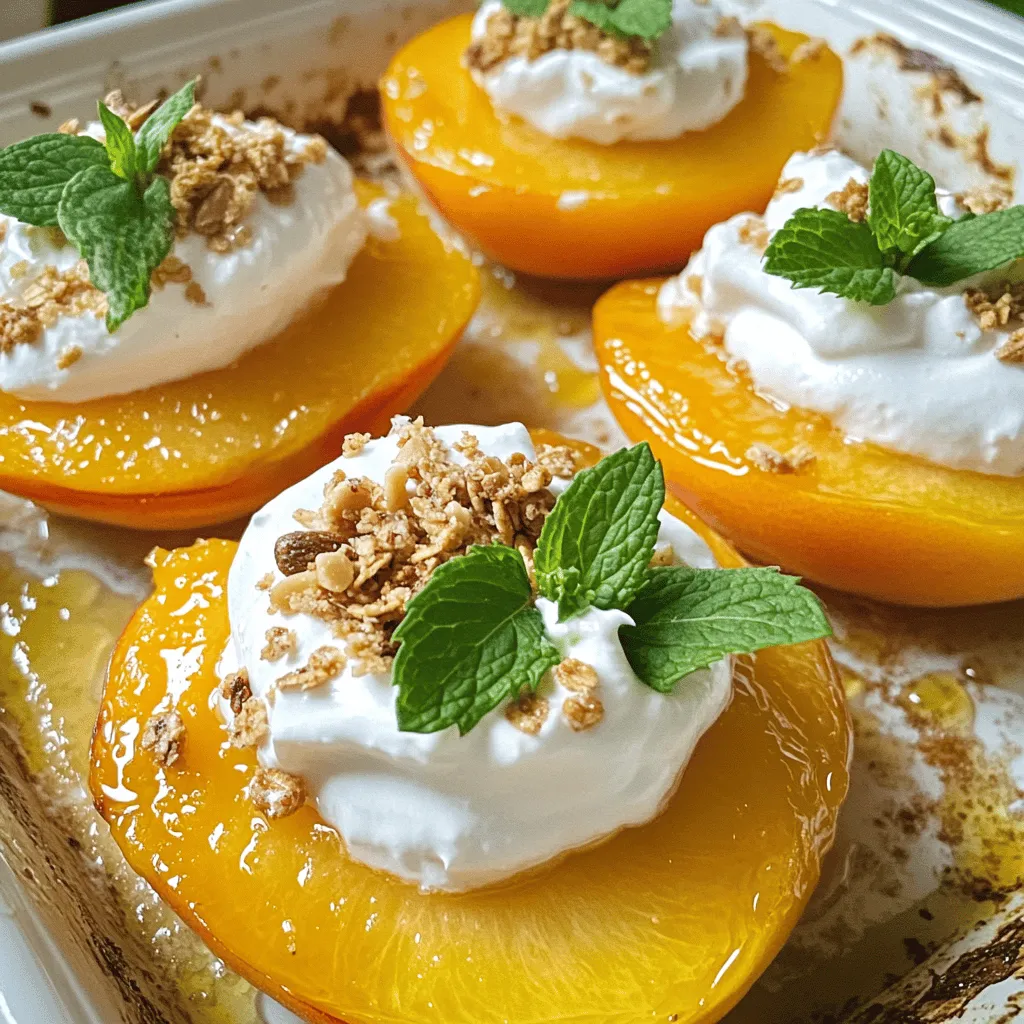
. Choosing ripe peaches is key to a great crisp. Look for peaches that are slightly soft when you press them gently. Their skin should have a rich color, with no bruises. If your peaches are hard, let them sit at room temperature for a few days. If you want to cut sugar, try using honey or maple syrup. These add sweetness and flavor without refined sugar. For butter, you can use coconut oil or a plant-based spread. They work well and keep your crisp tasty. Adjusting spice levels can make a big difference. For more warmth, add a bit more cinnamon or nutmeg. If you want a kick, consider adding a pinch of allspice or ginger. Just remember, a little goes a long way. Pair your warm bourbon peach crisp with a scoop of vanilla ice cream. The cold ice cream melts into the warm crisp, creating a wonderful mix. Whipped cream is another option that adds a light touch. For creative garnishes, try fresh mint leaves or a sprinkle of chopped nuts. A drizzle of caramel or chocolate sauce can also add flair. You can even add some crushed cookies on top for crunch. For the full recipe, check out the details above. Enjoy your cooking! {{image_2}} You can change up the warm bourbon peach crisp in fun ways. Adding nuts like walnuts or almonds gives it a nice crunch. You can also use seeds, such as pumpkin or sunflower seeds, for extra texture. These additions not only enhance the flavor but also add healthy fats and protein. If you want different flavors, try using other fruits. Apples and pears work well with the spices. You can also mix in berries, like blueberries or raspberries, for a sweet twist. Each fruit brings its own taste, making this dessert unique every time. Making this crisp fit your diet is easy. For a gluten-free version, swap the all-purpose flour with almond flour or a gluten-free blend. Just make sure to check the labels! You can also use gluten-free oats to keep it safe. If you follow a vegan diet, you can replace the butter with coconut oil or vegan butter. For the sweeteners, use maple syrup or agave instead of brown sugar. This way, you still get that warm, sweet flavor without animal products. For those watching their sugar intake, try using less sugar or a sugar substitute. Options like stevia or monk fruit sweetener can help keep the sweetness while cutting calories. With these adjustments, everyone can enjoy a delicious bowl of warm bourbon peach crisp. For the full recipe, check out the Warm Spiced Peach Crisp . To keep your warm bourbon peach crisp fresh, use an airtight container. Glass or plastic containers work well. Make sure the crisp is cool before sealing it. This helps prevent moisture build-up. You can store your crisp in the refrigerator for up to three days. If you want to keep it longer, freeze it. Wrap it tightly in plastic wrap or foil. Then place it in a freezer-safe bag. It can last for about three months in the freezer. To reheat your crisp and keep it crispy, try using an oven. Preheat the oven to 350°F (175°C). Place the crisp in a baking dish. Cover it with foil to avoid burning the top. Heat for about 15-20 minutes until warm. If you're in a hurry, a microwave works too. Heat in 30-second intervals. However, the topping may not stay crispy. For serving later, scoop out portions into bowls. Add a scoop of vanilla ice cream or whipped cream. This adds a nice touch to the warm, spiced peaches. For the full recipe, check the Warm Spiced Peach Crisp section above. Can I use frozen peaches instead of fresh? Yes, you can use frozen peaches. They work well in this recipe. Just thaw them first and drain excess liquid. This prevents the crisp from getting too soggy. Frozen peaches can be a great option when fresh ones are out of season. How can I make this recipe ahead of time? You can prepare the peach filling and topping separately. Store them in the fridge for up to a day. When ready to bake, layer them in a dish and bake as directed. This saves time and lets the flavors meld. What’s the best way to serve leftover crisp? Store leftover crisp in an airtight container. Keep it in the fridge for up to three days. To serve, simply reheat in the oven or microwave. Adding a scoop of ice cream on top makes it even better. Enjoy it warm for the best taste! For the full recipe, check out the Warm Spiced Peach Crisp details above. You learned how to make a Warm Bourbon Peach Crisp from fresh ingredients. We covered everything from choosing ripe peaches to adding fun toppings. Remember the tips for storage and reheating to keep it tasty. This dessert brings joy to any table. Enjoy experimenting with flavors and variations. Each bite can offer a new surprise. Stick to the steps, and you’ll have a dish that impresses everyone. Happy baking!](https://grilledflavors.com/wp-content/uploads/2025/06/96bea91f-bd89-47e2-bb9c-b0f08fea753b.webp)
Warm Bourbon Peach Crisp Simple and Delicious Dessert
Craving a warm, sweet dessert that feels like a hug? Look no further than this Warm Bourbon Peach Crisp! I’m excited to share my simple
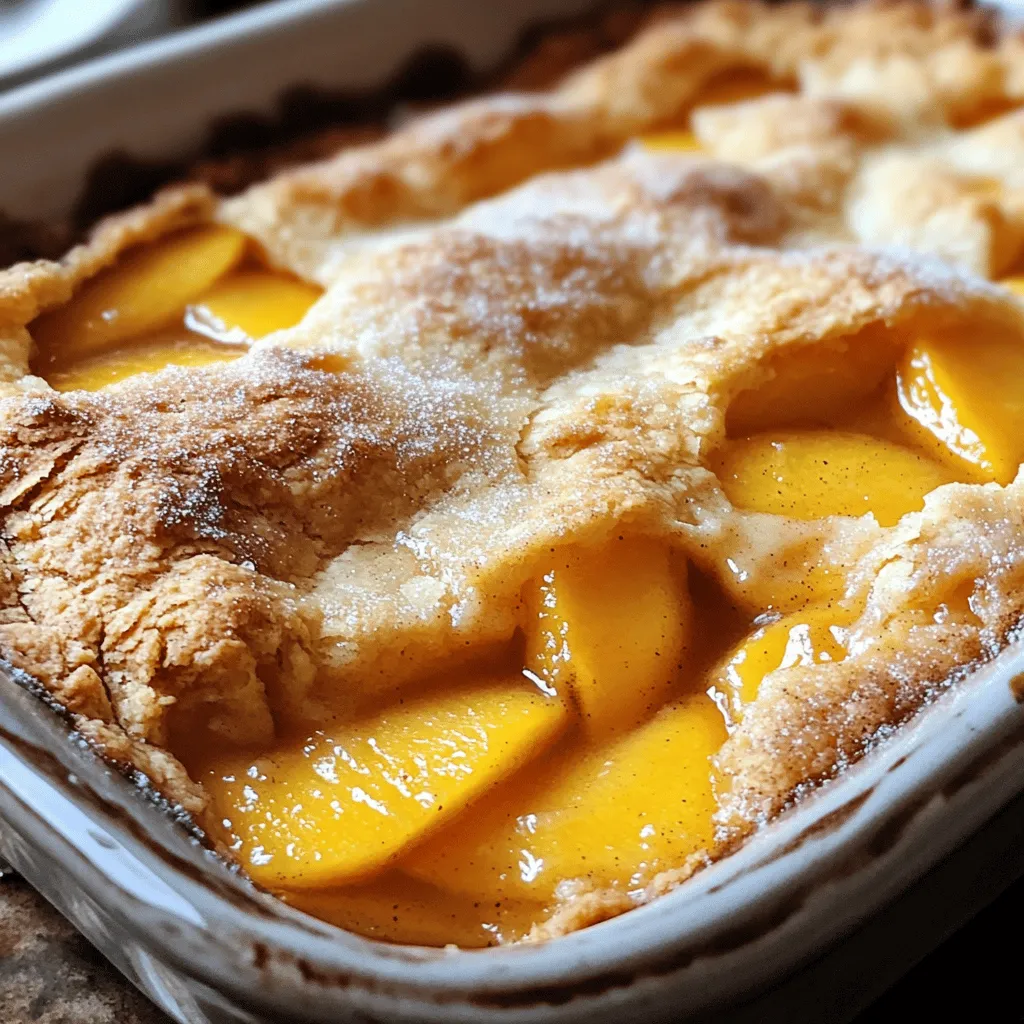
The BEST Peach Cobbler Delightful and Simple Recipe
Are you ready to enjoy the best peach cobbler you’ve ever tasted? This delightful and simple recipe will turn fresh peaches into a warm, sweet
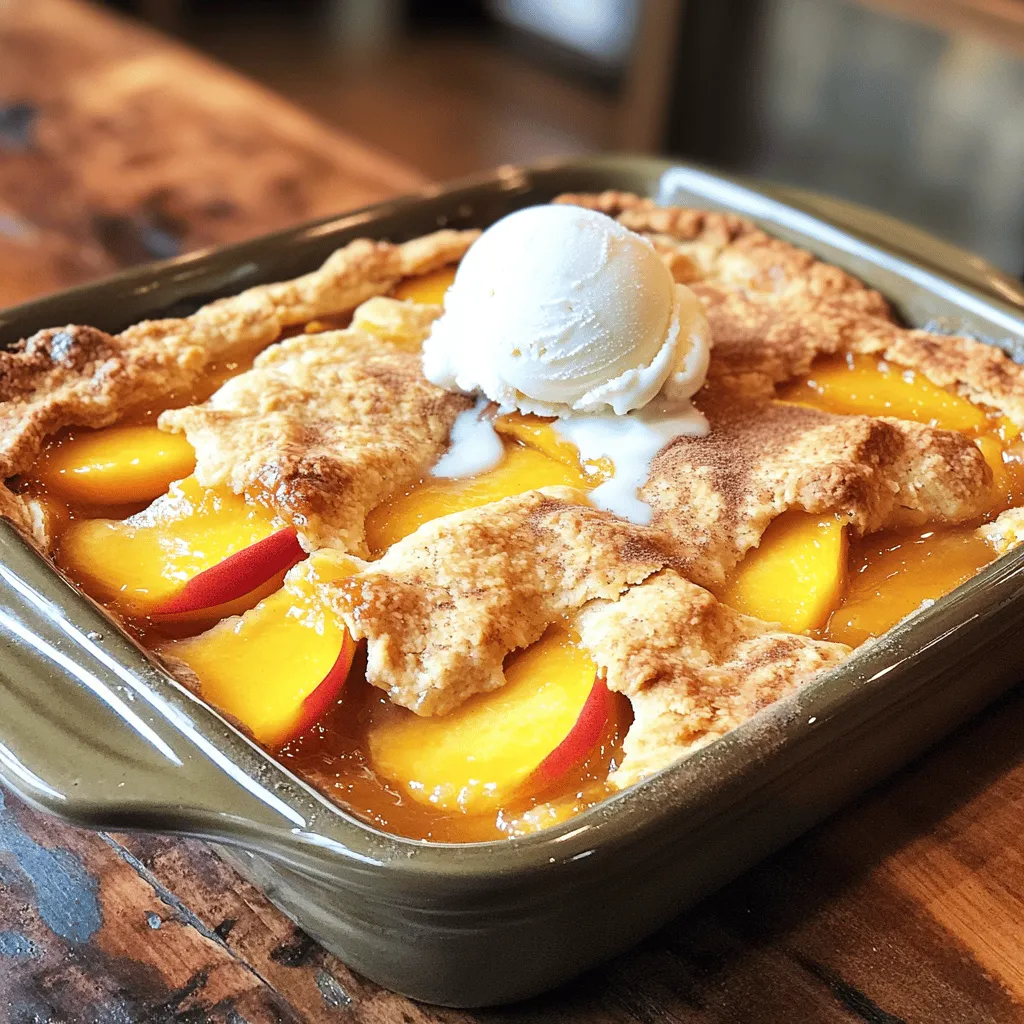
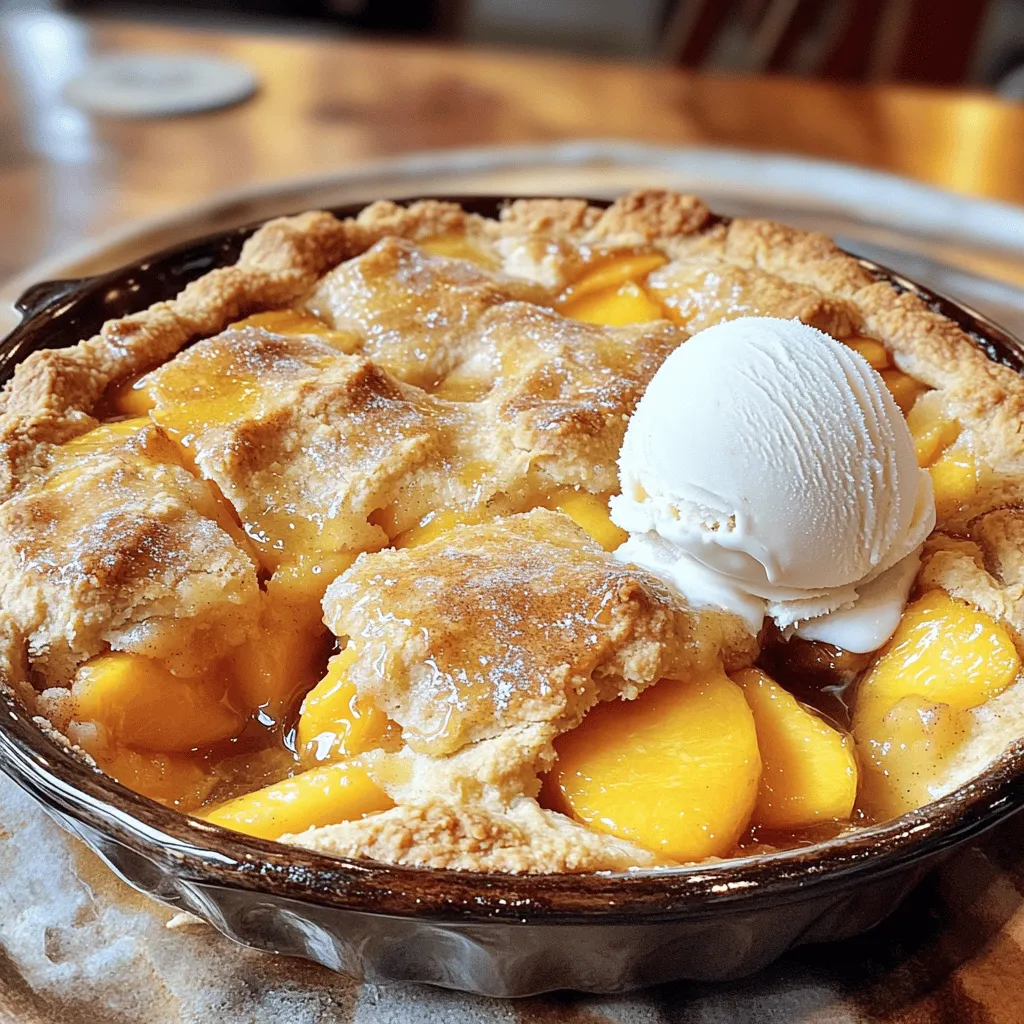
![- 4 ripe peaches, peeled, pitted, and sliced - 1 tablespoon lemon juice - 1/2 cup granulated sugar - 1 teaspoon cinnamon - 1 cup rolled oats - 1/2 cup all-purpose flour - 1/2 cup packed brown sugar - 1/2 cup unsalted butter, melted - 1/4 teaspoon salt - Vanilla ice cream (for serving, optional) Selecting ripe peaches is key. Ripe peaches are sweet and juicy. They give your crisp a great flavor. Look for peaches that yield slightly when pressed. Avoid hard or overly soft peaches. Measuring ingredients accurately helps your crisp turn out perfect. Use measuring cups for dry ingredients and a liquid measuring cup for liquids. This ensures you get the right balance for great taste and texture. For the best results, follow the Full Recipe closely. This way, you’ll create a delicious peach crisp that everyone will love! Start by preheating your oven to 350°F (175°C). This temperature helps cook the peach crisp evenly. While the oven warms up, grease a 9x9-inch baking dish with some butter or cooking spray. This step prevents the crisp from sticking. Next, grab four ripe peaches. Peel, pit, and slice them. In a big bowl, toss the peach slices with one tablespoon of lemon juice, half a cup of granulated sugar, and one teaspoon of cinnamon. Mixing these ingredients ensures every peach slice gets coated. This adds flavor and a bit of sweetness. In another bowl, combine one cup of rolled oats, half a cup of all-purpose flour, half a cup of packed brown sugar, and a quarter teaspoon of salt. Mix these dry ingredients well. Then, pour in half a cup of melted butter. Stir until the mixture looks crumbly. This crumbly texture gives the topping a nice bite. Now, pour the peach mixture into your greased baking dish. Spread it out evenly. Then, sprinkle the oat topping over the peaches. Bake your crisp in the preheated oven for 30 to 35 minutes. You know it’s done when the topping turns golden brown and the peaches bubble. Let it cool for a few minutes before serving. For a treat, serve it warm with vanilla ice cream. Enjoy your delicious peach crisp! For the complete recipe, check the [Full Recipe]. To make your peach crisp even better, you can add spices. Try a pinch of nutmeg or allspice. These spices add warmth and depth. You can also add lemon zest for a fresh kick. Mixing in nuts adds crunch. Chopped almonds or walnuts work well. You can also combine peaches with berries or apples for a twist. Getting the topping just right is key. You want it crumbly but not too dry. When mixing, ensure the butter coats the oats and flour well. If the mix feels too wet, add a bit more oats. For a crispy topping, bake until golden brown. Don't rush the baking time; allow the crisp to bubble and set. Serve your peach crisp warm, right out of the oven. It pairs perfectly with a scoop of vanilla ice cream. The cold ice cream melts into the warm crisp, creating a delightful treat. For a special touch, serve it in individual ramekins. Top with fresh mint leaves or a sprinkle of cinnamon for a pop of color. If you're feeling fancy, drizzle caramel sauce over the top. This adds sweetness and looks great! For the full recipe, check out the Peachy Delight Crisp. {{image_2}} You can switch up the fruit in this recipe. Instead of peaches, try using berries, like blueberries or raspberries. Apples are another great choice, especially in the fall. Mixing different fruits can create a unique taste. For example, combine peaches and blueberries for a burst of flavor. Each fruit adds its own sweetness and texture, making every crisp special. If you need gluten-free options, you can use almond flour or gluten-free oats. These swaps keep the crisp tasty and friendly for those with gluten sensitivities. For a vegan version, replace butter with coconut oil or a vegan butter substitute. You can also use coconut sugar or maple syrup instead of regular sugar. These changes let everyone enjoy this dessert without worry. You can adapt this recipe for different seasons. In winter, use fruits like pears or cranberries. They add warmth and a cozy feel. For fall flavors, add spices like nutmeg or allspice, and use apples or pumpkin. Each season brings fresh fruits and flavors. This way, you can enjoy peach crisp all year round! For the full recipe, check the details provided earlier. To keep your peach crisp fresh, store it in the fridge. Place it in an airtight container. This helps prevent it from drying out. You can also cover it with plastic wrap. Enjoy the leftover crisp within 3-4 days for the best taste. To reheat your peach crisp, use the oven for the best results. Preheat your oven to 350°F (175°C). Place the crisp in an oven-safe dish. Heat it for about 15-20 minutes. This will keep the topping crunchy and warm the peaches nicely. You can freeze peach crisp for later. If you want to freeze it before baking, prepare the dish as normal. Cover it tightly with plastic wrap and foil. If you freeze it after baking, let it cool first. Store it in a freezer-safe container. To thaw, place it in the fridge overnight. Reheat it in the oven, as mentioned above. Enjoy your peach crisp anytime! For the full recipe, check the earlier sections. Yes, you can use frozen peaches. Just thaw them first. Drain any extra liquid. Mix them with lemon juice, sugar, and cinnamon as you would fresh peaches. This helps keep the flavors bright. If you like, you can add a bit more sugar, as frozen peaches can taste less sweet. To make it gluten-free, use almond flour or oat flour instead of all-purpose flour. You can also use certified gluten-free oats. These swaps keep the crisp tasty, while making it safe for those with gluten issues. Just remember to check labels when buying these ingredients. Serve peach crisp warm with a scoop of vanilla ice cream. You can also try it with cinnamon ice cream or whipped cream. A drizzle of caramel sauce adds a nice touch. For extra crunch, sprinkle some chopped nuts on top. Peach crisp lasts about 3 to 4 days in the fridge. Keep it in an airtight container to maintain freshness. If you see any mold or an off smell, it’s best to toss it. Reheat it in the oven for the best texture. Yes, you can prepare it ahead. Assemble the peach mixture and topping separately. Store them in the fridge. When you’re ready, just layer and bake. This way, you keep the crisp topping nice and crunchy. This recipe for peach crisp is simple and fun. You learned to choose ripe peaches, mix the filling, and create a tasty topping. I shared tips for flavor and texture, plus ideas for serving. Remember, you can mix fruits, use gluten-free options, and store leftovers easily. Now, go ahead and enjoy making this delightful dessert! You’ll impress family and friends with your new skills. Happy baking!](https://grilledflavors.com/wp-content/uploads/2025/06/7644c091-c293-49e7-b5ed-1b62717d9bd4.webp)
Easy Peach Crisp Recipe Simple and Delicious Dessert
Looking for a simple and tasty dessert? This Easy Peach Crisp Recipe is here to save the day! With just a handful of ingredients, you
The Best Peach Cobbler Recipe Simple and Tasty Delight
Get ready to savor the ultimate peach cobbler! My simple and tasty recipe brings out the best in fresh peaches. With easy steps and basic
Frozen Peach Cobbler Simple and Delicious Dessert Recipe
Looking for a dessert that makes your taste buds dance? Try this Frozen Peach Cobbler! It’s simple, quick, and oh-so-delicious. You might even have the
Southern Style Peach Cobbler Rich and Comforting Dessert
There’s nothing quite like a Southern-style peach cobbler to warm your heart and satisfy your sweet tooth. This rich and comforting dessert combines juicy, ripe
Easy Peach Crisp Simple and Delicious Dessert Recipe
Craving a sweet treat that’s simple and tasty? You’re in the right place! My Easy Peach Crisp is perfect for any dessert lover. It highlights

Ultimate Peach Cobbler Recipe Delightful and Easy Dessert
If you crave a sweet and warm dessert, my Ultimate Peach Cobbler Recipe is for you! Bursting with fresh peaches and a simple, buttery topping,
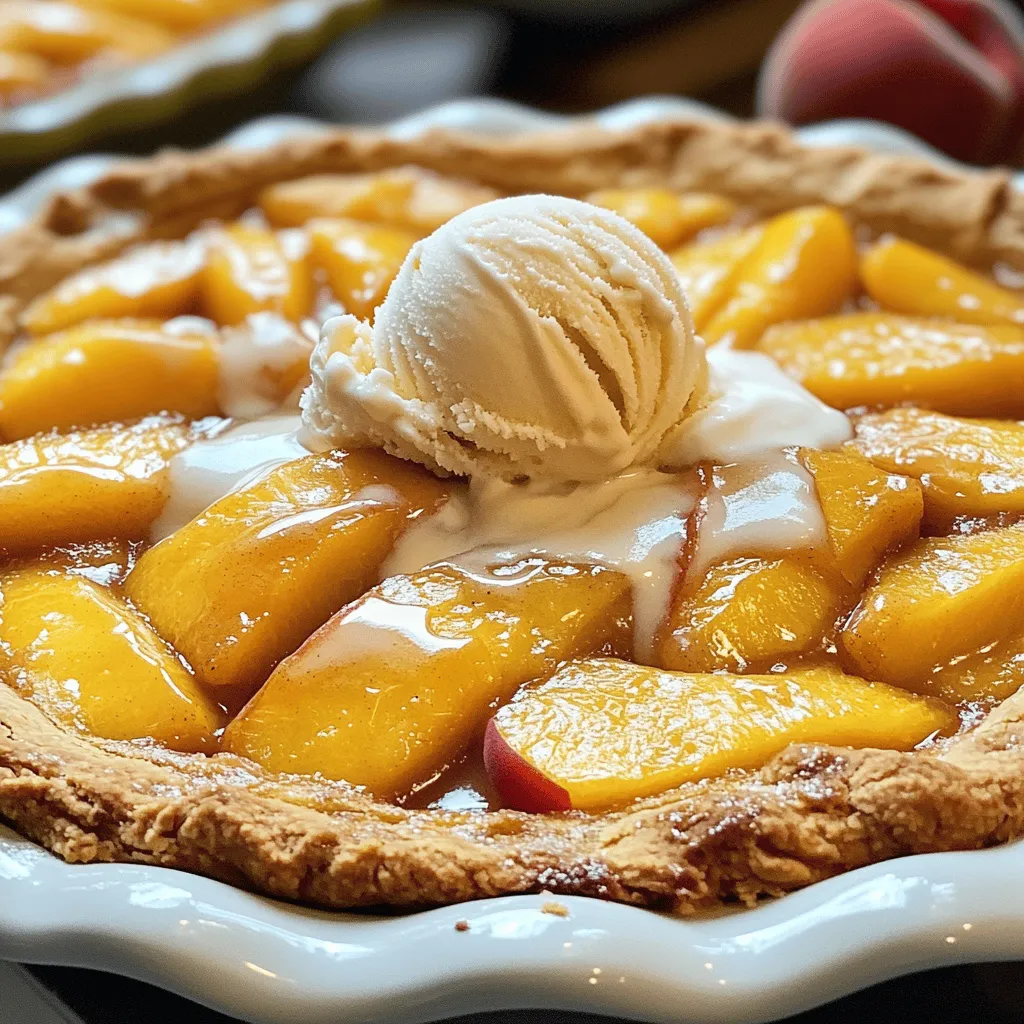
Peaches and Cream Recipe Delightful Summer Treat
Looking for a sweet way to enjoy summer? My Peaches and Cream Recipe is perfect for you! This delightful treat combines ripe peaches and silky