Desserts
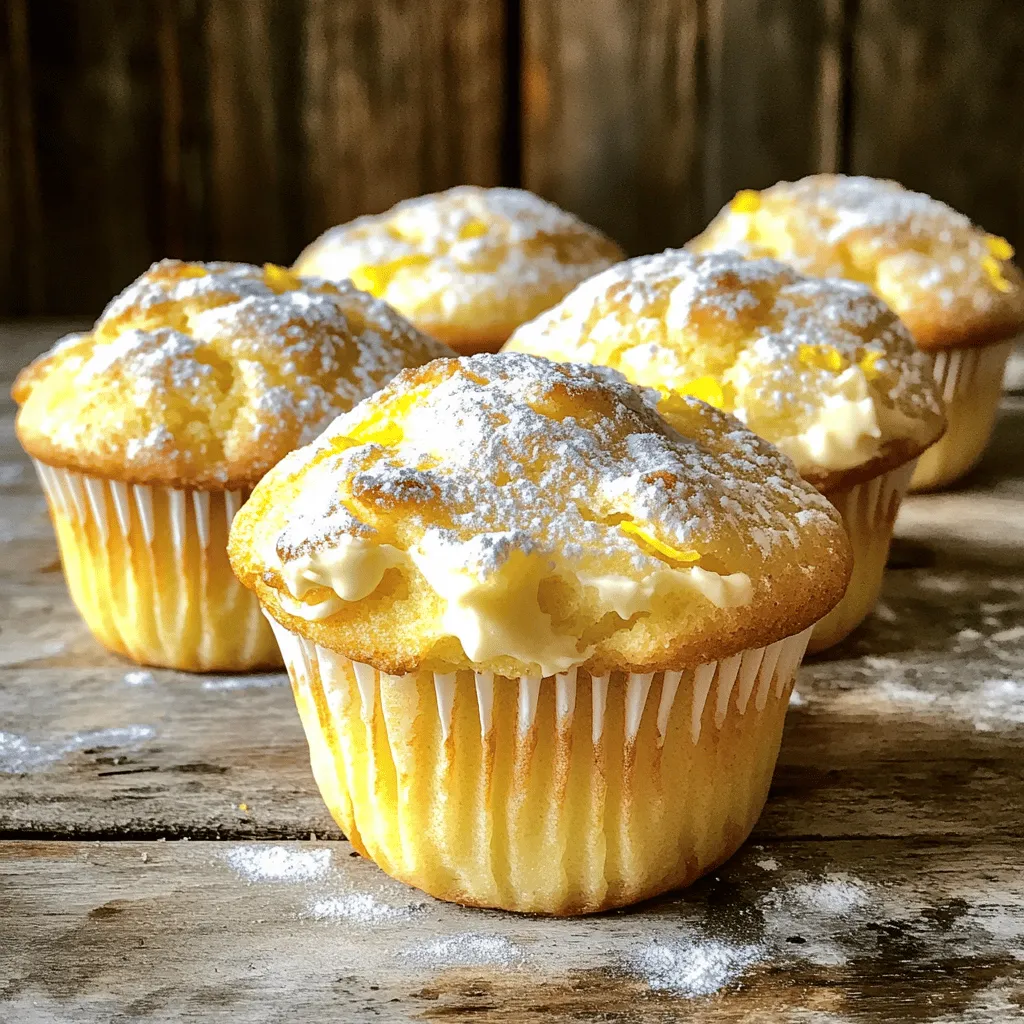
Lemon Cream Cheese Muffins Fresh and Flavorful Treat
Looking for a tasty treat that brightens your day? Lemon Cream Cheese Muffins are the perfect blend of sweet and tangy. They are simple to
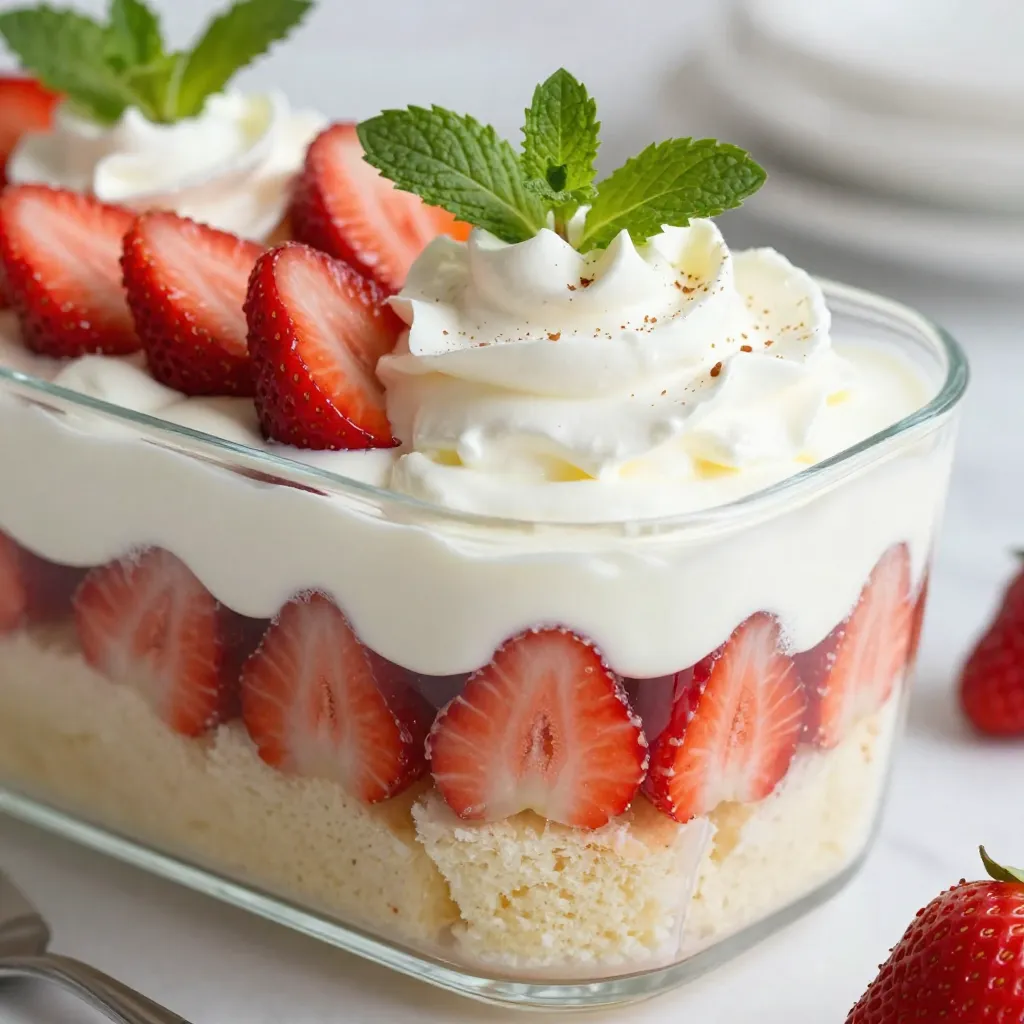
Strawberry Shortcake Trifle Delightful and Light Dessert
If you’re craving a dessert that’s both delightful and light, look no further than the Strawberry Shortcake Trifle. This easy recipe layers fresh strawberries, whipped
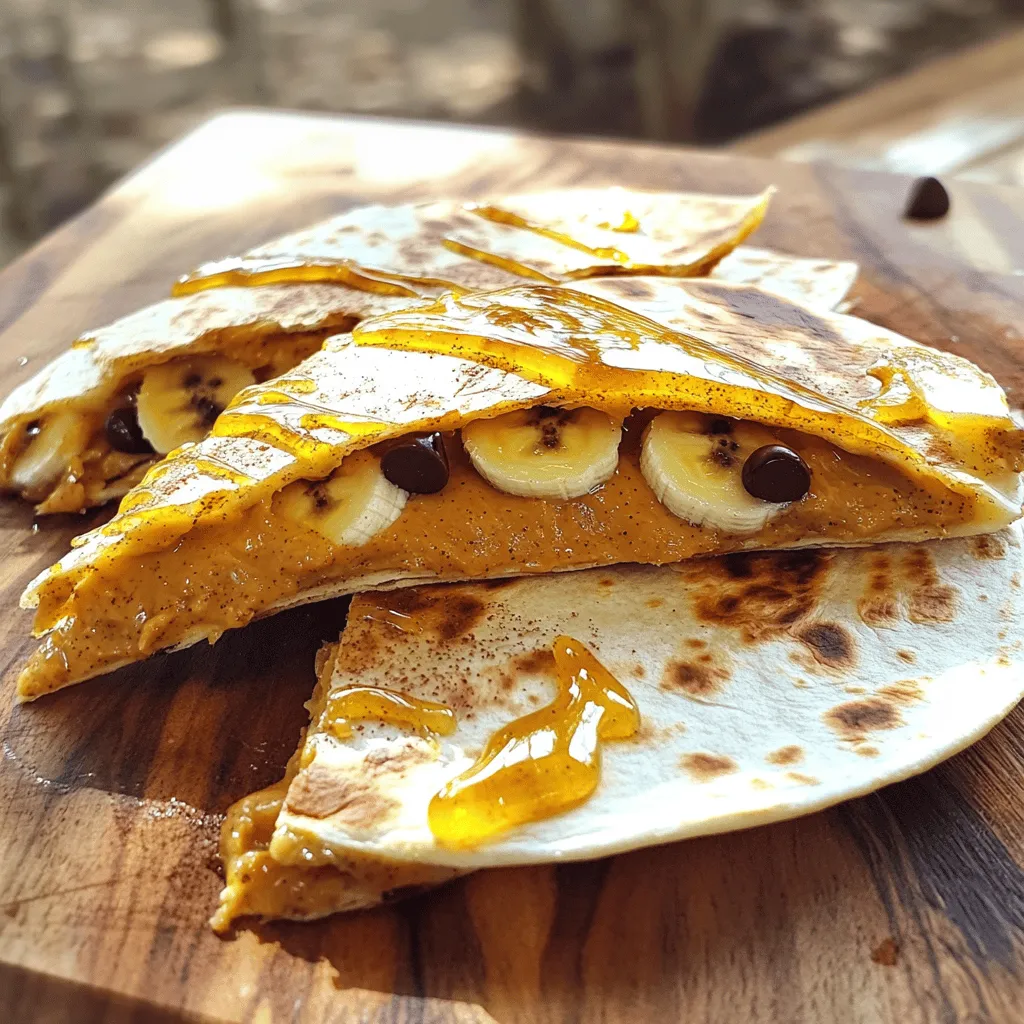
Peanut Butter Quesadilla Tasty and Quick Delight
Looking for a quick and tasty snack? Let me introduce you to the delightful Peanut Butter Quesadilla! This unique treat combines creamy peanut butter, sweet
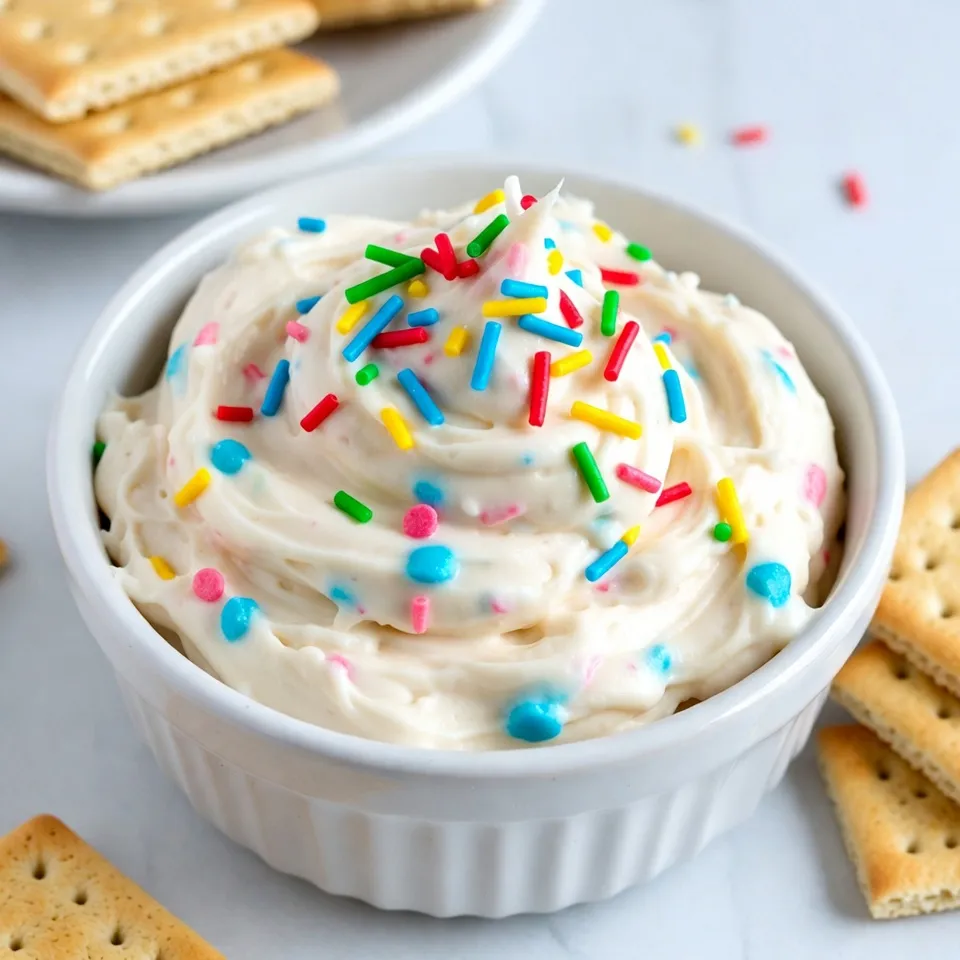
Funfetti Cake Batter Dip Delightful Sweet Treat
Are you ready to dive into a world of sweetness? This Funfetti Cake Batter Dip is an easy, scrumptious treat that’s perfect for parties or
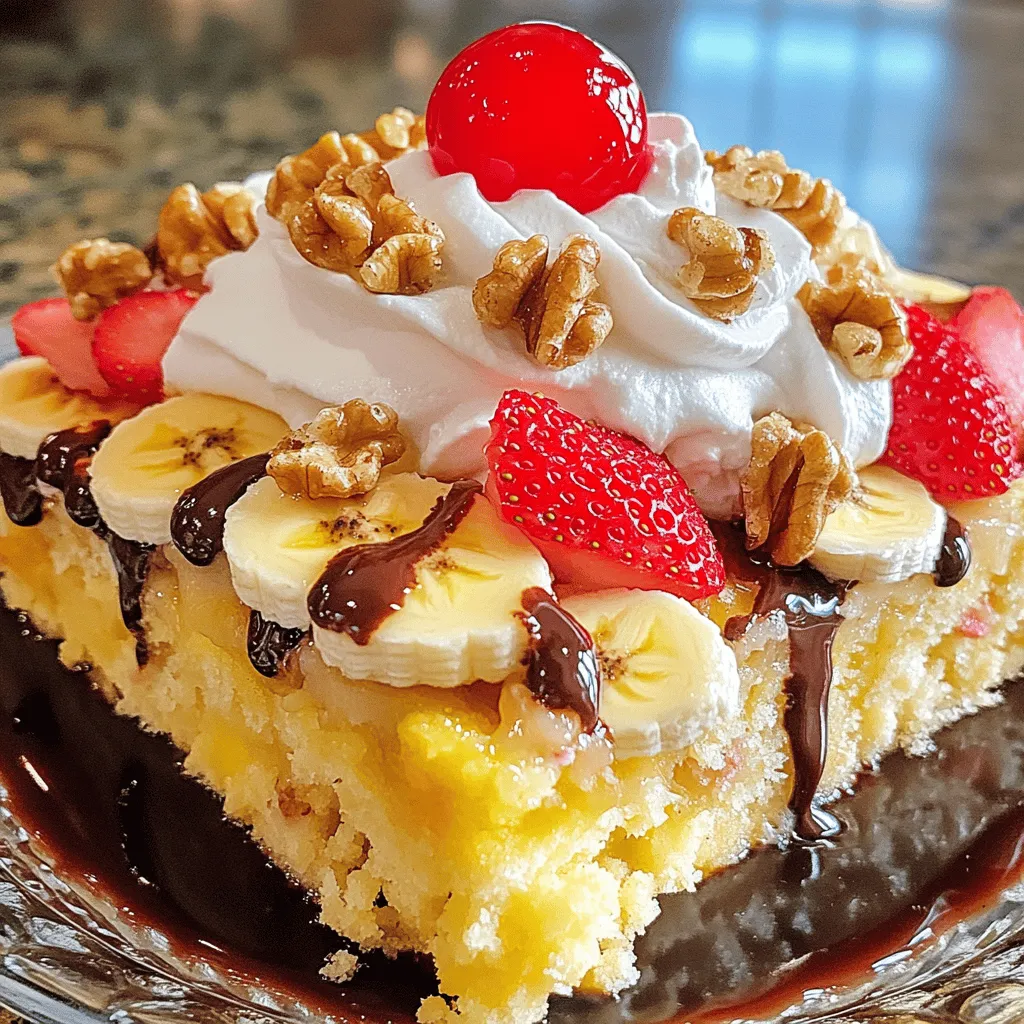
Banana Split Dump Cake Delightful and Easy Recipe
Are you ready to treat yourself to a sweet delight? The Banana Split Dump Cake is not just tasty; it’s also super easy to make!

Chia Banana Bread Energy Bites Healthy Snack Option
Are you looking for a healthy snack that packs energy and flavor? I’ve got the perfect solution: Chia Banana Bread Energy Bites! These tasty treats
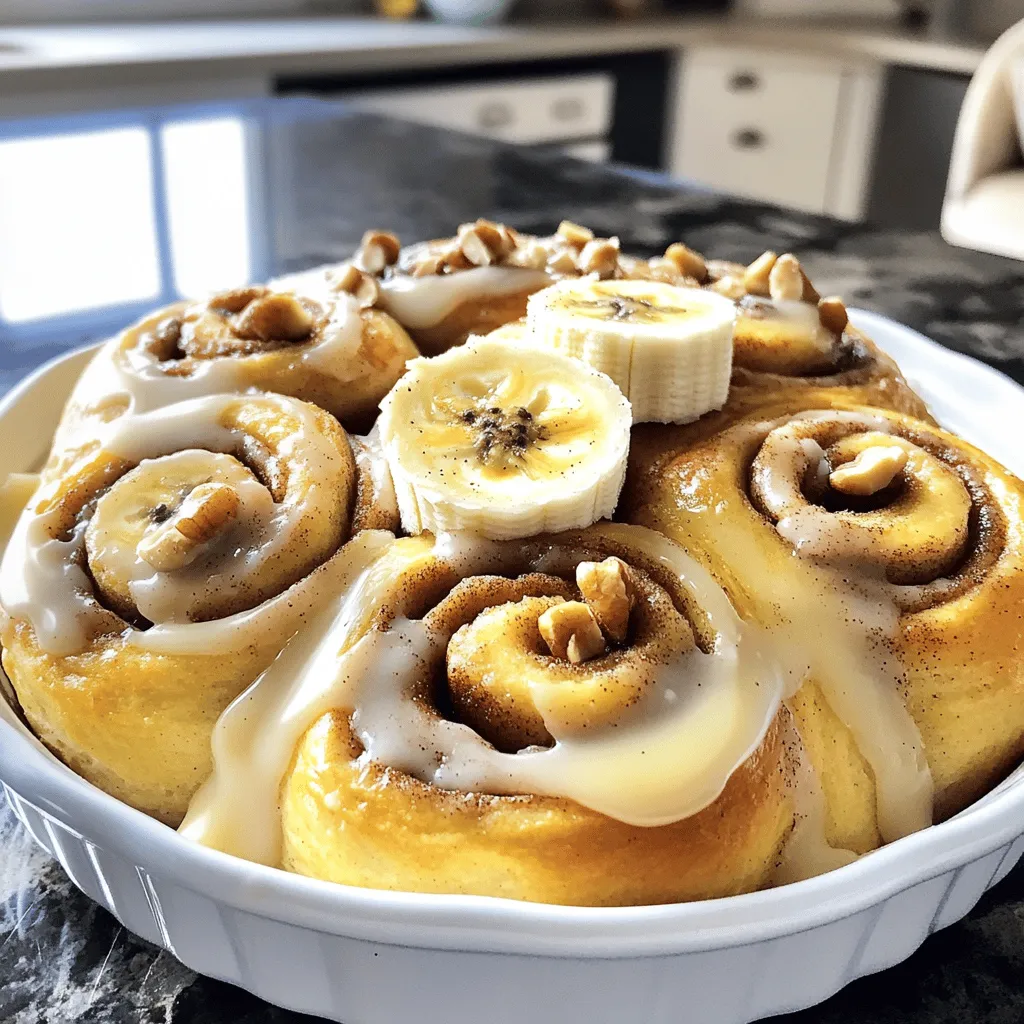
Banana Bread Cinnamon Rolls Delightful and Easy Recipe
Are you ready to treat yourself to an amazing twist on two classic favorites? In this article, I’ll share my delightful and easy recipe for
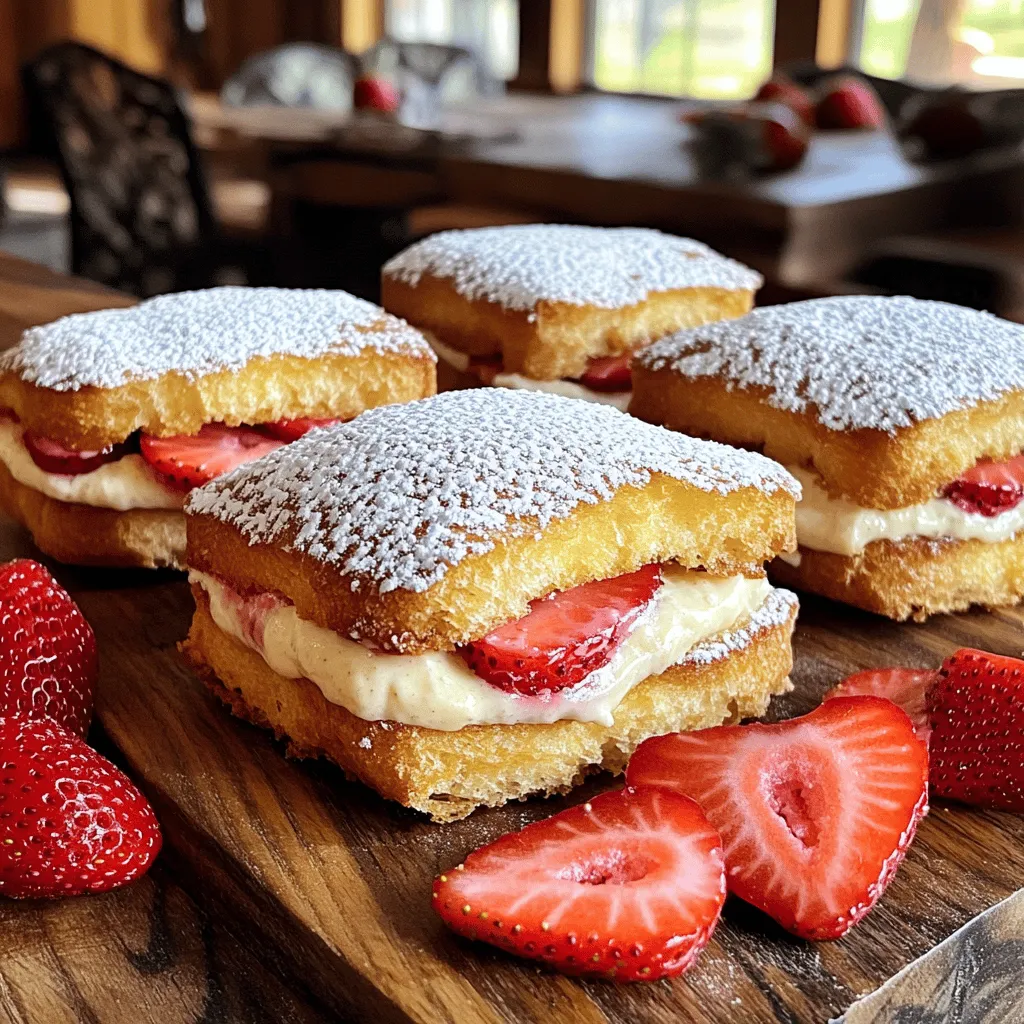
Fried Strawberry Cheesecake Sandwiches Delightful Treat
Are you ready for a treat that combines two of your favorite desserts? Fried Strawberry Cheesecake Sandwiches are a delightful mix of sweet cream cheese
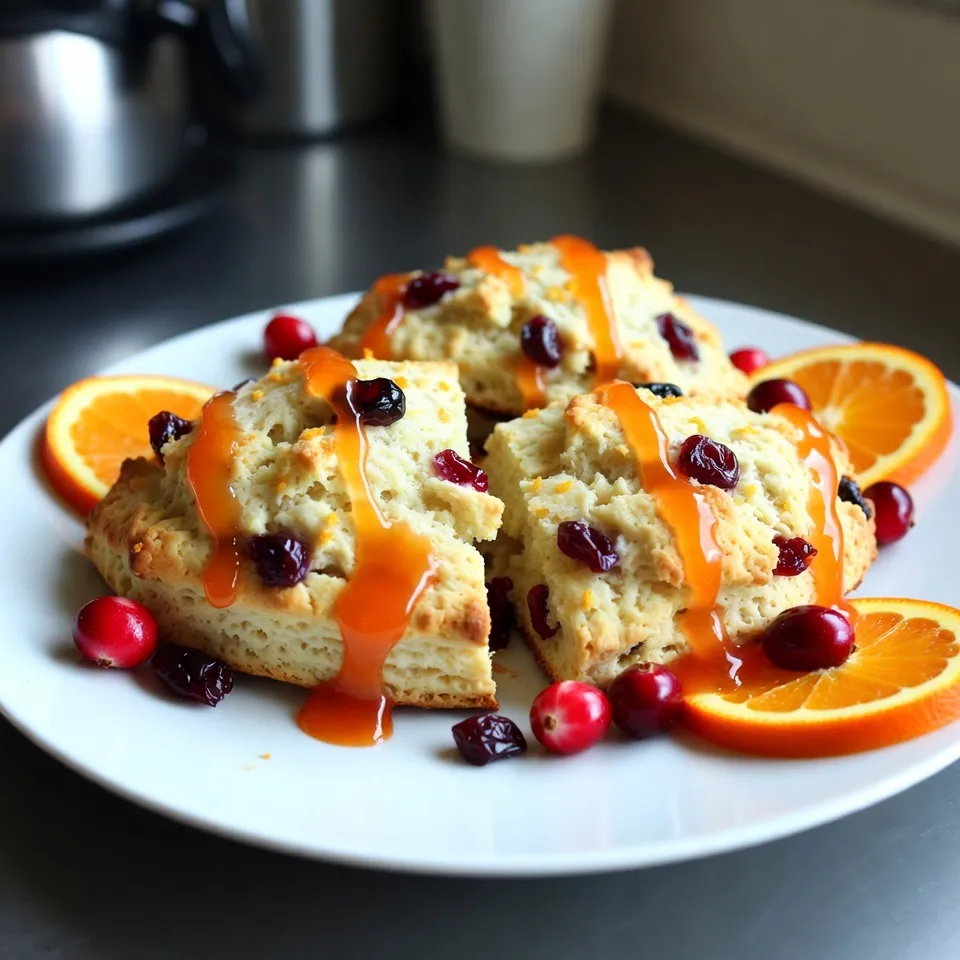
Cranberry Orange Scones Perfect for Any Occasion
Are you ready to bake something delicious? These Cranberry Orange Scones are perfect for any occasion. They’re easy to make and bursting with flavor. I’ll
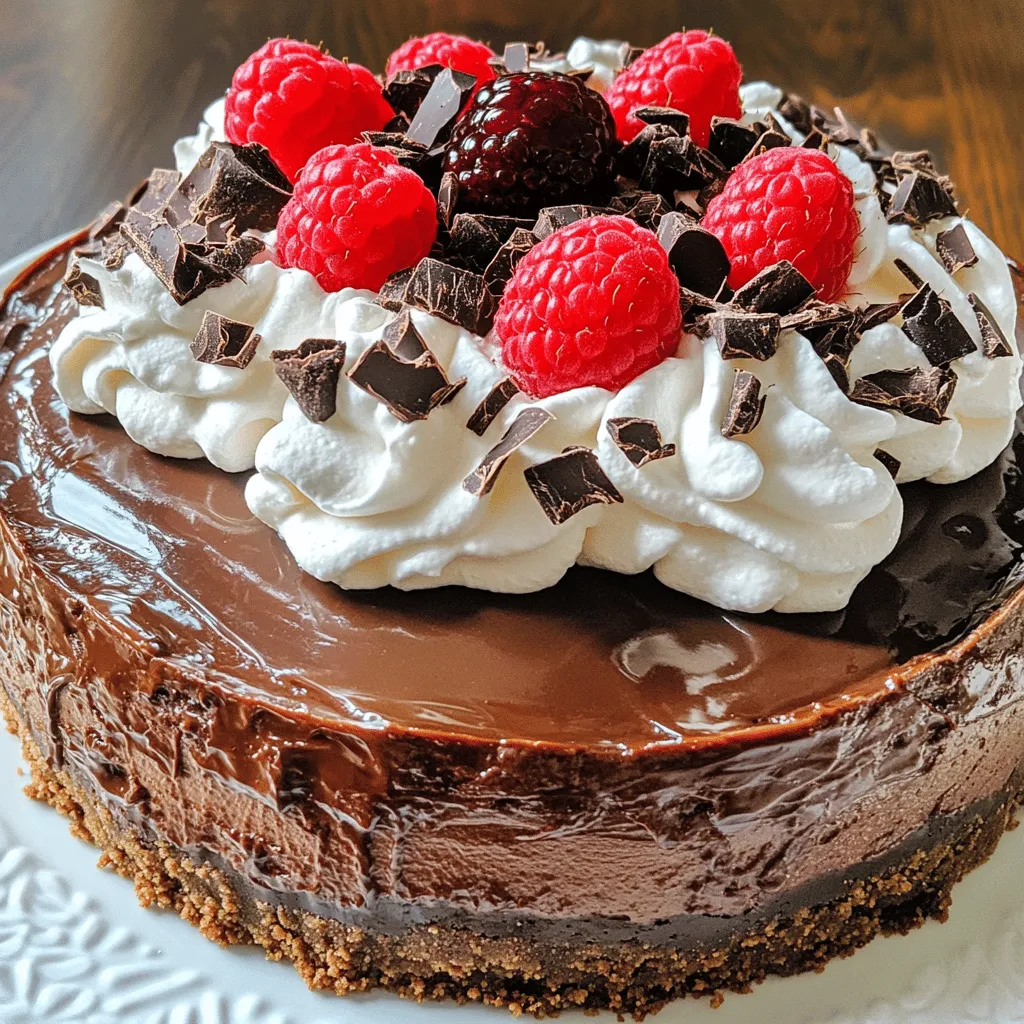
Death by Chocolate Cheesecake Decadent Dessert Delight
Are you ready to indulge in the ultimate dessert experience? In this guide to Death by Chocolate Cheesecake, I’ll show you how to create a