Desserts
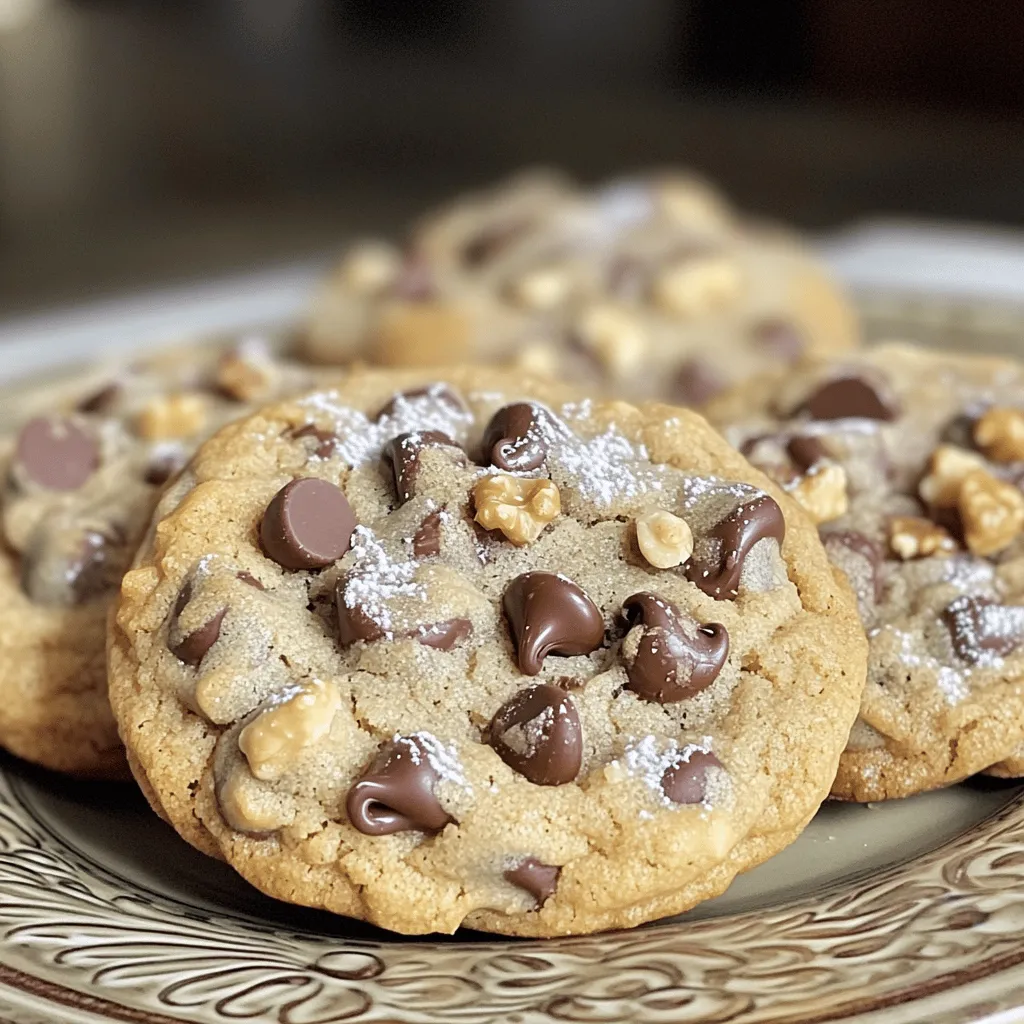
DoubleTree Hotel Chocolate Chip Cookies Recipe Guide
If you’ve ever tasted the famous DoubleTree Hotel chocolate chip cookies, you know they’re hard to resist. I’ll share the secret recipe that makes these
![- 1 ½ cups graham cracker crumbs - ½ cup unsalted butter, melted - 2 tablespoons brown sugar - 16 oz cream cheese, softened - ½ cup granulated sugar - 1 teaspoon vanilla extract - 2 ripe bananas, mashed - 1 cup heavy whipping cream - ¼ cup powdered sugar - 1 teaspoon banana extract (optional) - Mini Nilla wafers and banana slices for garnish When making these mini banana pudding cheesecakes, I find the right ingredients make all the difference. The graham cracker crumbs serve as a sweet base, while the melted butter adds richness. Brown sugar gives the crust a hint of caramel flavor. For the filling, soft cream cheese is key. It blends well with sugar and vanilla extract to create a smooth texture. Mashed bananas bring that classic banana pudding taste. Whipping the heavy cream adds lightness, making each bite a delight. If you want to switch things up, there are options. For the crust, you can use crushed cookies or even oats for a healthier twist. If you need a dairy-free version, try cashew cream cheese or coconut cream instead of regular cream cheese. When it comes to bananas, fresh ones are best for flavor. But, if you have dried bananas, you can use them too. Just soak them in warm water for a bit before mashing. These choices let you create a version that fits your taste or dietary needs. For the full recipe, you'll find more details on how to make these tasty treats. 1. Preheating the oven: Start by preheating your oven to 325°F (160°C). This will ensure even baking. 2. Mixing the crust ingredients: In a large bowl, mix together 1 ½ cups of graham cracker crumbs, ½ cup of melted unsalted butter, and 2 tablespoons of brown sugar. Stir until the mixture resembles wet sand. 3. Packing the crust into muffin liners: Line a muffin tin with muffin liners. Take the crust mixture and press it into the bottom of each liner. Use your fingers or the back of a spoon to pack it tightly. This will form a solid base for your cheesecakes. 1. Beating the cream cheese mixture: In a separate bowl, beat 16 oz of softened cream cheese with ½ cup of granulated sugar and 1 teaspoon of vanilla extract. Mix until it’s smooth and creamy. 2. Folding in mashed bananas: Take 2 ripe bananas and mash them well. Gently fold the mashed bananas into the cream cheese mixture. This adds a lovely banana flavor. 3. Whipping heavy cream to stiff peaks: In another bowl, whip 1 cup of heavy whipping cream with ¼ cup of powdered sugar until stiff peaks form. This will give your filling a light and airy texture. Carefully fold this whipped cream into the banana cream cheese mixture until combined. 1. Baking time and optimal settings: Spoon the banana cheesecake filling over your prepared crusts in the muffin tin. Fill them almost to the top. Bake for 15-18 minutes. They should be set but still slightly wobbly in the center. 2. Cooling to room temperature: Once baked, remove the cheesecakes from the oven. Let them cool to room temperature on a wire rack, which helps prevent them from cracking. 3. Refrigeration time recommendations: After cooling, refrigerate the cheesecakes for at least 3 hours. This will help them firm up and develop flavor. Enjoy your Mini Banana Pudding Cheesecakes! For the complete recipe, please refer to the [Full Recipe]. - Ensuring perfect cheesecake texture: To achieve a creamy texture, mix your cream cheese well. You want it smooth before adding other ingredients. This prevents lumps and ensures even baking. - Avoiding cracks on the surface: Bake your cheesecakes at a lower temperature. If they bake too fast, they can crack. Also, let them cool slowly in the oven after baking. Cracks happen when the cheesecake cools too quickly. - How to know when they’re done: Check for a slight jiggle in the center. If the edges are set and the center wiggles gently, they are ready. Overbaking will make them dry. - Serving ideas and platter suggestions: Serve your mini cheesecakes on a colorful platter. It adds life to your table. You can also use cupcake stands for a fun touch. - Garnishing options for visual appeal: Top each cheesecake with a banana slice and a mini Nilla wafer. This adds a pop of color and a fun texture. Fresh mint leaves can also brighten the look. - Drizzling sauces and adding textures: Drizzle homemade caramel sauce over the cheesecakes. A sprinkle of crushed graham crackers on top adds crunch. You could also use chocolate sauce for a richer flavor. These tips will help you create perfect mini banana pudding cheesecakes that not only taste amazing but also look stunning. For the complete recipe, check the Full Recipe. {{image_2}} You can easily switch up the flavors of mini banana pudding cheesecakes. Here are some fun ideas: - Chocolate Banana Pudding Cheesecakes: Add cocoa powder to the cream cheese mix. This gives a rich chocolate taste that pairs well with banana. - Peanut Butter Banana Combination: Mix in creamy peanut butter with your cheesecake filling. This adds a nutty flavor that many love. - Adding Spices for Extra Flavor: Try cinnamon or nutmeg for warmth. Just a pinch can elevate the taste and make it unique. If you have dietary needs, you can still enjoy these cheesecakes. Here are some options: - Gluten-Free Crust Options: Use almond flour or gluten-free cookie crumbs for the crust. This keeps the dessert gluten-free without losing flavor. - Vegan Mini Banana Cheesecakes: Replace cream cheese with a plant-based option. Use coconut cream or cashew cream to make it creamy. - Low-Sugar Alternatives: Substitute granulated sugar with stevia or monk fruit. This helps to cut down on calories without losing sweetness. These variations allow you to customize your mini banana pudding cheesecakes. Try different options to find your favorite twist. For the complete recipe, check out the [Full Recipe]. To store your mini banana pudding cheesecakes, first, let them cool completely. Then, place them in an airtight container. Keep the cheesecakes in the refrigerator. They stay fresh for up to five days. If you want to keep them longer, freezing works too. Wrap each cheesecake in plastic wrap, then place them in a freezer-safe bag. They can last in the freezer for up to three months. These cheesecakes are best served chilled. If you freeze them, let them thaw in the fridge overnight before serving. Reheating is not needed, but if you prefer warm cheesecakes, gently warm them in a microwave for 10-15 seconds. This helps maintain their creamy texture. Enjoy your tasty treat! For the full recipe, check out the complete guide on making these delightful mini cheesecakes. How to prevent cheesecakes from sinking? To stop cheesecakes from sinking, avoid overmixing the batter. Overmixing adds air, which can cause sinking. Bake them until they are set but still slightly wobbly in the center. Let them cool slowly to room temperature before chilling. Can I make these mini cheesecakes ahead of time? Yes, you can make these mini cheesecakes a day or two in advance. Just store them in the fridge after they cool. They taste even better when chilled overnight. What can I substitute for heavy cream? You can use coconut cream or cashew cream as a substitute for heavy cream. These options keep the texture rich and creamy. If you need a lighter option, use whole milk mixed with a bit of butter. How to make banana pudding from scratch? To make banana pudding from scratch, start with a base of milk, sugar, and cornstarch. Cook until thickened, then stir in vanilla and sliced bananas. Layer with vanilla wafers for a classic pudding. Can I use store-bought crumbles for the crust? Absolutely! Store-bought crumbles save time and work well for the crust. Just make sure to mix them with melted butter and brown sugar for added flavor. What is the best way to serve these cheesecakes? Serve these cheesecakes chilled on a pretty platter. Top each one with a mini Nilla wafer and a banana slice. A drizzle of caramel or chocolate sauce adds a nice touch too. For the full recipe, check out the link! This blog post guides you in making delicious mini banana cheesecakes. You learned about the key ingredients and how to prepare them step by step. We discussed tips for baking and presentation, plus variations to spark creativity. Finally, remember to store your treats properly to keep them fresh. Enjoy every bite and share with friends. Baking should be fun, and these mini cheesecakes are sure to impress!](https://grilledflavors.com/wp-content/uploads/2025/05/46d0475c-0108-4823-9e67-cc43271f00cd.webp)
Mini Banana Pudding Cheesecakes Flavorful and Easy Treat
Looking for a dessert that’s both delicious and simple? Dive into my Mini Banana Pudding Cheesecakes! These tasty treats combine creamy cheesecake with the sweet
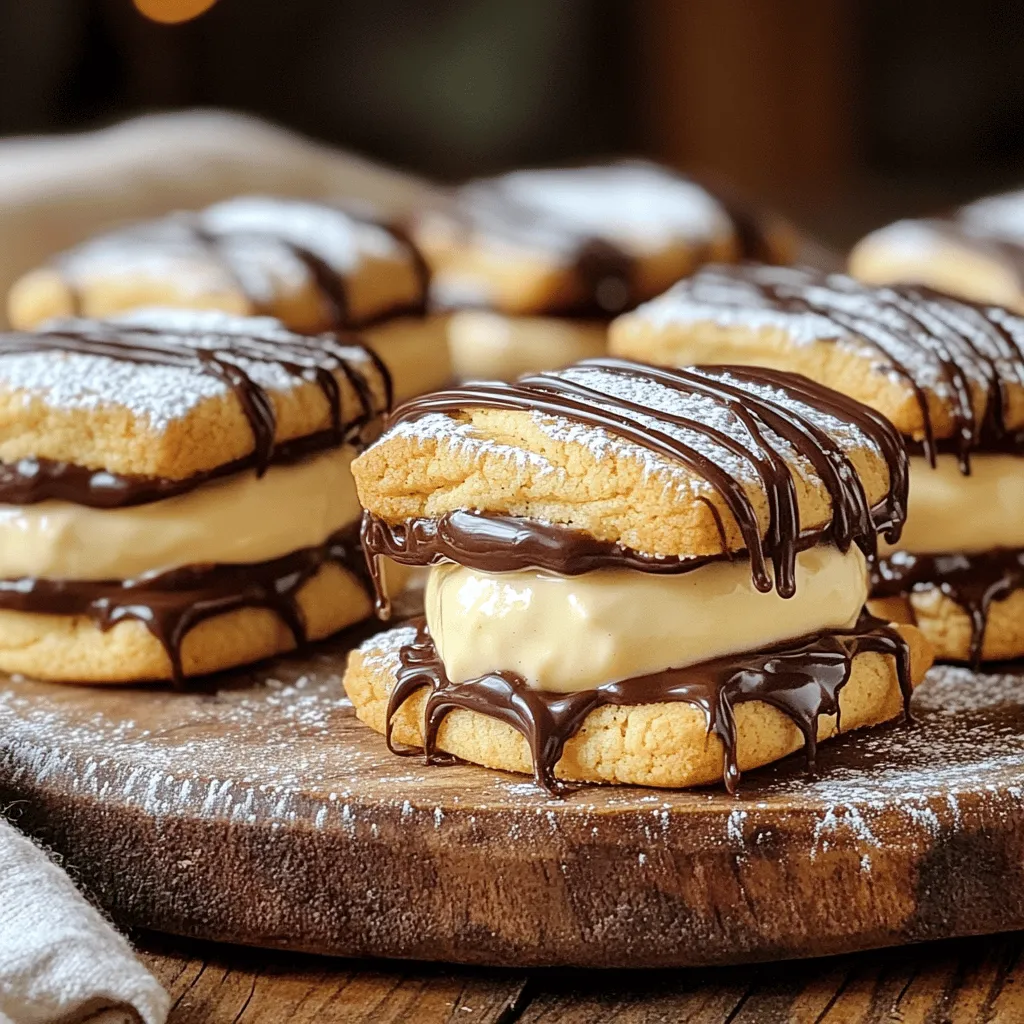
Delicious Boston Cream Pie Cookies Recipe Today
If you love Boston Cream Pie, wait until you try these cookies! My act of blending soft cookies with creamy vanilla filling and rich chocolate

Fudgy Chocolate Brownie Cookies Easy Homemade Recipe
Are you ready to transform your cookie game? These Fudgy Chocolate Brownie Cookies are the perfect blend of rich chocolate flavor and chewy goodness. In
. Enjoy creating these delightful treats! When making no-bake mini banana cream pies, a few mistakes can happen. Here are some tips to keep in mind: - Overmixing the Pudding: Mix the pudding just until it thickens. Overmixing can make it grainy. - Ripe Bananas: Use ripe but firm bananas. Overripe bananas can turn mushy and affect texture. - Crust Not Setting: Ensure the crust chills long enough. A well-set crust holds the filling better. - Skipping the Chill Time: Don’t skip chilling the pies before serving. This helps flavors blend and the filling to set. To get the best whipped topping for your pies, follow these tips: - Chill Your Bowl: Start with a cold mixing bowl. This helps the cream whip up faster. - Use Heavy Cream: If you want to make your own topping, use heavy cream. It whips up light and fluffy. - Sweeten to Taste: Add sugar to your whipped cream. Start with a tablespoon and adjust based on your taste. - Don’t Overwhip: Stop as soon as you see soft peaks. Overwhipping can lead to a grainy texture. To make your mini banana cream pies look great, consider these ideas: - Use Clear Containers: Serve in clear cups to show off the layers. It adds a nice touch. - Garnish Wisely: Add chocolate shavings or crushed nuts on top. This gives a beautiful contrast. - Fresh Banana Slices: Place a slice of banana on top right before serving. It makes the dish more inviting. - Decorative Platter: Arrange the pies on a nice platter. It enhances the overall look and makes serving easy. For the full recipe, check out the detailed instructions above. Enjoy your delicious creations! {{image_2}} You can switch up the flavor of your mini banana cream pies. One fun idea is to make chocolate banana cream pies. Just add cocoa powder to the vanilla pudding mix. This gives a rich chocolate taste that pairs well with bananas. You can also use chocolate pudding instead of vanilla. The result is a creamy, sweet treat that chocolate lovers will adore. Another option is to add peanut butter to the filling. Mix in a few tablespoons of creamy peanut butter into the pudding. This makes a tasty peanut butter banana pie. You can even swirl it in for a fun look! If you want to make these pies gluten-free, swap the graham cracker crumbs for gluten-free crumbs or crushed nuts. This keeps the taste and texture while making it safe for those with gluten sensitivities. For a vegan option, use plant-based milk and a vegan whipped topping. You can also choose a vegan pudding mix. These changes keep the recipe delicious without any animal products. Toppings can add extra flavor and fun to your pies. You can use fresh fruit like extra banana slices or berries. They add color and freshness. Chocolate shavings are a great choice if you want a little crunch. Crushed nuts, like pecans or walnuts, can also add a nice texture. If you enjoy coconut, sprinkle some toasted coconut flakes on top. This makes a tropical twist on the classic pie. Check out the Full Recipe for more ideas and tips! To keep your no-bake mini banana cream pies fresh, store them in the fridge. Use an airtight container or cover them tightly with plastic wrap. This keeps the pies from drying out and helps maintain their creamy texture. If you stack them, place parchment paper in between to avoid sticking. These mini pies stay fresh for up to three days in the fridge. After that, the bananas may turn brown, and the crust might get soggy. If you want to enjoy them longer, consider freezing them instead. You can freeze the mini pies if you want to save some for later. Wrap each pie tightly in plastic wrap, then place them in a freezer-safe bag. They can last for about two months in the freezer. When you're ready to eat them, move them to the fridge to thaw overnight. Enjoy your sweet treat without worry! Yes, you can make these mini pies a day ahead. Just store them in the fridge. This gives the flavors time to mix. The crust stays firm, and the filling tastes great. Just be sure to cover them well. This keeps them fresh and tasty. If you want to swap out whipped topping, try heavy cream. Whip it until it holds peaks. You can use sour cream for a tangy flavor. Greek yogurt works, too, for added creaminess. You can even use a dairy-free option, like coconut whipped cream. Each choice gives a unique taste. You can use non-instant pudding mix, but it will take longer. You need to cook it on the stove. Follow the box instructions for mixing with milk. This version is thicker and richer. Just let it cool before adding to your mini pies. This article covers the key ingredients and steps to make mini banana cream pies. You learned about substitutes, tips, and common mistakes to avoid. I shared ideas for flavor variations and how to store your pies. Mini banana cream pies are fun and easy to make. You can customize them to fit your taste. Now, you can impress family and friends with your delicious treats! Enjoy making these pies and remember to have fun in the kitchen.](https://grilledflavors.com/wp-content/uploads/2025/05/7c0ee92d-3b7f-4e86-a78f-8086c82633c3.webp)
No-Bake Mini Banana Cream Pies Simple and Delicious
If you crave a sweet treat without the heat of the oven, you’re in luck! No-bake mini banana cream pies are simple, delicious, and perfect
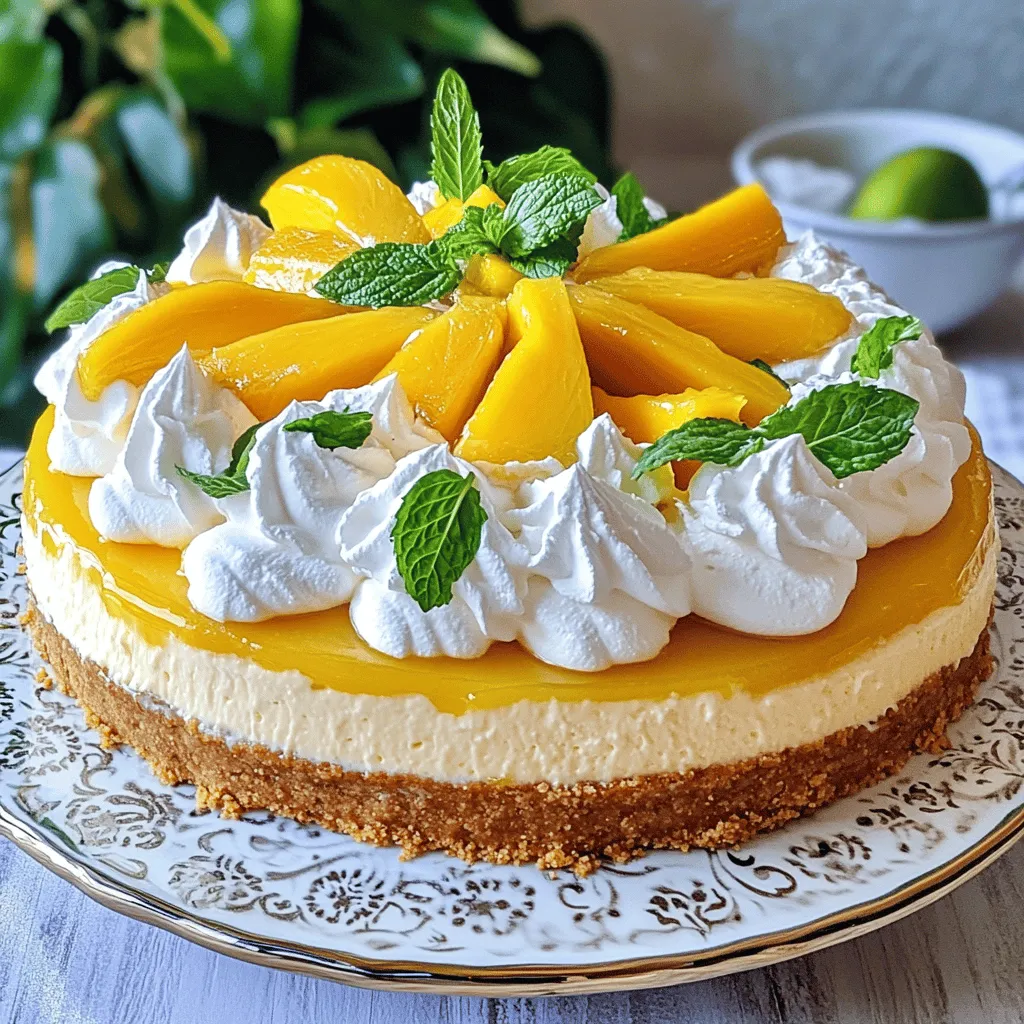
Tropical Mango Cheesecake Rich and Creamy Delight
Are you ready to dive into a slice of paradise? This Tropical Mango Cheesecake is rich, creamy, and bursting with flavor. With just a few
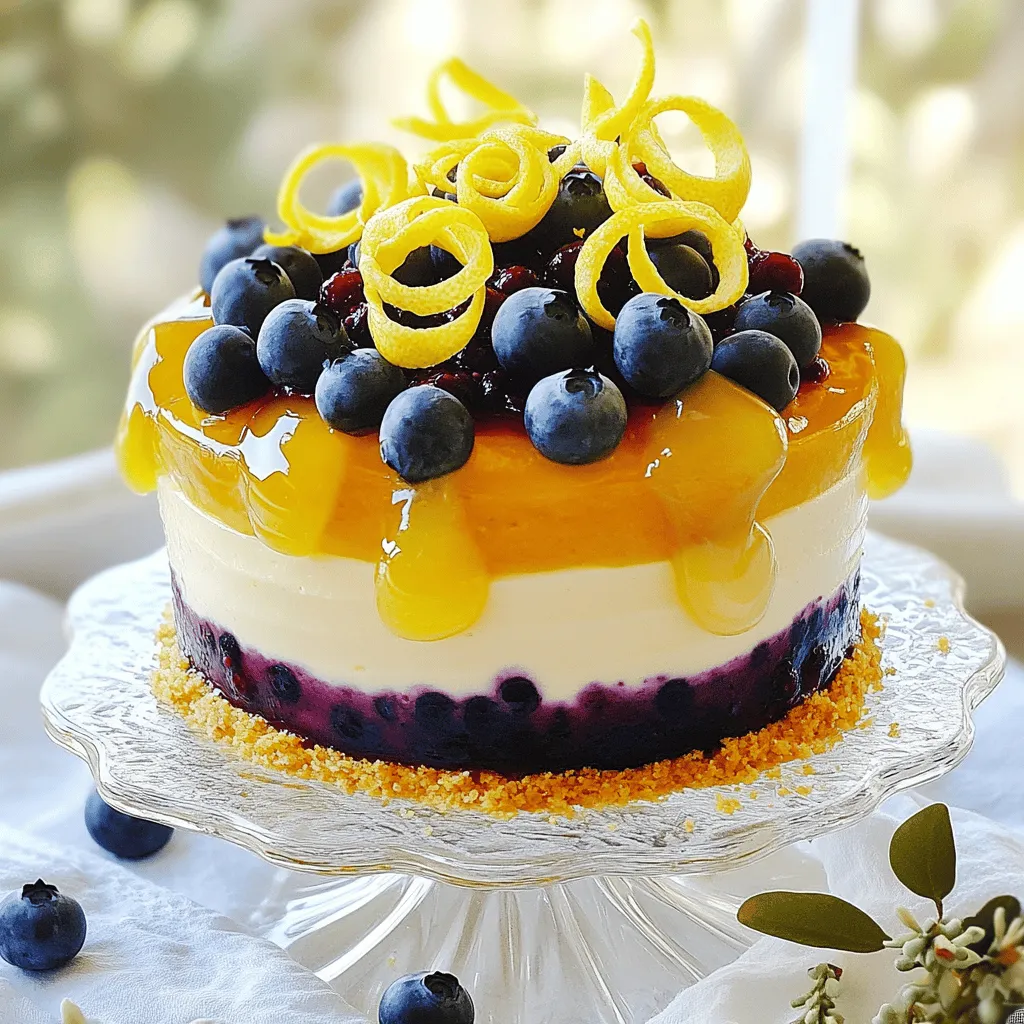
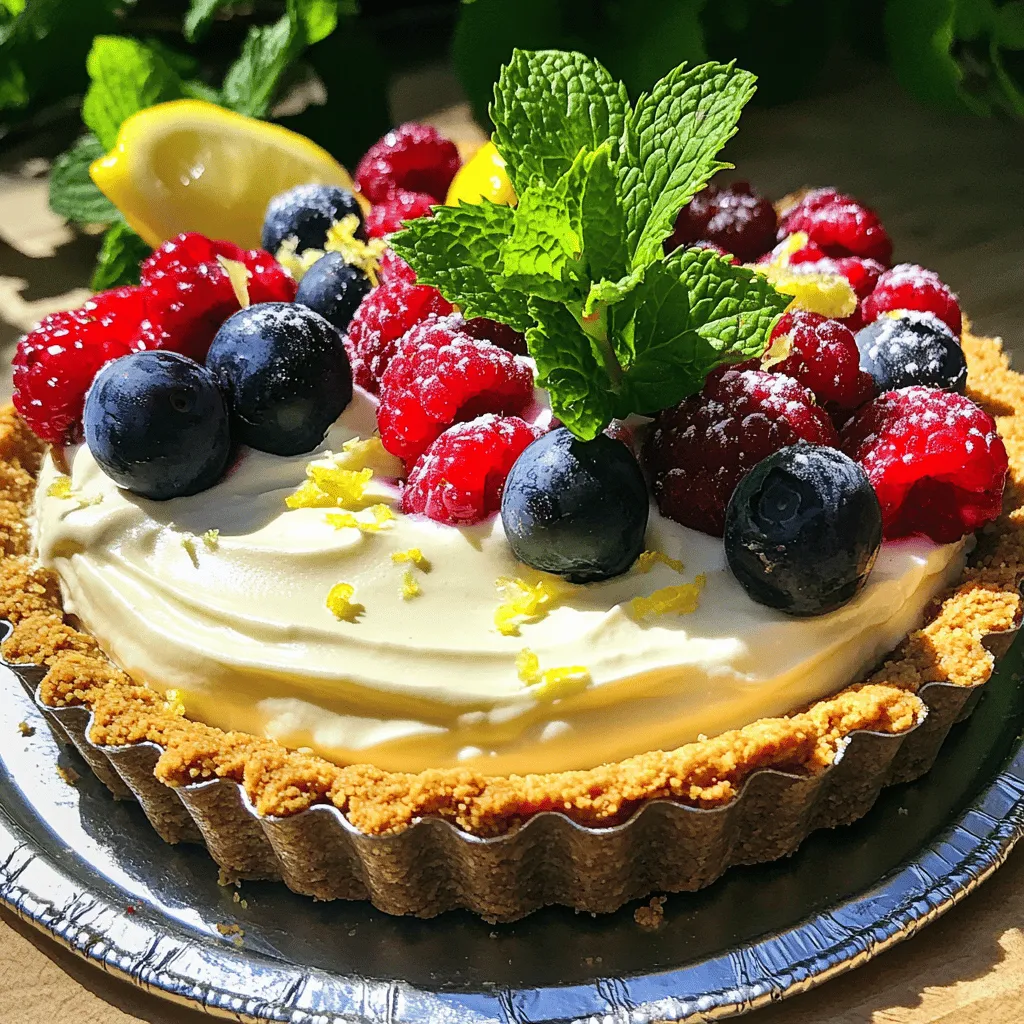
Lemon Blueberry Shortbread Mousse Cake Delightful Treat
Are you ready to impress your family and friends with a show-stopping dessert? The Lemon Blueberry Shortbread Mousse Cake is a delightful treat that combines
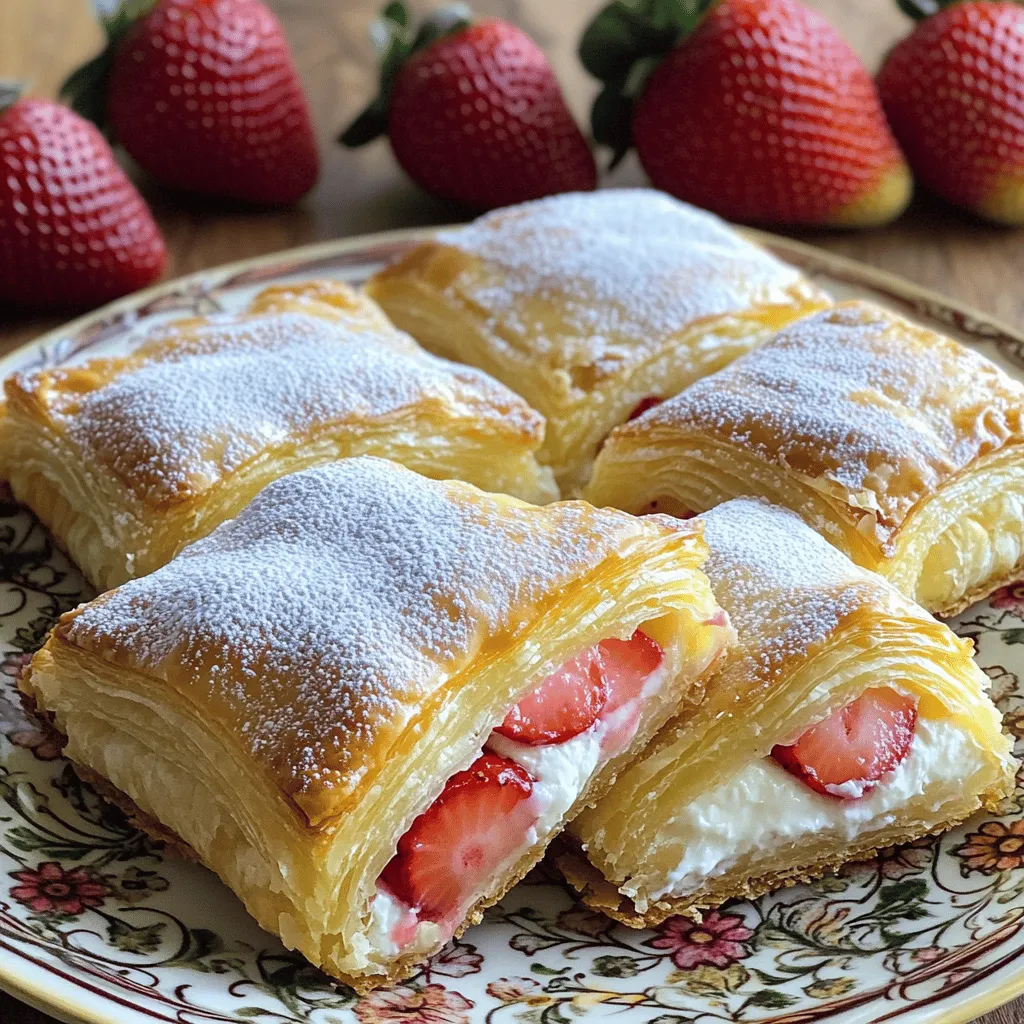
Strawberry Danish Delight Simple and Sweet Recipe
Craving a sweet treat with bright flavors? Let me share my simple recipe for Strawberry Danish Delight. This easy dessert combines fresh strawberries and cream
Rich White Chocolate Mousse Tart Delightful Dessert
If you love dessert, you have to try this Rich White Chocolate Mousse Tart. It’s creamy, smooth, and oh-so-delicious. With a simple tart crust and

Cheese Danishes Delightful and Easy Recipe Guide
Are you ready to treat yourself to something truly delicious? In this guide, I’ll show you how to create amazing Cheese Danishes that are easy