Desserts
Vegan Pumpkin Spice Cake Delightful Seasonal Dessert
Ready to savor the flavors of fall with a Vegan Pumpkin Spice Cake? This delightful dessert combines the warmth of pumpkin and spices with a
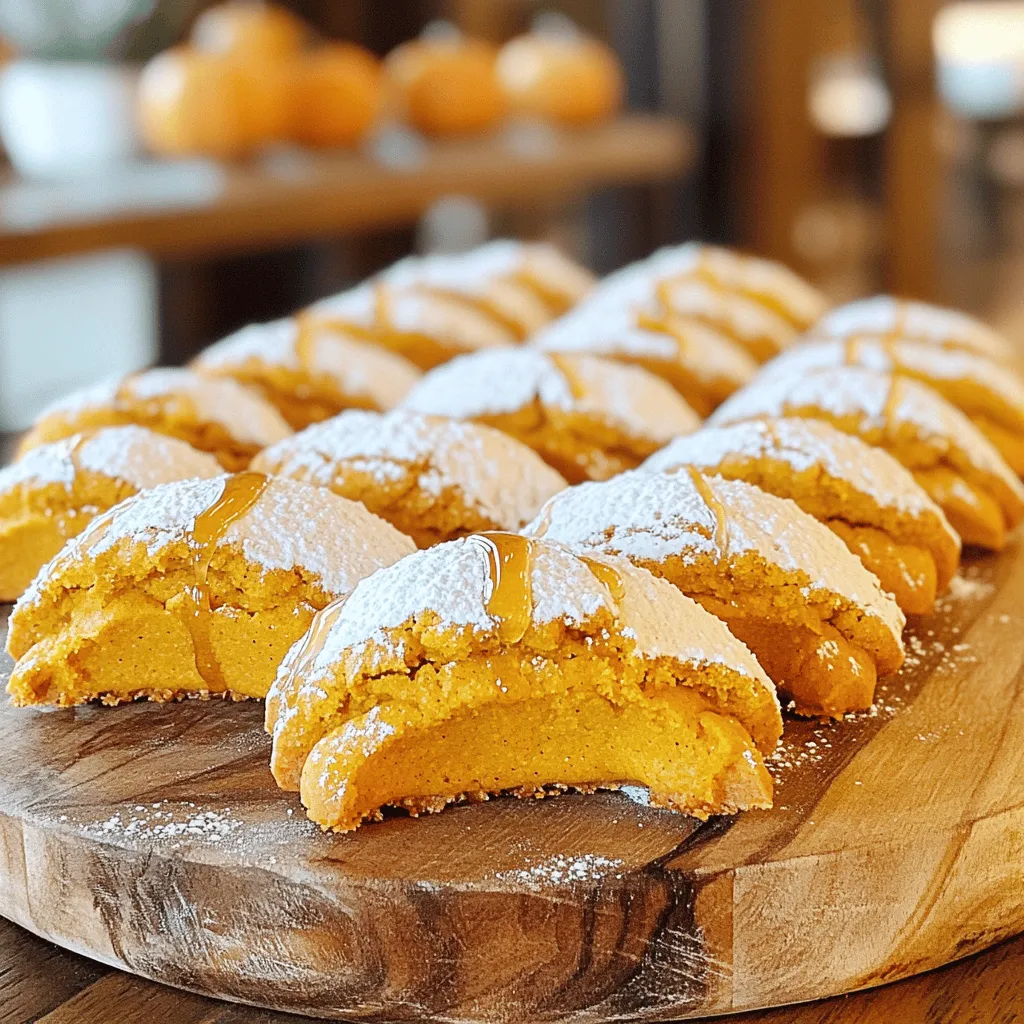
Chewy Maple Pumpkin Cookies Soft and Delicious Treat
If you’re craving a sweet fall treat, then you’ve come to the right place! These chewy maple pumpkin cookies are soft, flavorful, and packed with
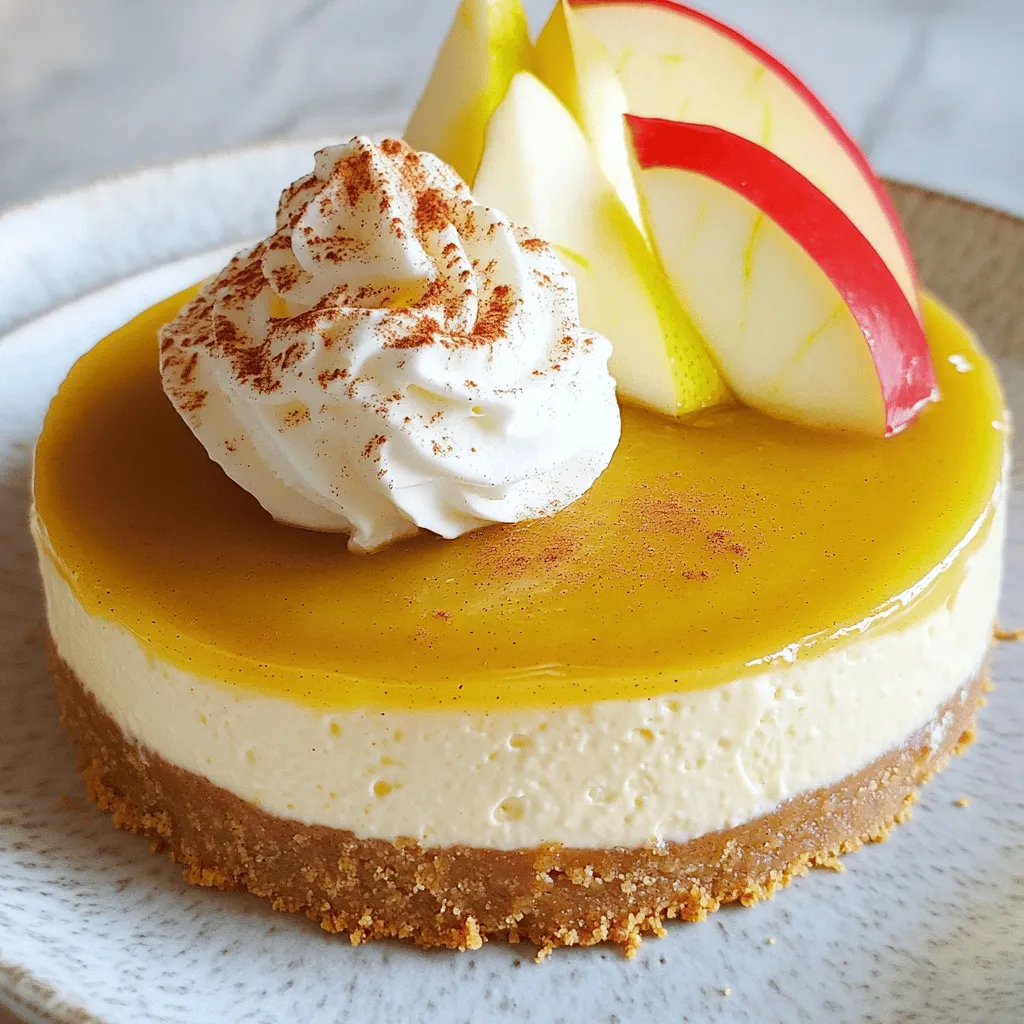
Apple Butter Cheesecake Delightful and Creamy Recipe
Imagine a dessert that’s as cozy as a warm fall day: that’s Apple Butter Cheesecake. Its creamy texture and sweet apple flavor will have your

Mini Apple Pies In The Shape Of Pumpkins Delight
Get ready to bake something fun and festive! These Mini Apple Pies in the Shape of Pumpkins will make your kitchen smell amazing. Perfect for
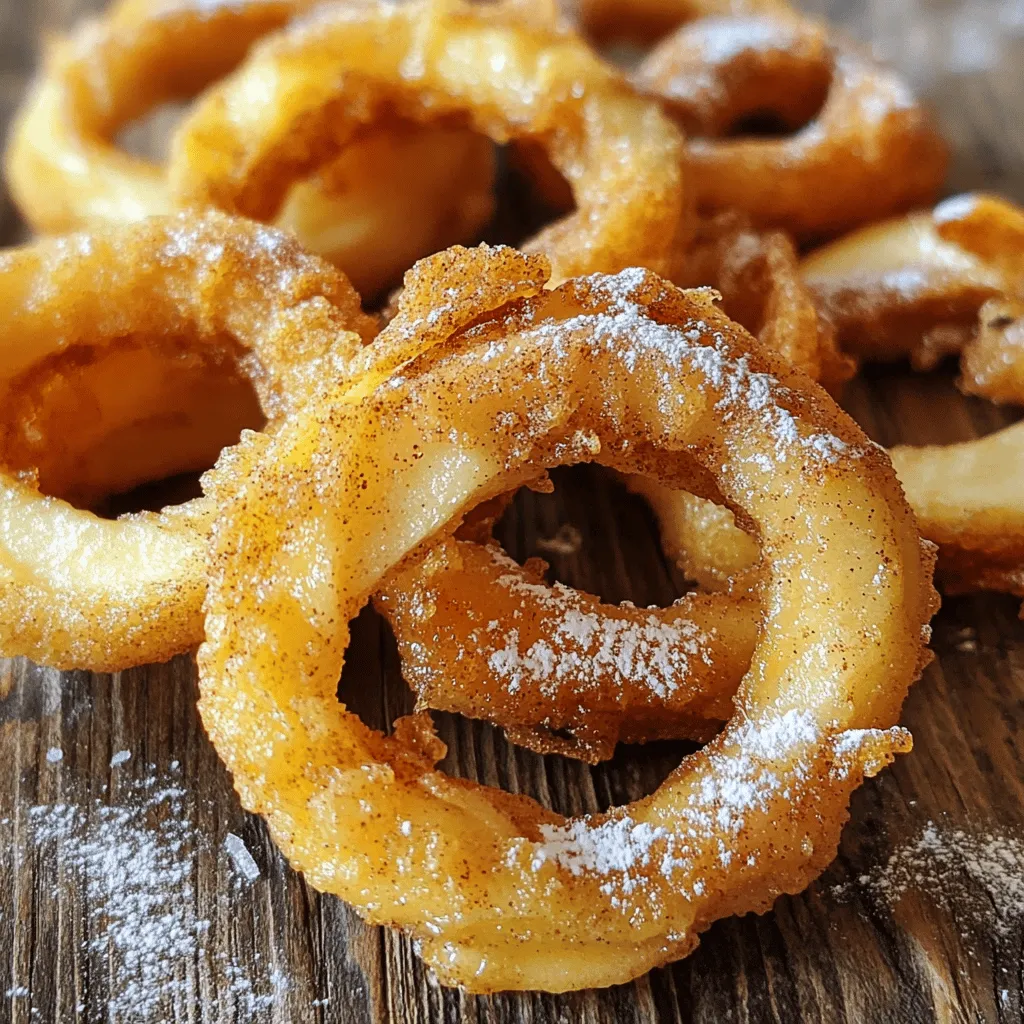
Fried Cinnamon Apple Rings Crispy and Delightful Snack
Get ready to delight your taste buds with a simple yet delicious treat: Fried Cinnamon Apple Rings! This crispy snack is perfect for anyone looking
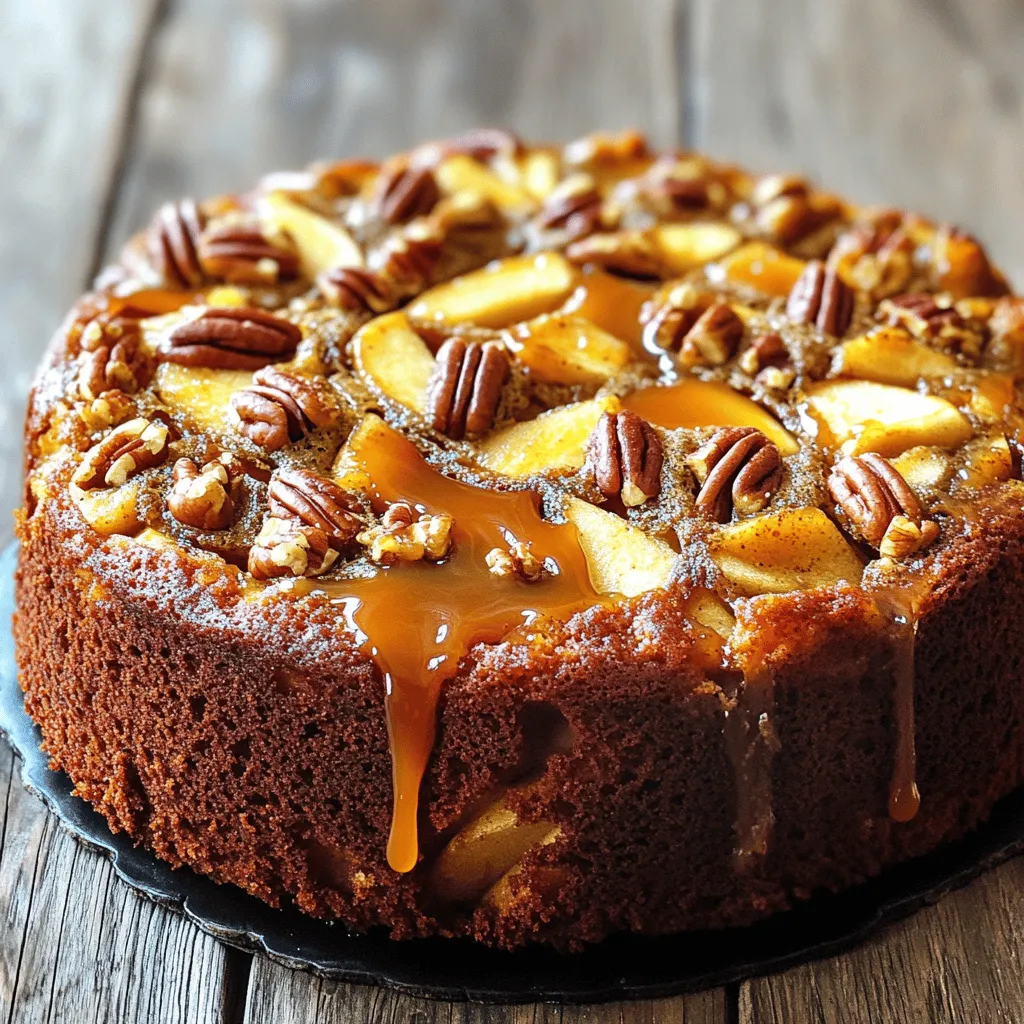
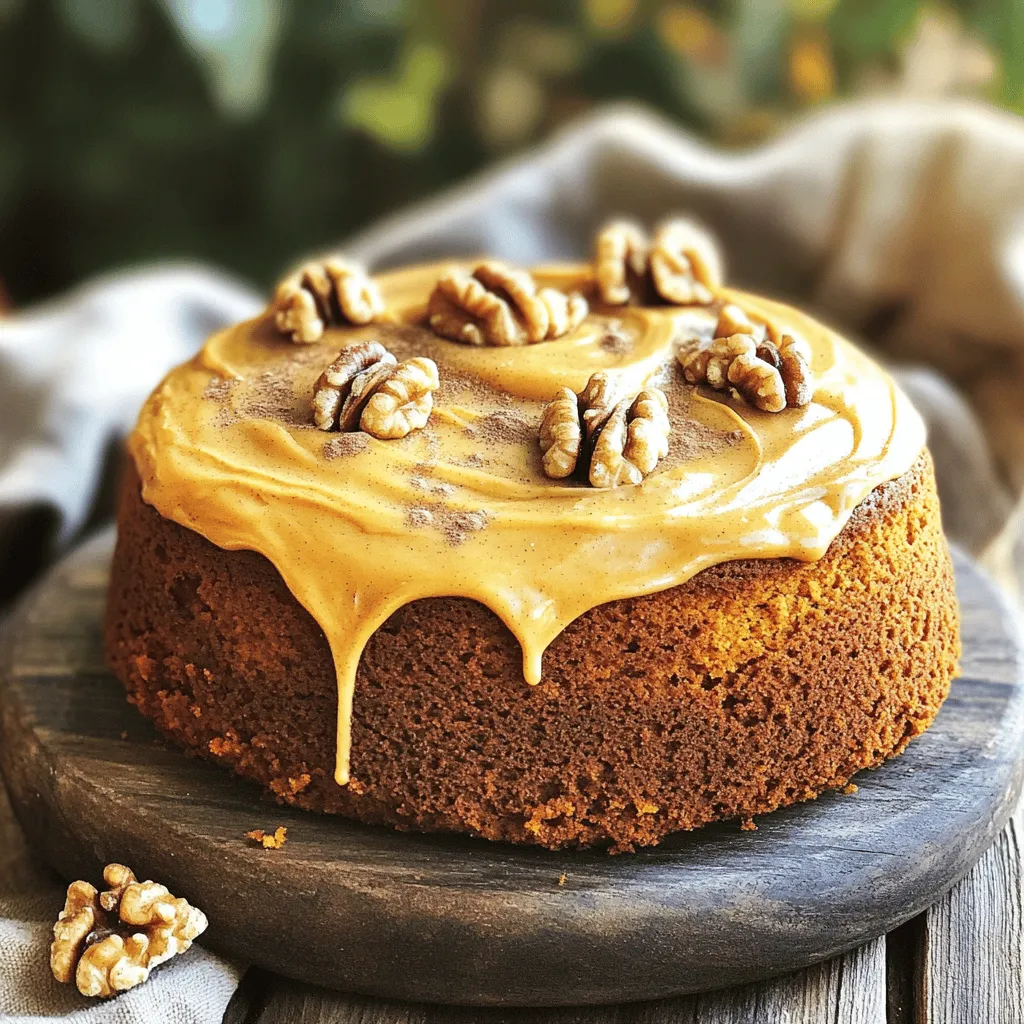
Delicious Apple Pecan Cake With Caramel Glaze Recipe
If you love the cozy flavors of fall, you’ll adore this Apple Pecan Cake with Caramel Glaze. It’s moist, rich, and packed with sweet bits

Pumpkin Spice Gooey Cake Irresistible Fall Treat
Get ready to fall in love with Pumpkin Spice Gooey Cake, the ultimate autumn dessert! This cake combines a rich, creamy filling with a buttery
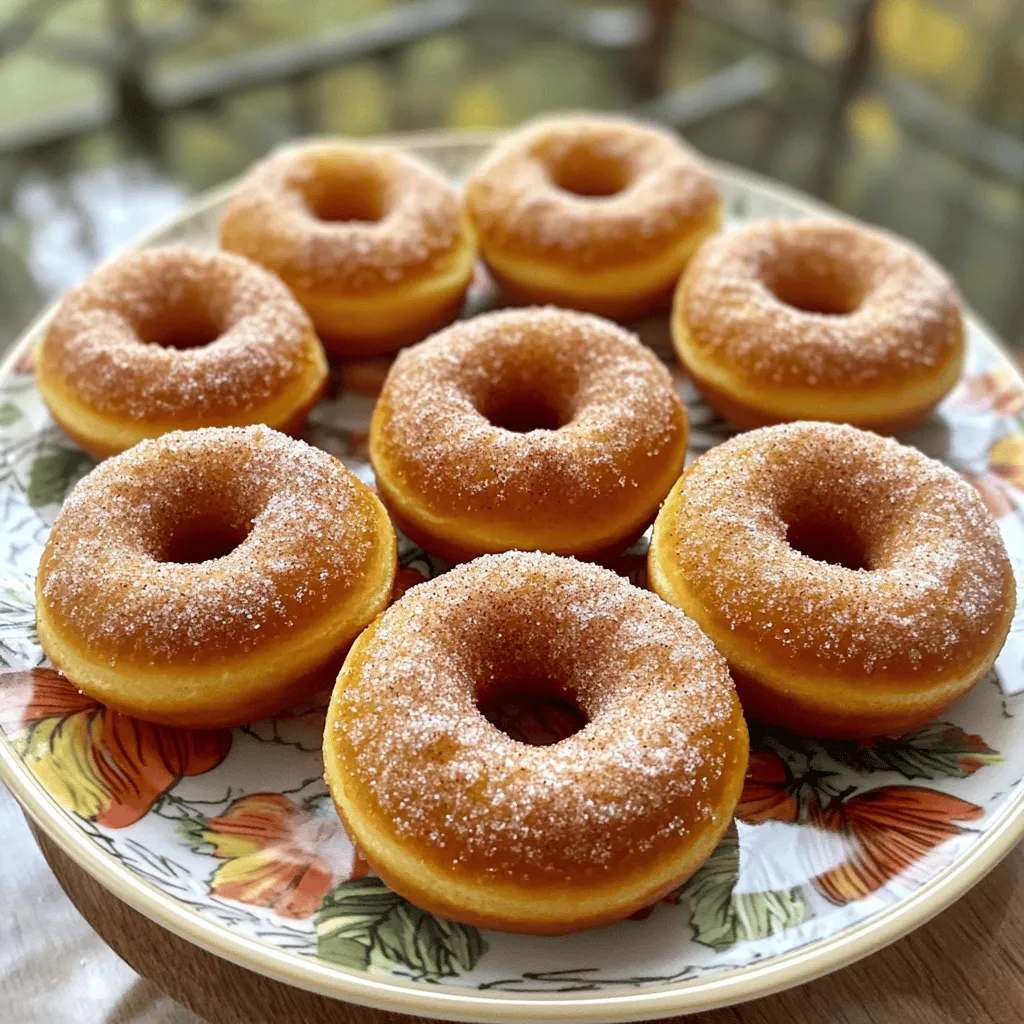
Easy Baked Pumpkin Spice Donuts Soft and Fluffy Treat
Fall is here, and nothing says cozy like Easy Baked Pumpkin Spice Donuts. These treats are soft, fluffy, and bursting with pumpkin flavor. They’re perfect
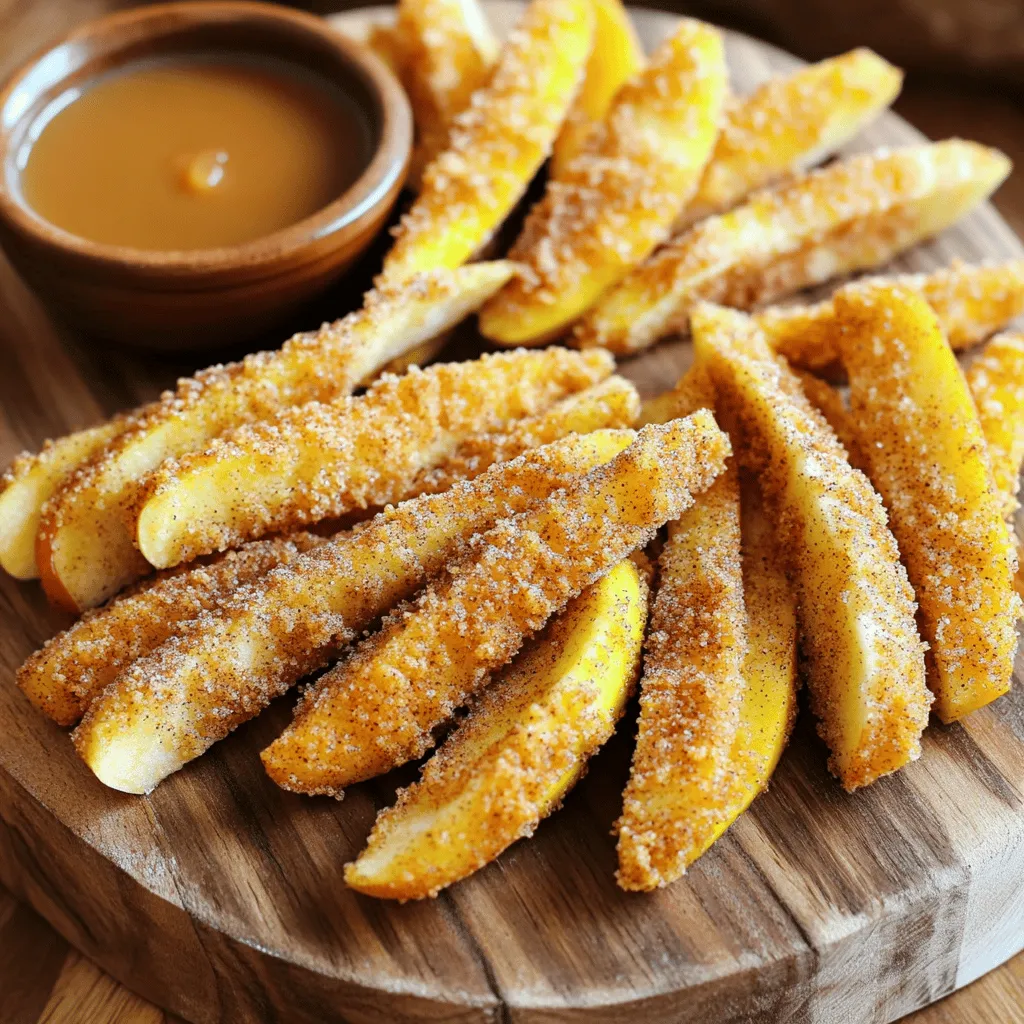
Crispy Air Fryer Apple Fries Delightful Snack Idea
Are you ready to take your snacking game to the next level? With my crispy air fryer apple fries, you’ll enjoy a sweet and crunchy
![- All-purpose flour: This flour gives the bread its structure. It helps the dough rise well. - Active dry yeast: Yeast is what makes the bread fluffy. It ferments and creates bubbles. - Warm milk (110°F/43°C): Warm milk wakes up the yeast. This step is key for a good rise. - Granulated sugar: This type of sugar helps the dough rise. It sweetens the bread too. - Brown sugar: It adds moisture and a rich flavor. It gives the bread a caramel taste. - Pecans and other nuts: Chopped nuts add a nice crunch. They give texture and flavor to the bread. - Recommended spices: You can change up the spice mix. Try adding cloves or cardamom for extra warmth. - Glaze essentials: A simple glaze made of powdered sugar and milk makes the bread shine. It adds sweetness and looks great. For the complete recipe, check out the Full Recipe. Activate the yeast Start by combining warm milk, sugar, and yeast in a small bowl. Let it sit for about 5 to 10 minutes. You will know it's ready when it becomes frothy. This step is key to making the dough rise well. Mixing dry and wet ingredients In a large bowl, mix the flour, salt, and spices. In another bowl, blend melted butter, pumpkin puree, and egg. Pour the yeast mixture into the dry mix, along with the pumpkin mixture. Stir until a soft dough forms. Key techniques for dough kneading Kneading helps develop gluten. Place your dough on a floured surface and knead for about 5 to 7 minutes. Use the heel of your hand to push down and fold the dough. It should be smooth when finished. Once done, place it in a greased bowl and cover it. Let it rise in a warm spot for about one hour, or until it doubles in size. Rolling out the dough After the dough has risen, punch it down gently. Roll it into a rectangle, about 10 by 12 inches. Make sure it's even for good baking. Layering with sugar and nuts Brush the surface with melted butter. Sprinkle brown sugar and chopped pecans evenly on top. This adds a lovely crunch and sweetness. Cutting and stacking techniques Cut the dough into strips about one inch wide. Stack the strips on top of each other and then cut them into 3 or 4 equal pieces. This will create layers for pulling apart later. Preheating the oven tips Preheat your oven to 350°F (175°C) while you shape the dough. This ensures even baking. Timing for perfect bake Place the stacked pieces in a greased loaf pan. Cover it with a towel and let it rise for another 30 minutes. Bake for 30 to 35 minutes until golden brown. Signs the bread is done Check for a deep golden color. Tap the bottom of the loaf; it should sound hollow. This means it is baked through. Enjoy the warm, cozy aroma filling your kitchen as it bakes! You can follow the [Full Recipe] for more details on making this delightful treat. To get a good rise, keep your dough in a warm spot. A cozy kitchen works well. You want a steady temperature around 75-80°F (24-27°C). If the room is cool, consider preheating the oven for a minute and then turning it off. Let the dough rest for about an hour. This time is vital for the yeast to grow. Using fresh spices makes a big difference. They add a vibrant flavor to your bread. Instead of pre-ground spices, choose whole spices and grind them yourself. For a light and fluffy texture, knead the dough well. Kneading adds air, helping the bread rise better. Aim for a smooth dough that springs back when you poke it. Serve your Pumpkin Spice Pull Apart Bread warm. It pairs well with whipped cream or vanilla ice cream. For drinks, consider a warm apple cider or spiced tea. When hosting, a beautiful presentation makes it special. Arrange slices on a platter and add a drizzle of glaze. This makes your bread look inviting and delicious. You can find the Full Recipe to guide you through this delightful process. {{image_2}} You can add chocolate chips to your pumpkin spice pull apart bread. They mix well with the spices and add a sweet twist. For a different taste, try using alternative spices. Cardamom can bring warmth, while cloves add depth. You can change the flavor profile to suit your mood. If you need gluten-free options, use a gluten-free flour blend. Make sure it’s designed for baking. For a vegan version, swap the egg for a flax egg. Mix 1 tablespoon of ground flaxseed with 2.5 tablespoons of water, then let it sit until thick. Replace the butter with coconut oil or a vegan butter substitute. You can make this bread even more special by adding cranberries or diced apples. Both fruits blend nicely with pumpkin spice flavors. For a holiday-themed version, sprinkle in some chopped pecans or walnuts. You can also add a touch of maple syrup for extra sweetness. These seasonal twists will make your bread a delightful treat at any gathering. For the full recipe, check out the details provided earlier in this article. To keep your Pumpkin Spice Pull Apart Bread fresh, store it in an airtight container. This helps keep the moisture in. Place a paper towel inside to absorb excess moisture. This way, the bread stays soft. You can also wrap it tightly in plastic wrap. For best results, eat leftover bread within two to three days. When you're ready to enjoy it again, simply reheat slices in the microwave for about 15 seconds. You can also warm it in the oven at 350°F for about 5-10 minutes. If you want to keep your bread longer, freezing is a great option. First, let the bread cool completely. Then, wrap it tightly in plastic wrap. After that, place it in a freezer bag or container. Be sure to label the bag with the date. This bread can stay good for up to three months in the freezer. When you're ready to eat it, remove the bread from the freezer. Let it thaw overnight in the fridge or on the counter for a few hours. You can reheat it after thawing for a warm treat. Freshly baked Pumpkin Spice Pull Apart Bread lasts about three days at room temperature. After that, it may start to dry out. If you store it properly, it can last longer in the fridge. Signs of spoilage include a hard texture or mold growth. Always check your bread before eating. If it smells off or looks strange, it's best to throw it away. Enjoy your cozy treat while it's still fresh and tasty! You can tell if your dough has risen enough by looking for a few signs. First, it should double in size. You can also do a touch test. Gently poke the dough with your finger. If the dent stays and does not spring back, it's ready. These simple checks ensure your dough is perfect for baking. Yes, you can use fresh pumpkin. However, fresh pumpkin has a higher water content. You may need to adjust the amount of flour in your recipe. To use fresh pumpkin, first, cook it until soft. Then, mash it well to remove any lumps. This will help achieve the right texture in your bread. This bread pairs well with many items. Try serving it warm with whipped cream or vanilla ice cream. A nice cup of coffee or spiced tea also complements the flavors. You can even enjoy it with butter or cream cheese for breakfast. These options make the bread even more delightful. Yes, this recipe is perfect for new bakers. The steps are clear and easy to follow. Make sure to measure your ingredients carefully. Don't rush the rising times; patience is key. If you have questions, feel free to ask for help. With practice, you'll master this cozy treat. For the full recipe, check out the details above. You can create delicious Pumpkin Spice Pull Apart Bread using simple ingredients and steps. Remember to activate the yeast, knead the dough well, and shape it carefully for the best results. Explore variations like chocolate chips or gluten-free options to make it your own. Practice proper storage to keep your bread fresh and tasty. With these tips and tricks, you’ll impress friends and family at any gathering. Enjoy your baking journey and the delightful flavors this bread brings!](https://grilledflavors.com/wp-content/uploads/2025/08/4772b9dc-c816-475a-83cb-995a57defd56.webp)
Pumpkin Spice Pull Apart Bread Delightful and Cozy Treat
If you love fall flavors, you’ll adore this Pumpkin Spice Pull Apart Bread! This cozy treat is easy to make and perfect for sharing. Imagine