Desserts
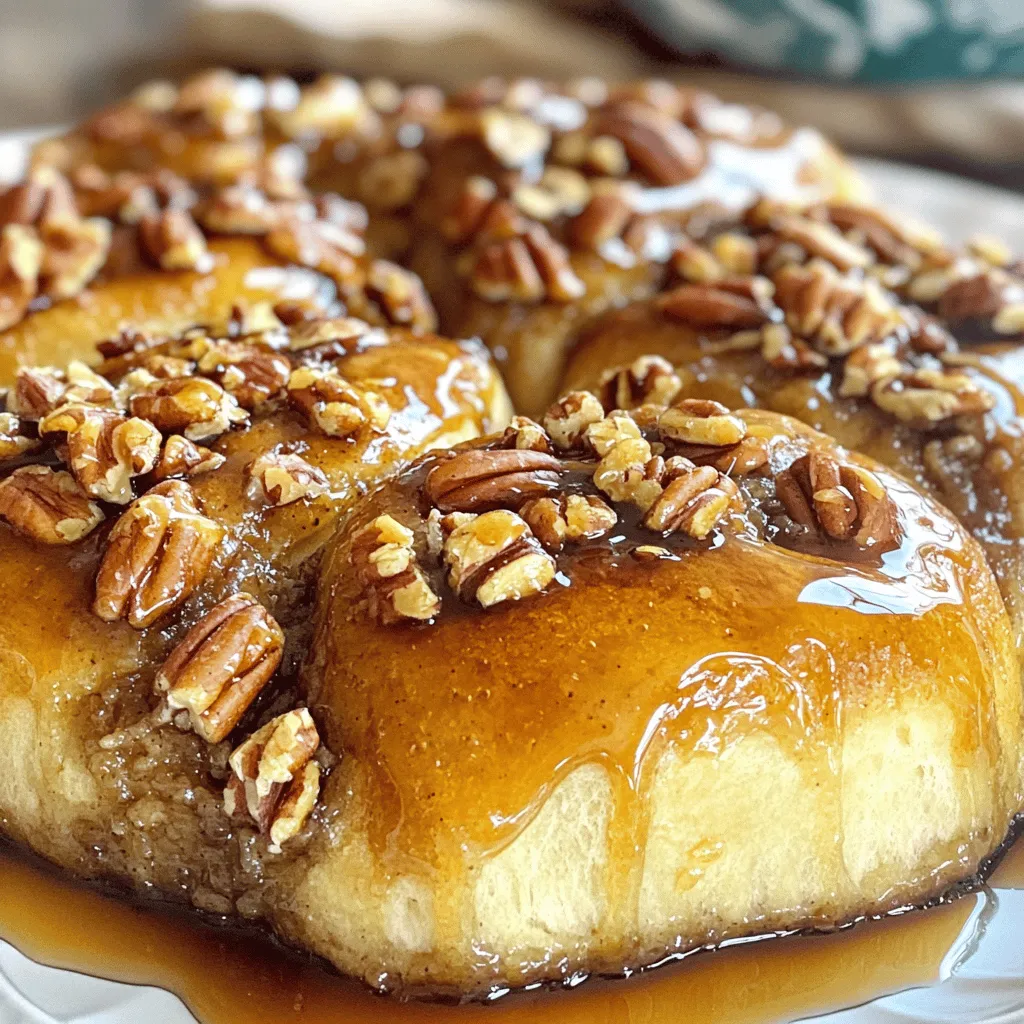
Big Fat Pecan Sticky Buns Irresistible Recipe Guide
If you’re craving something warm, sweet, and nutty, you’ve found the right place! In this Irresistible Recipe Guide for Big Fat Pecan Sticky Buns, I’ll

Peanut Butter Chocolate Energy Bites Flavorful Treat
Are you ready to boost your snack game with a tasty treat? Today, I’ll show you how to make Peanut Butter Chocolate Energy Bites. These
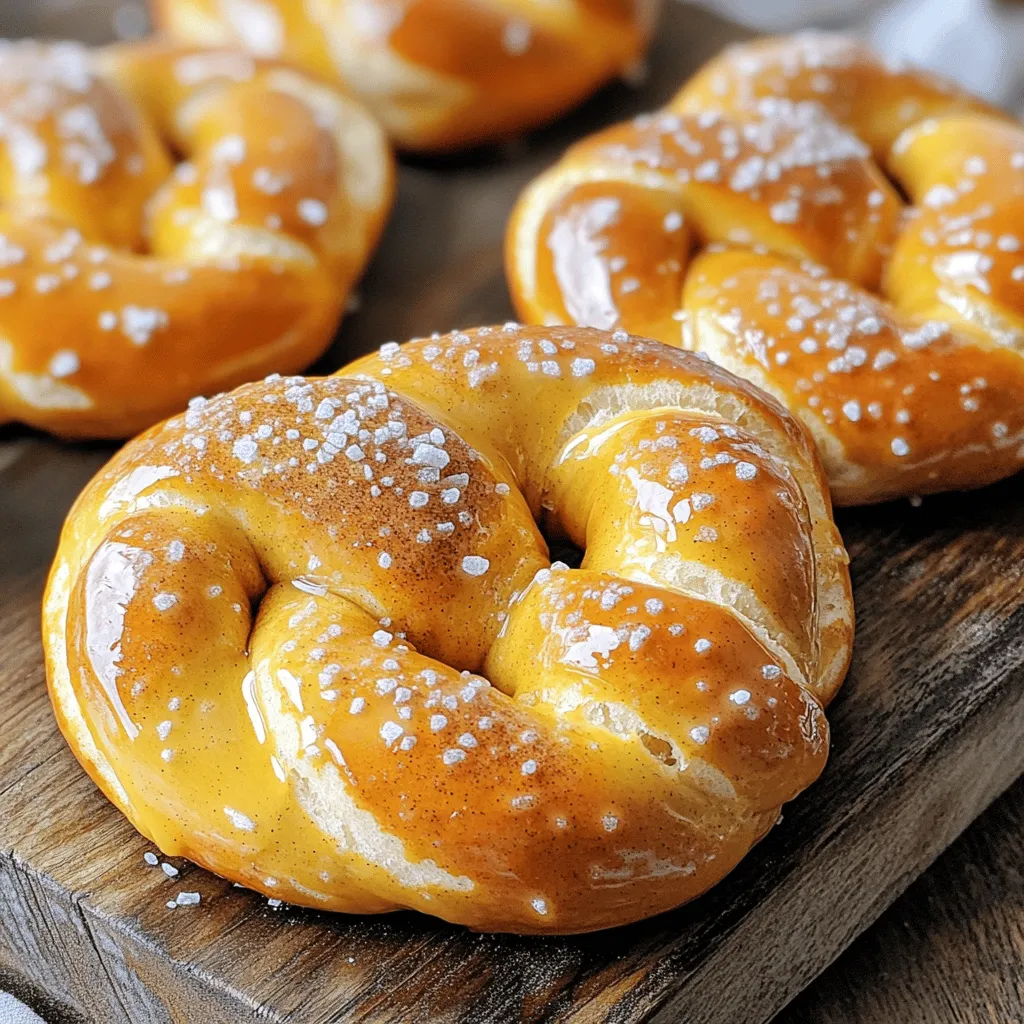
Apple Pie Spiced Pretzels Irresistible Snack Idea
Looking for a snack that combines comfort and fun? Apple Pie Spiced Pretzels are your answer! These warm, fluffy treats blend the classic flavor of
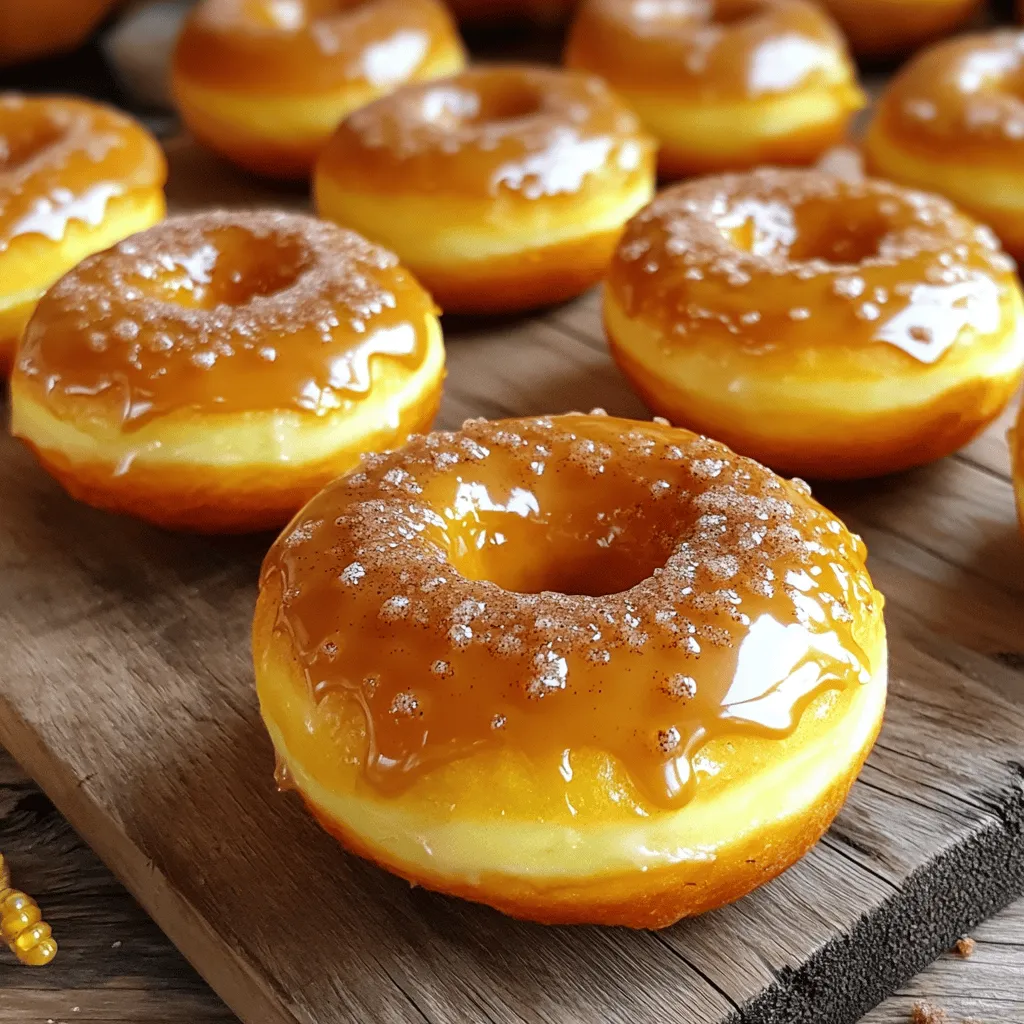
Pumpkin Buttermilk Donuts Irresistible Fall Treat
Fall is here, and that means one thing: pumpkin season! If you crave a warm, sweet treat, my Pumpkin Buttermilk Donuts are your answer. With
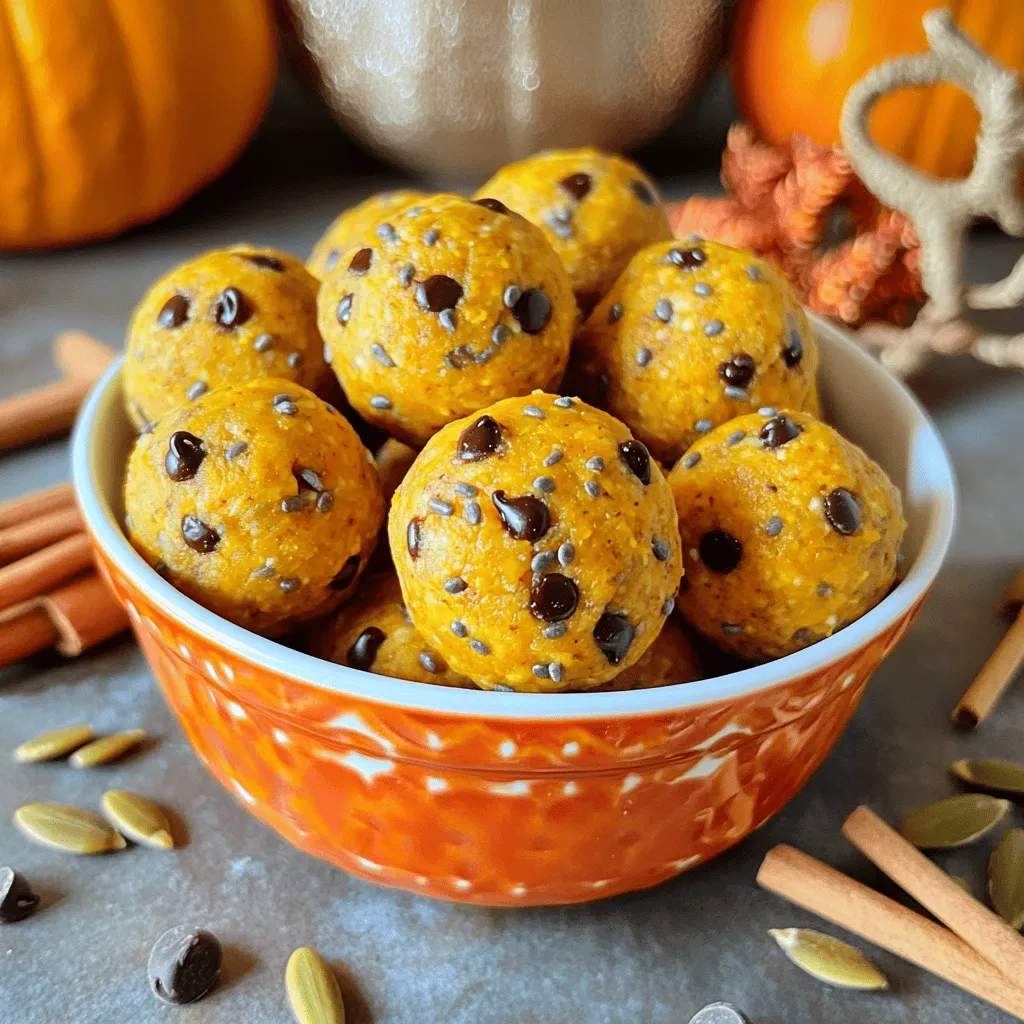
Easy Pumpkin Protein Bites Simple and Healthy Snack
Looking for a simple yet tasty snack? You’ve come to the right place! These Easy Pumpkin Protein Bites are packed with flavor and nutrients. Made
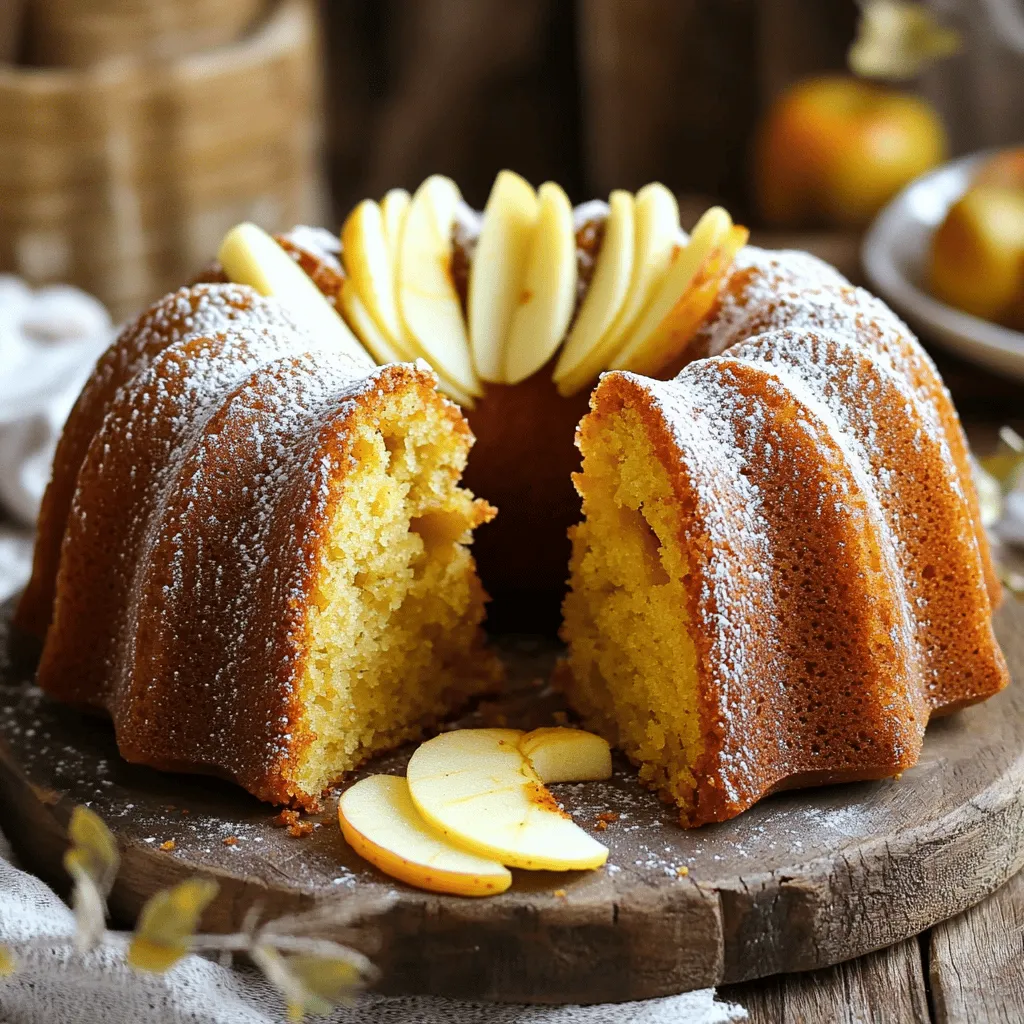
The Best Apple Cider Donut Bundt Cake Delight
Are you ready to savor the perfect autumn treat? In this article, I’m sharing my favorite recipe for The Best Apple Cider Donut Bundt Cake
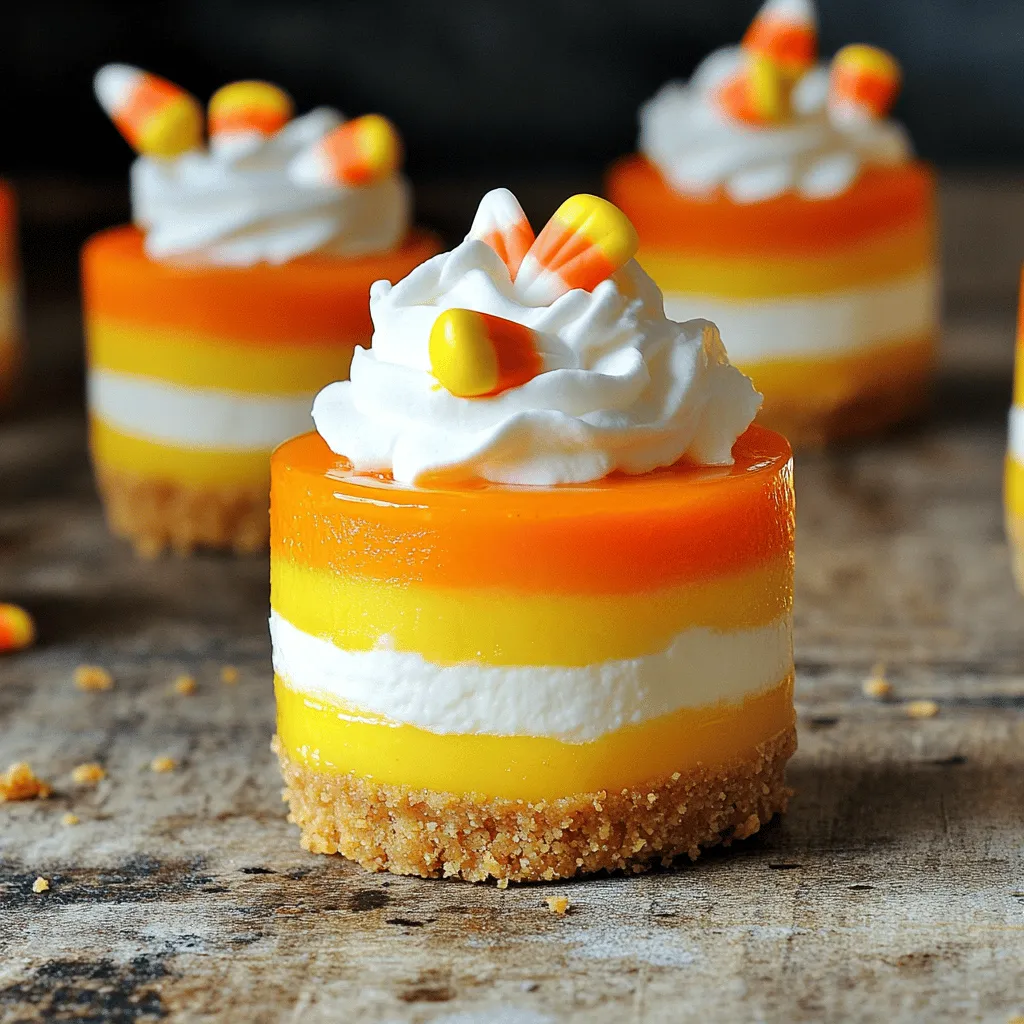
Mini Candy Corn Cheesecakes Festive and Easy Treat
Welcome to the sweet side of fall with my Mini Candy Corn Cheesecakes! These fun treats are easy to make and perfect for any festive
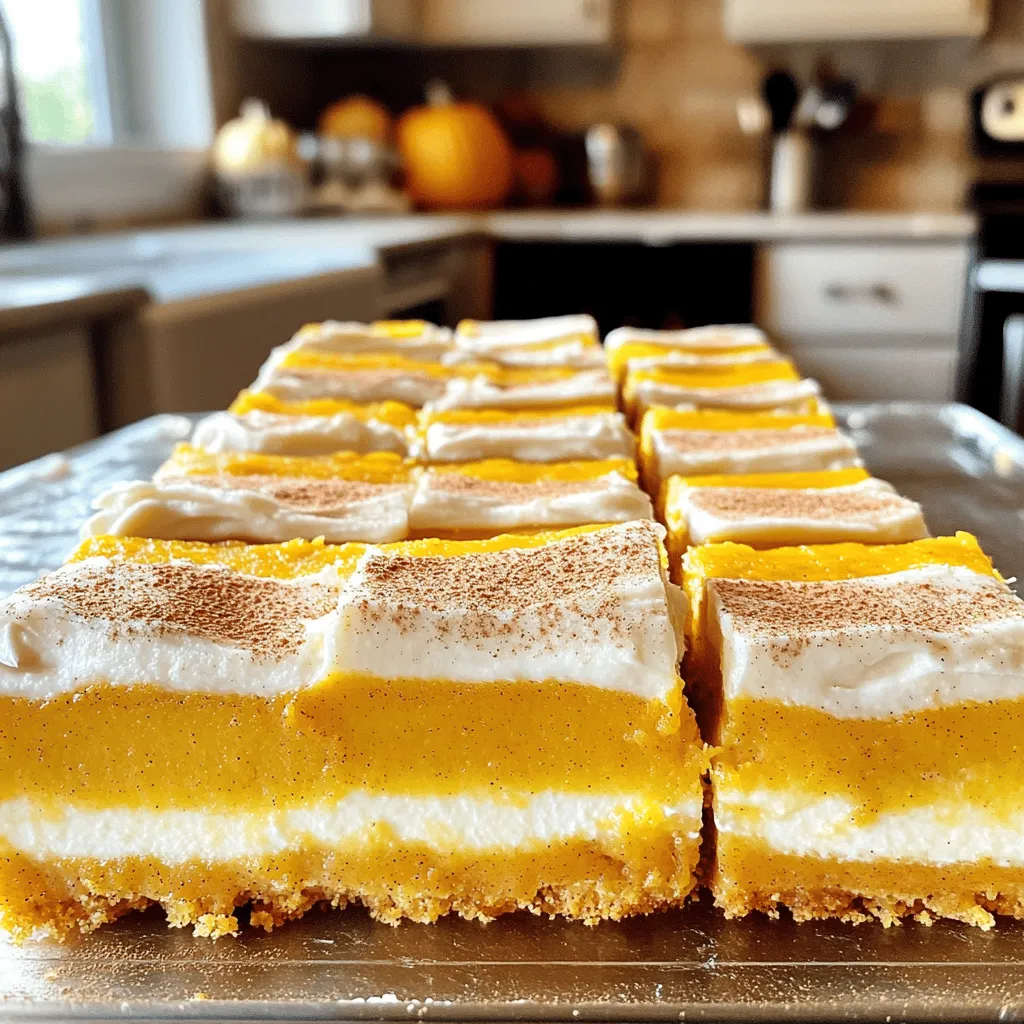
Delicious Pumpkin Bars with Cream Cheese Frosting
Are you ready to indulge in a fall favorite? My delicious pumpkin bars with cream cheese frosting are the perfect treat for any occasion. With
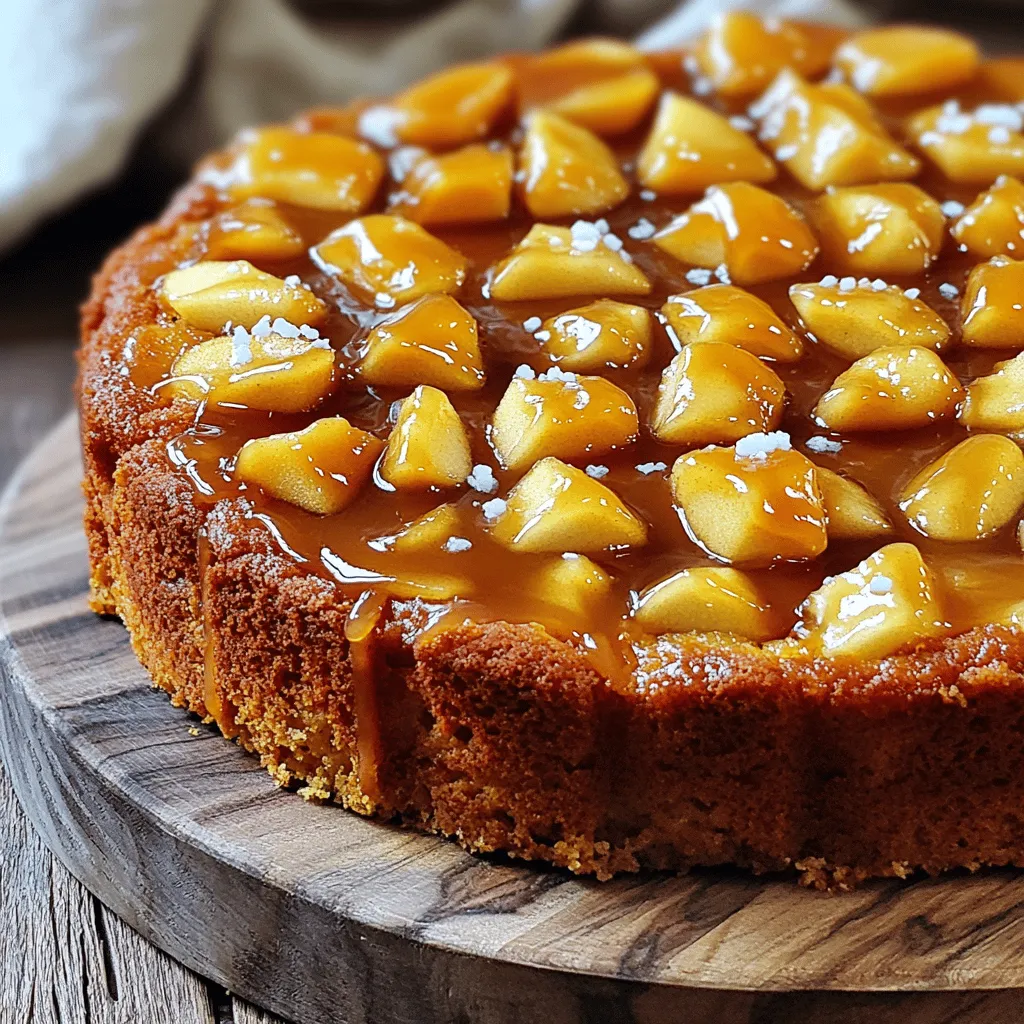
Salted Caramel Apple Cake Irresistible Dessert Delight
Are you ready for a dessert that will wow your friends and family? My Salted Caramel Apple Cake is the perfect mix of sweet and
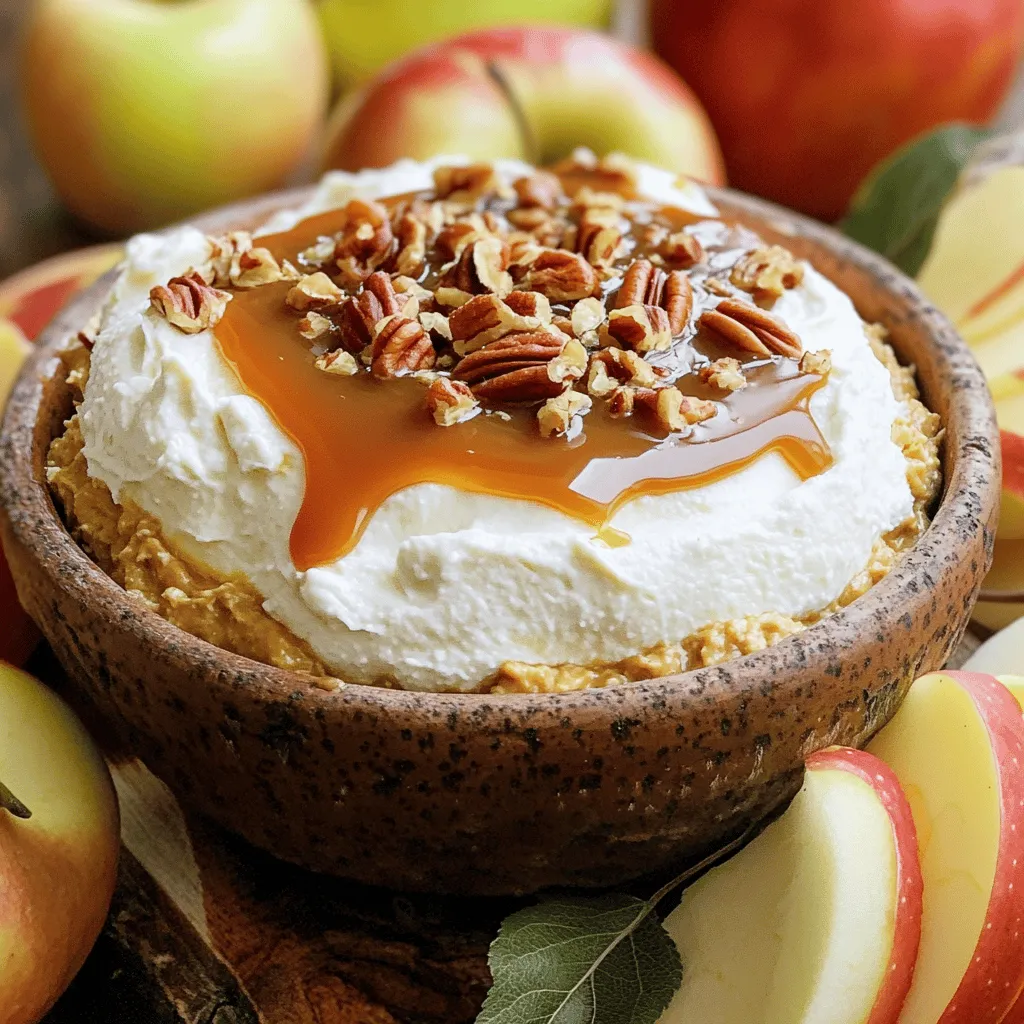
Cream Cheese Caramel Apple Dip Delightful Dessert Treat
Are you ready for a delicious treat that pairs perfectly with crisp apples? I’m excited to share my Cream Cheese Caramel Apple Dip—a simple, sweet