Dinner
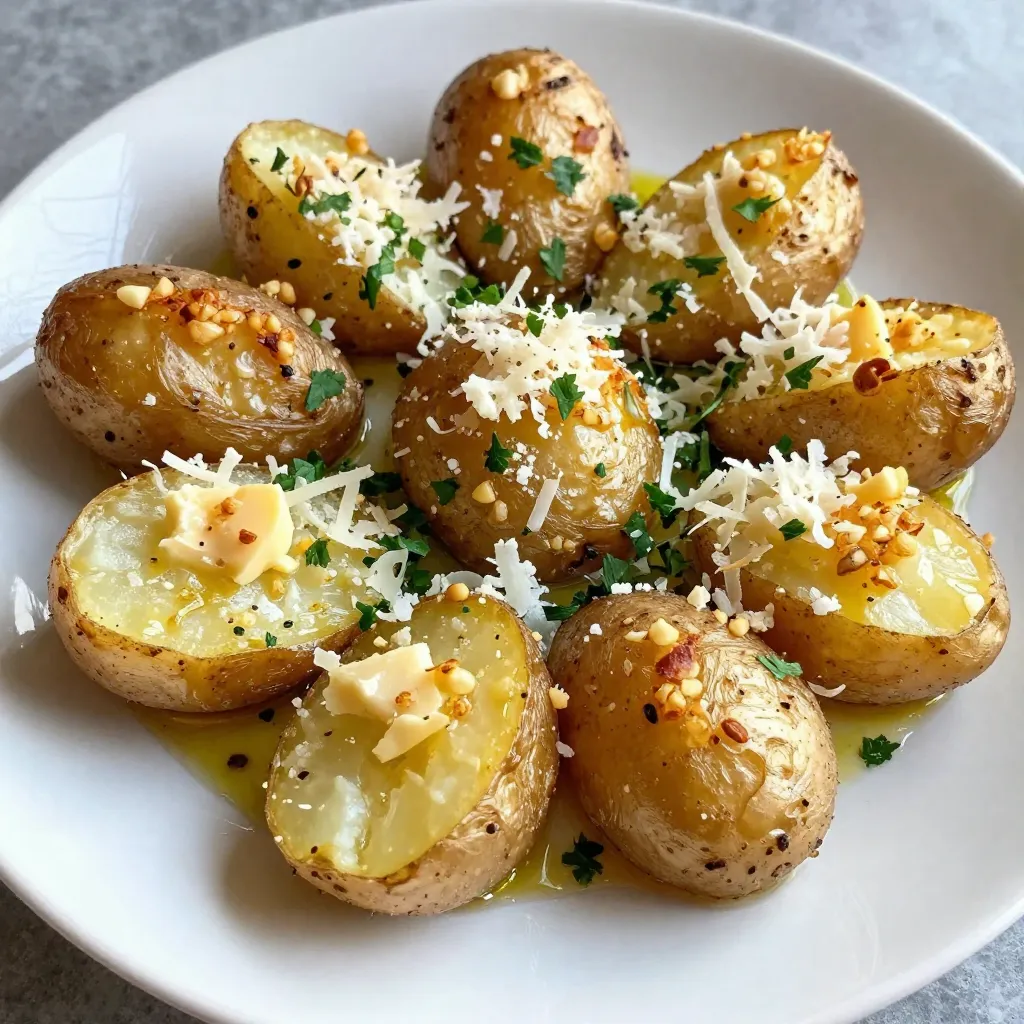
Garlic Parmesan Smashed Potatoes Flavorful Side Dish
If you’re looking for a side dish that wows, try Garlic Parmesan Smashed Potatoes. These crispy, buttery bites are packed with flavor and easy to
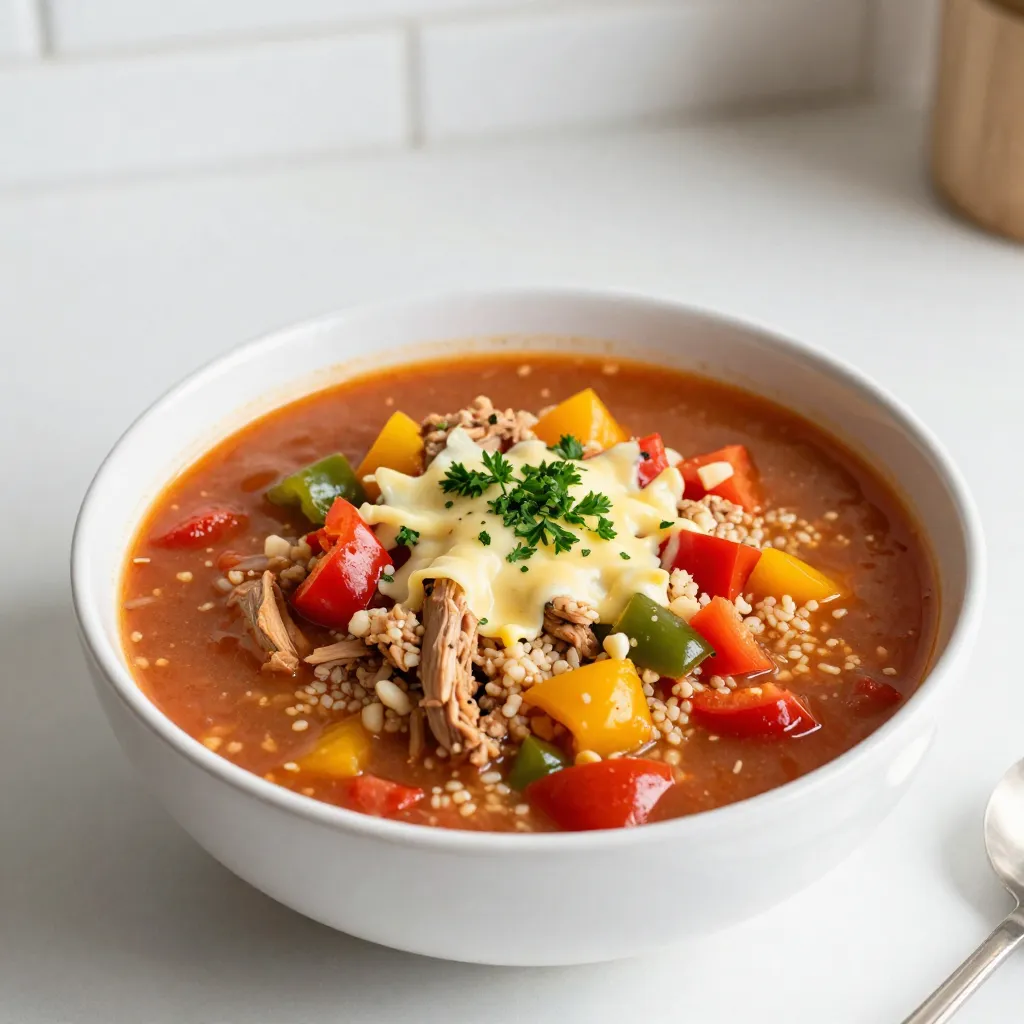
Stuffed Bell Pepper Soup Flavorful and Hearty Meal
Warm, hearty, and packed with flavor, stuffed bell pepper soup is a twist on a classic dish. This recipe combines the wholesome goodness of ground
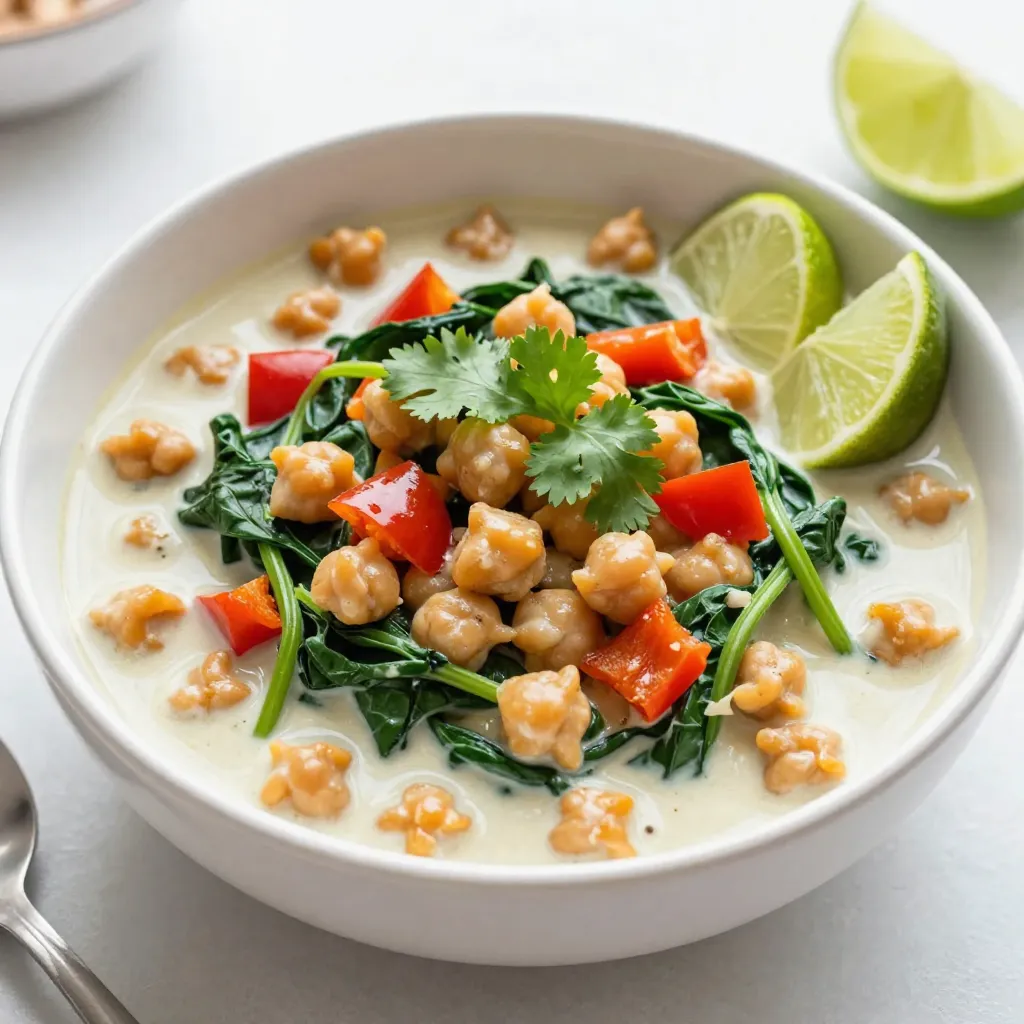
Coconut Curry Chickpeas Flavorful and Simple Dish
Coconut Curry Chickpeas are a joy to make and eat. This simple dish bursts with flavor and warmth. It’s easy to cook, and you likely

Crispy Baked Ground Beef Tacos Flavorful and Easy Meal
Are you ready for a fun and tasty meal? Crispy baked ground beef tacos are your answer! With simple ingredients and easy steps, you can
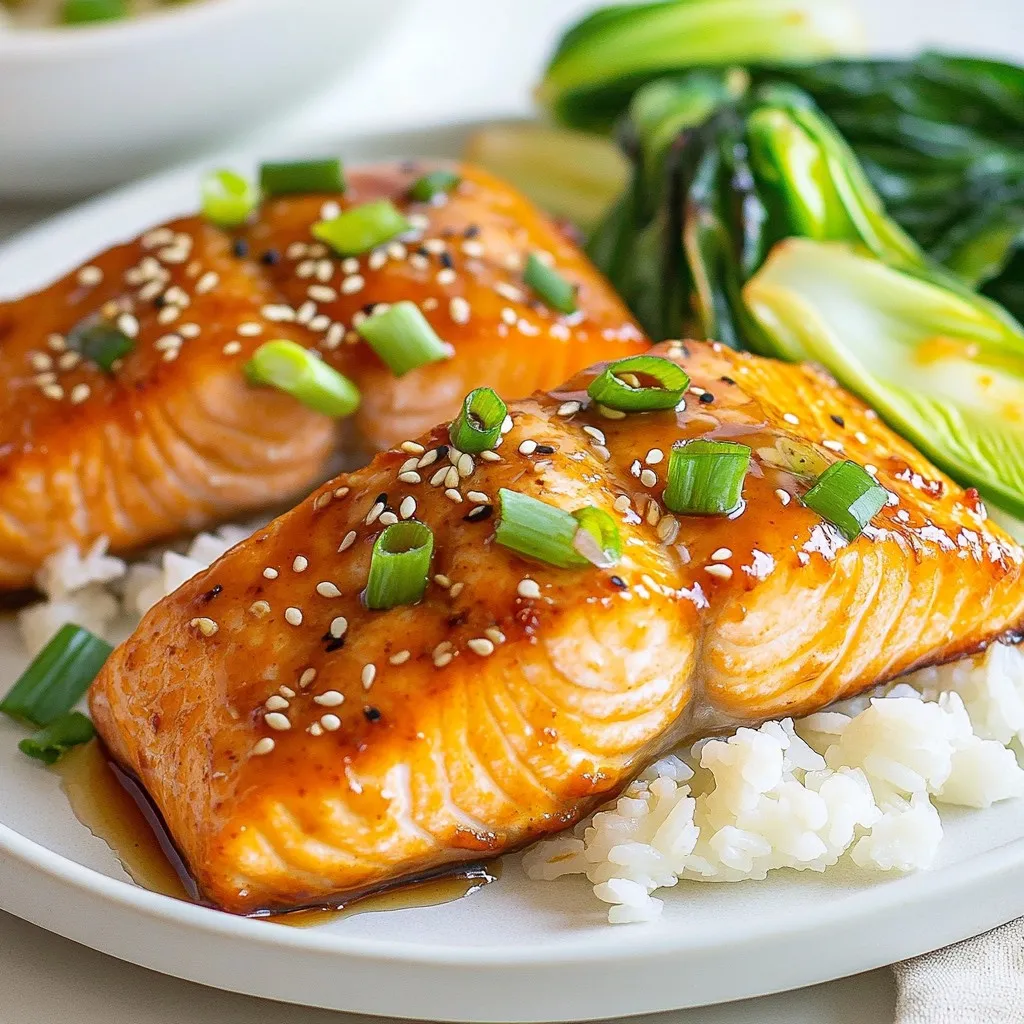
Honey Garlic Glazed Salmon Flavorful Family Dish
Looking for a dish that impresses and delights the whole family? Honey Garlic Glazed Salmon is the perfect option! This recipe is easy to follow

Coconut Red Curry Drip Beef Bursting with Flavor
Are you ready for a meal that will excite your taste buds? My Coconut Red Curry Drip Beef is here to deliver bold flavors and
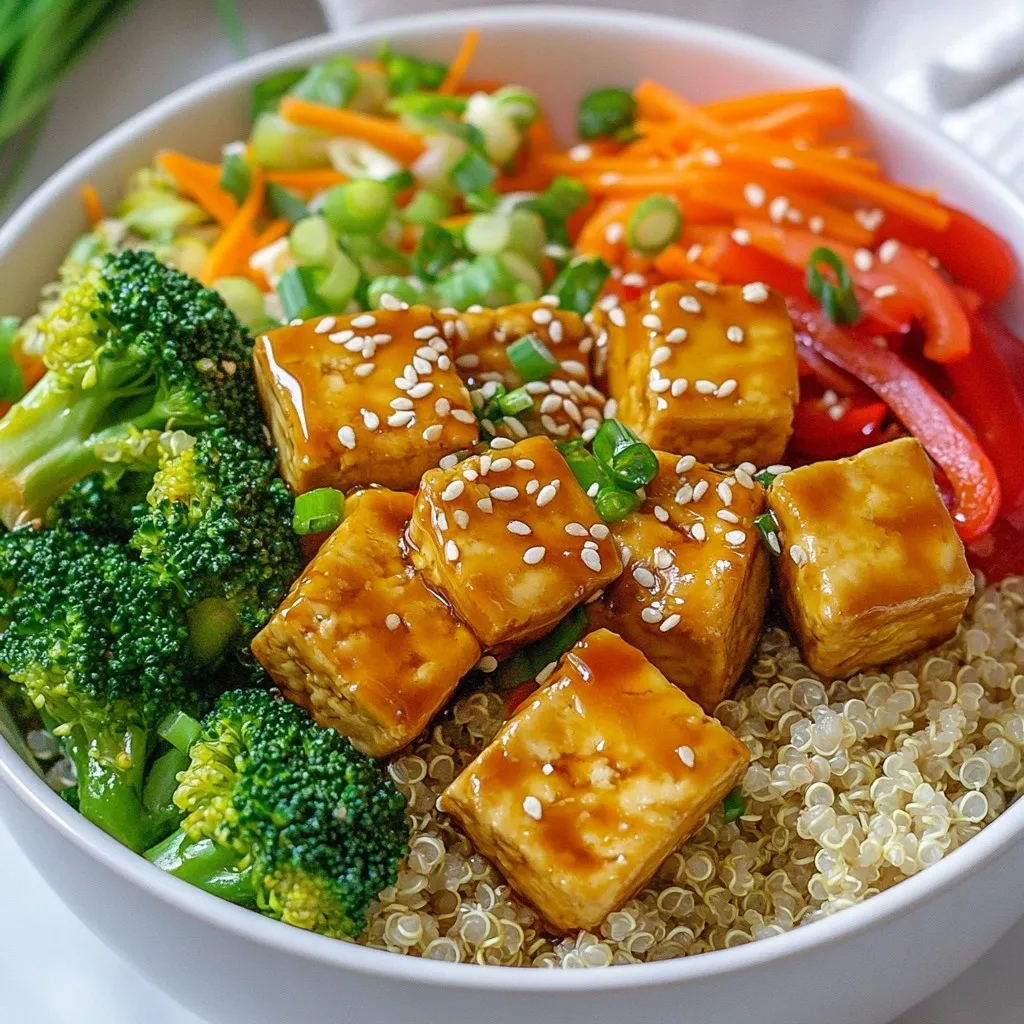
Teriyaki Tofu Buddha Bowl Flavorful Plant-Based Meal
Looking for a flavorful plant-based meal that’s both satisfying and easy to make? The Teriyaki Tofu Buddha Bowl is just what you need! Packed with
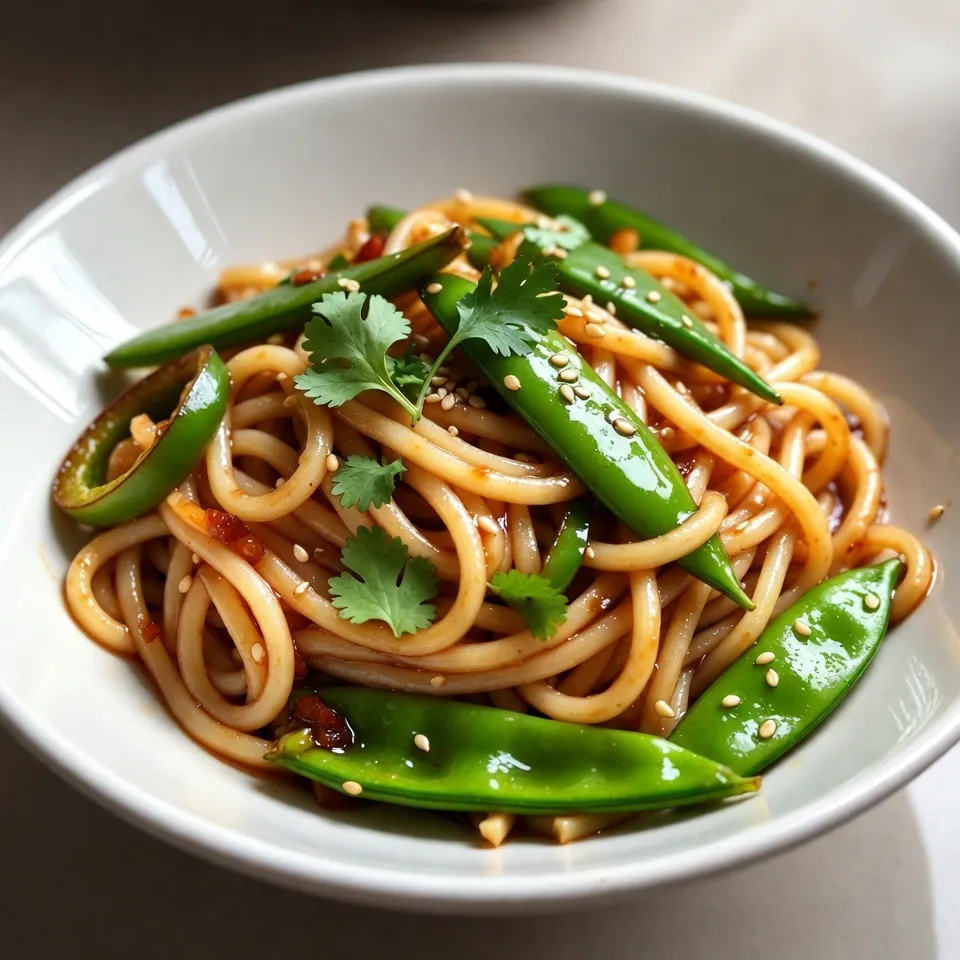
Spicy Honey Garlic Noodles Simple and Tasty Meal
Are you ready to brighten up your dinner routine? These Spicy Honey Garlic Noodles are simple, tasty, and packed with flavor. I guarantee you’ll love

Vegan Pumpkin Curry Soup Flavorful Comfort Dish
Warm up your kitchen and your heart with my Vegan Pumpkin Curry Soup. This dish is a cozy blend of pumpkin and fragrant spices, perfect
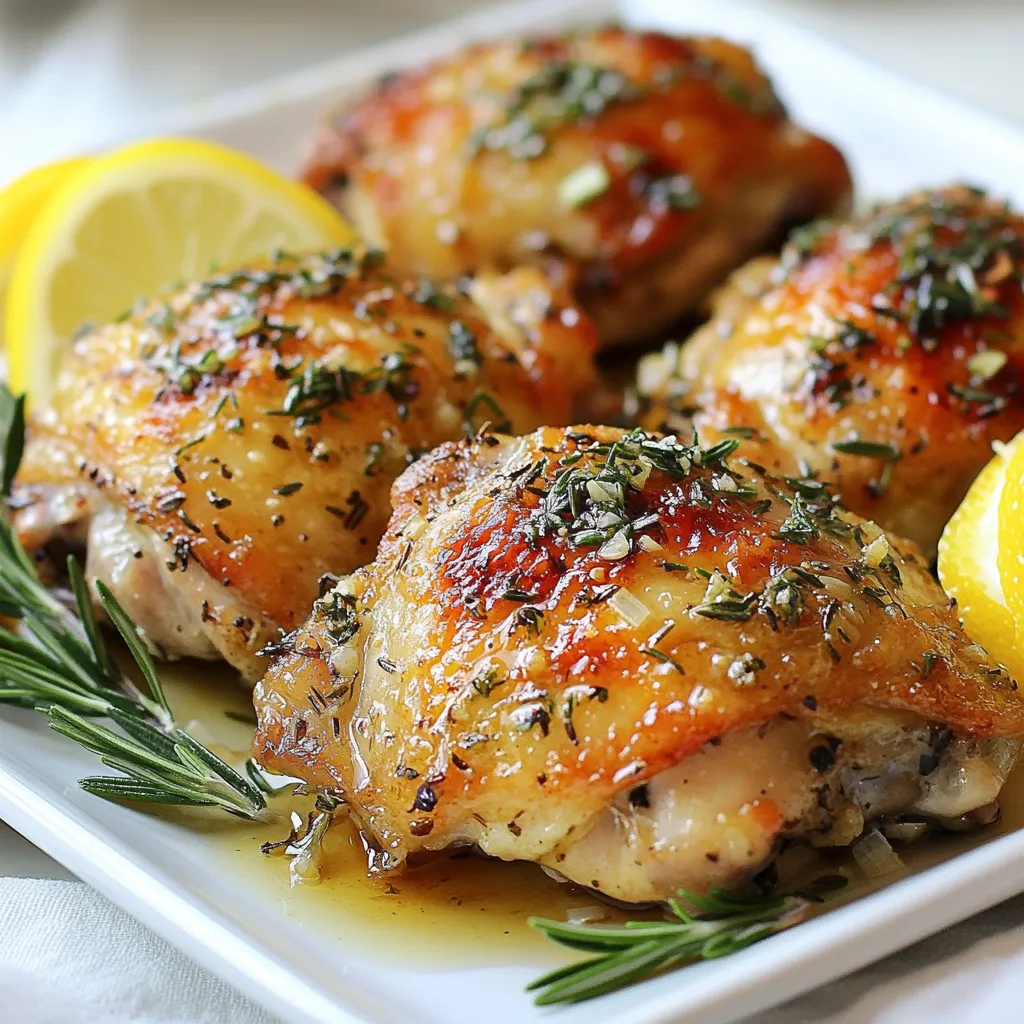
Garlic Herb Chicken Thighs Flavorful and Easy Recipe
If you’re looking for a meal that hits all the right notes, you’ve found it! My Garlic Herb Chicken Thighs recipe is packed with flavor