Dinner
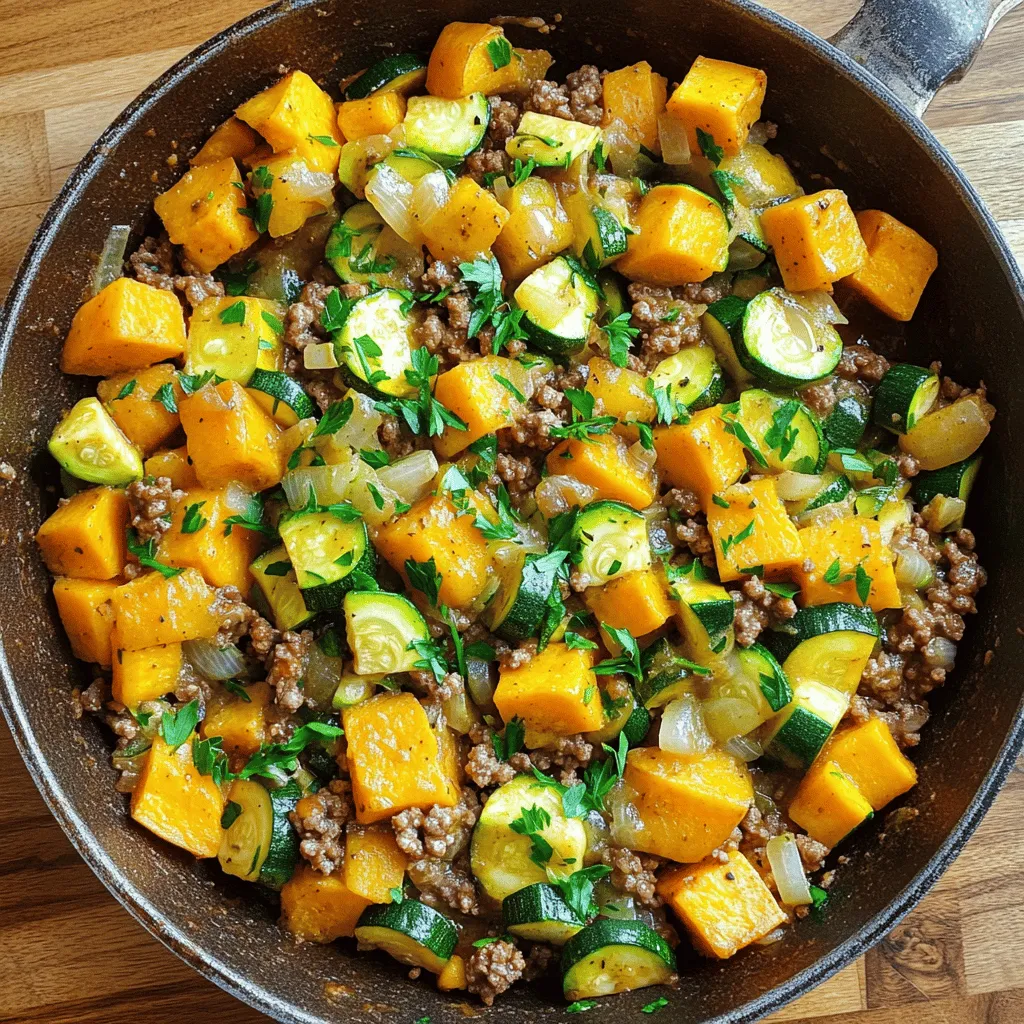
Ground Beef Zucchini Sweet Potato Skillet Delight
If you’re searching for a nutritious and easy weeknight dinner, you’ve found it! My Ground Beef Zucchini Sweet Potato Skillet Delight combines hearty ground beef

Low Carb Gluten Free Squash Casserole with Cheese
Looking for a delicious low-carb, gluten-free dish? This Low Carb Gluten Free Squash Casserole with Cheese is the perfect solution! Packed with fresh squash and

Zucchini Cheddar Cheese & Chive Buttermilk Bread
Are you ready to elevate your baking game? This Zucchini Cheddar Cheese & Chive Buttermilk Bread recipe combines fresh zucchini, sharp cheddar, and chives for

Quick Weeknight Ranch Chicken Recipe Made Simple
Looking for a quick and tasty dinner? You’ve come to the right place! My Quick Weeknight Ranch Chicken Recipe is simple and packed with flavor.
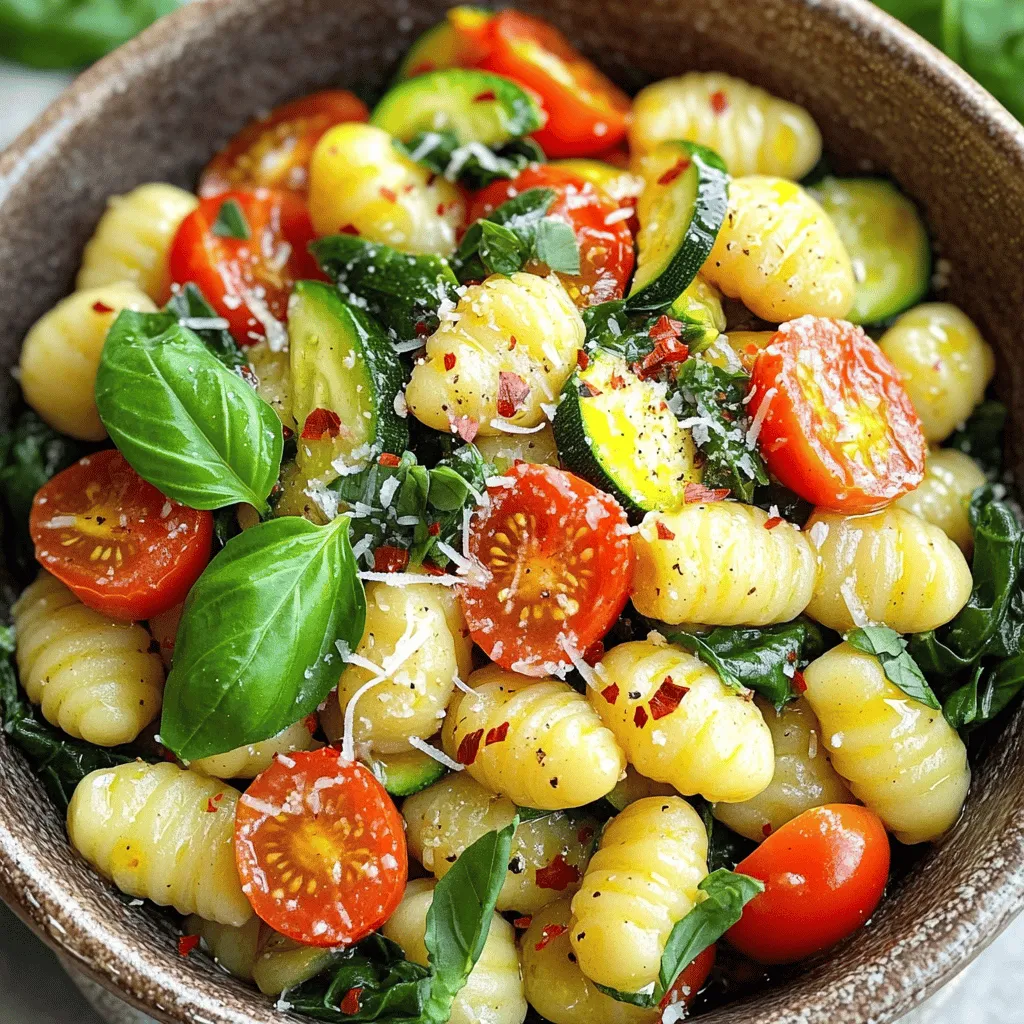
Easy Summer Gnocchi Flavorful and Fresh Recipe Guide
Summer is the perfect time for a fresh, flavorful dish, and that’s where my Easy Summer Gnocchi comes in! This guide simplifies cooking with seasonal

Pan Seared Chicken with Lemon Mustard Sauce Delight
Ready to impress with a simple yet delicious meal? In this post, I’ll show you how to make pan-seared chicken with a bright lemon mustard
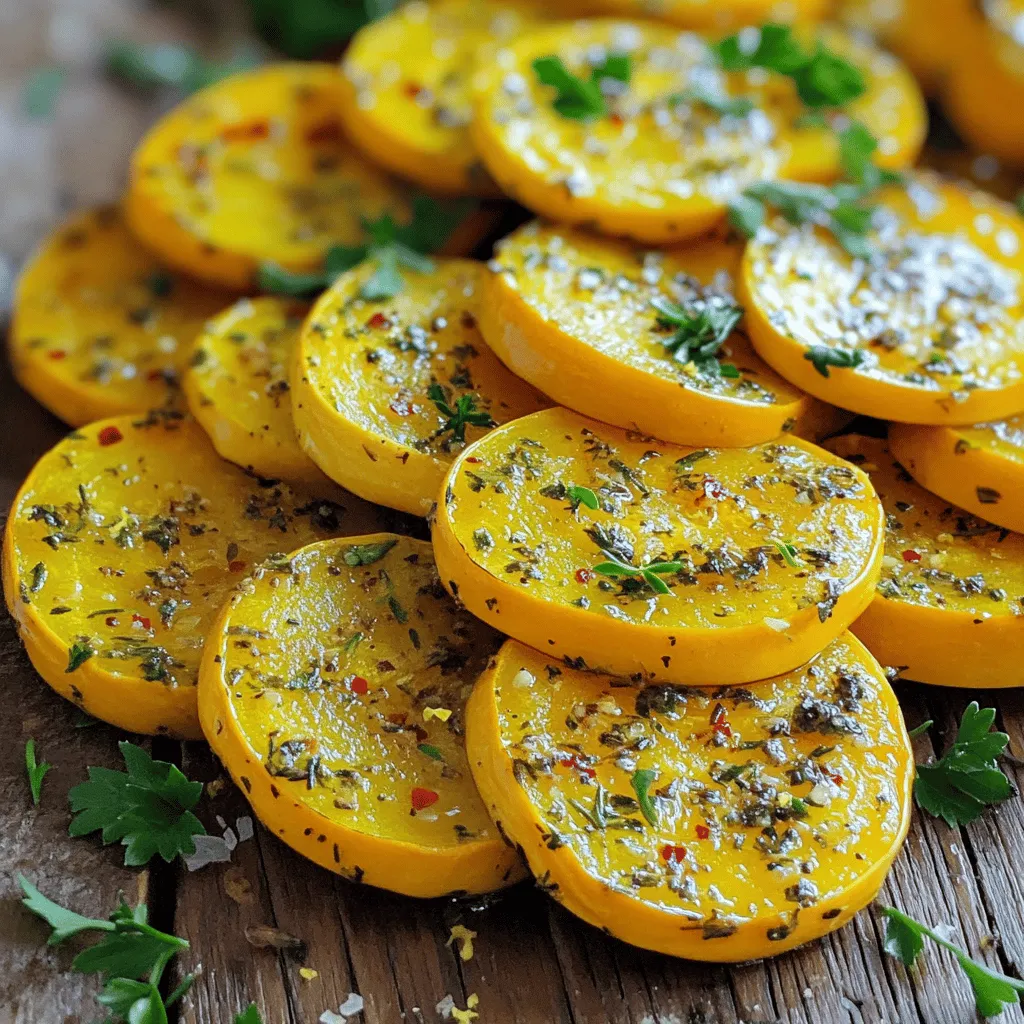
Easy Roasted Yellow Squash Flavorful and Simple Dish
Do you want a tasty side dish that’s quick and simple? Look no further! Easy Roasted Yellow Squash is packed with flavor and requires just
![To make a delicious Tomato Zucchini Casserole, you need fresh and simple ingredients. Here’s what you will need: - 2 medium zucchinis, sliced into thin rounds - 4 ripe tomatoes, sliced - 1 medium onion, thinly sliced - 3 cloves garlic, minced - 1 cup shredded mozzarella cheese - 1/2 cup grated Parmesan cheese - 1/4 cup fresh basil, chopped - 1 teaspoon dried oregano - 1/2 teaspoon red pepper flakes (optional) - 2 tablespoons olive oil - Salt and pepper to taste - 1 cup breadcrumbs (preferably whole wheat or gluten-free) You can swap the cheeses if you prefer. Try cheddar or a vegan cheese for a new flavor. For herbs, fresh thyme or oregano can be great substitutes. If you want a spicy kick, add more red pepper flakes. You can also mix in other vegetables like bell peppers or eggplants for variety. Using organic produce can enhance the taste and support sustainable farming. If you need a gluten-free option, choose gluten-free breadcrumbs. For the full recipe, check the complete instructions. - Preheating the oven Start by preheating your oven to 375°F (190°C). This step is key for even cooking. - Sautéing the onions and garlic In a large skillet, heat 2 tablespoons of olive oil over medium heat. Add 1 medium onion, thinly sliced, and 3 cloves of minced garlic. Cook until the onions are clear, which takes about 5 minutes. This brings out the flavor. - Layering the ingredients In a large mixing bowl, create your layers. Begin with half of the sliced zucchinis. Next, add half of the sliced tomatoes. Sprinkle them with salt, pepper, and half of the dried oregano and red pepper flakes. Spread half of the sautéed onion and garlic mix on top. Then, add a third of the shredded mozzarella and grated Parmesan cheeses. Repeat this layering with the remaining ingredients. Finish with breadcrumbs and the rest of the cheese. Top with fresh basil. - Covering and baking the casserole Cover the casserole dish with aluminum foil. Place it in the oven to bake for 30 minutes. This helps steam the veggies. - Finishing touches for the perfect bake After 30 minutes, remove the foil. Bake for an additional 15 to 20 minutes, until the top is golden and bubbly. This gives a nice texture. - Presentation tips Serve the casserole warm. For a nice look, garnish with extra fresh basil. You can also drizzle some balsamic reduction on each plate for a fancy touch. - Garnishing options If you want to add more flavor, try some chopped parsley or a sprinkle of Parmesan on top. Enjoy this comforting dish straight from the oven, or let it cool a bit for easier serving. For the full recipe, you can refer to the [Full Recipe]. - Tips for sautéing perfectly: Use medium heat to cook onions and garlic. This helps them soften without burning. Stir often for even cooking. You want them to be translucent and fragrant, not brown. - Best methods for layering: Start with zucchini, then tomatoes, and season in between. Layering like this lets the flavors mix well. Alternate with cheese and sautéed onions to add depth. Finish with breadcrumbs and cheese for a crispy top. - How to substitute fresh ingredients: Fresh herbs can be swapped for dried. Use one-third the amount if you use dried. You can also try frozen zucchini, but it may release more water. Drain it well before layering. - Adjusting for dietary preferences (vegan, gluten-free): For a vegan option, replace cheese with cashew cream or nutritional yeast. Use gluten-free breadcrumbs for a gluten-free dish. Check labels on all ingredients to ensure they meet your needs. - Suggested spice additions: Add a pinch of smoked paprika or cumin for a warm, earthy flavor. A dash of lemon juice brightens the dish, too. Fresh herbs like thyme or rosemary can enhance the taste. - Cheese alternatives: Use vegan cheese or a nut-based cheese for a dairy-free option. You can also try a mix of nutritional yeast and olive oil for a cheesy flavor without dairy. {{image_2}} You can change your Tomato Zucchini Casserole by using different veggies. In summer, fresh bell peppers or eggplant can add great flavor. In fall, you might try pumpkin or butternut squash for a sweet twist. Adjust your recipe based on what’s in season. This keeps the dish fresh and exciting. Want to change up the taste? Add proteins like grilled chicken or spicy sausage. These options make the dish heartier. You can also mix herbs and spices. Try thyme or rosemary for a different flavor. A dash of smoked paprika can add a warm, rich taste. Don’t be afraid to experiment with what you have on hand. You can easily scale the Tomato Zucchini Casserole recipe. For larger groups, double the ingredients. This way, everyone gets a serving. If you want smaller portions, make mini casseroles in ramekins. This is great for meal prep or personal servings. Each option lets you enjoy the dish your way. To store leftovers, let the casserole cool first. Then, cover it tightly with plastic wrap or foil. You can also use an airtight container. This keeps it fresh and avoids strong odors. When reheating, preheat your oven to 350°F (175°C). Place the casserole in the oven for 20-25 minutes. This method warms it evenly and keeps the top crispy. Yes, you can freeze Tomato Zucchini Casserole. To freeze, let it cool completely. Then, wrap it tightly in plastic wrap and aluminum foil. This helps prevent freezer burn. When ready to eat, move it to the fridge overnight to thaw. Reheat it in the oven at 350°F (175°C) for 30-40 minutes. Check that it's hot in the middle before serving. In the fridge, this casserole lasts for about 3-4 days. If you freeze it, it can last up to 2-3 months. Signs that the casserole has spoiled include a sour smell, mold, or a change in color. Always trust your nose and eyes! If it looks or smells off, it’s best to toss it out. Can I make Tomato Zucchini Casserole ahead of time? Yes, you can prepare this casserole the day before. Just layer your ingredients and cover it with foil. Store it in the fridge. When ready to bake, remove it from the fridge and let it sit for about 30 minutes. Then, bake it as directed in the recipe. What to serve with Tomato Zucchini Casserole? This casserole pairs well with a fresh salad or crusty bread. A light vinaigrette works nicely to balance the flavors. You can also serve it alongside grilled chicken or fish for a heartier meal. Is it possible to make this dish dairy-free? Absolutely! You can use dairy-free cheese options or omit the cheese completely. Nutritional yeast can add a cheesy flavor without dairy. Just be sure to check the labels for any hidden dairy ingredients. Why did my casserole turn mushy? Mushiness often comes from excess moisture. Make sure to drain any water from the zucchini. You can also bake it longer to help evaporate extra liquid. Tips if the casserole is too dry If your casserole turns out dry, try adding a splash of vegetable broth before baking. You can also drizzle some olive oil over the top before serving for extra moisture. Caloric breakdown This casserole has about 250-300 calories per serving, depending on the cheese used. The ingredients provide a good mix of carbs, proteins, and fats, making it a balanced dish. Health benefits of the main ingredients Zucchini is low in calories and high in vitamins A and C. Tomatoes are rich in antioxidants, helping to fight inflammation. Onions and garlic boost heart health and add flavor without extra calories. This dish is a great way to enjoy healthy, seasonal produce. This guide covered everything about making a delicious Tomato Zucchini Casserole. We looked at ingredients, preparation steps, cooking tips, and more. You can adjust this recipe to suit your taste and health needs. Remember to store it right and check for freshness. With these skills, you can impress at your next meal. Create a dish that delights everyone. Enjoy cooking and sharing your tasty casserole!](https://grilledflavors.com/wp-content/uploads/2025/07/47161b8d-8a19-4593-afd0-0a843594c4cf.webp)
Tomato Zucchini Casserole Flavorful and Comforting Dish
Are you ready to whip up a dish that screams comfort? My Tomato Zucchini Casserole combines fresh veggies and rich flavors, making it perfect for
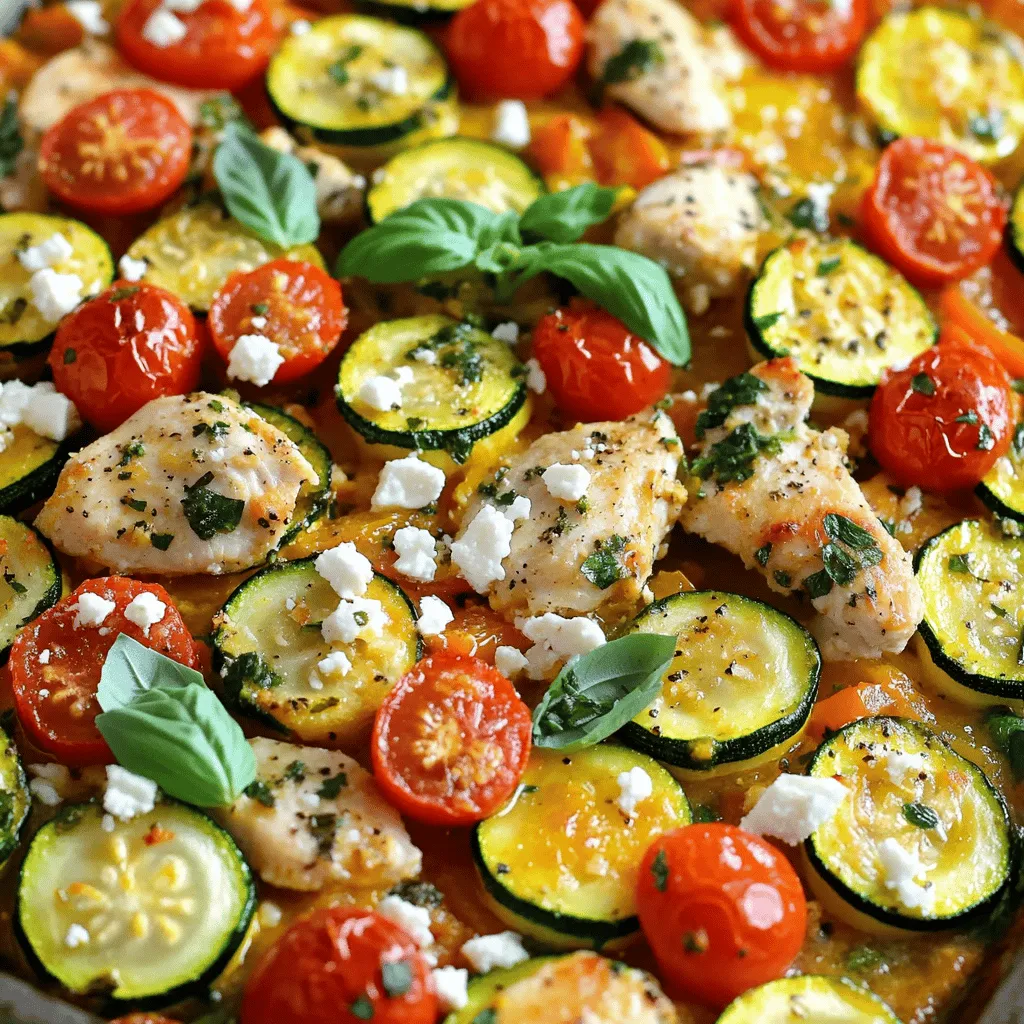
Mediterranean Chicken Zucchini Bake Flavorful Delight
Are you ready to taste a burst of Mediterranean flavors? In this blog post, I’ll share my favorite Mediterranean Chicken Zucchini Bake recipe that’s not
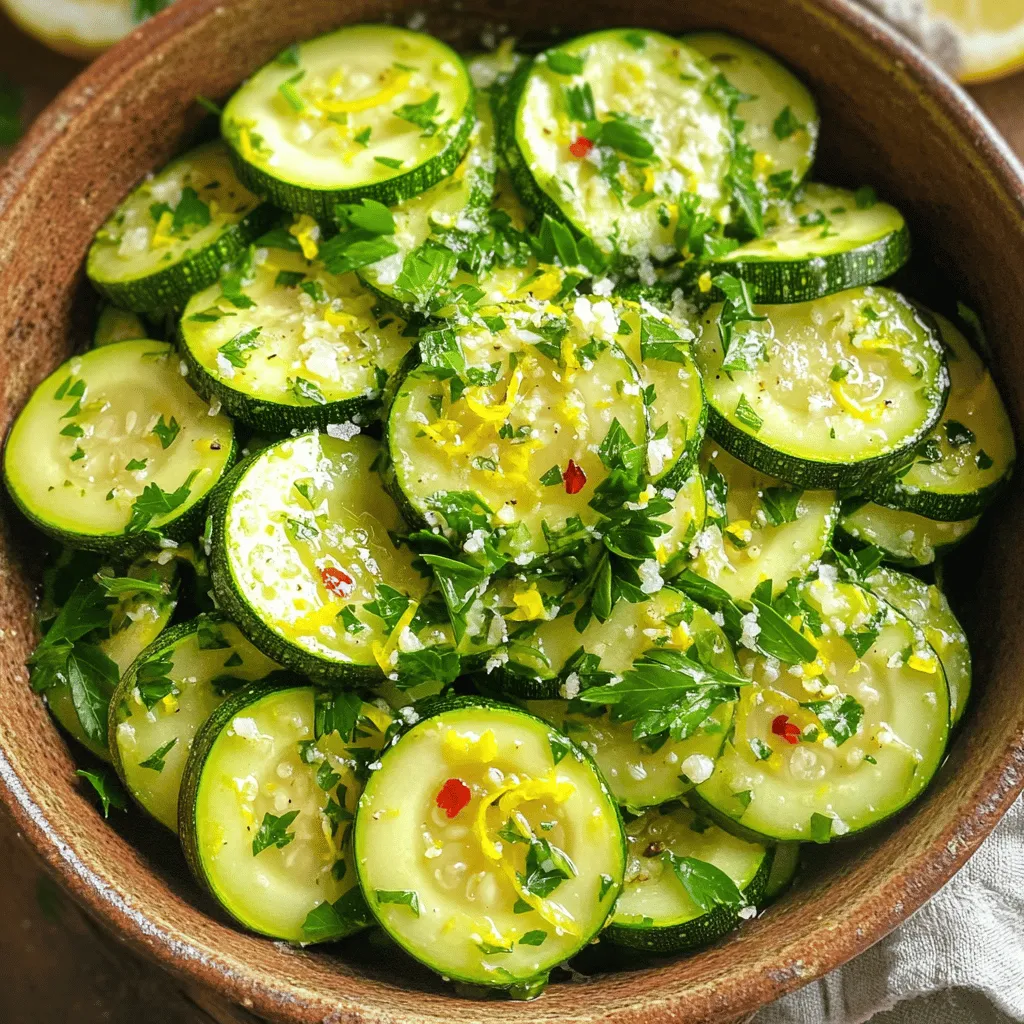
Sautéed Zucchini Simple and Flavorful Side Dish
If you’re searching for a quick and tasty side dish, look no further! Sautéed zucchini is here to save your meals. This dish bursts with