Dinner

Alice Springs Chicken Flavorful and Simple Recipe
Ready to impress your family with a tasty meal? Alice Springs Chicken is packed with flavor and super easy to make. In this post, I’ll
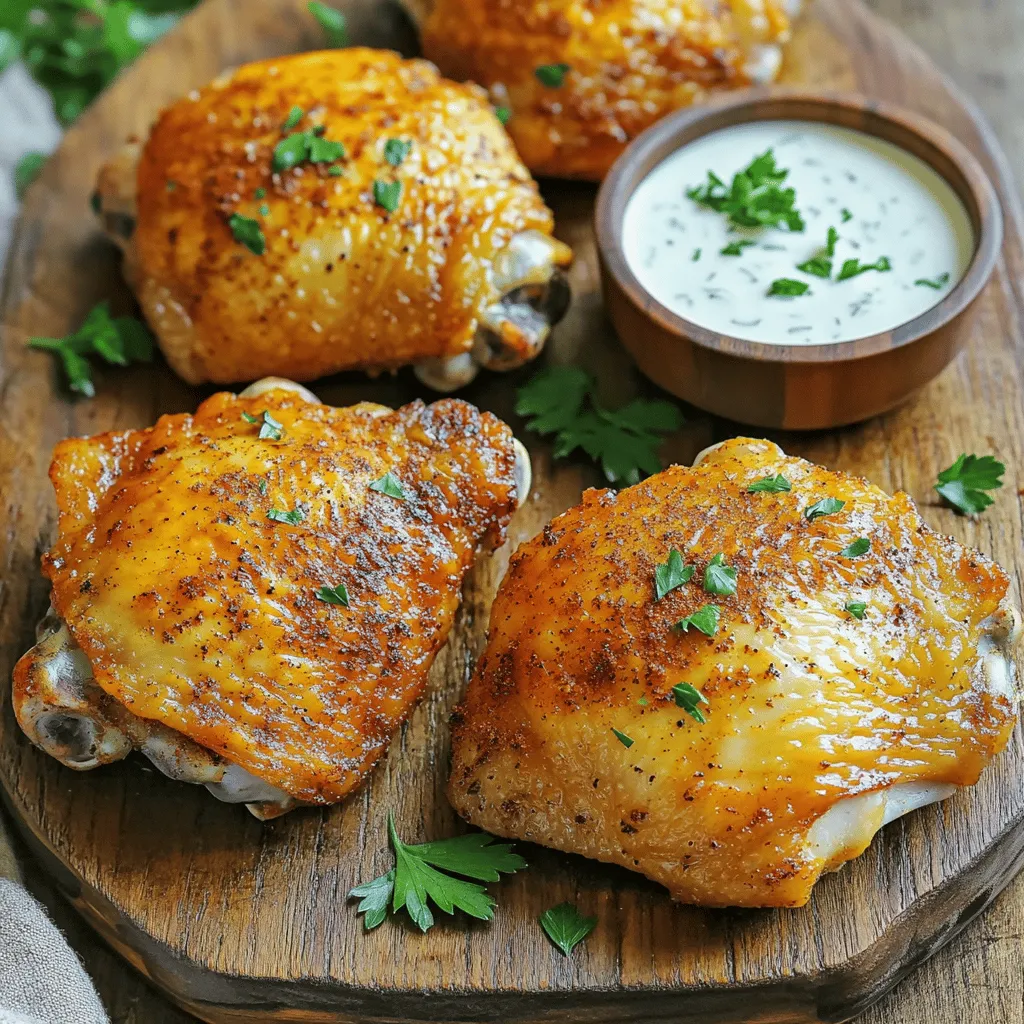
Crispy Air Fryer Chicken Simple and Flavorful Dish
Are you ready to make the juiciest, crispiest air fryer chicken? This simple and flavorful dish uses common ingredients and easy steps, perfect for any
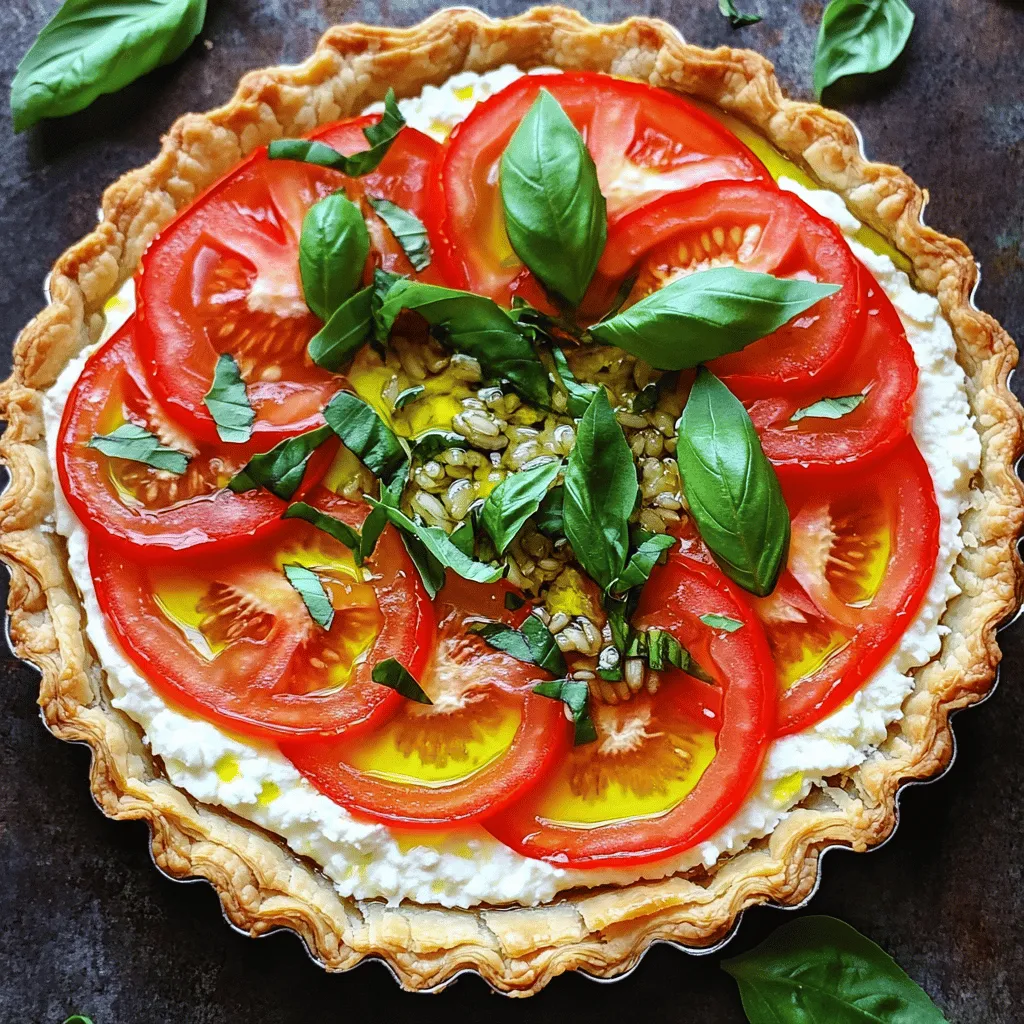
Tomato Tart with Brown Rice Flavorful and Healthy Dish
Looking for a tasty and healthy dish? This Tomato Tart with Brown Rice is just the ticket! It combines crunchy brown rice and ripe tomatoes
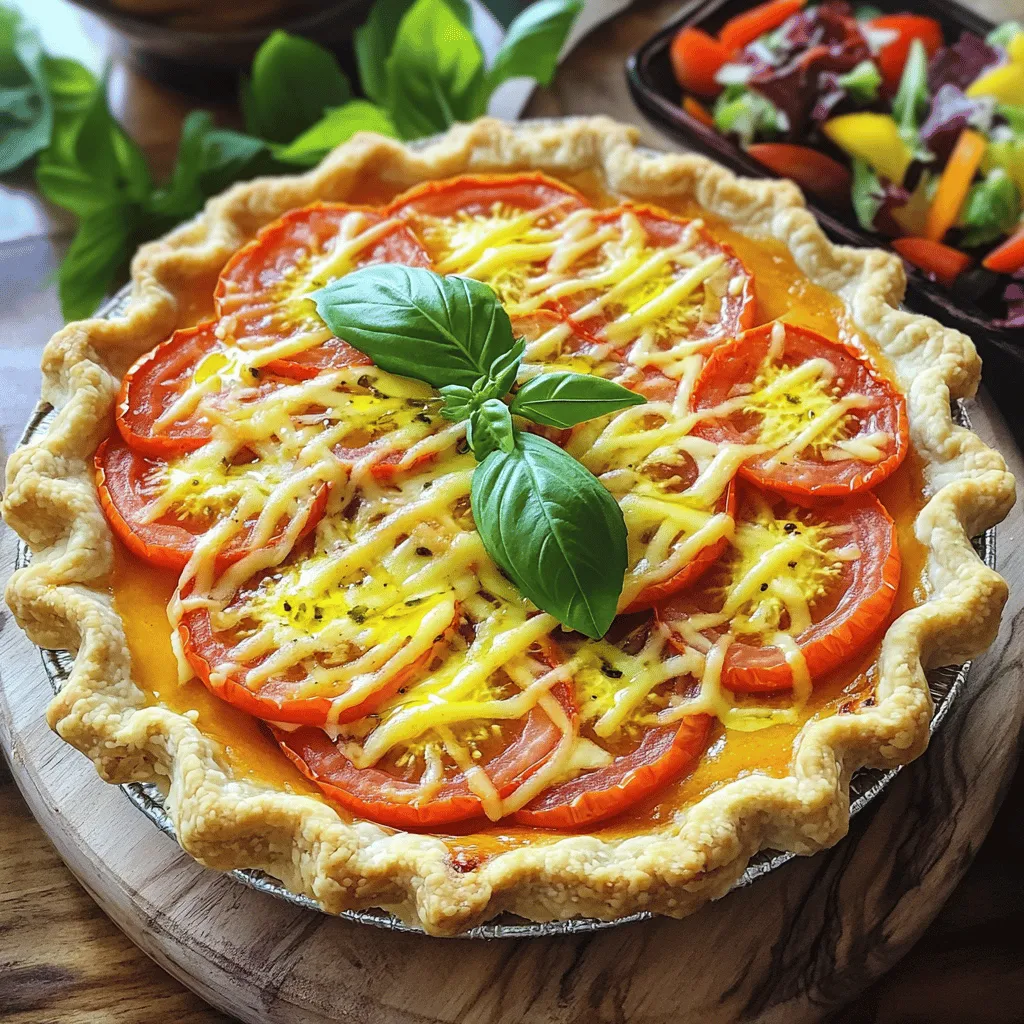
Southern Tomato Pie Delicious and Easy Recipe
If you love fresh tomatoes and comfort food, you’re in for a treat! Southern Tomato Pie blends juicy tomatoes, hearty cheese, and creamy goodness into

Crispy Fried Chicken Irresistible and Flavorful Meal
Crispy fried chicken is a classic dish that never goes out of style. With its golden crunch and juicy inside, it’s a meal that everyone
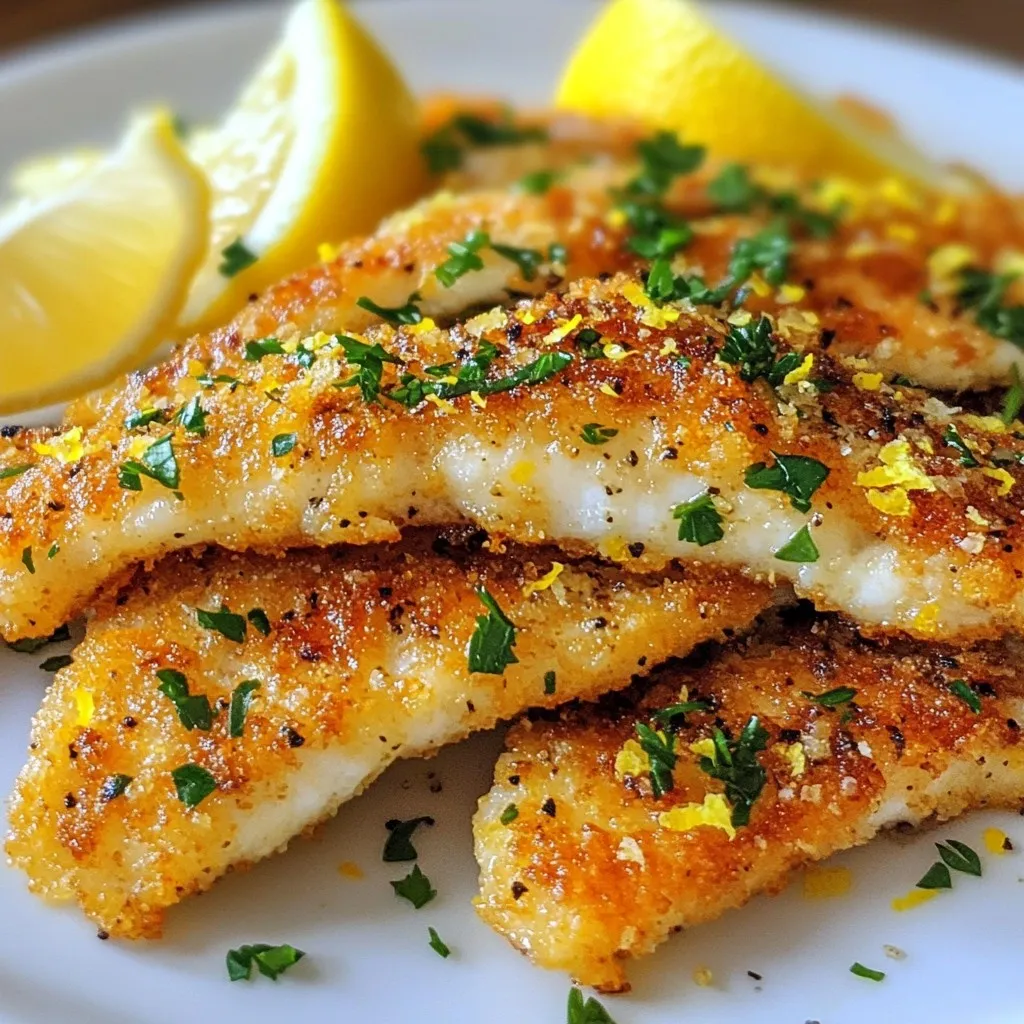
Crispy Lemon Pepper Tilapia Easy and Flavorful Dish
Are you ready for a meal that’s easy to make and bursting with flavor? Crispy Lemon Pepper Tilapia is just the dish you need. This
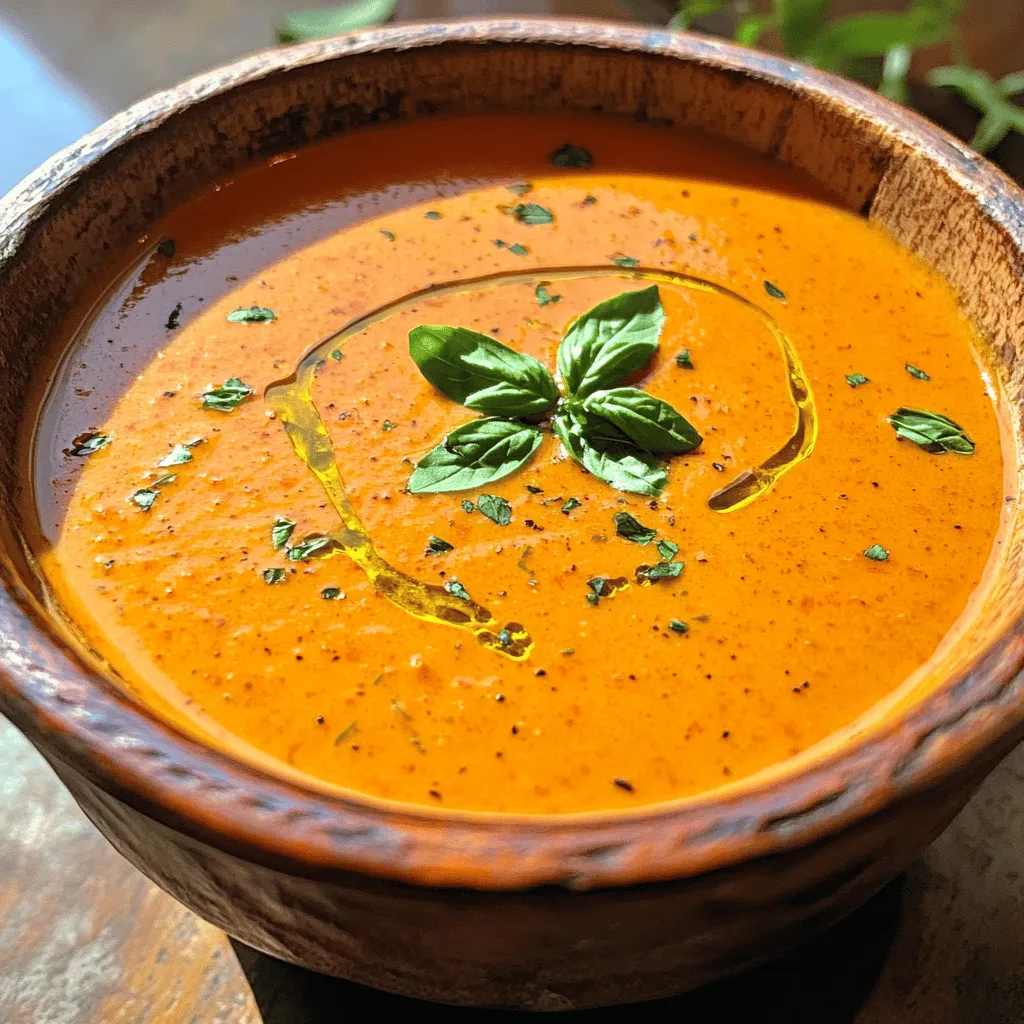
Creamy Roasted Garlic Tomato Soup Flavorful Delight
Are you ready to warm your soul with a delicious bowl of soup? My Creamy Roasted Garlic Tomato Soup is a flavor-packed delight that will
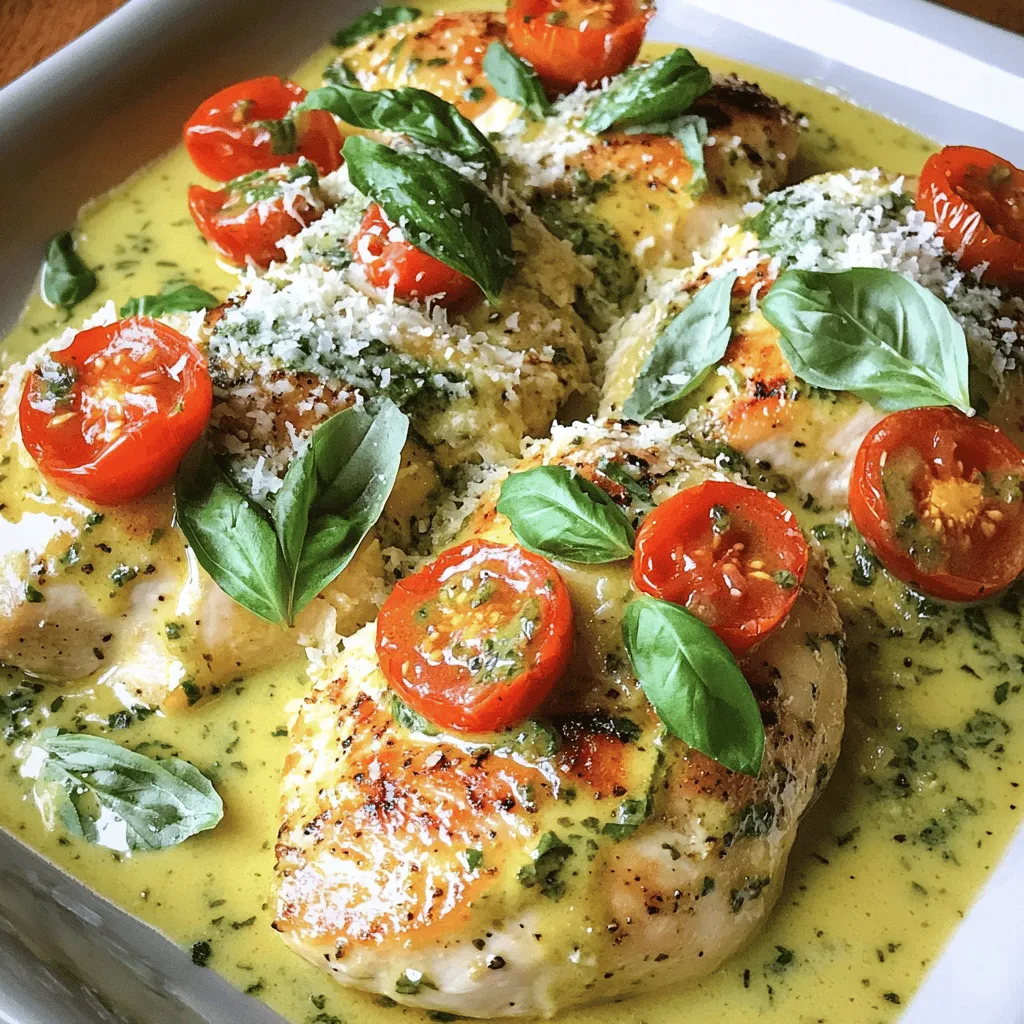
Hearty Creamy Basil Chicken Rich Flavorful Delight
Welcome to a taste sensation! Hearty Creamy Basil Chicken is the dish you didn’t know you needed. With rich flavors and simple steps, you’ll impress
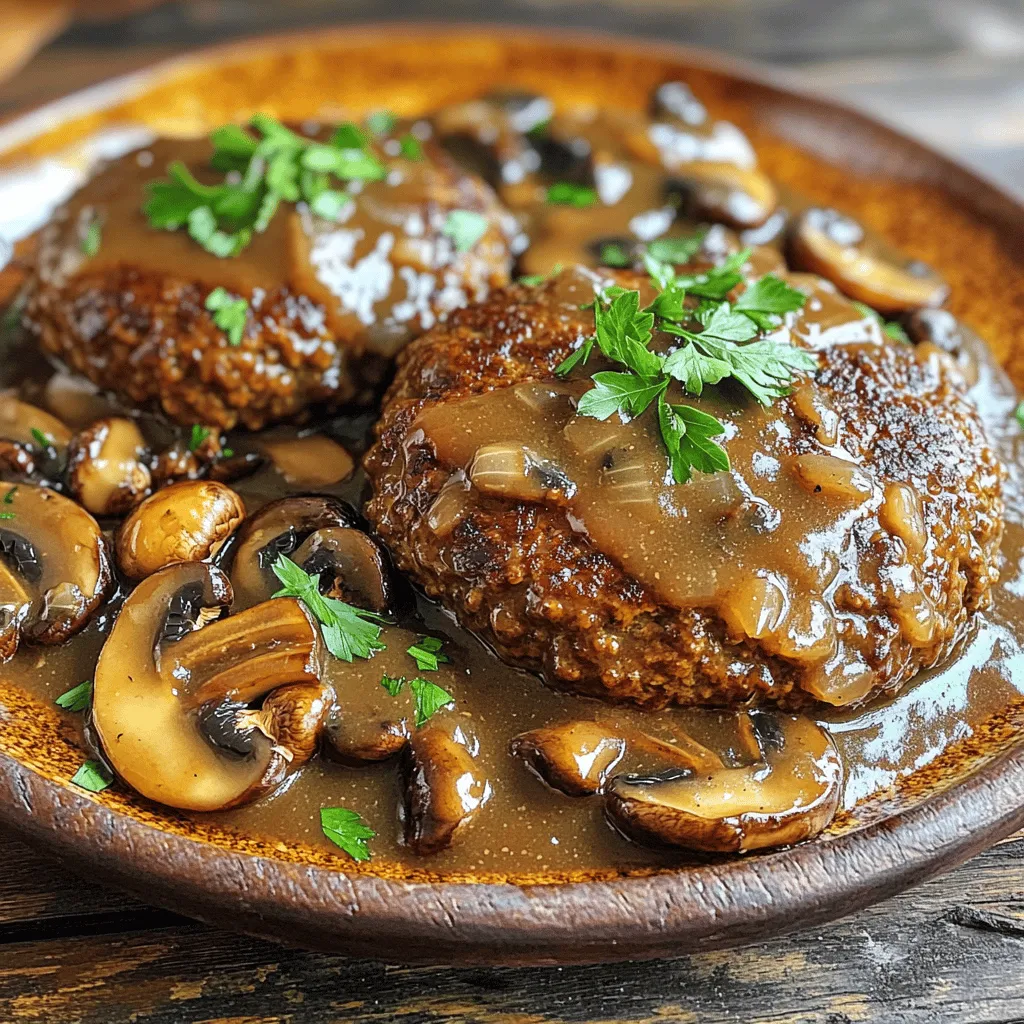
Classic Salisbury Steak Recipe Savory and Simple Dish
Savor the comfort of a classic dish that brings warmth to your kitchen: Salisbury steak. This savory and simple recipe combines ground beef, topped with

Classic Chicken Noodle Soup Comforting Homemade Dish
Nothing warms the heart like a bowl of classic chicken noodle soup. With tender chicken, fresh veggies, and savory broth, this homemade dish is perfect