Dinner
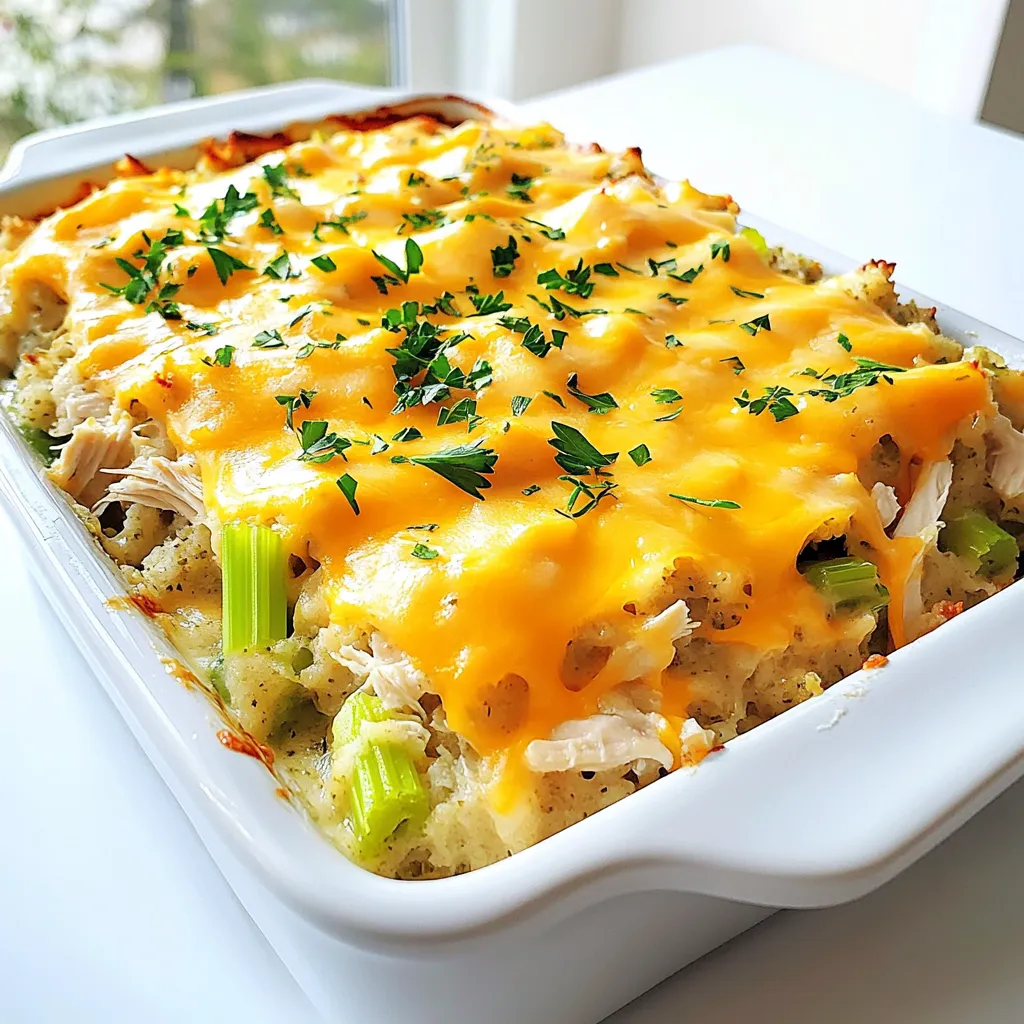
Dolly’s Chicken and Stuffing Casserole Simple Delight
Looking for a warm, hearty dish that the whole family will love? Dolly’s Chicken and Stuffing Casserole is your answer! This simple recipe combines tender
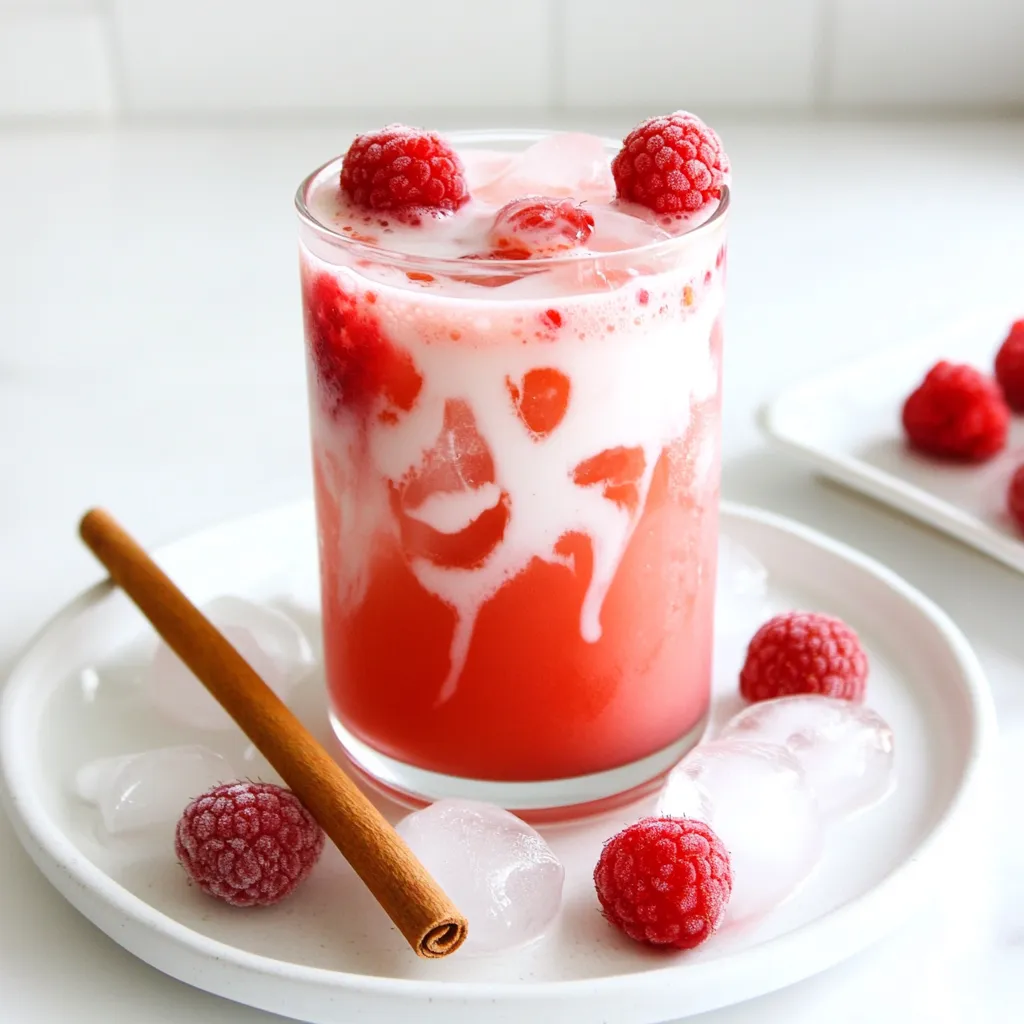
Iced Raspberry Vanilla Chai Refreshing Summer Drink
Looking to beat the summer heat with something refreshing? Try my Iced Raspberry Vanilla Chai! This drink combines rich black tea, sweet raspberries, and creamy

Cheeseburger Wrap Delicious and Easy Recipe Guide
Craving something new for lunch? The cheeseburger wrap is the perfect mix of fun and flavor. In just a few simple steps, you can enjoy
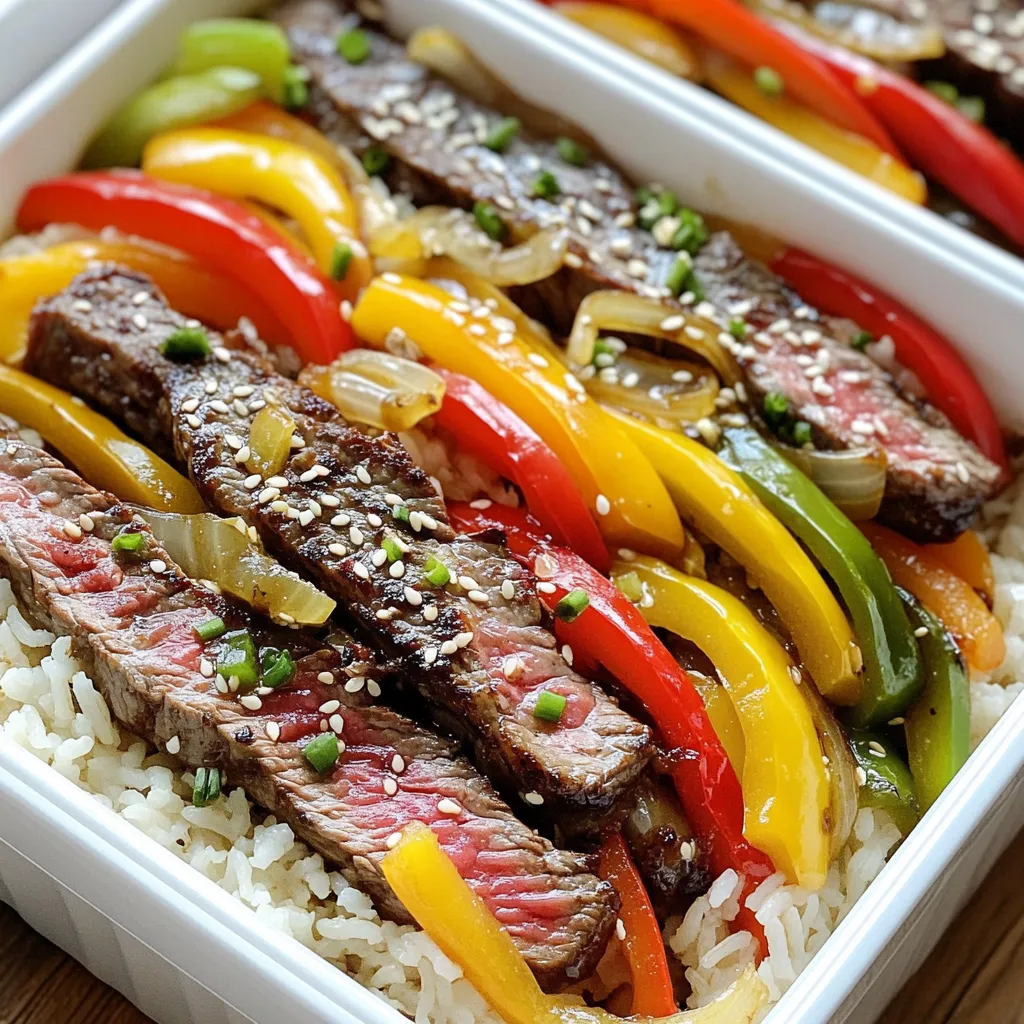
Steak Rice Pepper Meal Prep Satisfying and Simple
If you’re looking for a meal that’s quick, tasty, and easy to prep, you’re in the right place! My Steak Rice Pepper Meal Prep is
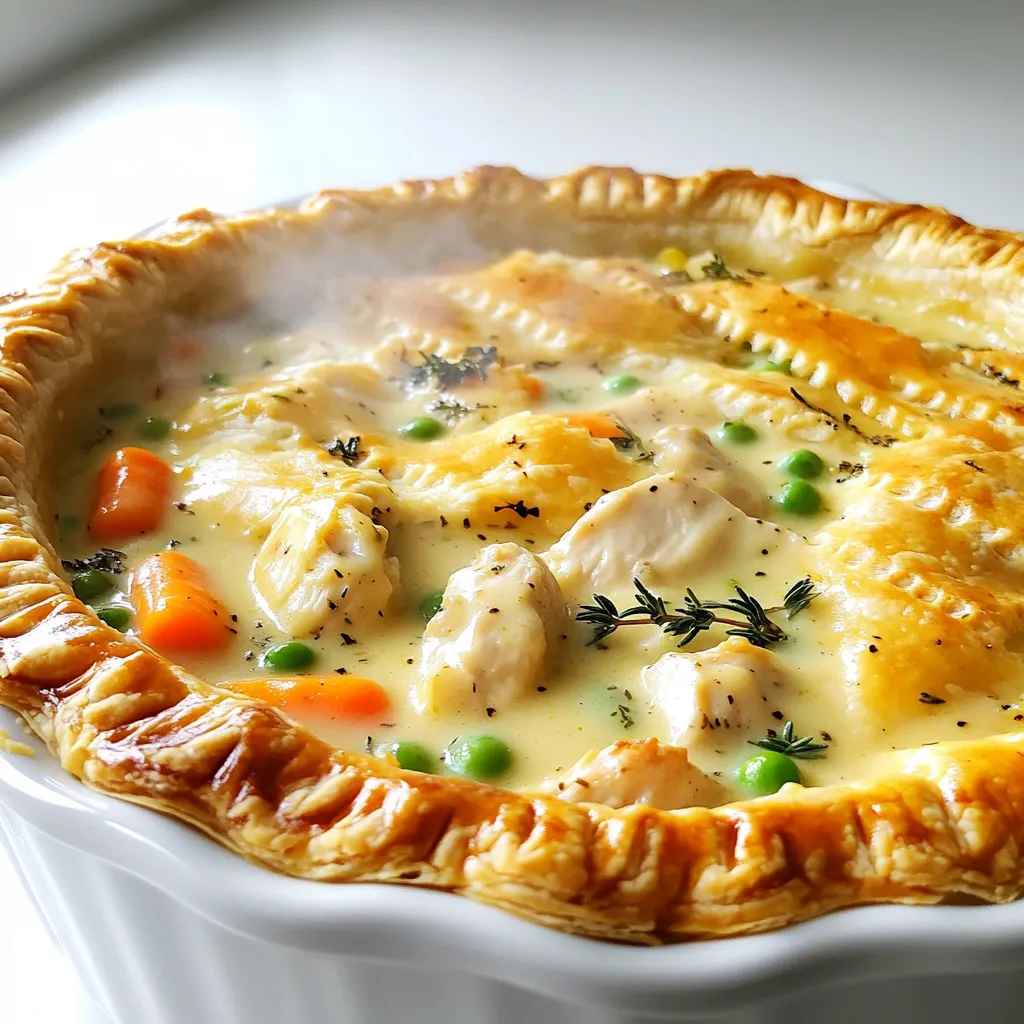
Creamy Chicken Pot Pie Comforting Family Favorites
Do you crave the warmth of home-cooked meals? My Creamy Chicken Pot Pie is a true family favorite! It combines tender chicken, fresh veggies, and
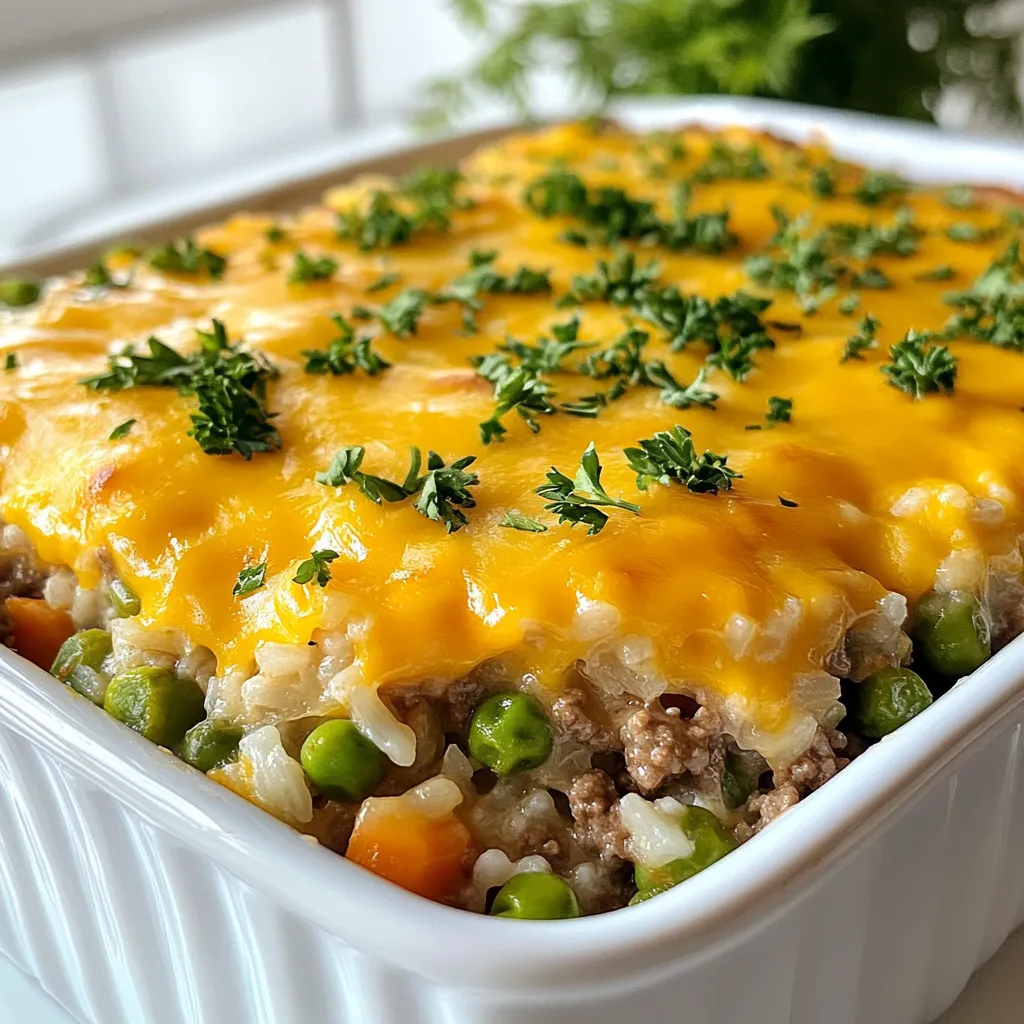
Cheesy Hamburger Rice Casserole Easy Family Dinner
Are you looking for an easy family dinner that everyone will love? Cheesy Hamburger Rice Casserole brings comfort food to your table without the fuss.

Minute Honey Garlic Chicken Stir-Fry Simple Delight
Are you craving a quick, tasty meal that’s full of flavor? Look no further than my Minute Honey Garlic Chicken Stir-Fry! This dish combines tender

Creamy Lemon Chicken & Spinach Skillet Delight
Welcome to your next favorite dinner recipe: Creamy Lemon Chicken & Spinach Skillet Delight! This dish combines juicy chicken, fresh spinach, and a rich, tangy

Cajun White Chicken Chili Flavorful and Hearty Dish
Looking to spice up your dinner routine? My Cajun White Chicken Chili is a perfect blend of flavors and warmth. This hearty dish combines tender
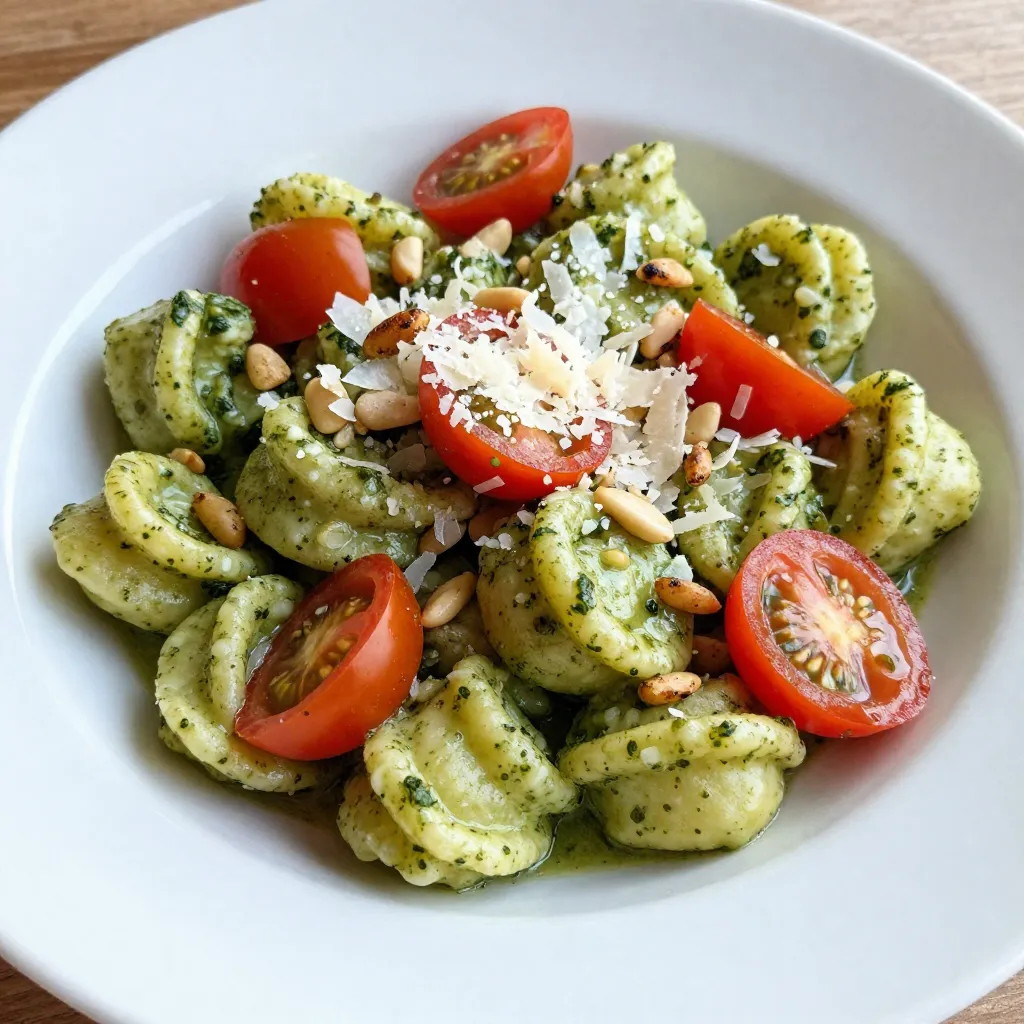
Creamy Pesto Gnocchi Delightful and Easy Recipe
Creamy pesto gnocchi is a delight that you can whip up with ease! Packed with flavor from fresh basil, rich cream, and savory pine nuts,