Dinner

Ingredient Chicken Parmesan Essential Cooking Guide
If you’re craving a delicious chicken dish, Chicken Parmesan is a classic choice! This Essential Cooking Guide shares all the ingredients you need, from juicy
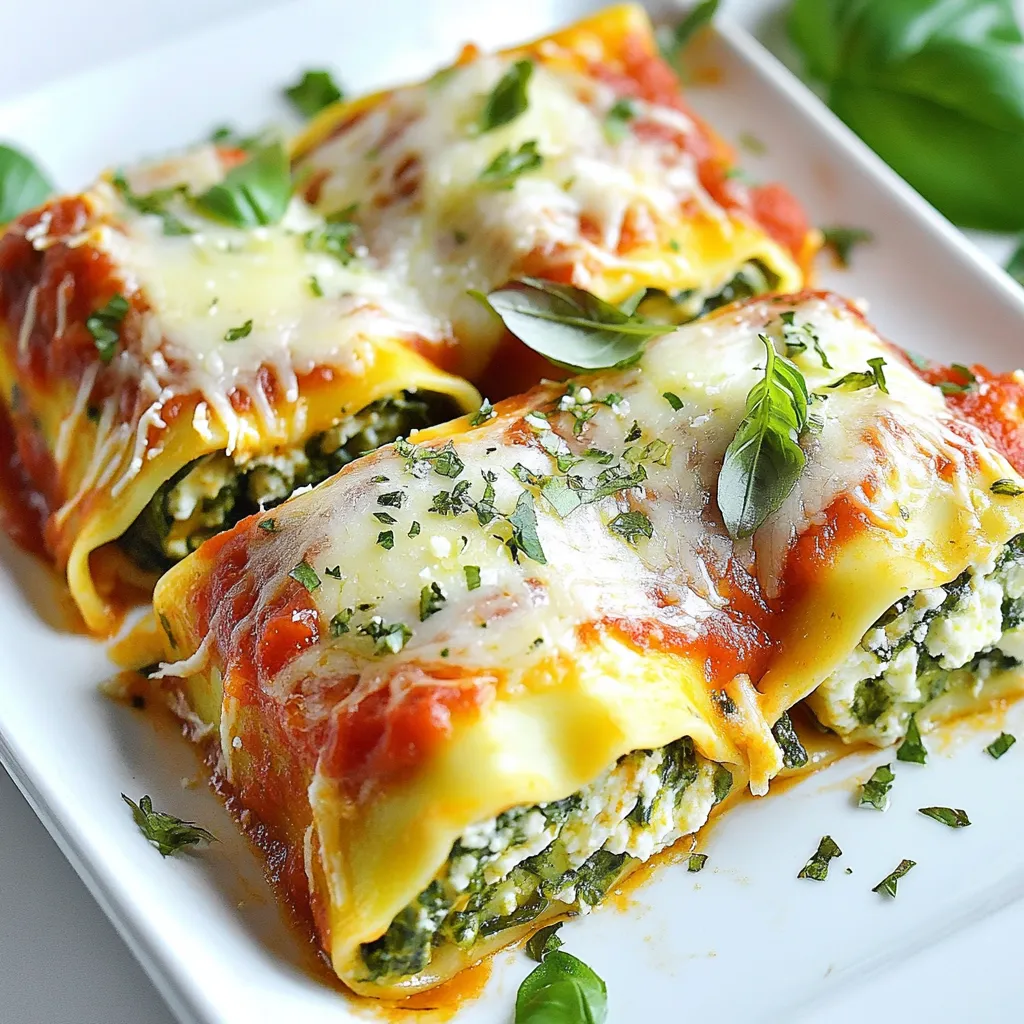
Three Cheese Spinach Lasagna Roll Ups Easy Recipe
Are you ready to savor a dish that’s both easy to make and bursting with flavor? My Three Cheese Spinach Lasagna Roll Ups recipe is
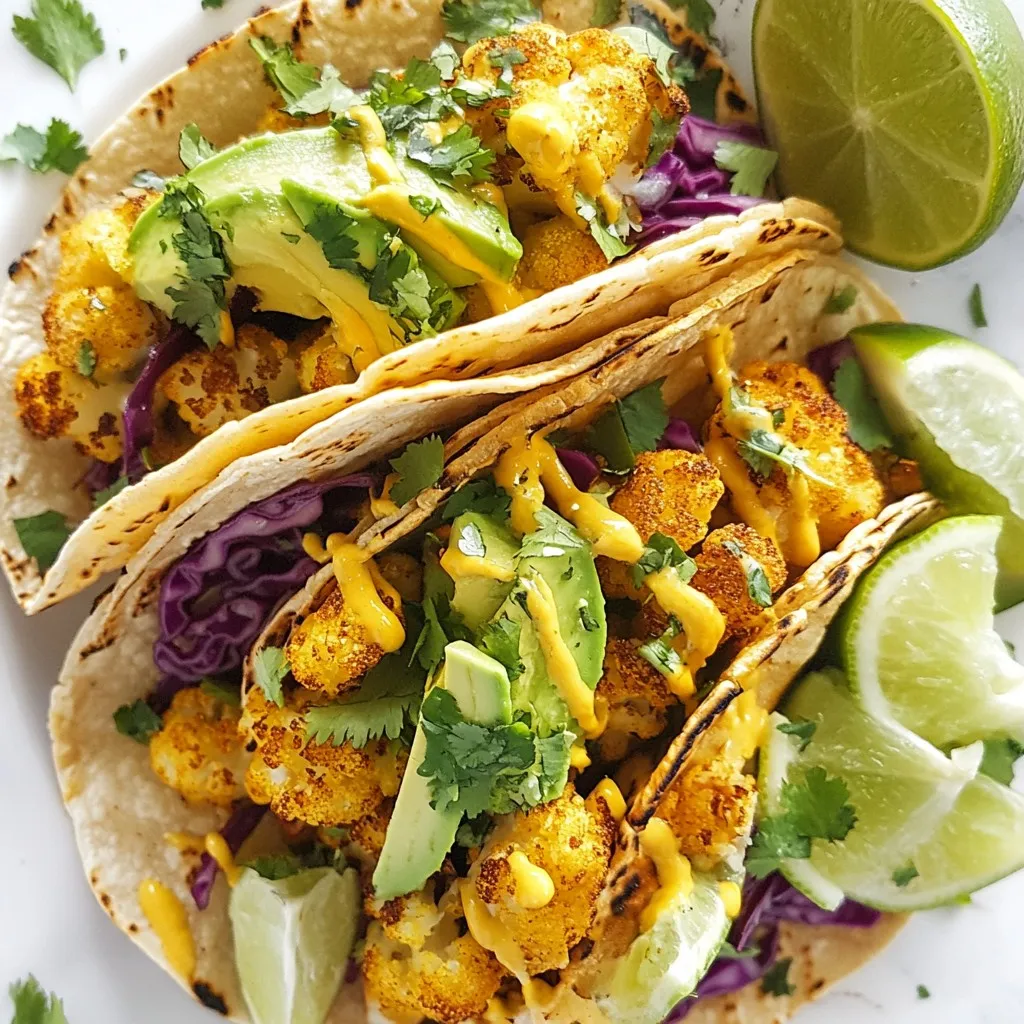
Roasted Cauliflower Tacos Flavorful and Easy Dish
If you’re looking for a quick meal that’s packed with flavor, you’ve come to the right place! Roasted cauliflower tacos are not just simple to
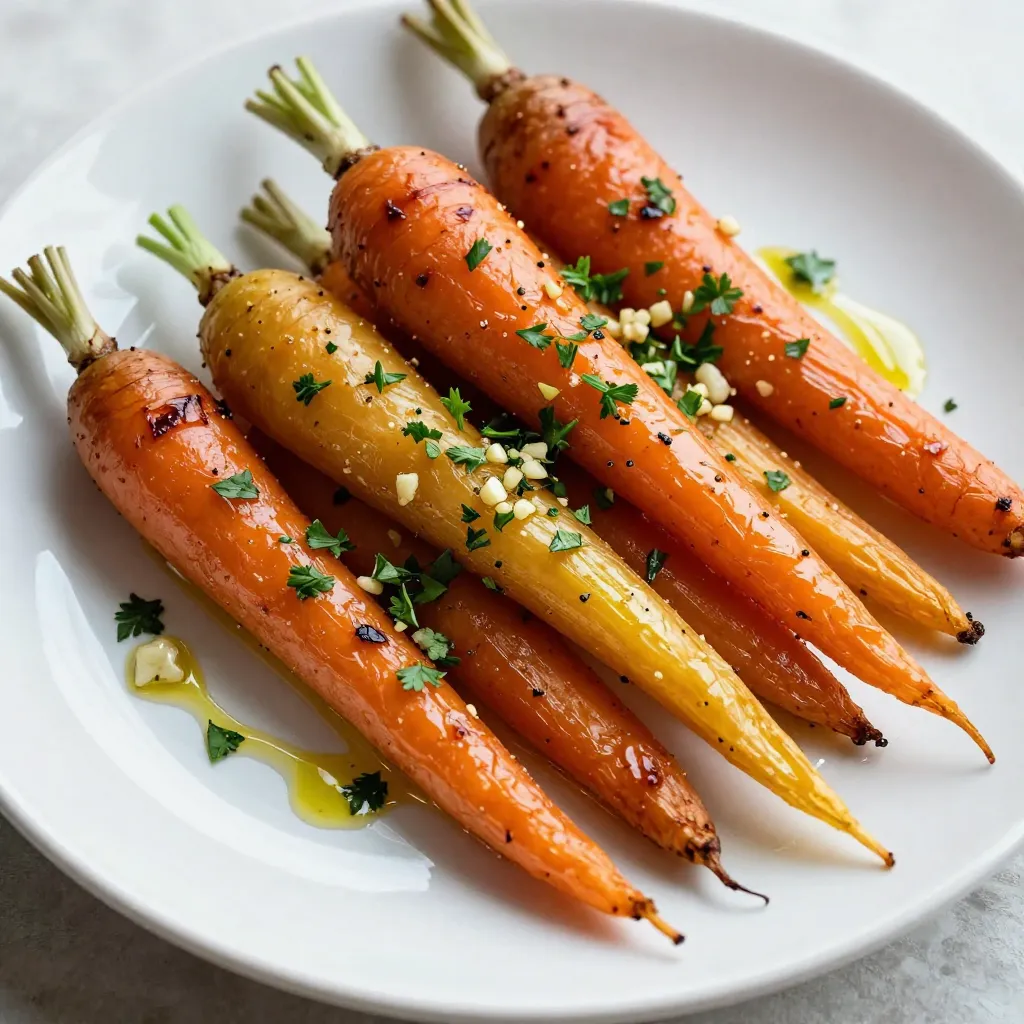
Garlic Herb Roasted Rainbow Carrots Delightful Dish
Looking for an easy, colorful side dish that packs a punch? Garlic Herb Roasted Rainbow Carrots are perfect for any meal. With just a few
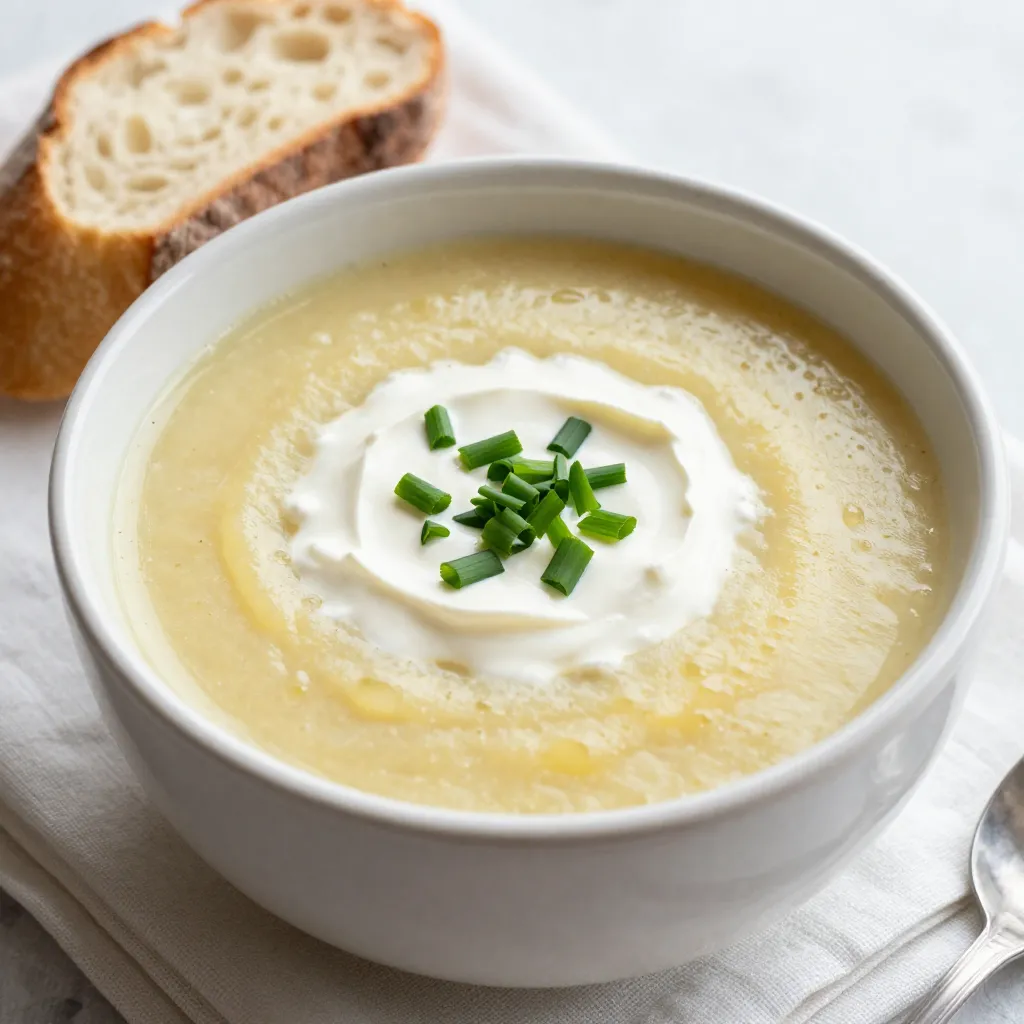
Creamy Potato Leek Soup Rich and Flavorful Recipe
If you’re looking for a warm, comforting dish that bursts with flavor, you’ve found it! My Creamy Potato Leek Soup combines simple ingredients to create
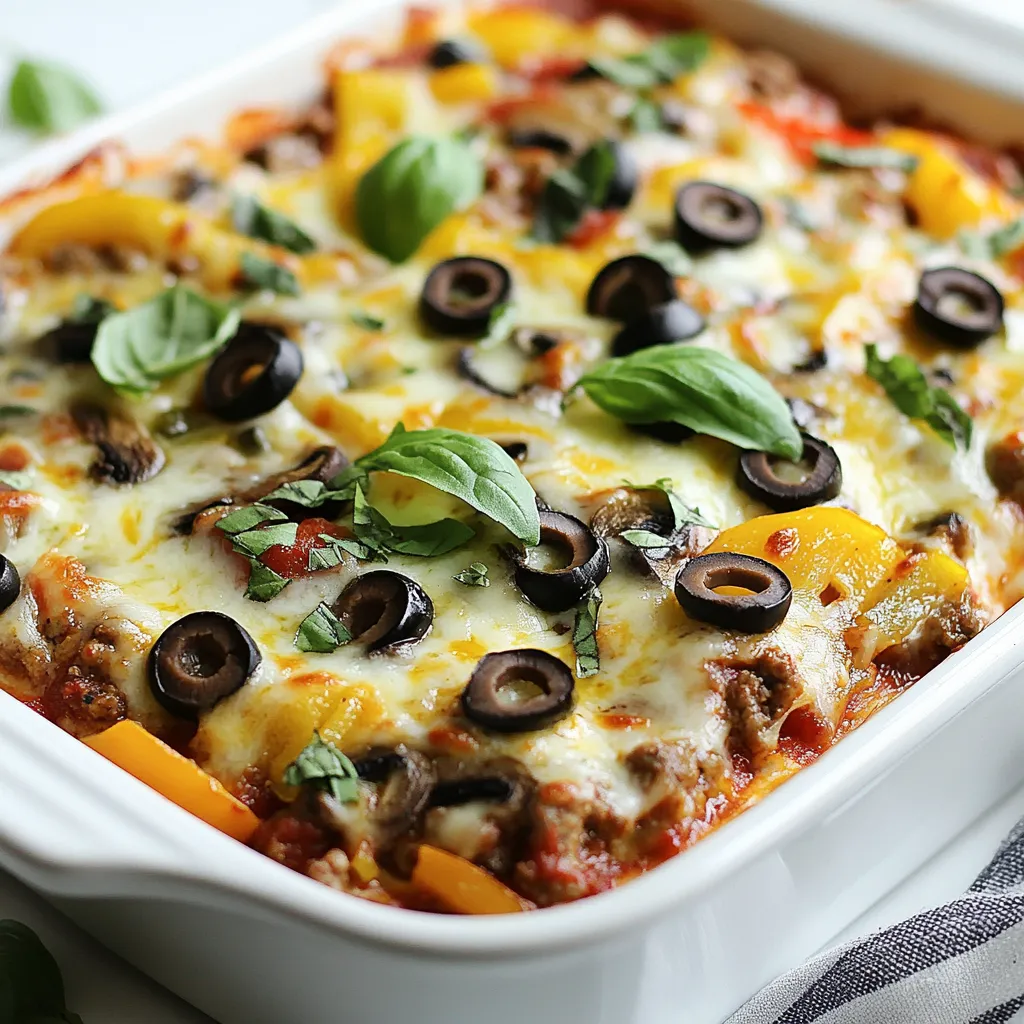
Easy Low Carb Supreme Pizza Casserole Delight
Craving pizza but want to keep it low carb? You’ve found the perfect solution! In this Easy Low Carb Supreme Pizza Casserole Delight, I’ll guide
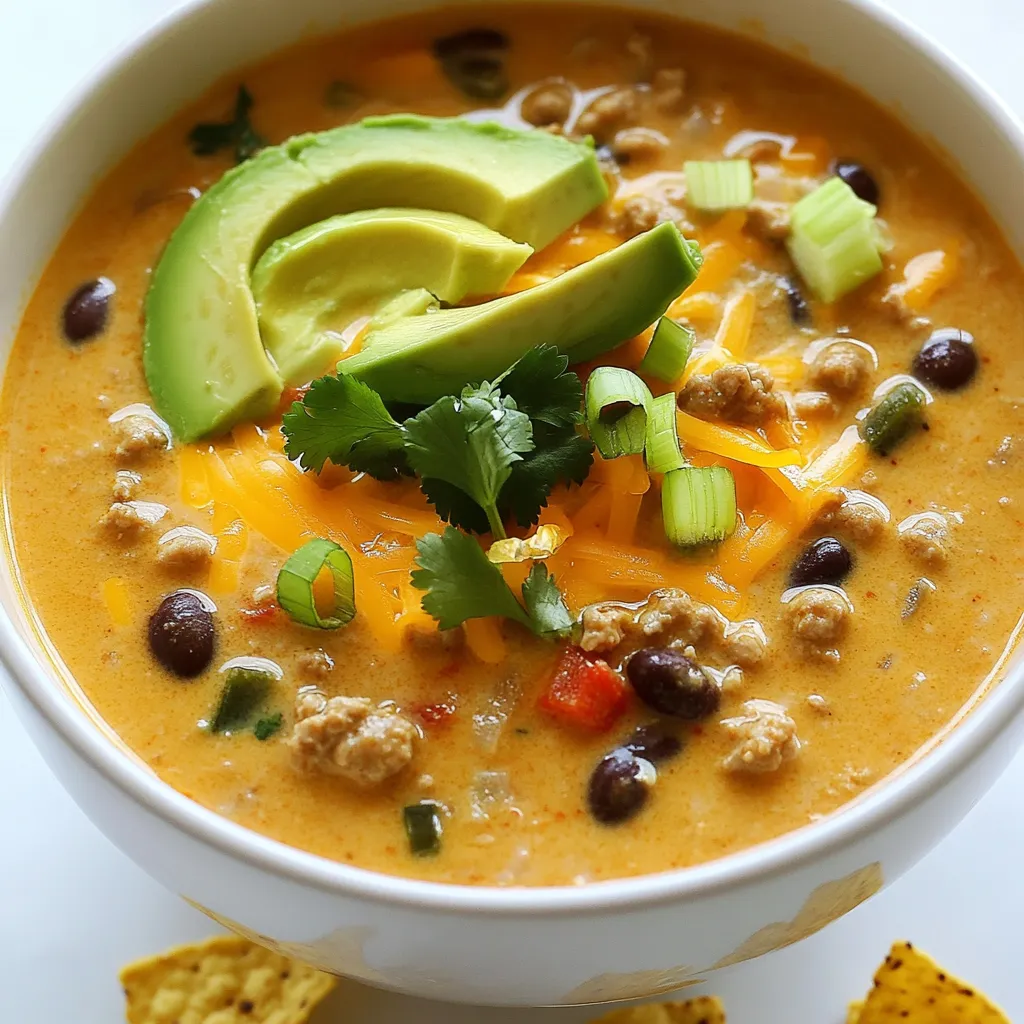
Creamy Taco Soup Rich and Flavorful Comfort Dish
Are you craving a dish that’s both rich and comforting? Look no further! This Creamy Taco Soup is loaded with flavor, making it perfect for

Italian Sausage Tortellini Soup Hearty and Comforting Dish
Looking for a dish that warms your heart and satisfies your cravings? Italian Sausage Tortellini Soup is the answer! Packed with juicy sausage, cheesy tortellini,
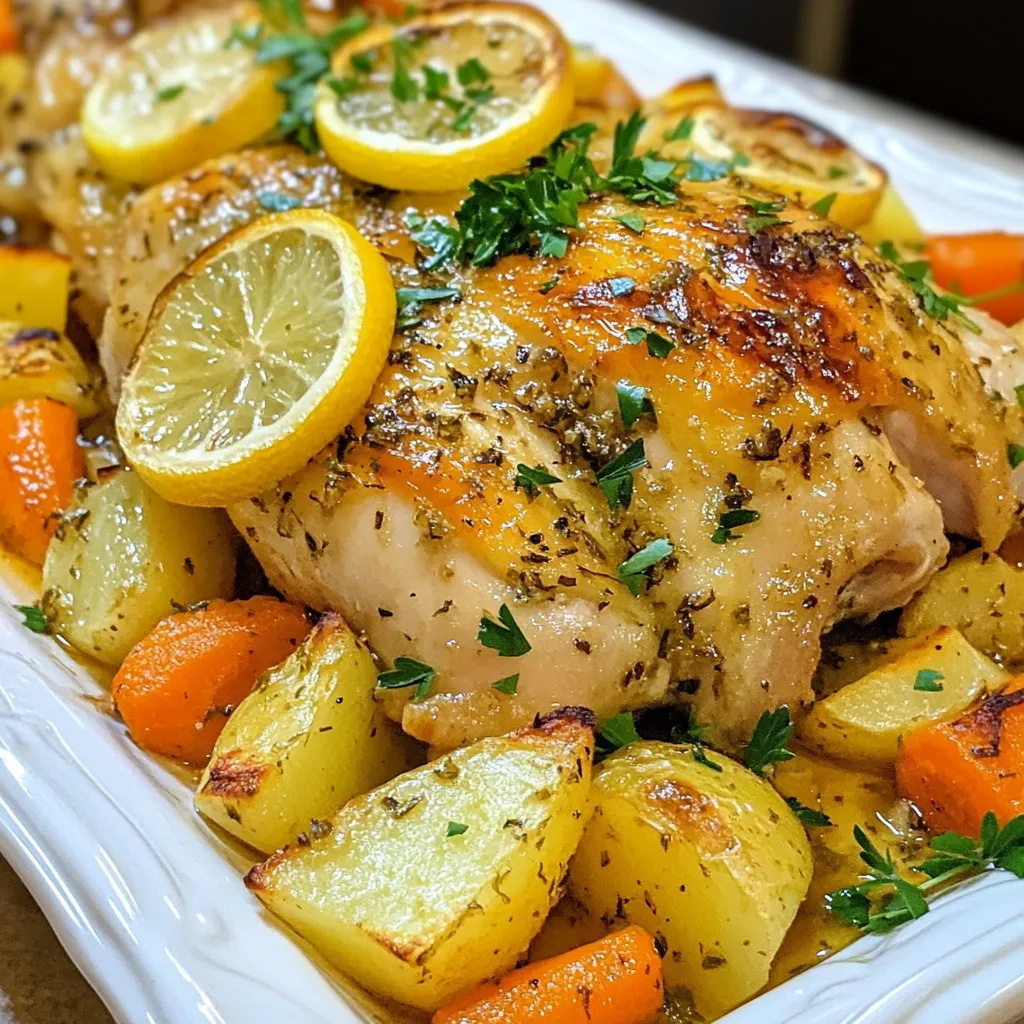
Lemon Garlic Roast Chicken Flavorful Dinner Delight
Are you ready to impress your family with a mouthwatering dinner? My Lemon Garlic Roast Chicken is the answer. This simple recipe combines bright lemon
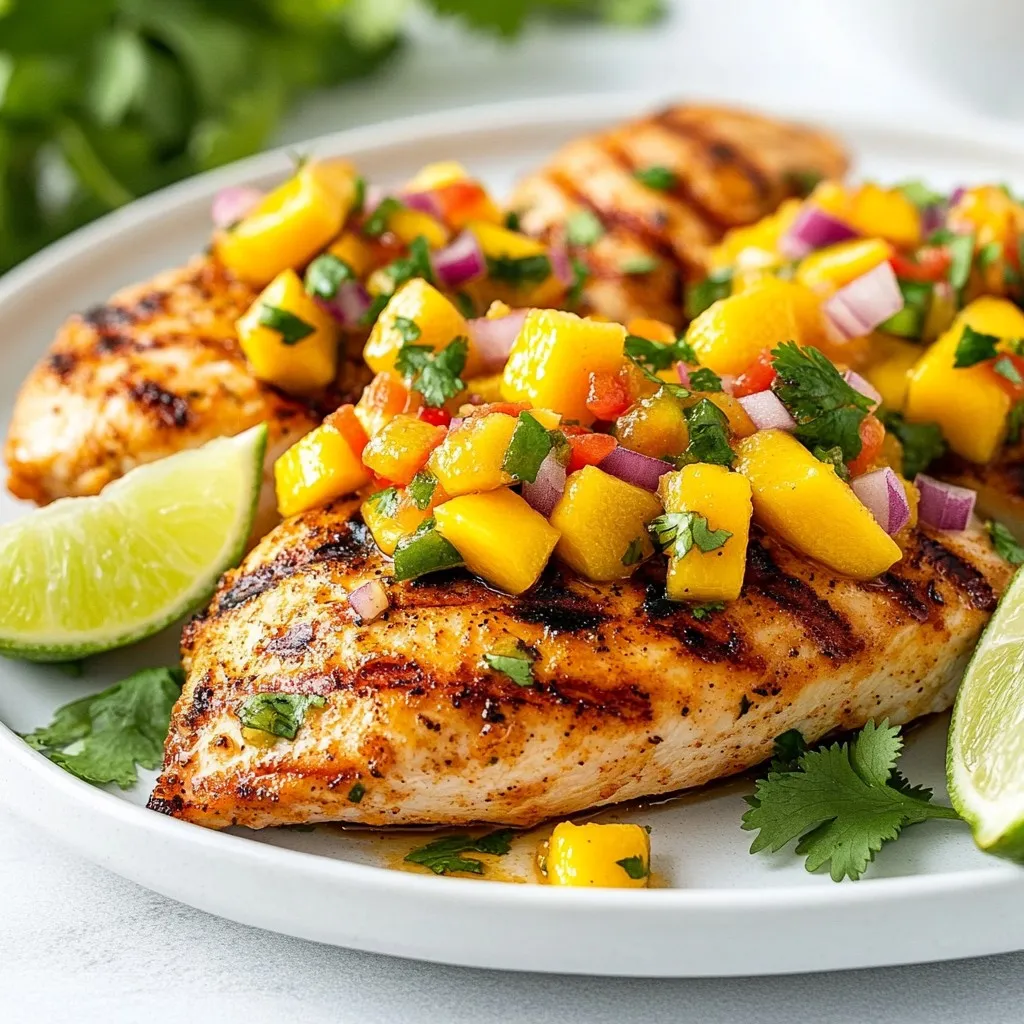
Mango Salsa Chicken Flavorful and Easy Grilled Meal
Looking to spice up your dinner routine? This Mango Salsa Chicken recipe delivers zesty flavors and is simple to make. You’ll use juicy chicken breasts