Dinner
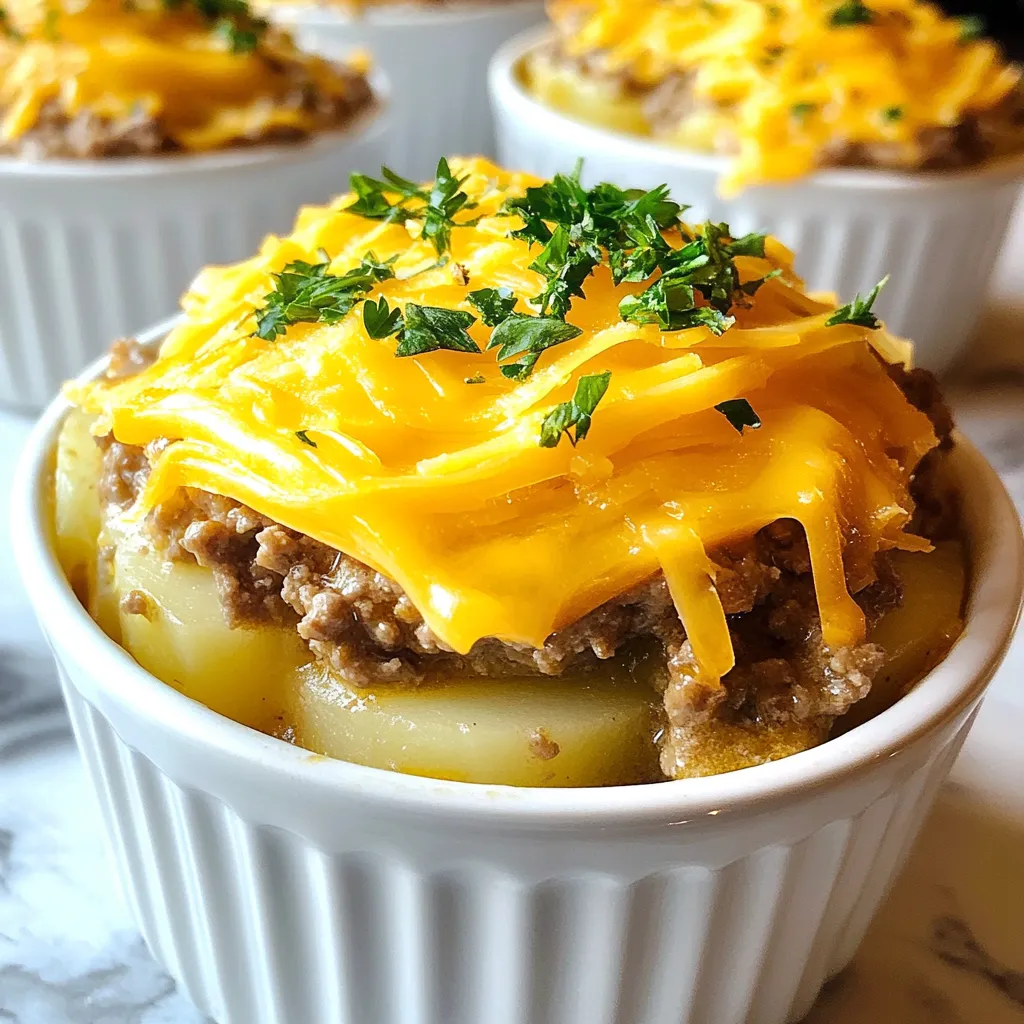
Crockpot Hamburger Potato Casserole Tasty Comfort Meal
Are you ready to enjoy a warm, hearty meal that cooks while you go about your day? My Crockpot Hamburger Potato Casserole combines ground beef,
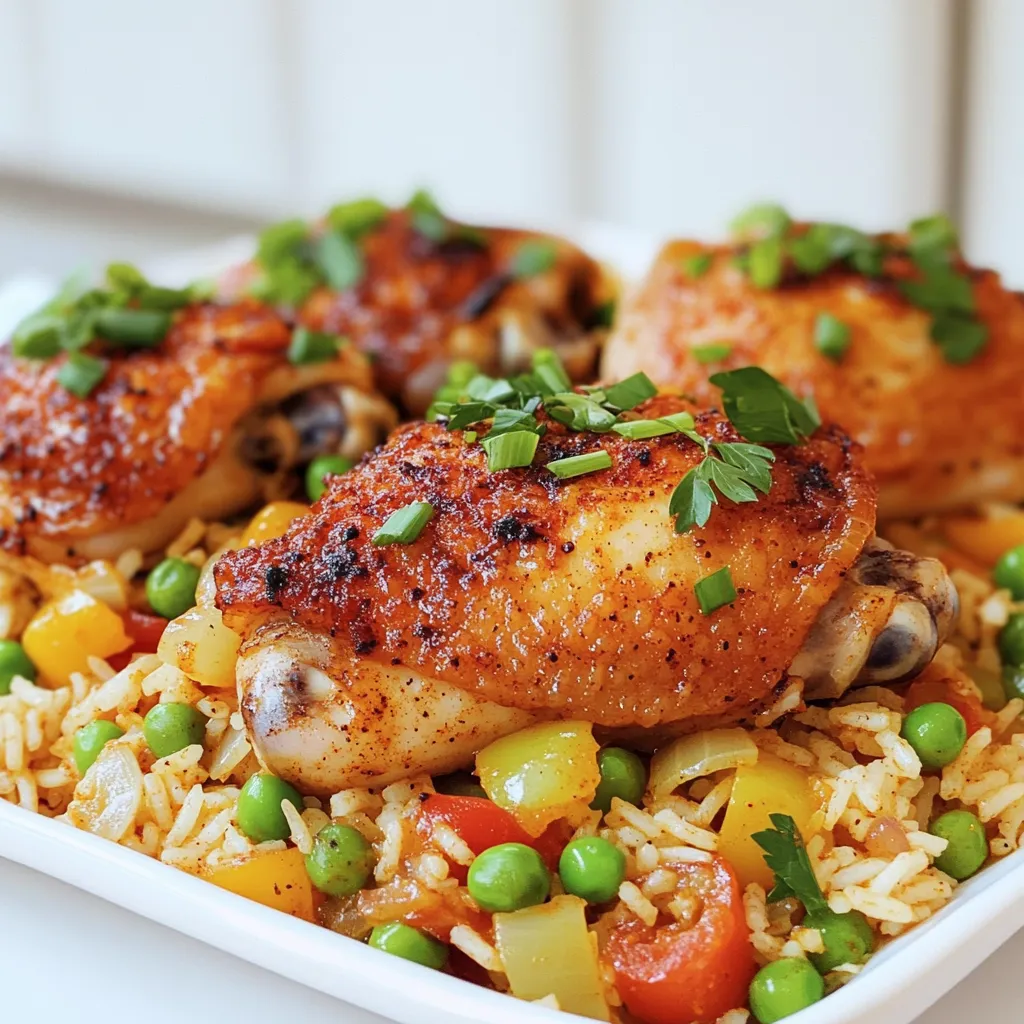
Spicy Cajun Chicken & Rice One Pan Feast
Ready for a meal that packs a punch? This Spicy Cajun Chicken & Rice One Pan Feast is bursting with flavor and easy to make!
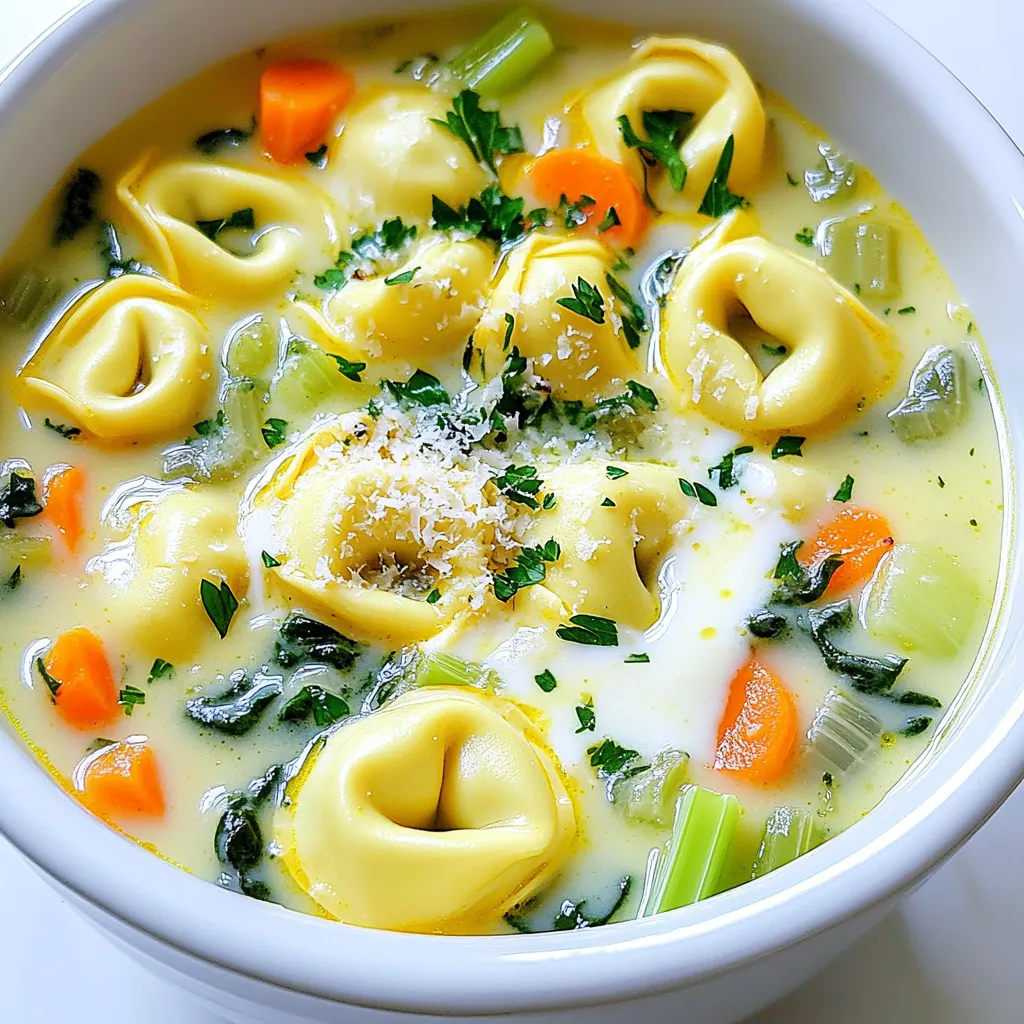
Slow Cooker Creamy Tortellini Soup Simple and Tasty
If you crave a warm, filling meal with minimal effort, you’re in the right place. This Slow Cooker Creamy Tortellini Soup is packed with delicious
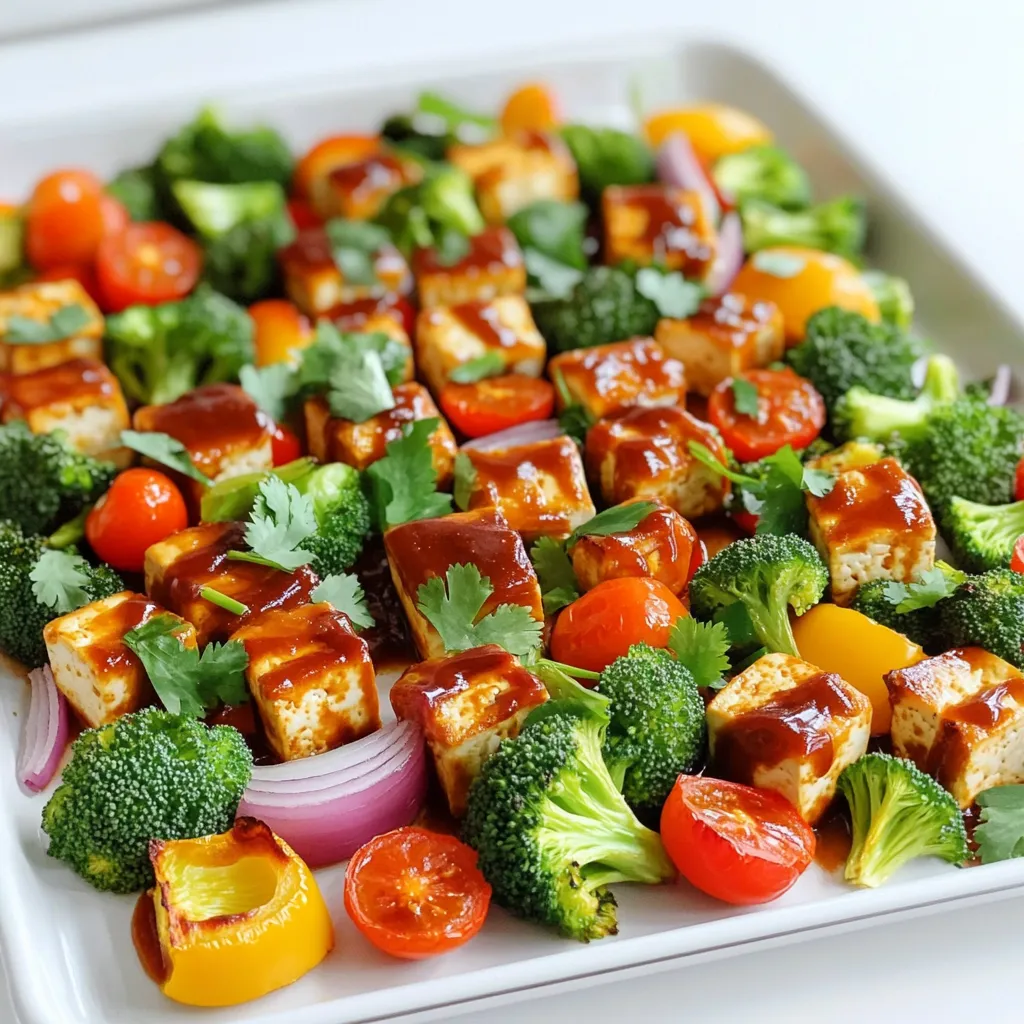
Sheet Pan BBQ Tofu Veggies Simple and Tasty Meal
Looking for an easy and delicious meal? Try my Sheet Pan BBQ Tofu Veggies. This dish combines firm tofu and vibrant veggies to create a
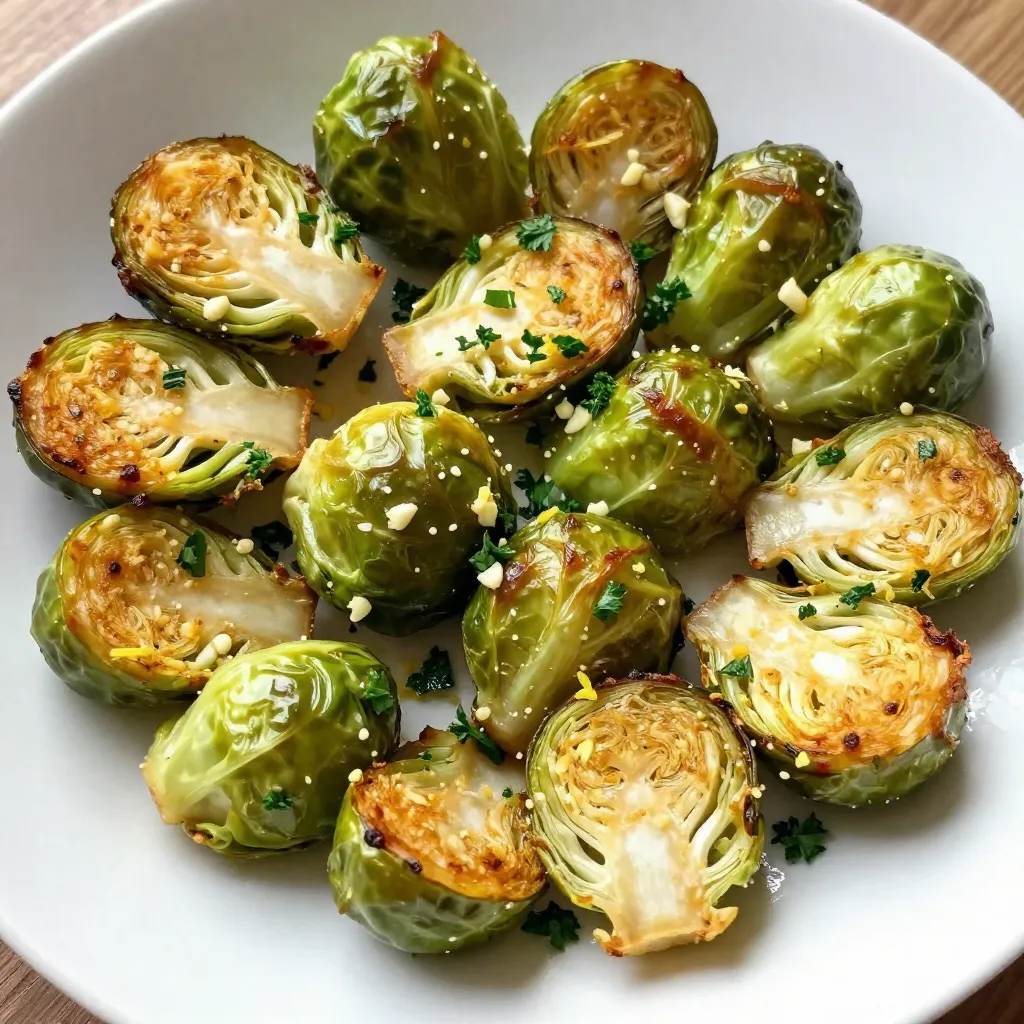
Lemon Garlic Roasted Brussels Sprouts Flavorful Dish
Are you ready to transform your Brussels sprouts into a flavor-packed side dish? In this guide, I’ll show you how to make Lemon Garlic Roasted
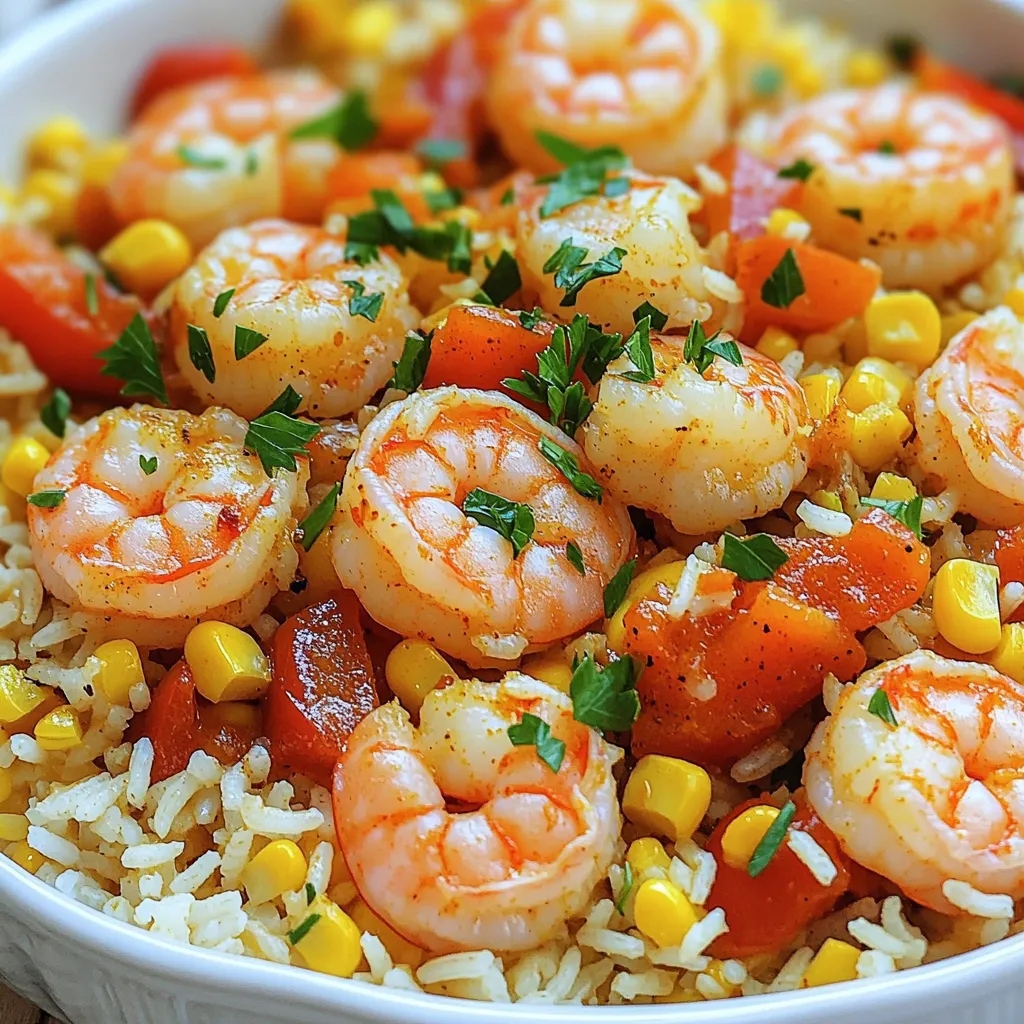
Cajun Shrimp Rice Skillet Flavorful One-Pan Meal
Looking for a meal that’s bursting with flavor and easy to make? You’ll love this Cajun Shrimp Rice Skillet! In just one pan, you can
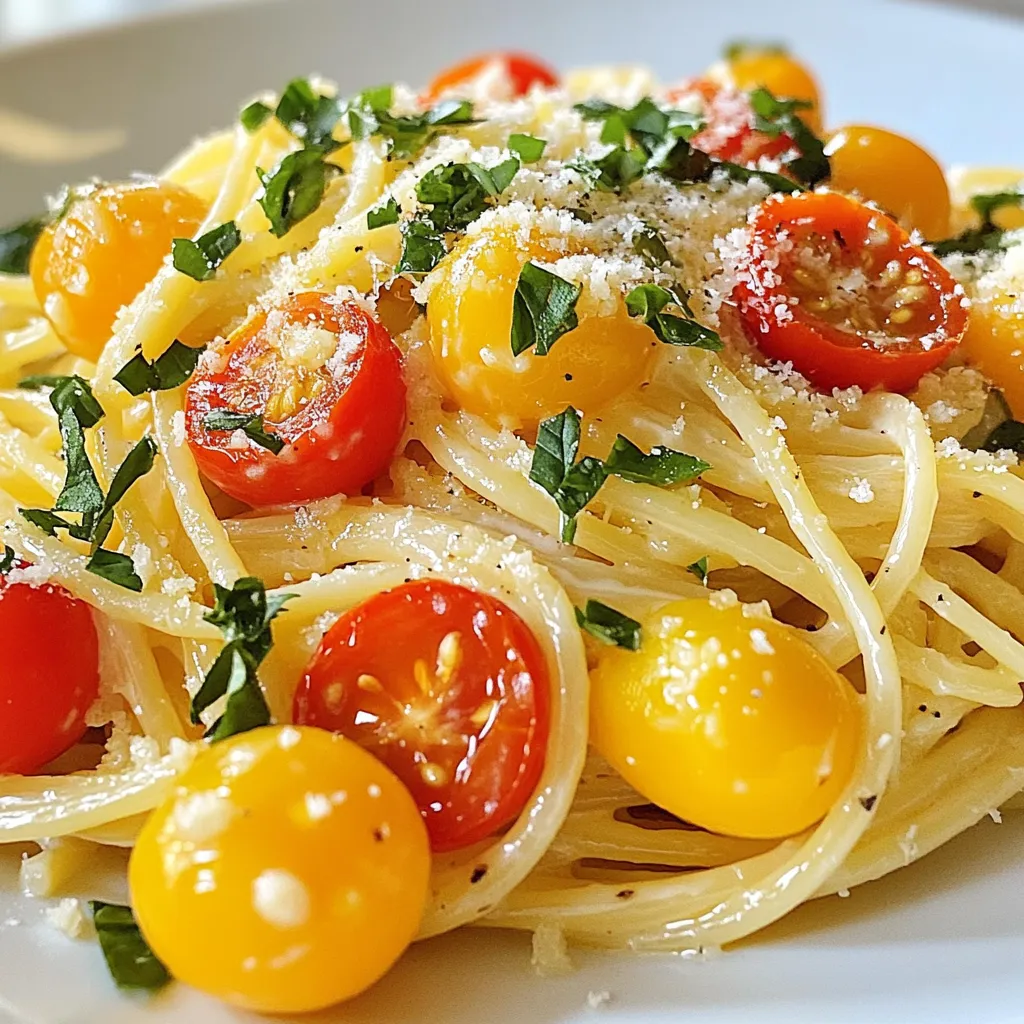
Cream Cheese Spaghetti Simple and Savory Dish
If you crave a dish that’s both simple and tasty, you’ll love Cream Cheese Spaghetti. This creamy, savory meal is perfect for busy nights or
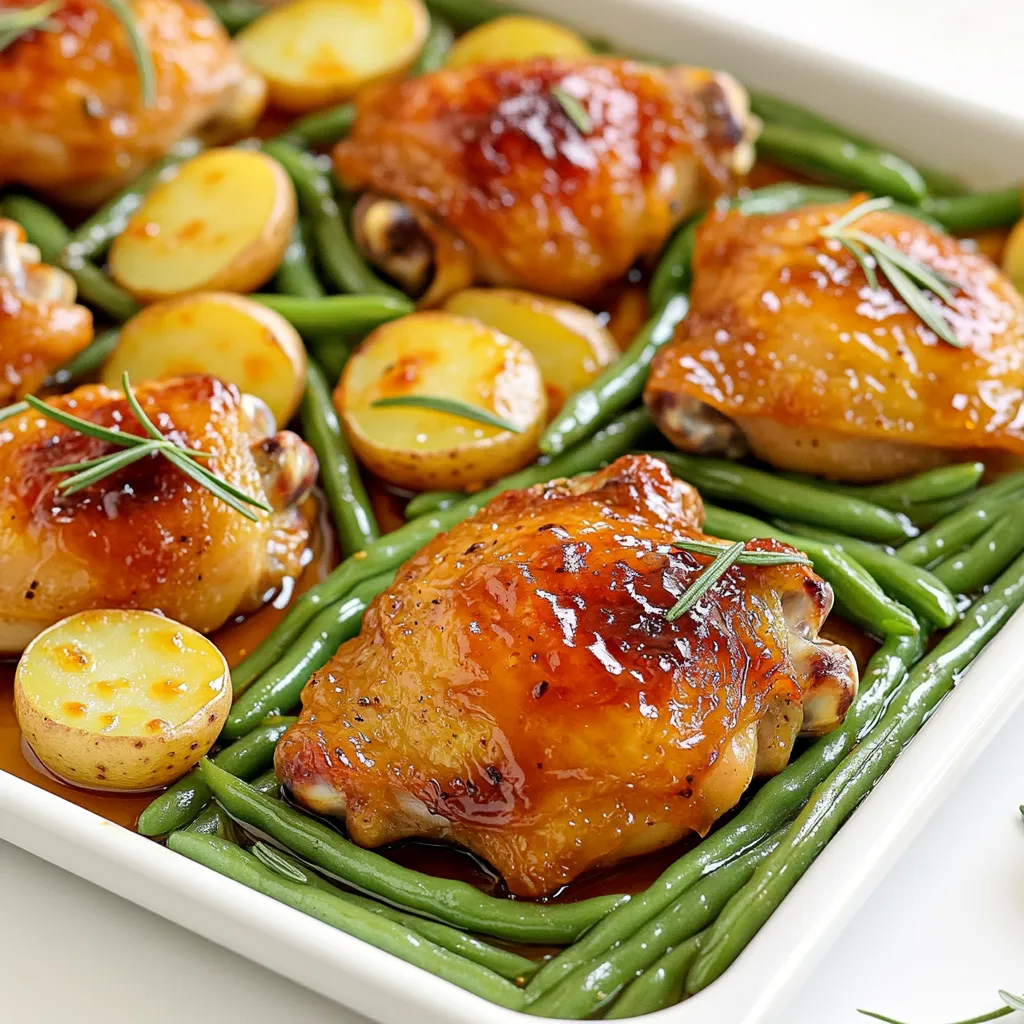
Honey Mustard Chicken Thighs Sheet-Pan Delight
If you love quick and tasty dinners, you need to try my Honey Mustard Chicken Thighs Sheet-Pan Delight. This meal combines juicy chicken thighs and
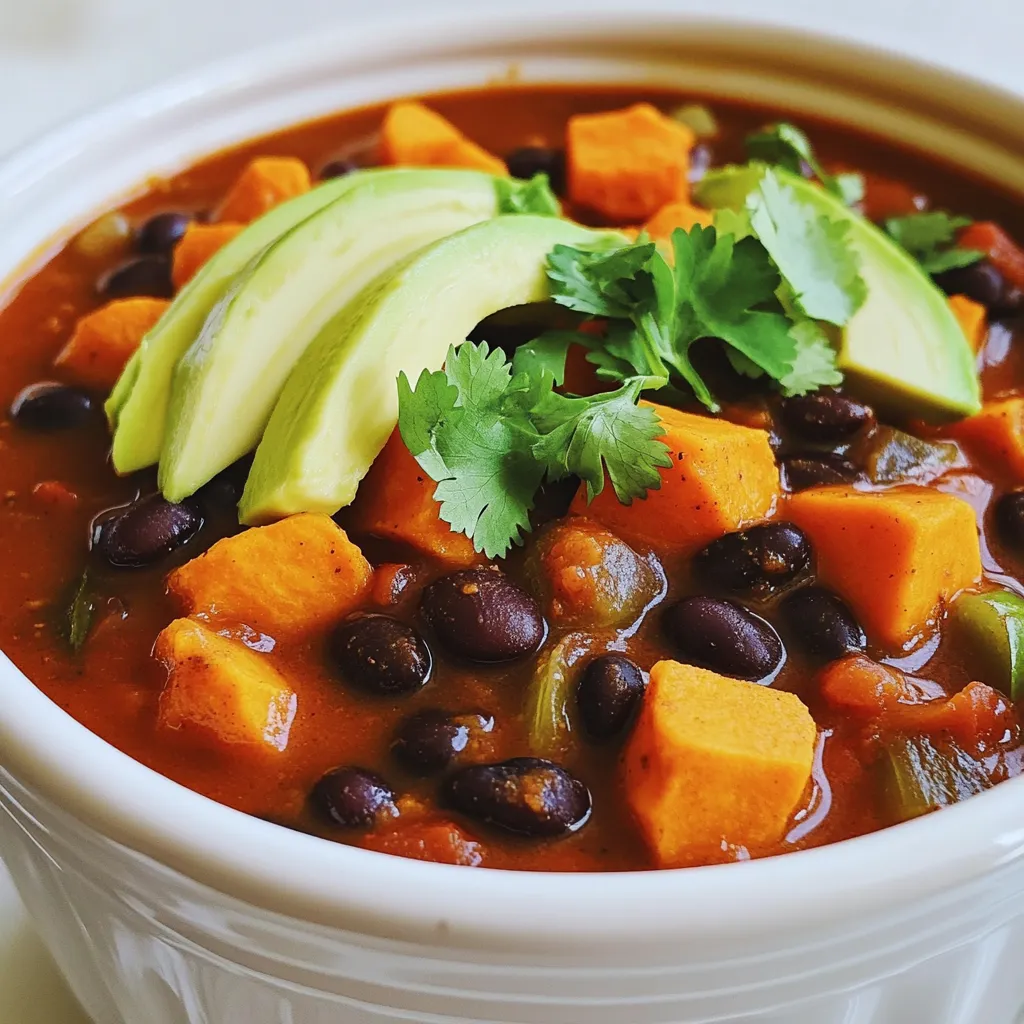
Slow Cooker Sweet Potato Black Bean Chili Delight
Warm up your kitchen with my Slow Cooker Sweet Potato Black Bean Chili Delight! This hearty dish is perfect for any day. You’ll enjoy rich
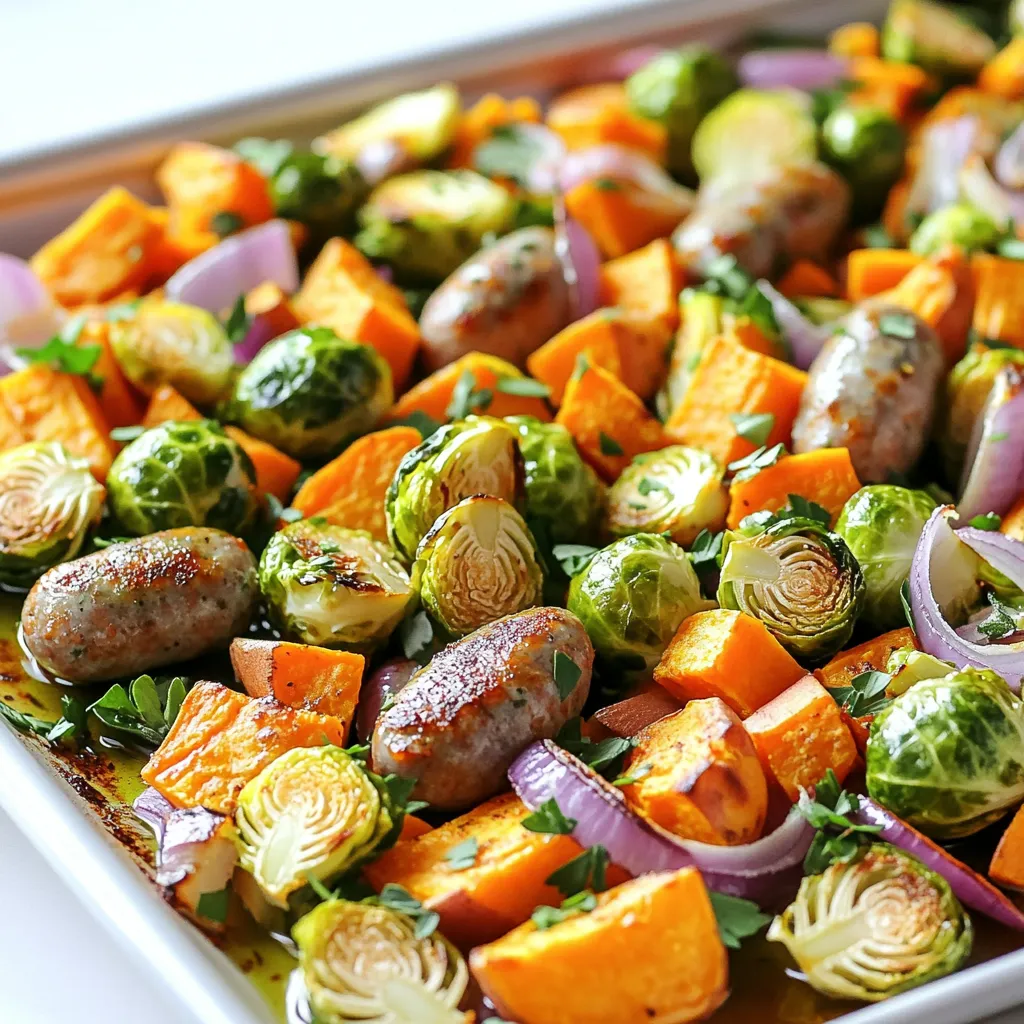
Sheet-Pan Roasted Sausage and Fall Vegetables Delight
Welcome to a cozy dinner idea that’s perfect for fall! In this post, I’ll show you how to create delicious sheet-pan roasted sausage with seasonal