Dinner
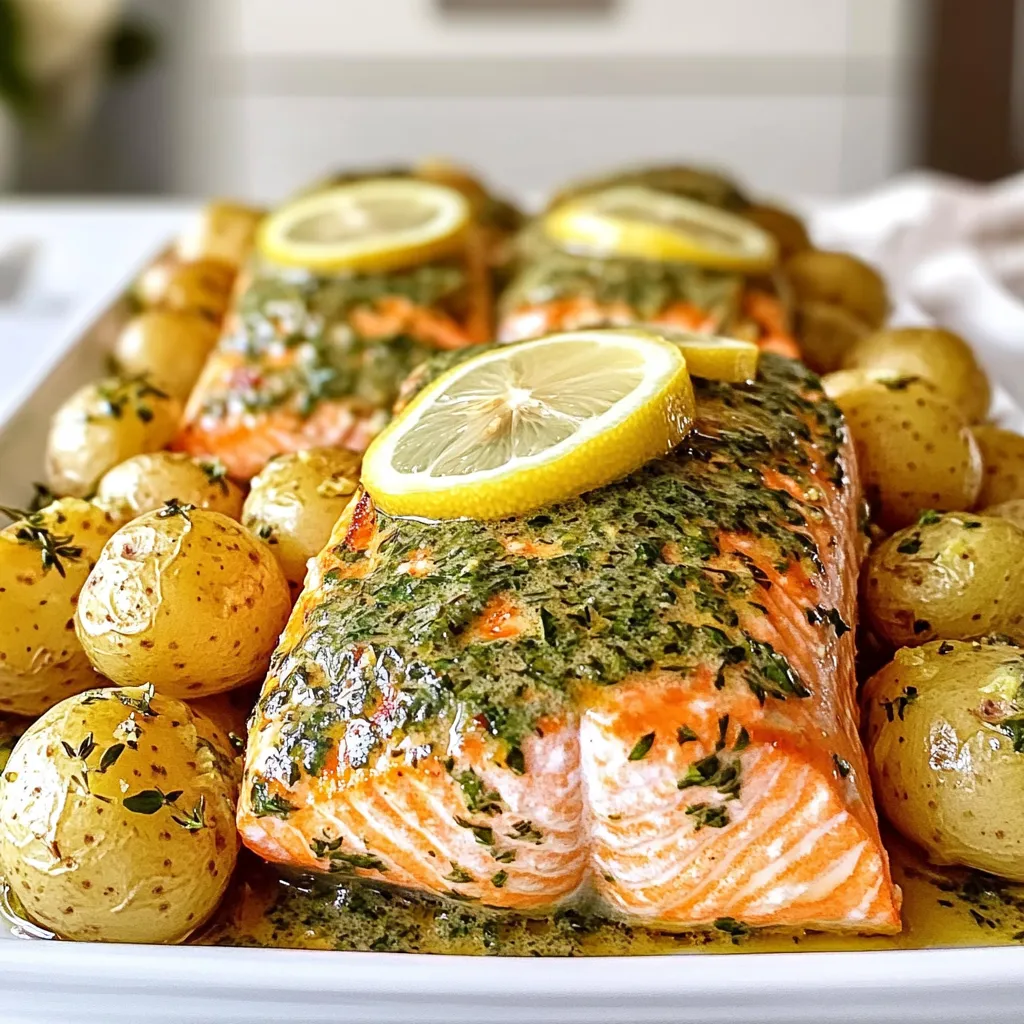
Sheet-Pan Herb Butter Salmon & Potatoes Delight
Are you ready to impress your family with an easy and tasty meal? This Sheet-Pan Herb Butter Salmon & Potatoes Delight combines flaky salmon and
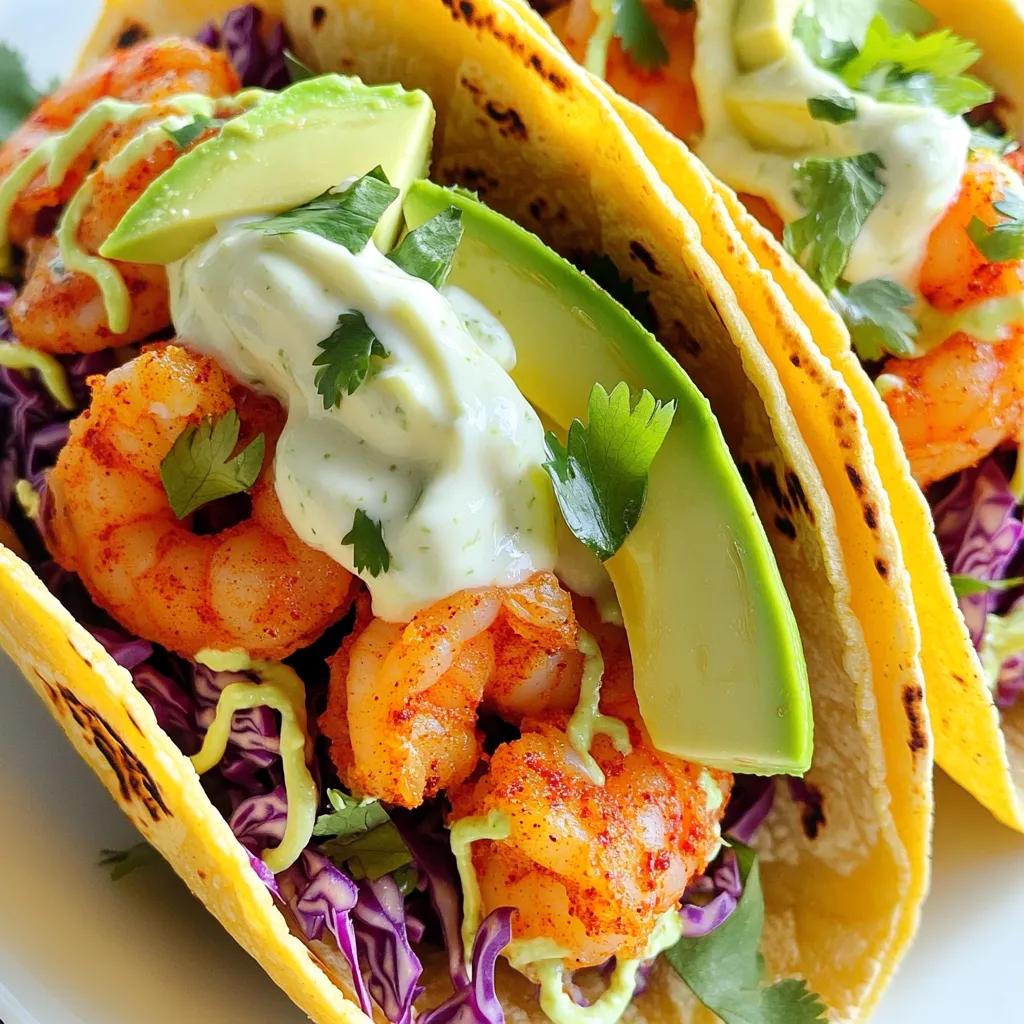
Spicy Shrimp Tacos with Lime Crema Zesty Delight
Get ready to spice up your taco night with my *Spicy Shrimp Tacos with Lime Crema*! These zesty delights combine fresh shrimp, bold flavors, and
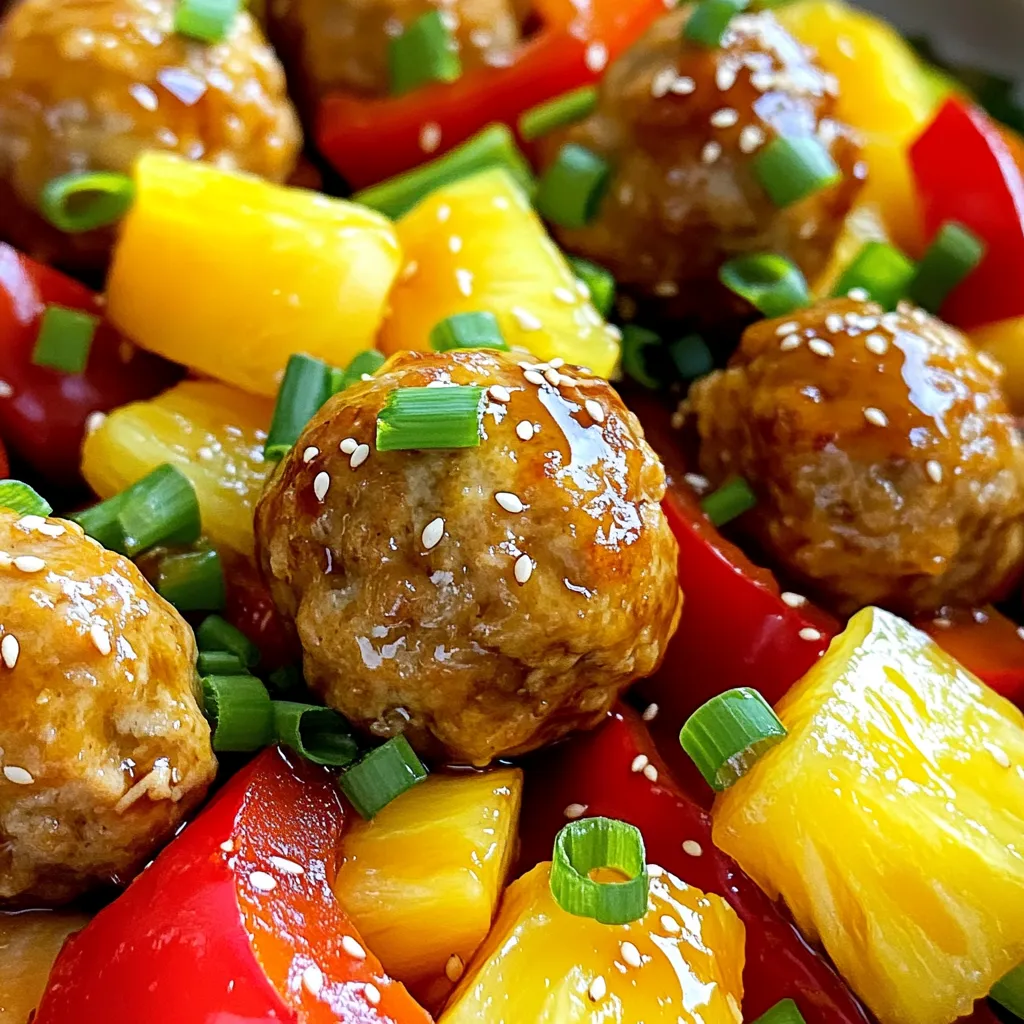
Sheet Pan Teriyaki Meatballs Pineapple Delight
Get ready to savor the deliciousness of Sheet Pan Teriyaki Meatballs with Pineapple! In this recipe, you’ll create juicy meatballs packed with flavor while keeping

Big Mac Wraps Flavorful and Fun Meal Idea
Looking for a fun twist on a classic favorite? Big Mac Wraps are an easy and delicious way to enjoy the bold flavors of a
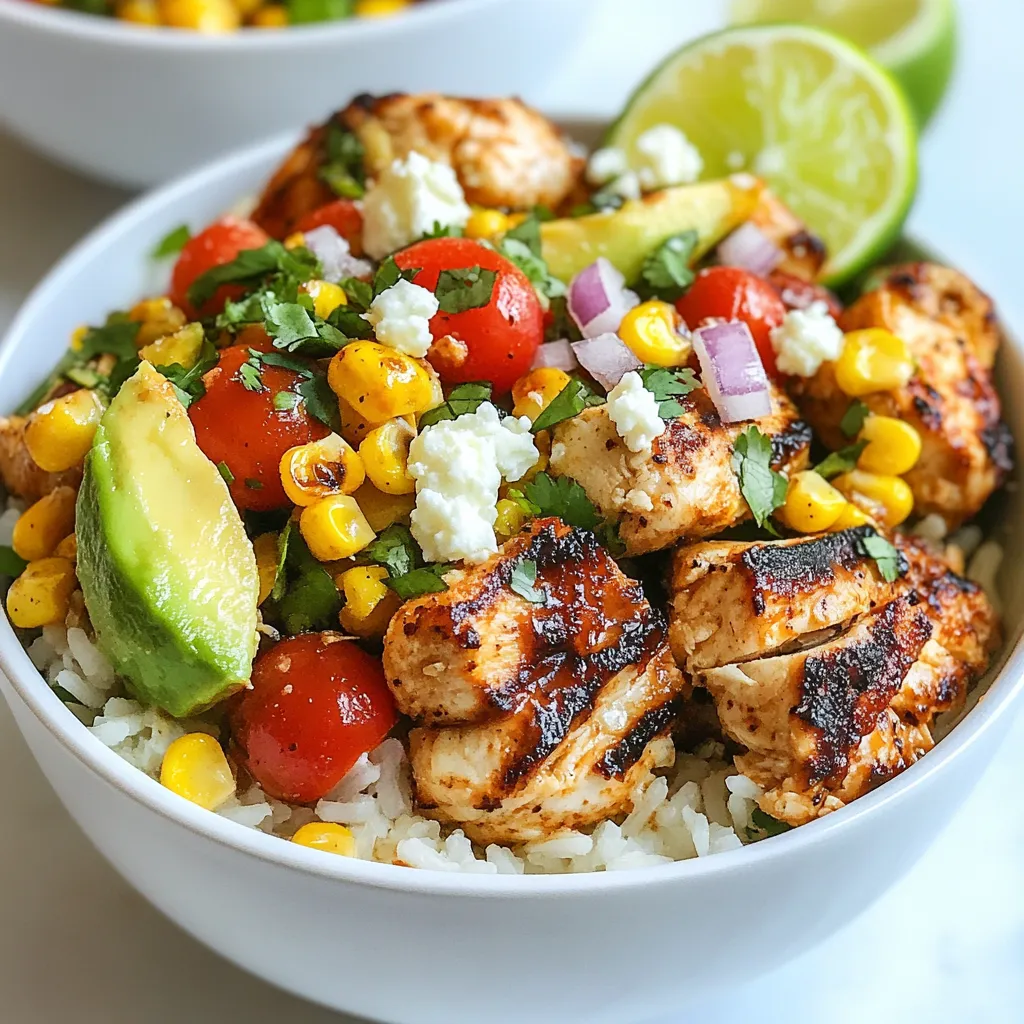
Street Corn Chicken Rice Bowl Flavorful and Simple Meal
Looking for a meal that’s both simple and bursting with flavor? The Street Corn Chicken Rice Bowl might be just what you need! This dish
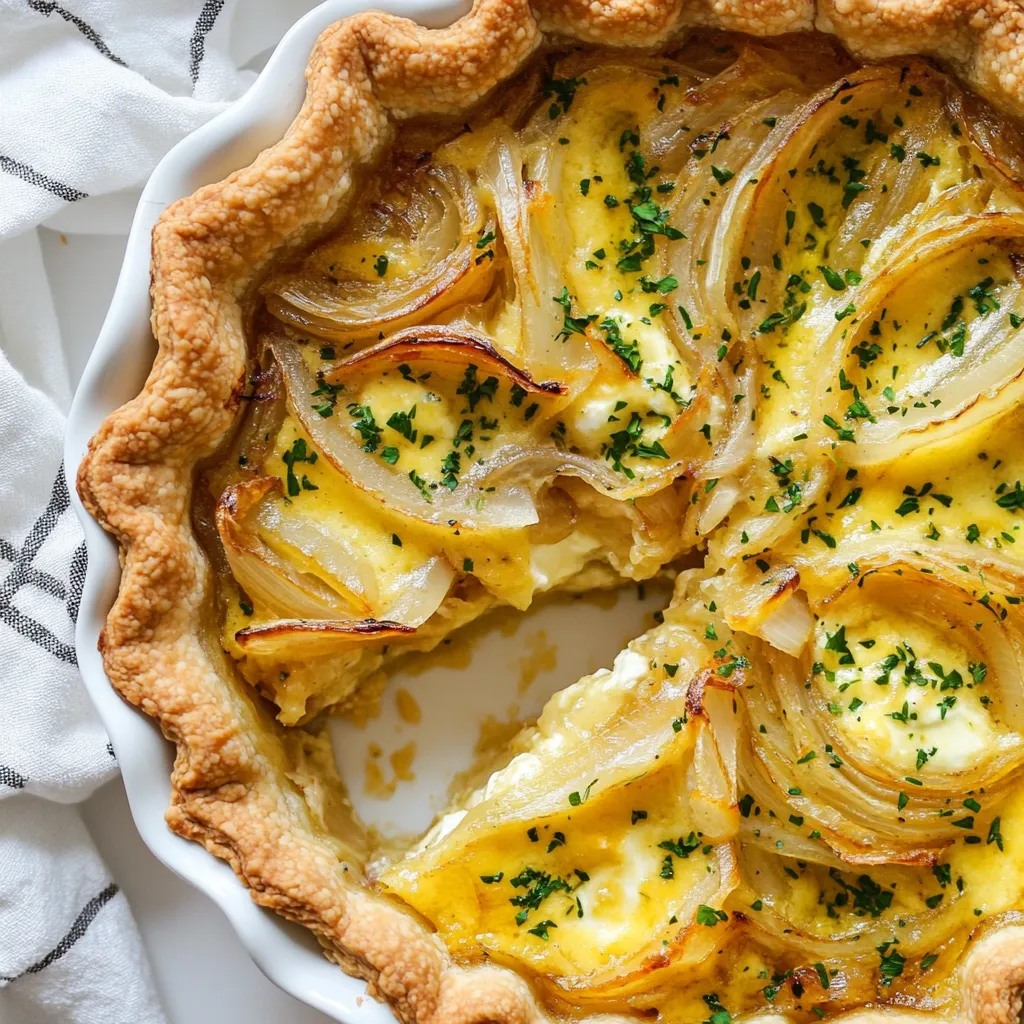
German Onion Pie Flavorful Comfort Food Recipe
If you’re seeking a warm slice of comfort, the German Onion Pie is just what you need! This recipe blends sweet, caramelized onions with creamy
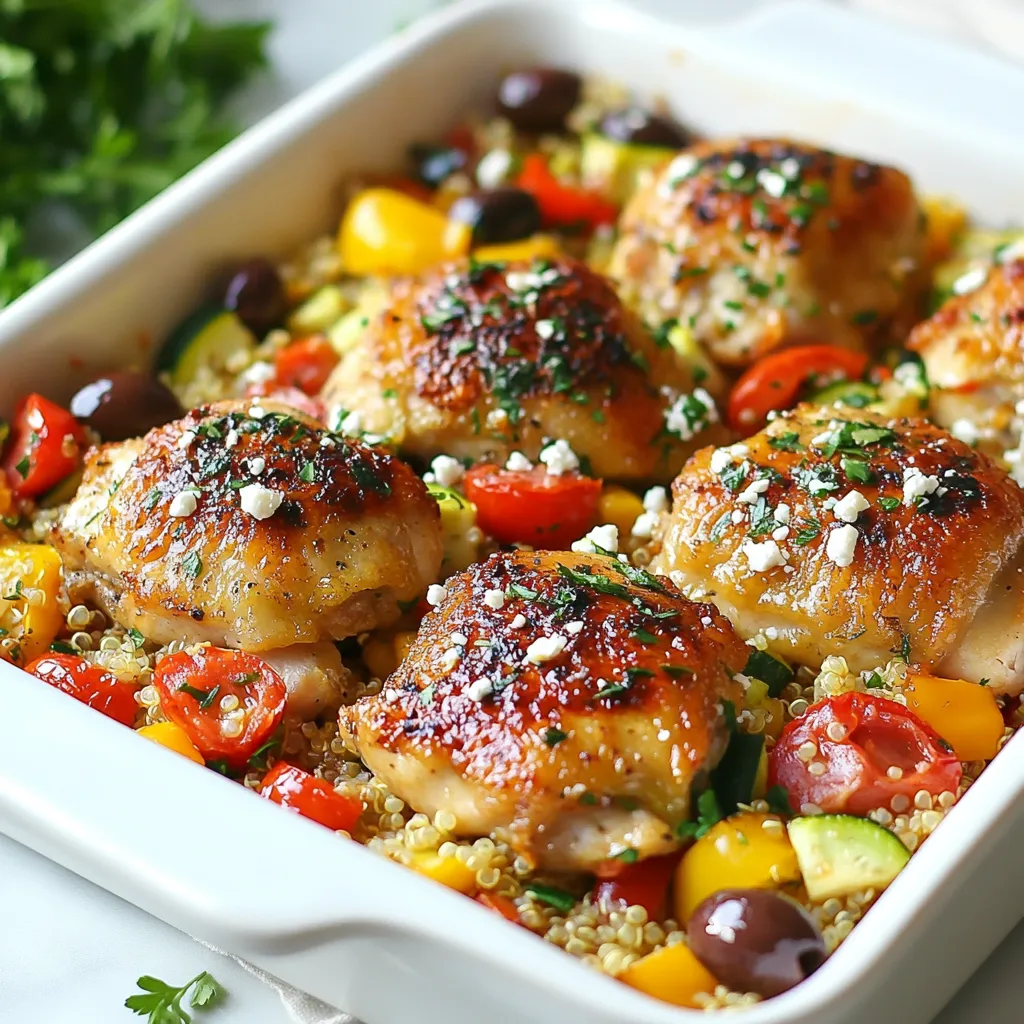
Greek Chicken Casserole Flavorful and Easy Recipe
Are you ready to delight your taste buds with a dish that’s both easy and packed with flavor? My Greek Chicken Casserole combines tender chicken
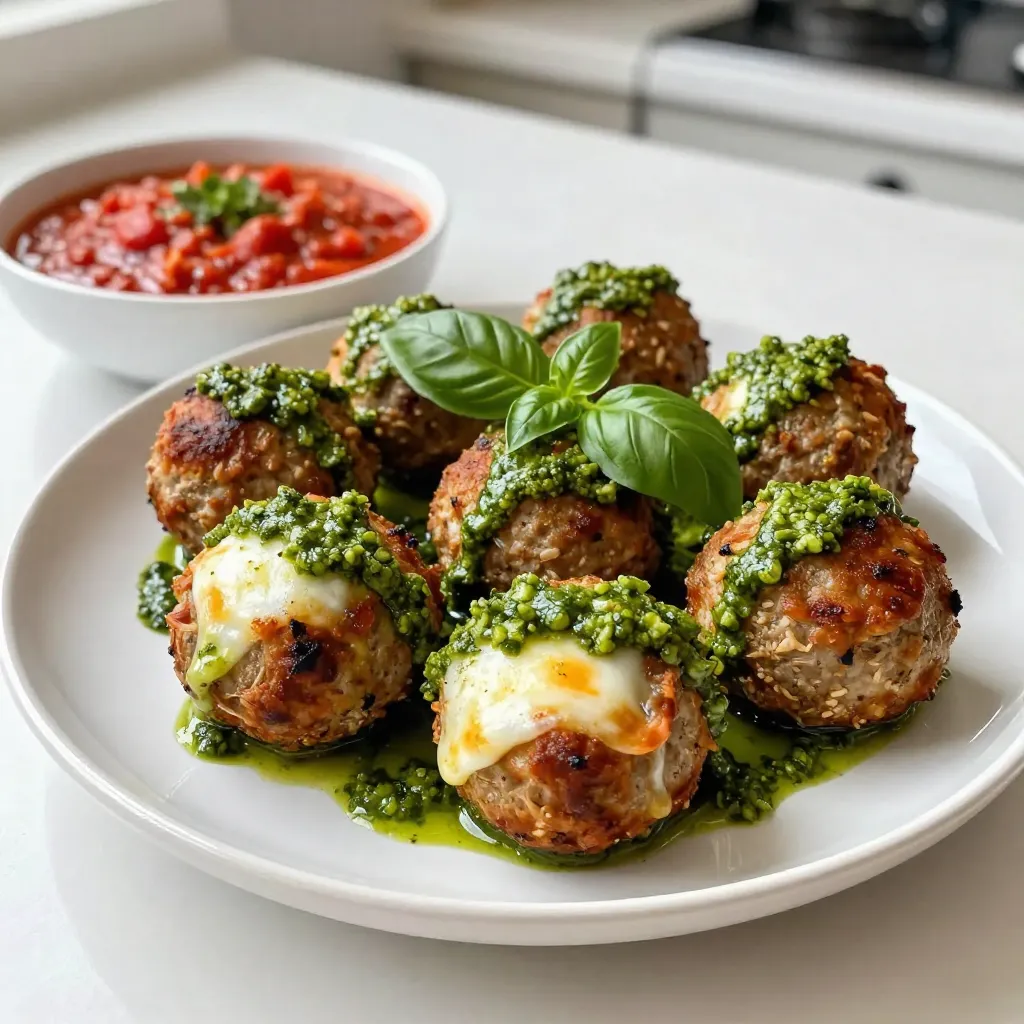
Pesto Mozzarella Stuffed Meatballs Flavorful Dinner Dish
Looking for a dinner option that bursts with flavor? You’ve found it! Pesto Mozzarella Stuffed Meatballs are not only delicious, but they also bring joy
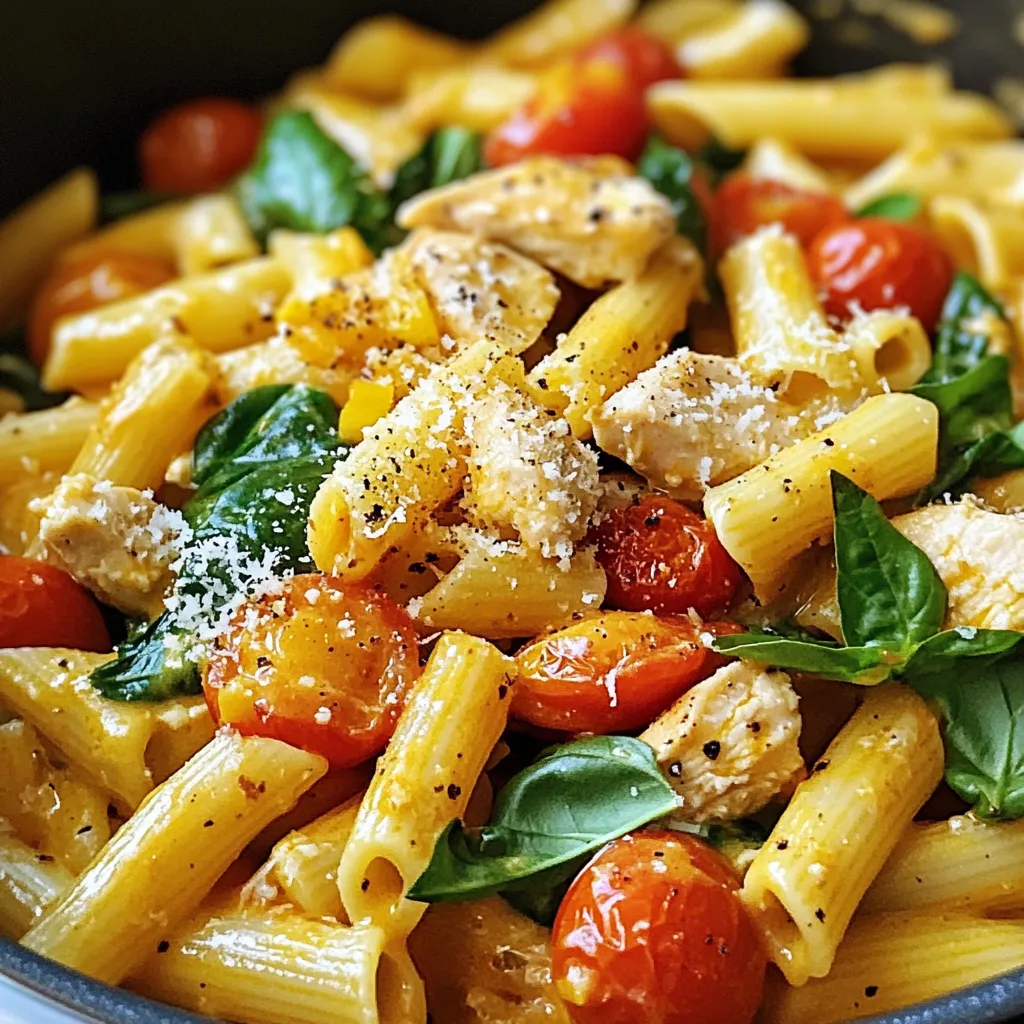
One-Pot Tomato Spinach Chicken Pasta Easy Weeknight Meal
Looking for a quick, tasty dinner idea? This One-Pot Tomato Spinach Chicken Pasta is your answer. With just a handful of fresh ingredients and a
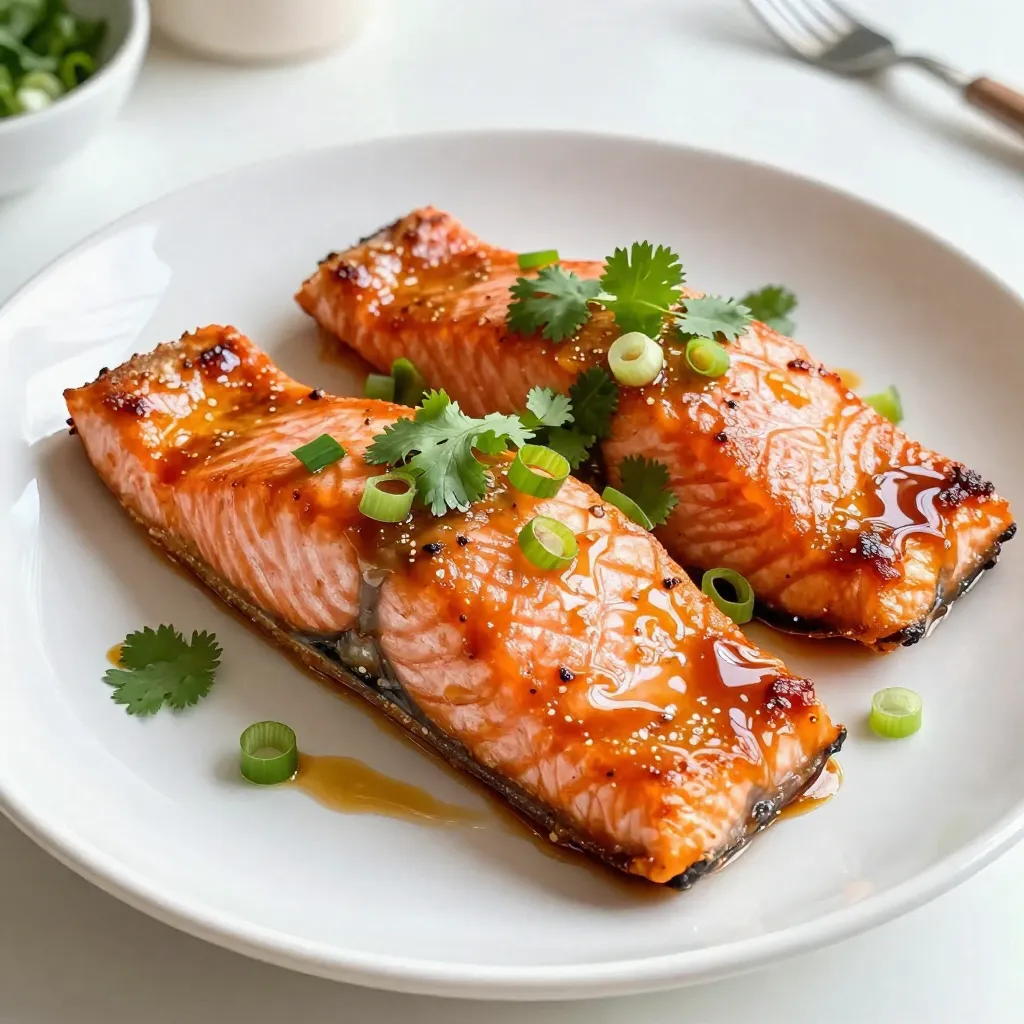
Spicy Maple Glazed Salmon Deliciously Flavorful Dish
If you’re craving a dish that balances sweet and spicy perfectly, look no further! My Spicy Maple Glazed Salmon is packed with bold flavors that