Dinner
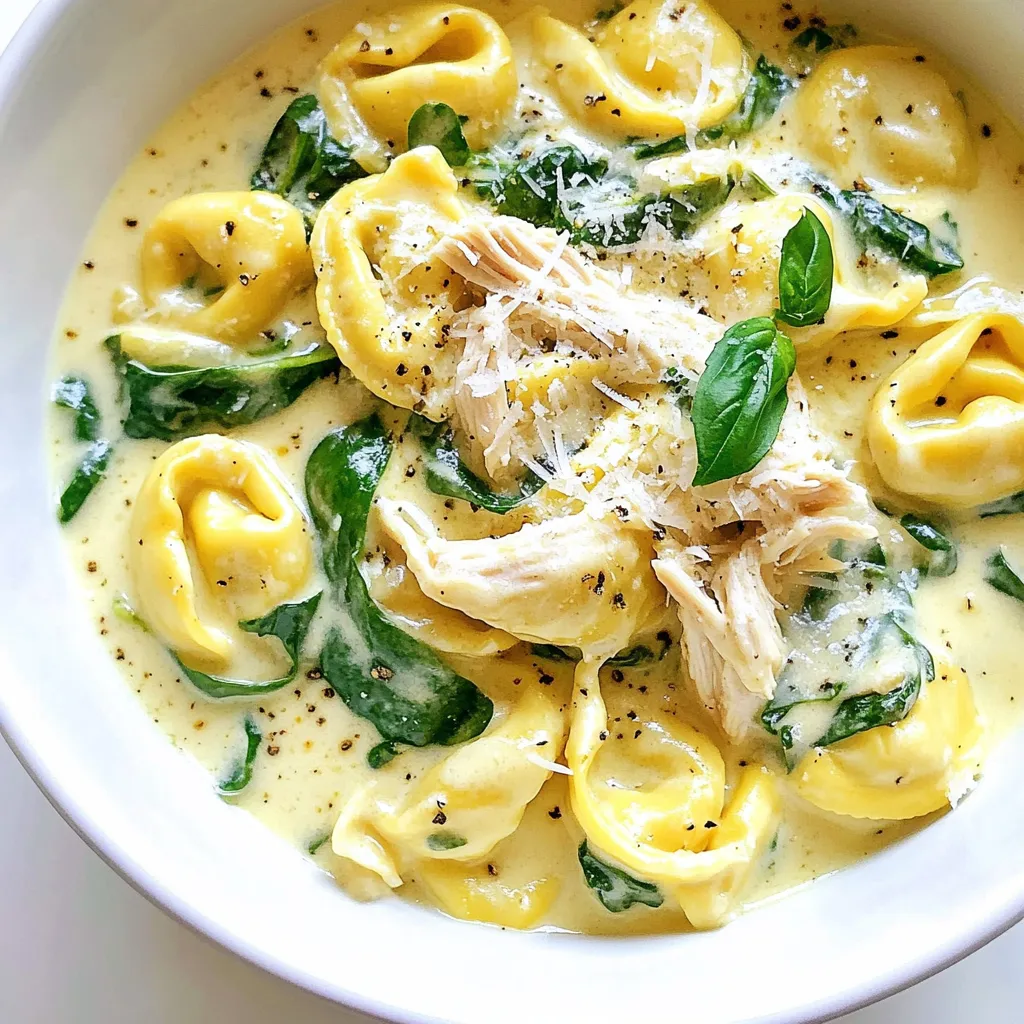
Crockpot Chicken Tortellini Simple and Hearty Meal
If you crave a meal that’s simple yet hearty, look no further than Crockpot Chicken Tortellini. With just a few key ingredients like chicken, cheese
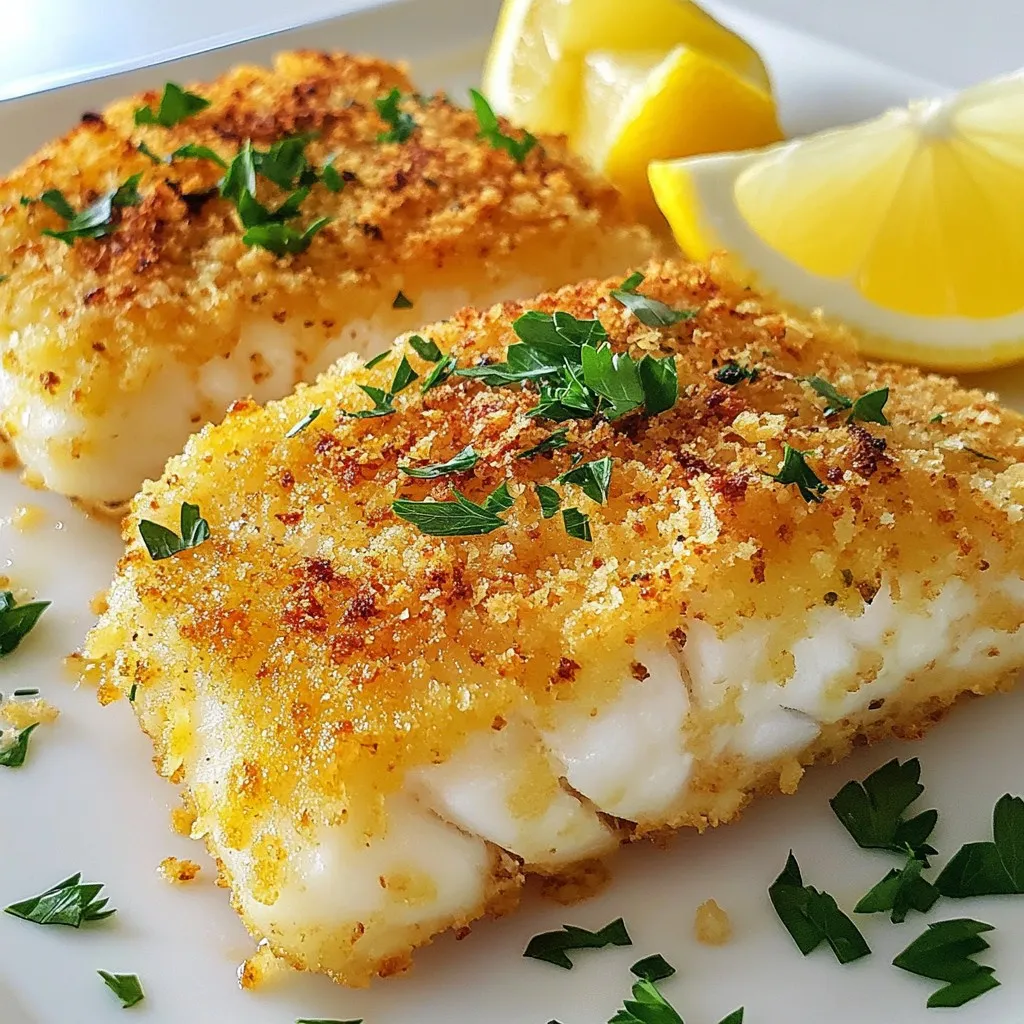
Baked Parmesan Crusted Cod Tasty and Simple Dish
Looking for a dinner idea that’s both tasty and easy? Baked Parmesan Crusted Cod is your answer! With just a few simple ingredients, you can
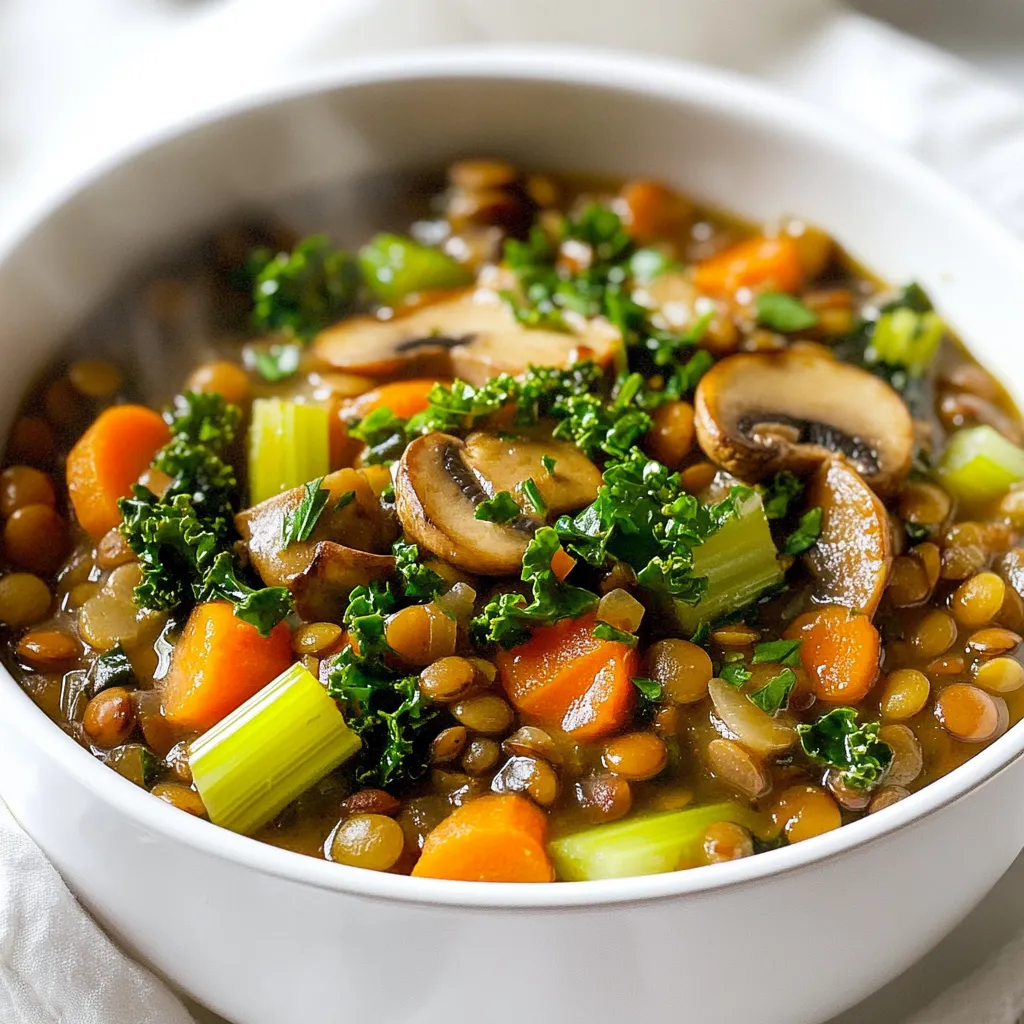
Vegan Lentil Mushroom Stew Hearty and Healthy Meal
Craving a delicious, hearty meal? My Vegan Lentil Mushroom Stew is the perfect choice! Packed with lentils, fresh veggies, and rich flavors, it’s not only

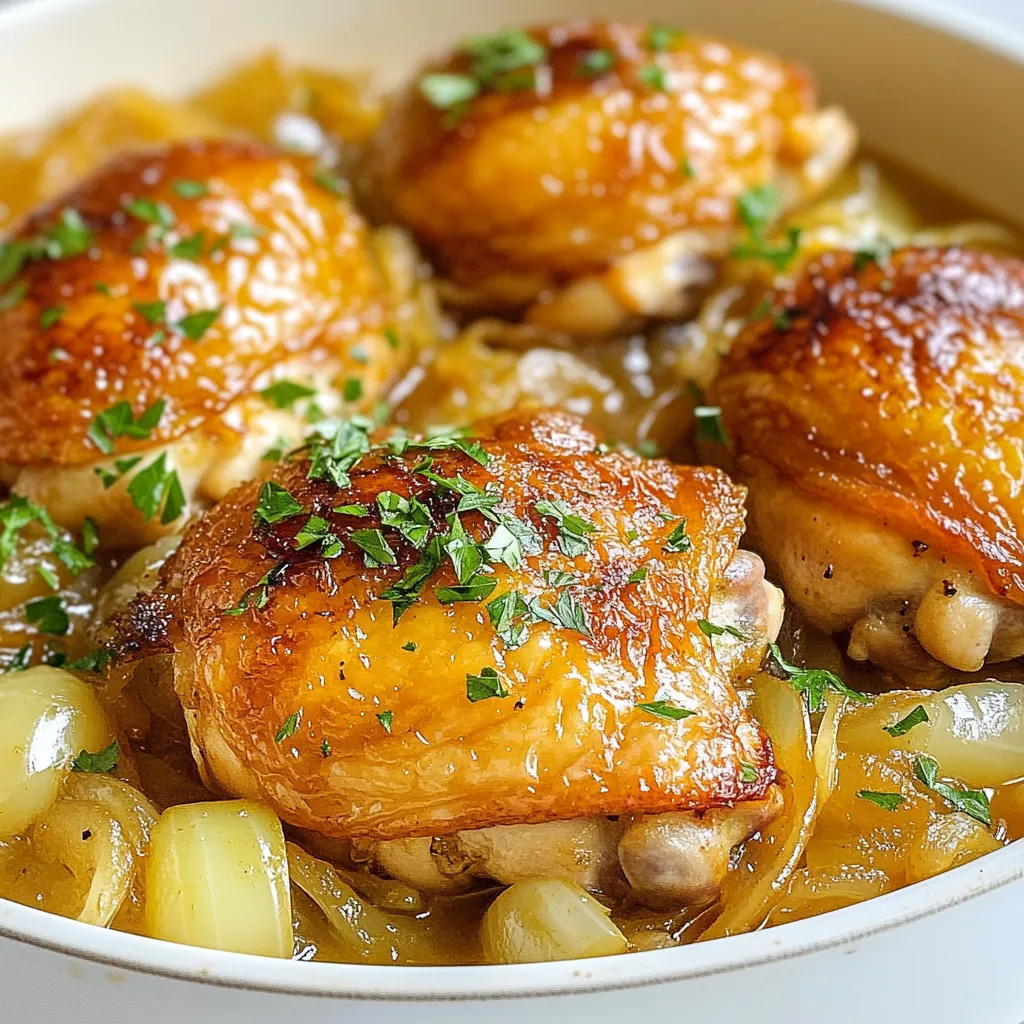
Slow Cooker Garlic Parmesan Chicken Delight Easy Meal
Are you ready to impress your family with a meal that’s both easy and tasty? Our Slow Cooker Garlic Parmesan Chicken is the answer. With
French Onion Chicken Thighs Flavorful and Simple Meal
Looking for a meal that’s both tasty and easy to make? Try my French Onion Chicken Thighs! This dish hits all the right notes with
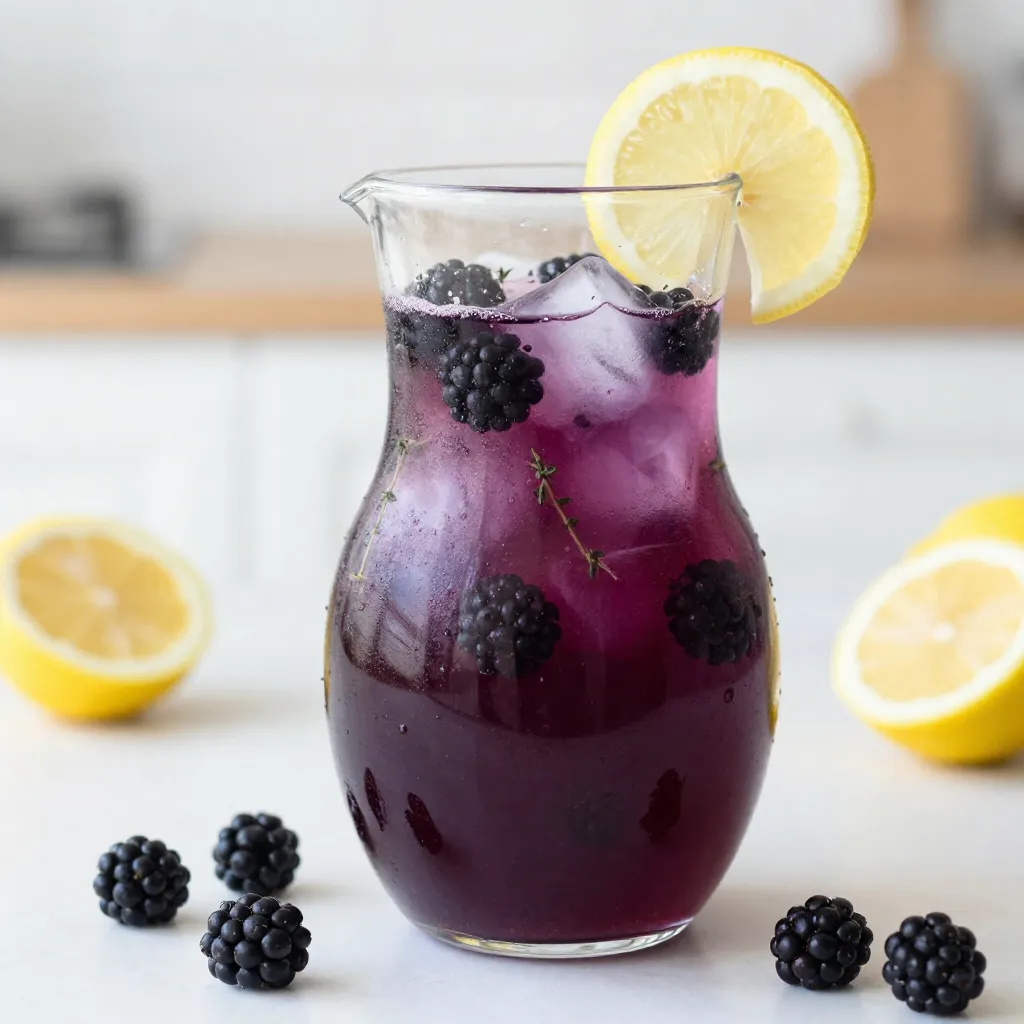
Blackberry Thyme Lemonade Refreshing Summer Drink
Are you ready to cool off with a tasty summer drink? Let me introduce you to Blackberry Thyme Lemonade! This refreshing drink combines ripe blackberries,
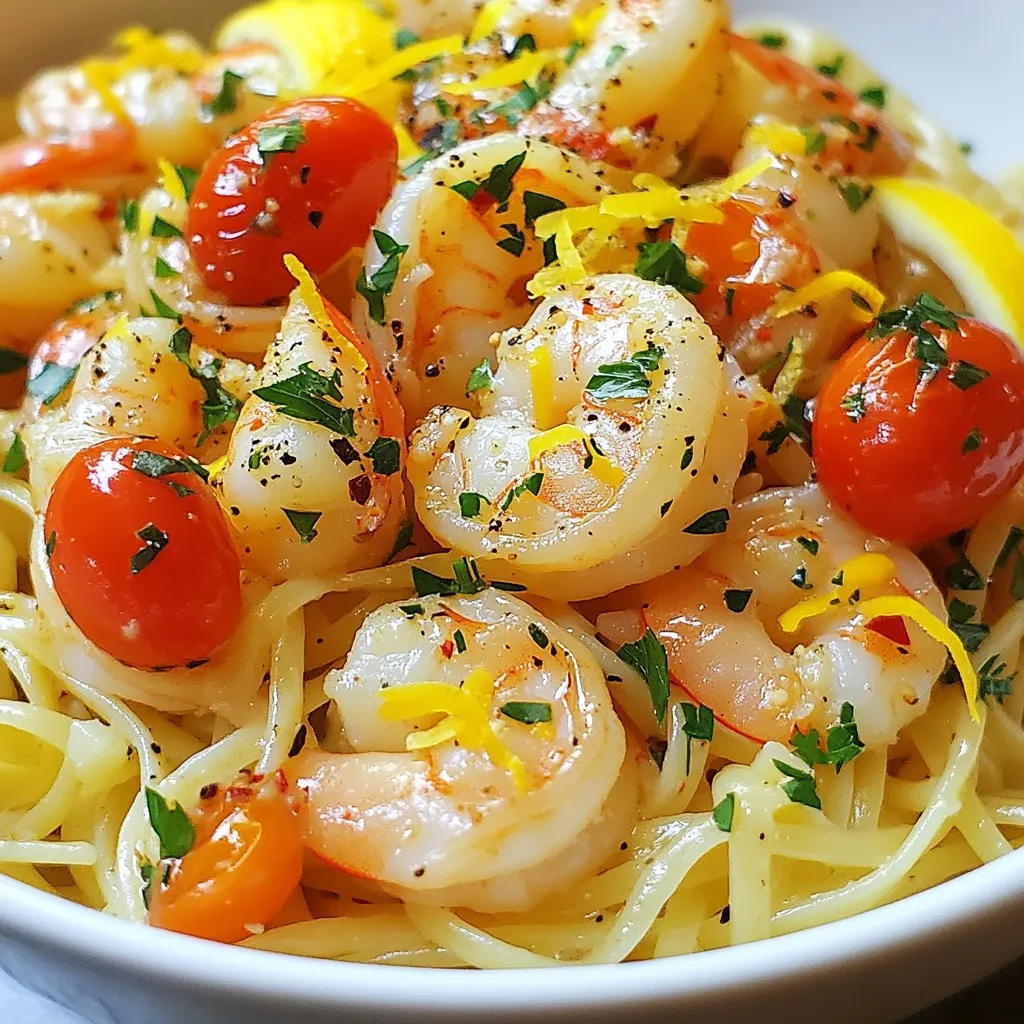
Garlic Butter Shrimp Scampi Flavorful and Easy Recipe
If you love quick and tasty meals, then this Garlic Butter Shrimp Scampi recipe is for you! Packed with flavor and easy to make, this
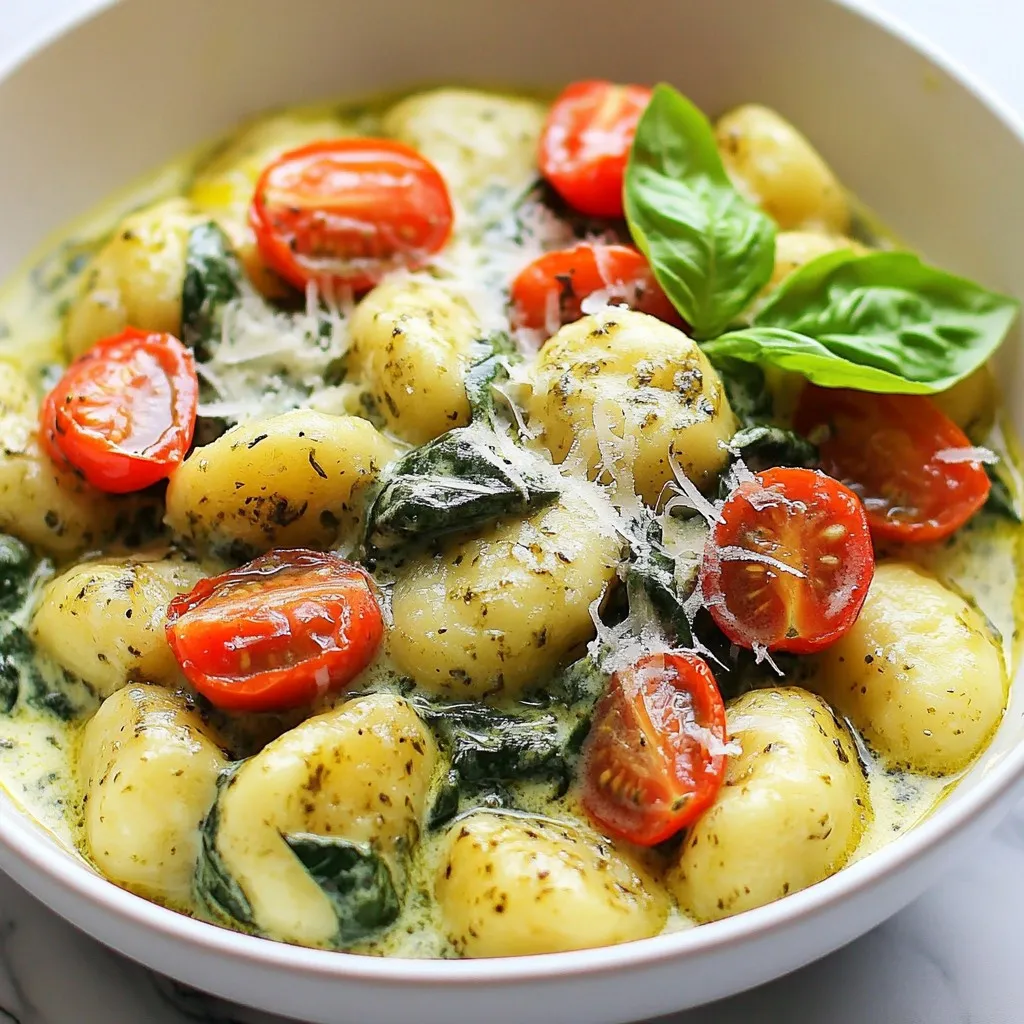
Creamy Pesto Gnocchi One-Pot Simple and Quick Dish
If you’re craving a quick, creamy meal, you’ve come to the right place! This One-Pot Creamy Pesto Gnocchi is simple and full of flavor. In

Crockpot Cheesy Chicken Broccoli Rice Delight Recipe
Ready for a dinner that warms the heart? This Crockpot Cheesy Chicken Broccoli Rice Delight Recipe packs flavor and ease all in one dish! With

Biscuit Topped Chicken Pot Pie Comforting Family Meal
Picture this: a warm, flaky biscuit topping cradling tender chicken and veggies in a creamy sauce. That’s the magic of Biscuit Topped Chicken Pot Pie—a