Salads
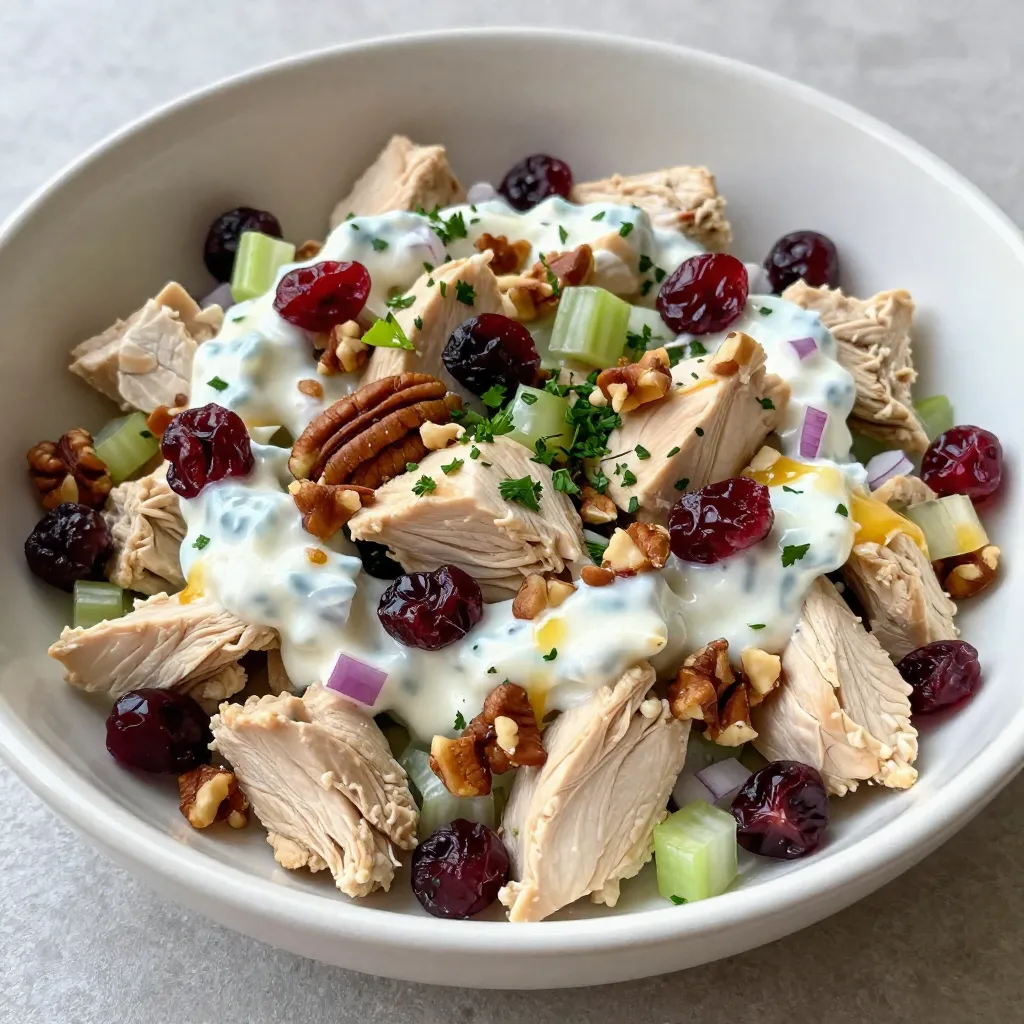
Cranberry Pecan Chicken Salad Nutritious and Tasty
Welcome to your new favorite salad! My Cranberry Pecan Chicken Salad is both tasty and nutritious. It combines juicy chicken, crunchy pecans, and sweet cranberries
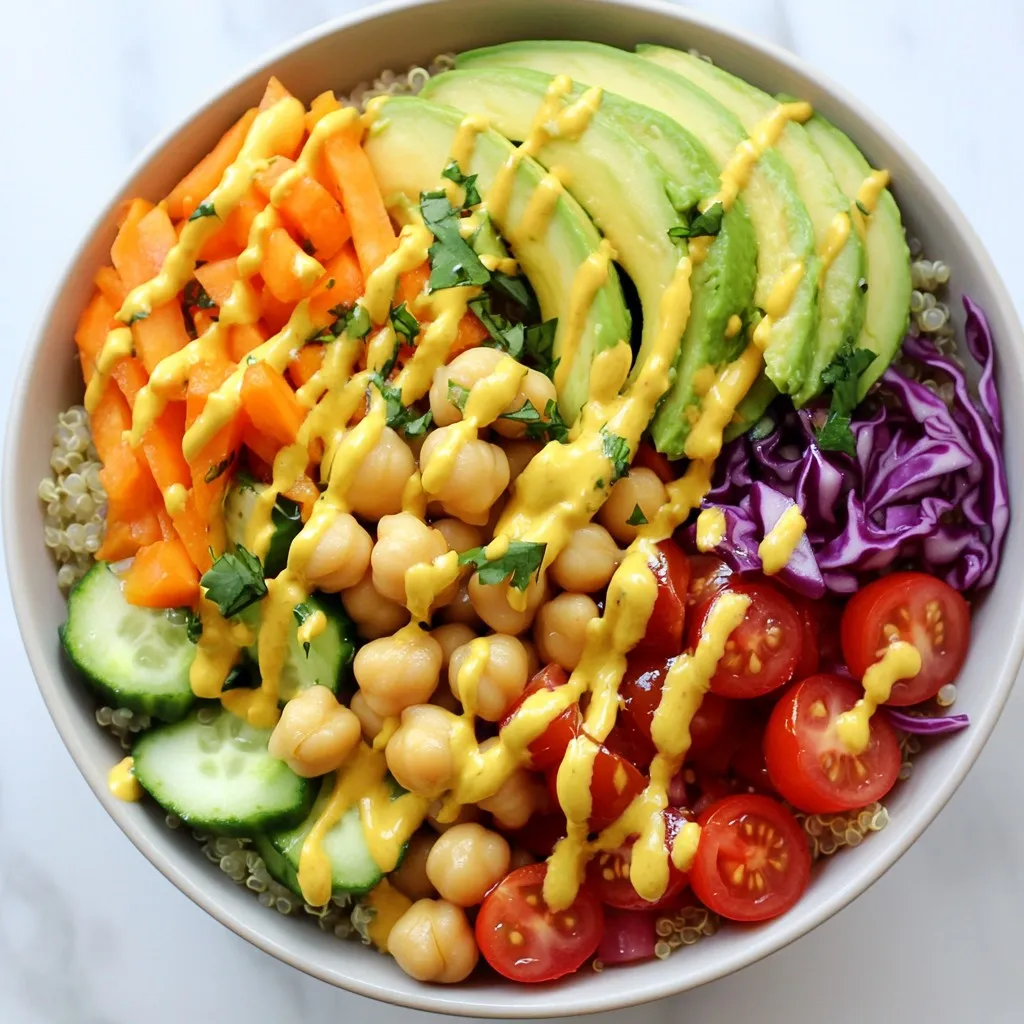
Rainbow Buddha Veggie Bowl for a Fresh Meal Option
Craving a fresh, vibrant meal that’s packed with nutrients? The Rainbow Buddha Veggie Bowl is your answer! In this article, I’ll guide you through making
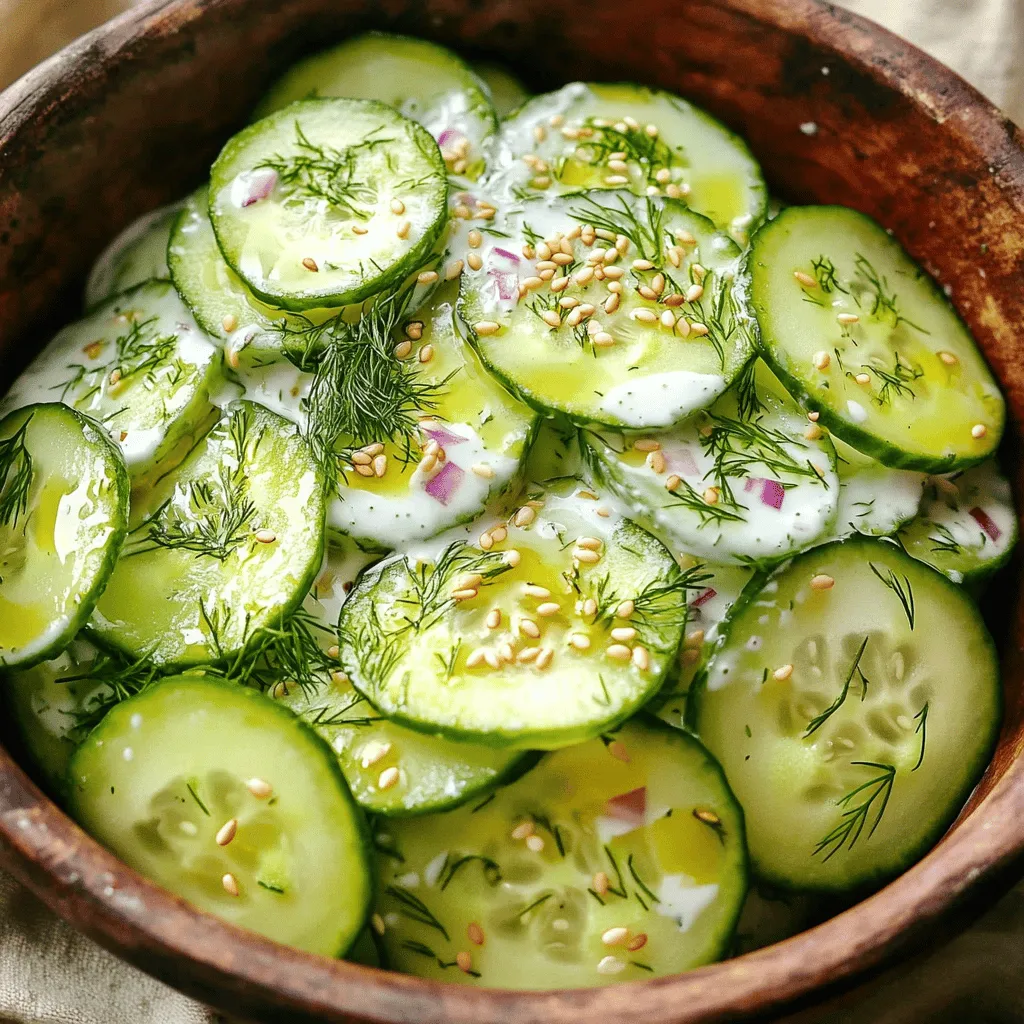
Creamy Cucumber Salad Refreshing and Easy Recipe
Looking for a cool and refreshing dish? My Creamy Cucumber Salad is the answer! It’s easy to make, loaded with flavor, and perfect for summer
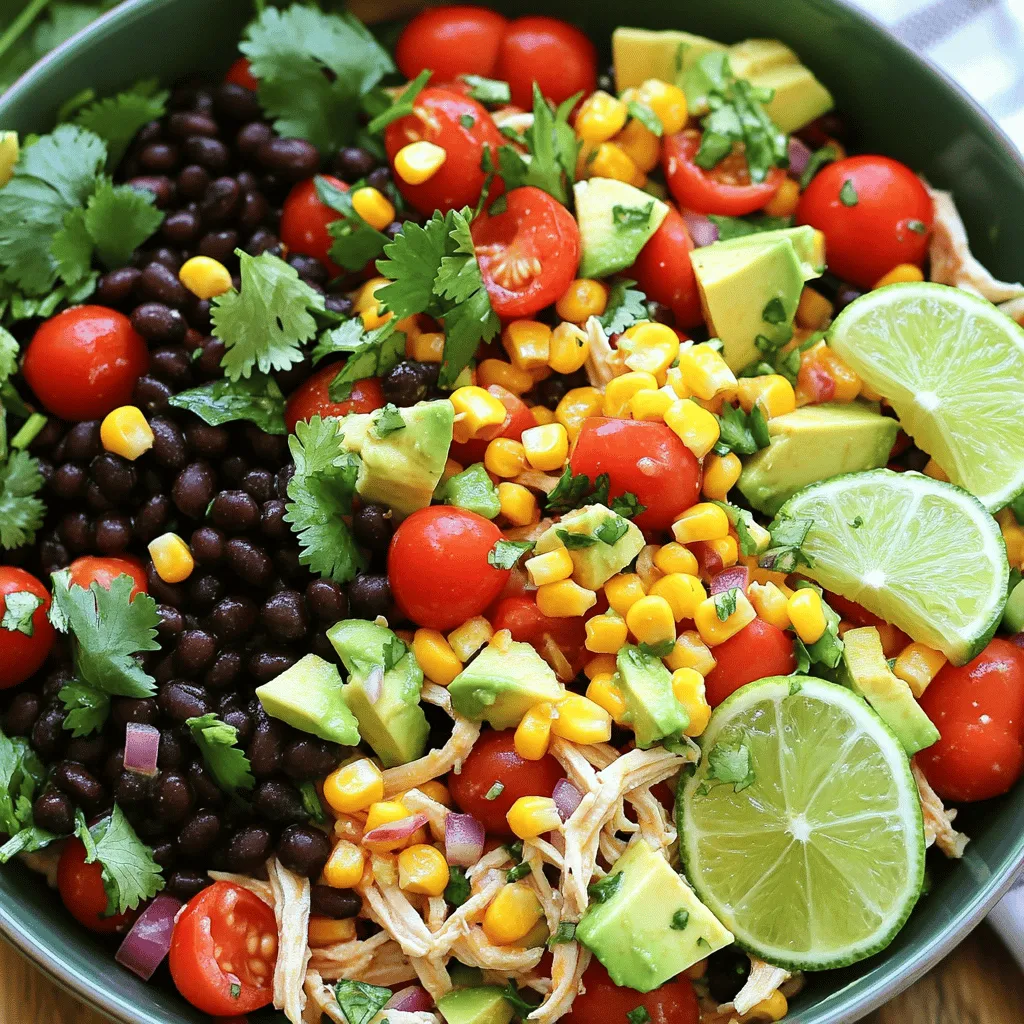
Quick Southwest Chicken Salad Flavorful and Easy Meal
Looking for a fast, tasty meal? This Quick Southwest Chicken Salad brings flavor and ease to your kitchen. I’ll guide you through simple ingredients, step-by-step
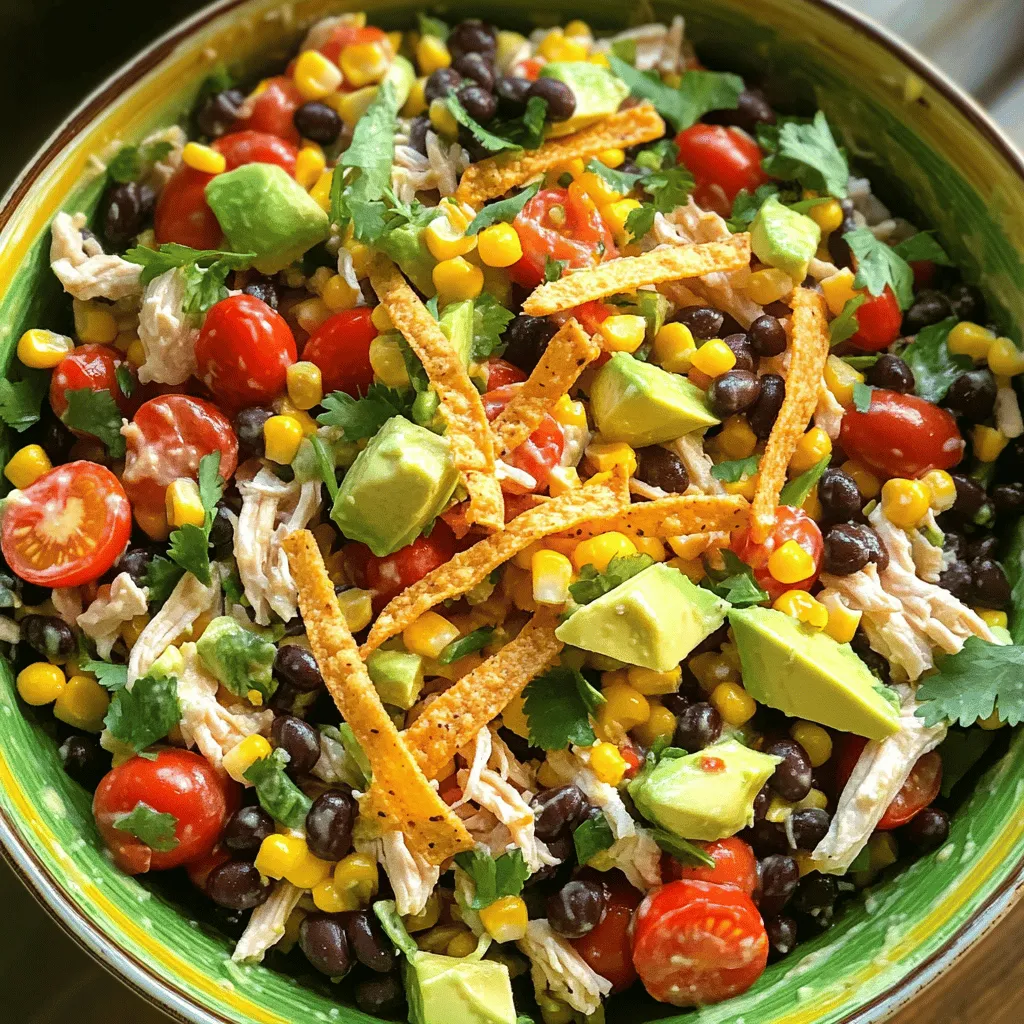
Zesty Southwest Chicken Salad Flavorful and Fresh
If you’re craving a burst of flavor that’s both fresh and satisfying, you’ll love my Zesty Southwest Chicken Salad. Packed with vibrant ingredients and a
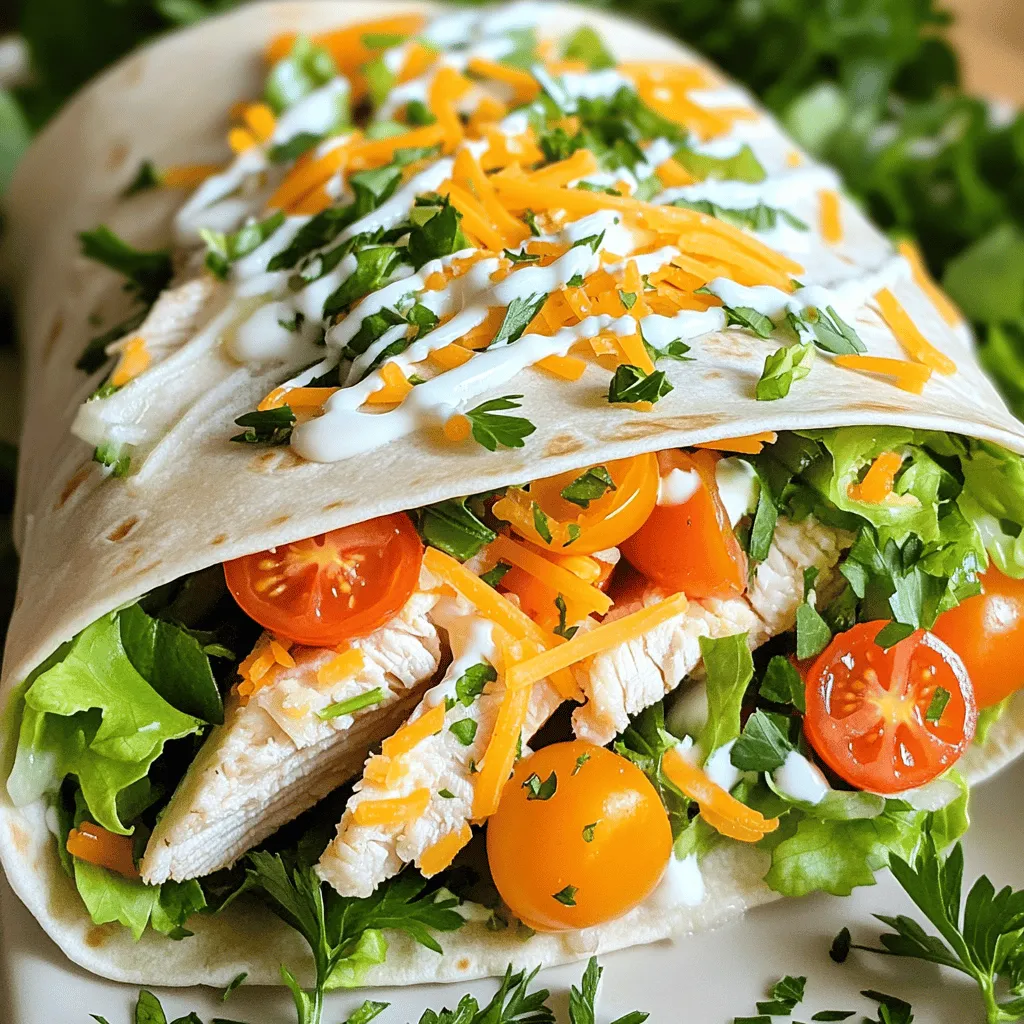
Chick-fil-a Cool Wrap Recipe Simple and Tasty Meal
Looking for a delicious, easy meal? Try my Chick-fil-A Cool Wrap recipe! This tasty dish features grilled chicken, fresh veggies, and creamy ranch dressing all
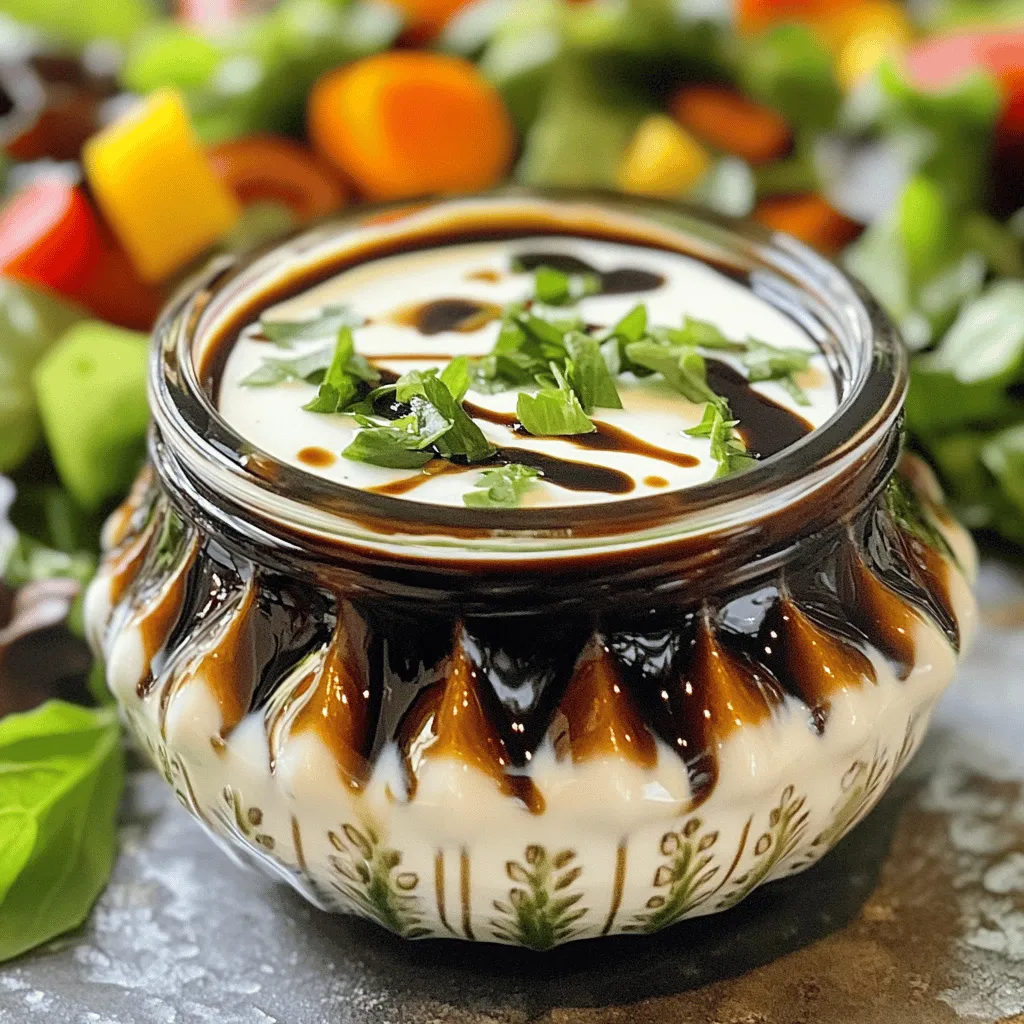
Creamy Balsamic Vinaigrette Simple and Flavorful Recipe
Are you ready to elevate your salads with a taste of creamy goodness? In this blog post, I’ll share my simple and flavorful recipe for
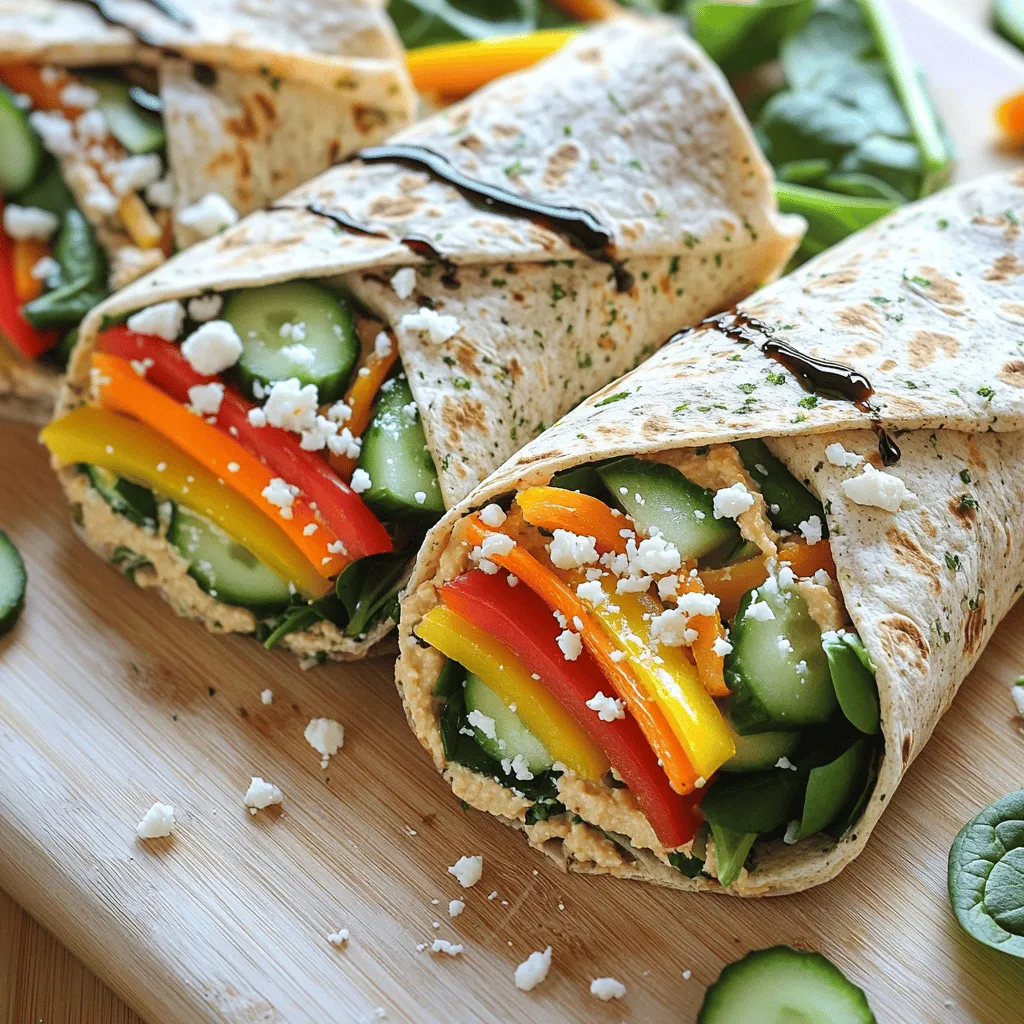
Back to School Lunch Ideas Quick and Healthy Wraps
Ready to impress your kids with fun and tasty school lunches? I’m here to share quick and healthy wrap ideas that your little ones will
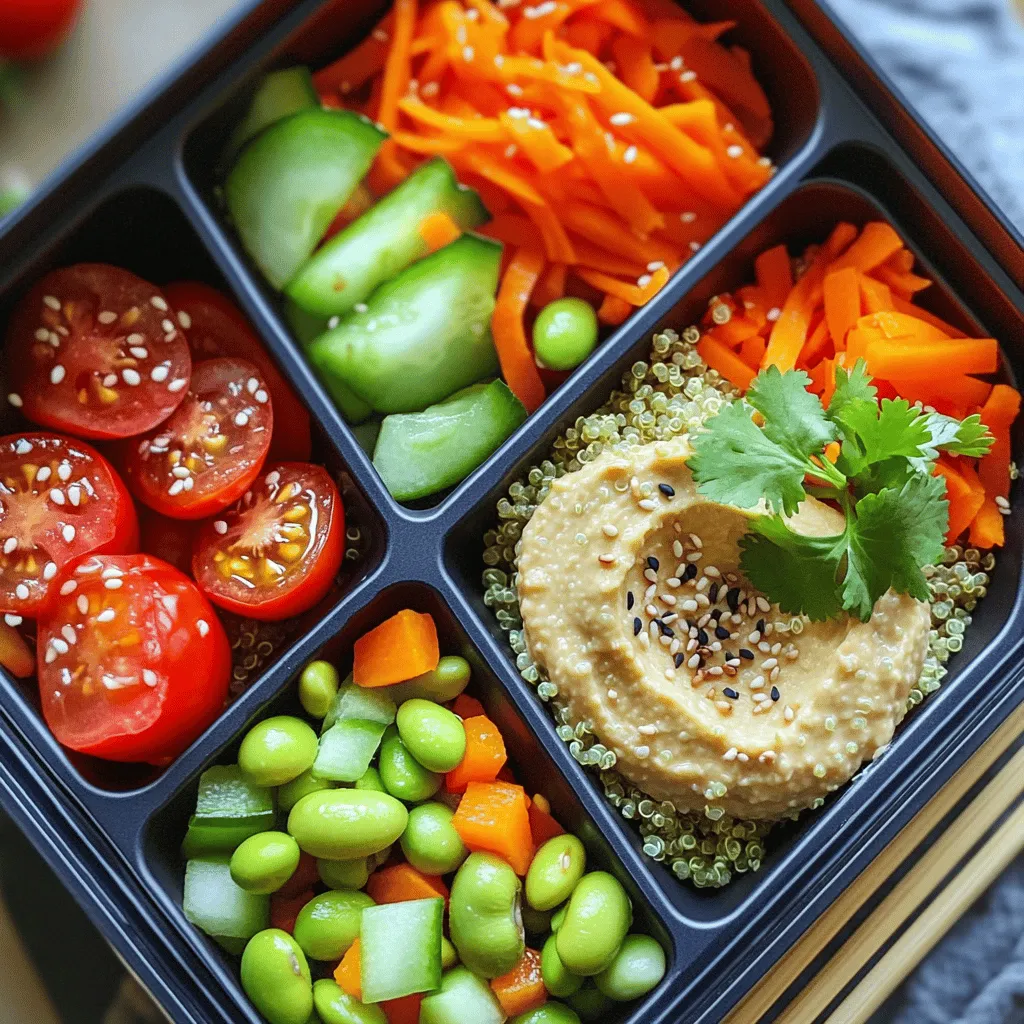
Healthy Bento Lunch Easy and Nutritious Guide
Are you tired of the same old lunch routine? It’s time to revolutionize your meals with a healthy bento lunch! This guide not only helps
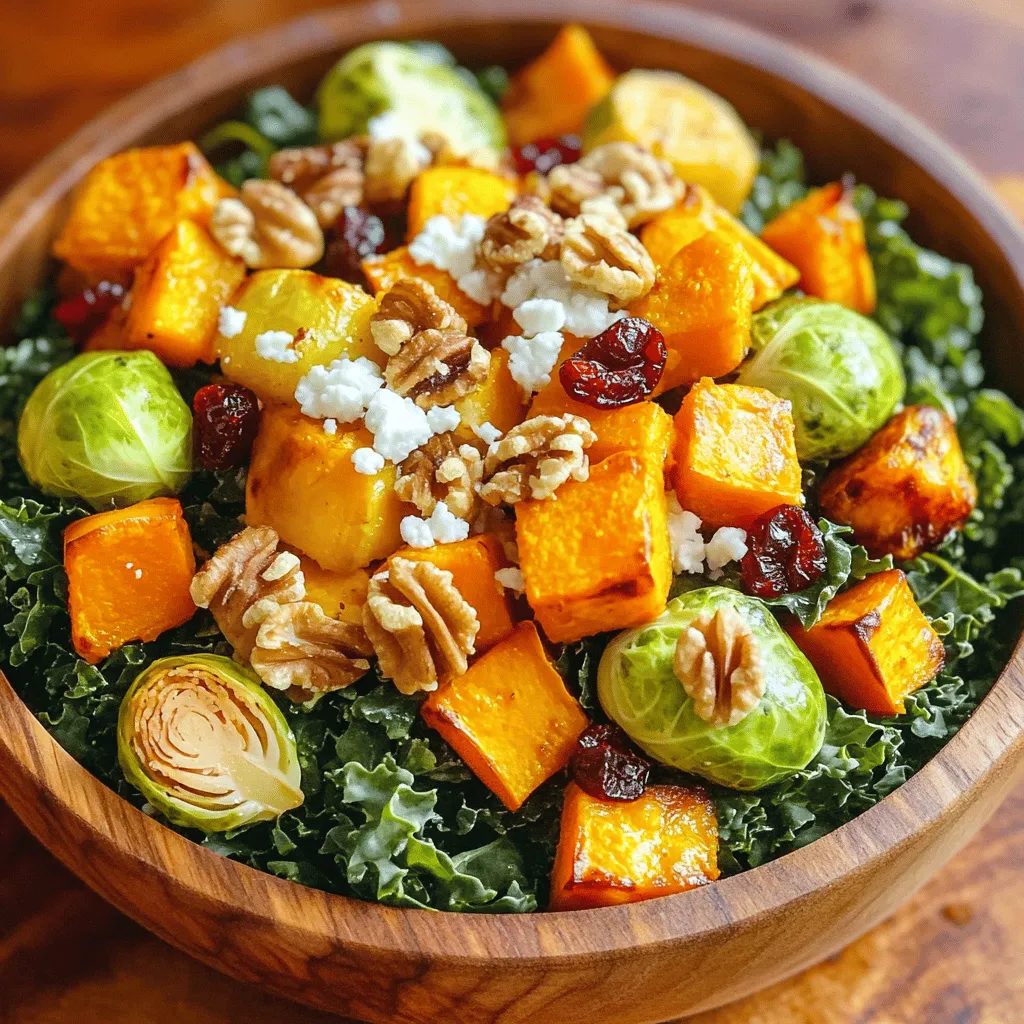
Roasted Fall Harvest Salad Flavorful and Healthy Recipe
Fall is here, and it’s time to celebrate the season with a Roasted Fall Harvest Salad! Packed with vibrant, healthy ingredients like kale, butternut squash,