Salads
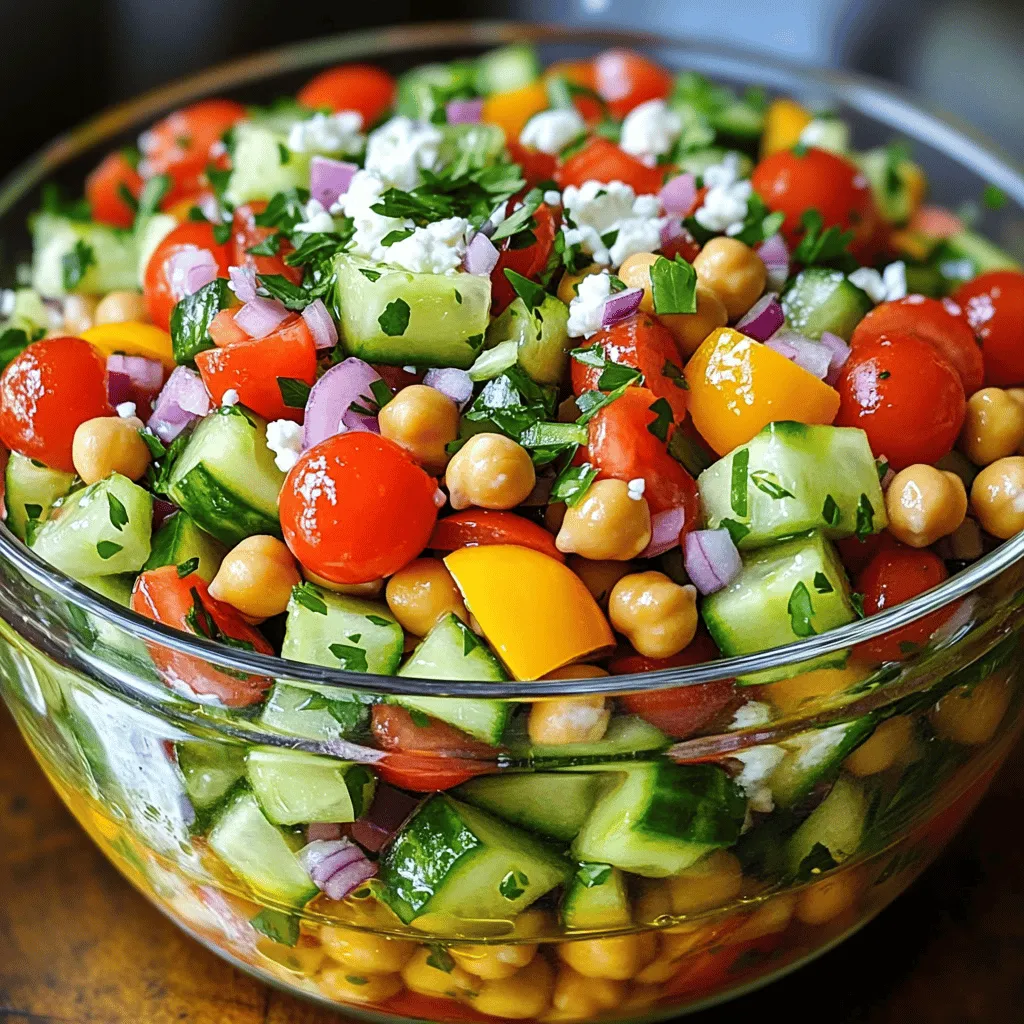
Chickpea Cucumber Salad Fresh and Flavorful Delight
Do you crave a light, refreshing dish that packs a flavor punch? Look no further than this Chickpea Cucumber Salad! It’s simple to make and
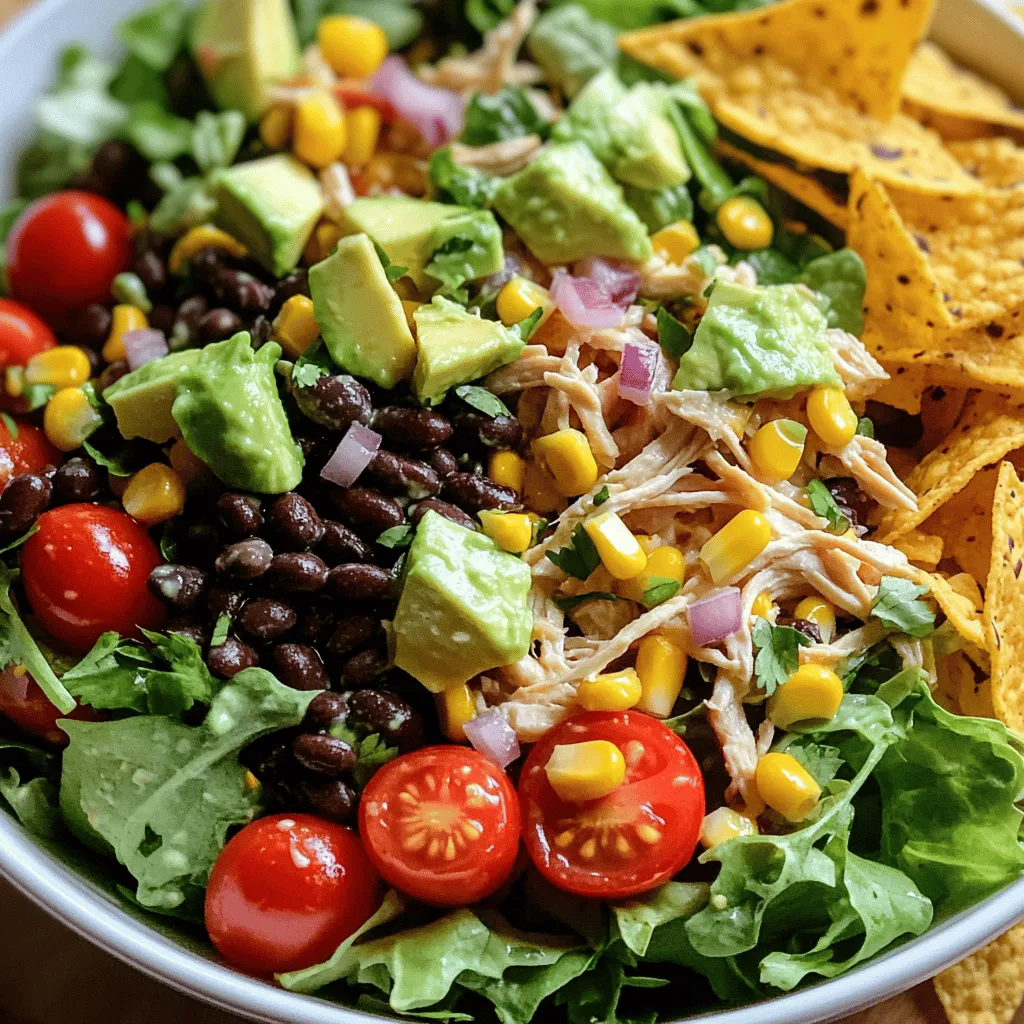
. - First, combine all salad components in a large bowl. Use your hands or a spoon to mix them well. The mix should include the shredded chicken, black beans, corn, red bell pepper, avocado, cherry tomatoes, red onion, and cilantro. This colorful mix makes the salad appealing and tasty. - Next, prepare the dressing in a separate bowl. Whisk together the lime juice, olive oil, ground cumin, chili powder, salt, and pepper. Keep whisking until the mixture blends well. This dressing adds flavor to the salad. - Now, it’s time to toss the salad. Pour the dressing over the salad mix. Use a gentle motion to toss everything together. Be careful not to mash the avocado. You want it to stay in chunks for great texture. - For presentation, serve the salad in a large, shallow bowl. This makes it easy to see all the vibrant colors. - Garnish with lime wedges and extra cilantro on the side. This adds a fresh look and extra flavor. Enjoy your Quick Southwest Chicken Salad! For the complete details, check the Full Recipe. To shred chicken fast, use two forks. Place the chicken on a cutting board. Hold one fork steady and pull with the other fork. This method works well for warm chicken. If you want a quicker option, buy pre-cooked chicken. Many stores sell rotisserie chicken that is ready to use. To boost flavor, add spices like smoked paprika or cayenne for heat. You can also mix in fresh herbs like parsley or basil. Different dressings can change the taste too. Try ranch or a spicy chipotle dressing to shake things up. Experiment and see what you love most! Prepare your ingredients ahead of time. Chop vegetables and store them in bags. This way, when you cook, you save time. If you have leftovers, store them in airtight containers. Keep the salad fresh for later meals. Remember, a little prep goes a long way! {{image_2}} You can swap chicken for other proteins. Try grilled shrimp, beef, or tofu. Each option gives you new flavors. For a plant-based version, use chickpeas or lentils. These swaps offer great protein and taste. You can try different dressings to mix it up. A ranch or vinaigrette can add a new twist. For a spicy kick, use chipotle ranch or sriracha dressing. These options will make your salad pop with flavor. Customizing your salad with seasonal fruits is fun. In summer, add juicy peaches or strawberries. In winter, try roasted sweet potatoes or pomegranate seeds. Each season brings fresh ingredients to enhance your salad. To keep your Quick Southwest Chicken Salad fresh, store it in an airtight container. This helps seal in flavors and keeps out air. Use a container that fits snugly to avoid excess space. If you have leftovers, try to eat them within three days. Always check for any signs of spoilage before you dig in. You can freeze the salad, but some ingredients don't freeze well. The avocado and tomatoes may turn mushy once thawed. If you want to freeze it, prepare the salad without these ingredients. You can add them fresh after thawing. Place the salad in a freezer-safe bag, removing as much air as possible. Label the bag with the date for easy tracking. In the fridge, your salad can last about three days. After that, it may start to lose freshness. Signs that your salad has gone bad include a sour smell or slimy texture. If you see any mold, toss it out immediately. Always trust your senses when it comes to food safety. Can I make this salad ahead of time? Yes, you can make this salad ahead of time. It stays fresh for a few hours. To keep the avocado from browning, add it just before serving. This way, it stays green and creamy. What can I use instead of lime juice? If you don’t have lime juice, use lemon juice. It gives a similar tangy flavor. You can also use vinegar, like apple cider or red wine vinegar, for a different twist. Is this salad gluten-free? Yes, this salad is gluten-free. All the ingredients used are safe for those with gluten issues. Just double-check any canned goods, like beans or corn, for hidden gluten. Can it be made dairy-free? Absolutely! This salad is naturally dairy-free. It does not contain cheese or any dairy ingredients. Enjoy it without worry if you are avoiding dairy. How many servings does this recipe provide? This recipe makes about four servings. It's perfect for a light lunch or dinner. You can double the recipe for larger groups or meal prep. What are good side dishes to serve with this salad? Good side dishes include tortilla chips, rice, or black bean soup. You can also serve it with fresh fruit for a sweet touch. These options pair well and enhance the meal. This blog post covered a vibrant and healthy chicken salad. We explored ingredients, health benefits, and preparation steps. Remember, you can swap proteins and dressings to suit your taste. Use fresh seasonal veggies to keep it exciting. Store leftovers properly to enjoy later. This salad is versatile and can fit many diets. With these tips, you can create a dish that looks great and tastes even better. Dive into your kitchen now and try this easy, fun recipe!](https://grilledflavors.com/wp-content/uploads/2025/06/736f7c77-a173-4f7f-b08f-107167efed94.webp)
Quick Southwest Chicken Salad Flavorful and Fresh Meal
Looking for a fresh and tasty meal? Try my Quick Southwest Chicken Salad! It’s loaded with healthy ingredients like chicken, black beans, and colorful veggies.
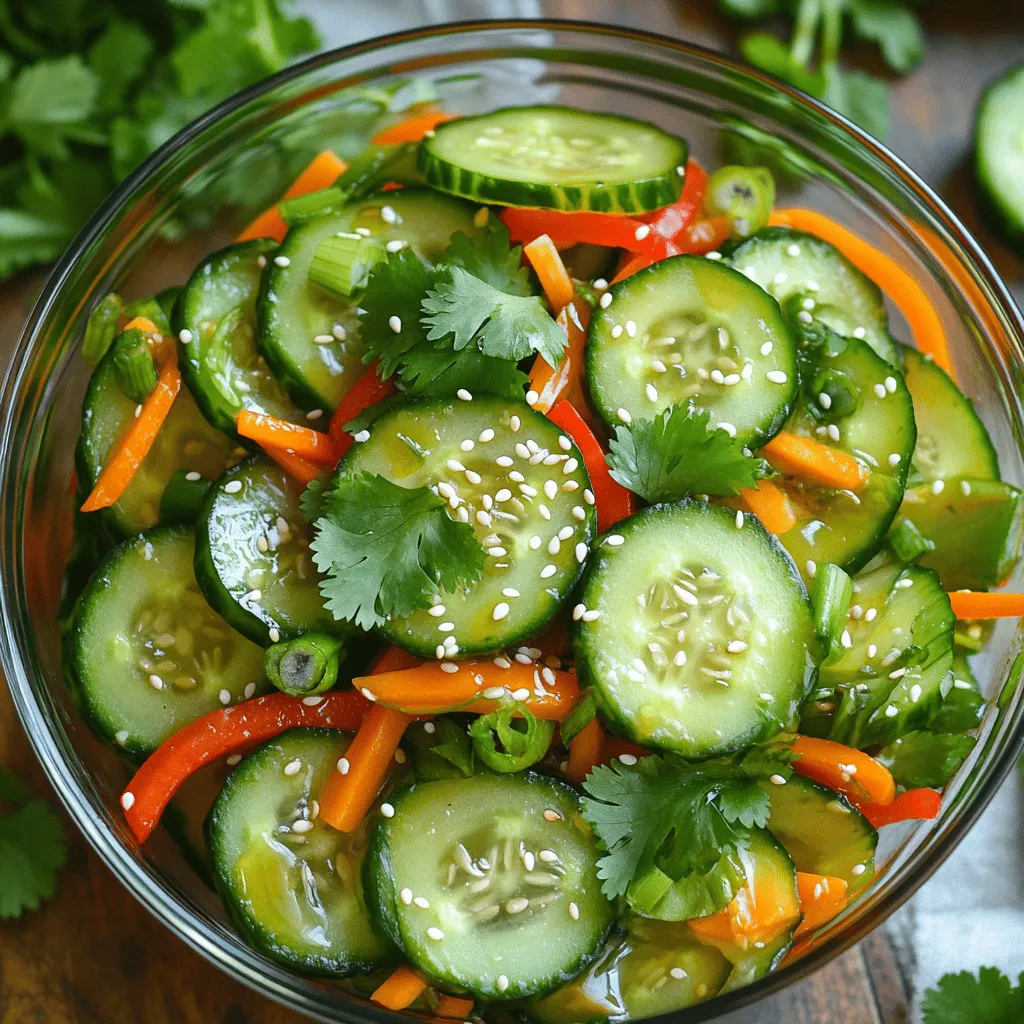
Asian Cucumber Salad Crunchy and Flavorful Delight
If you’re searching for a refreshing side dish packed with flavor, you’ve come to the right place! In this article, I’ll show you how to
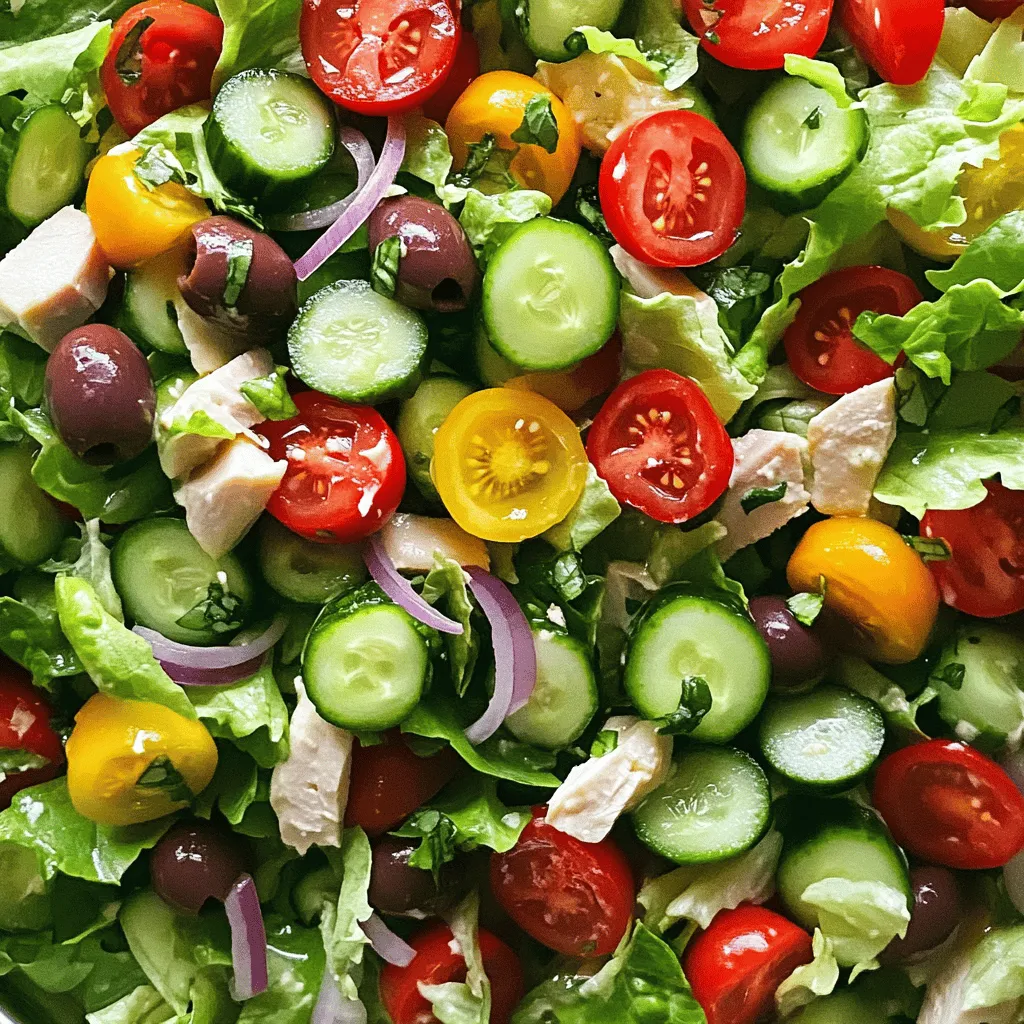
Low Carb Italian Grinder Salad Fresh and Flavorful Meal
Looking for a fresh and light meal that’s packed with flavor? The Low Carb Italian Grinder Salad is your answer! This salad combines crisp veggies,
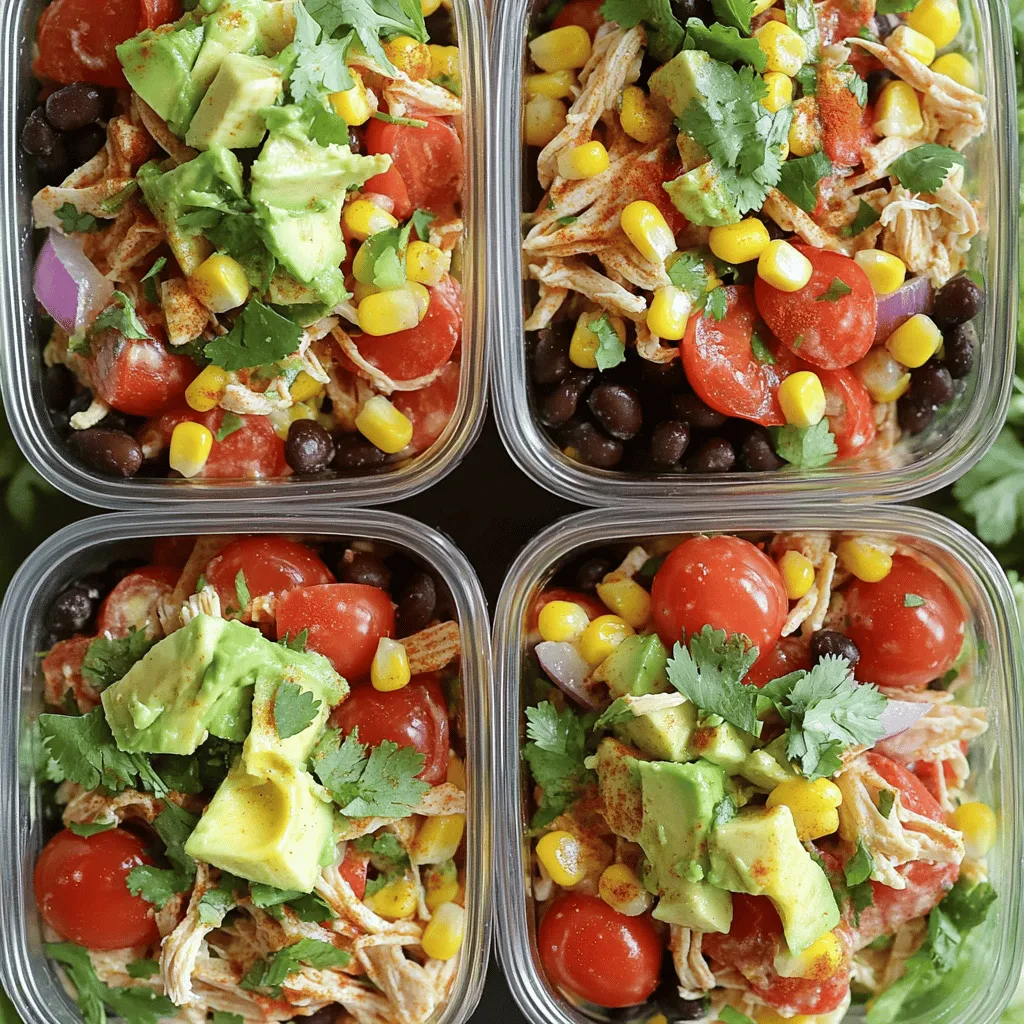
Mexican-Inspired Chicken Salad Meal Prep Delight
Looking to spice up your meal prep? This Mexican-Inspired Chicken Salad is your answer! Packed with vibrant flavors and fresh ingredients, this salad is both
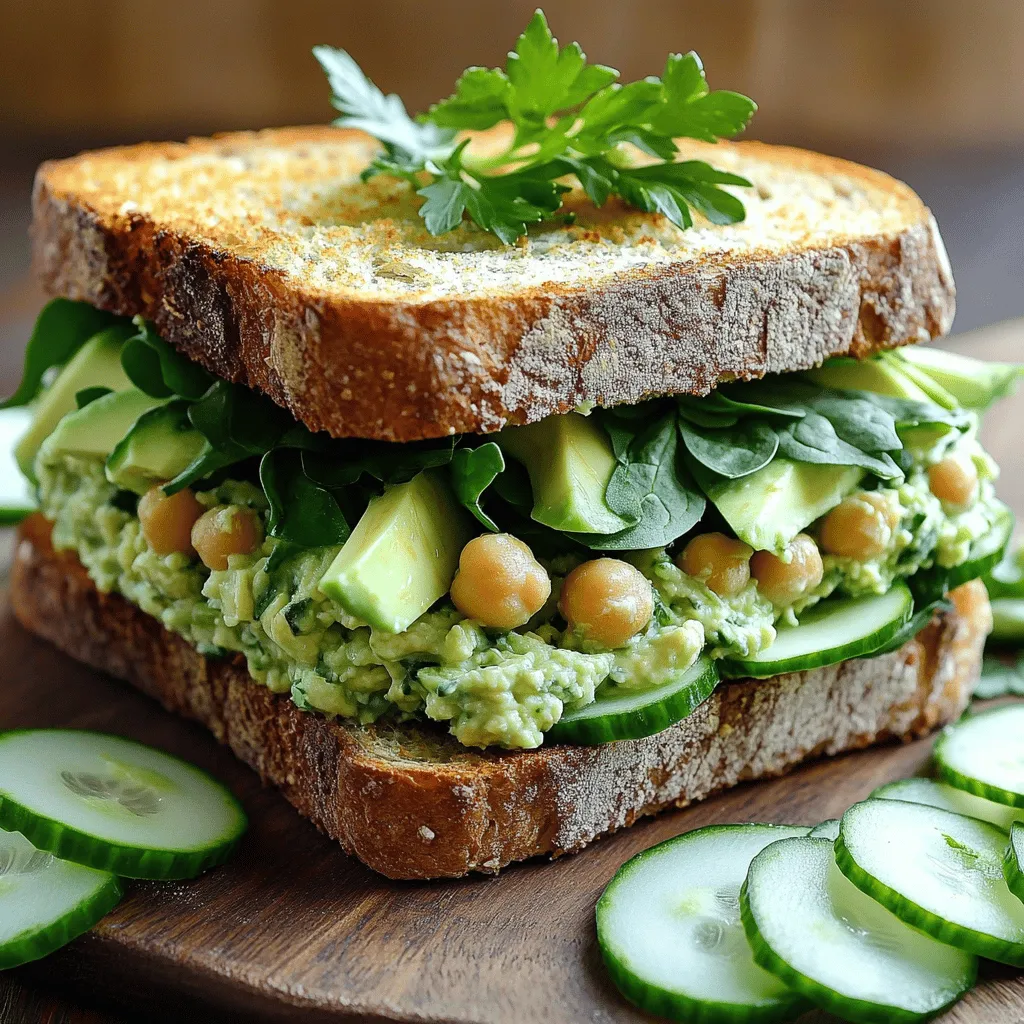
Green Goddess Salad Sandwich Fresh and Flavorful Dish
Are you ready to dive into a fresh and flavorful treat? The Green Goddess Salad Sandwich is not just a meal; it’s a colorful mix
Easy Zesty Southwest Chicken Salad Bowl Delight
Looking for a simple yet delicious meal? My Easy Zesty Southwest Chicken Salad Bowl will spice up your weeknight dinners! Packed with fresh flavors, this
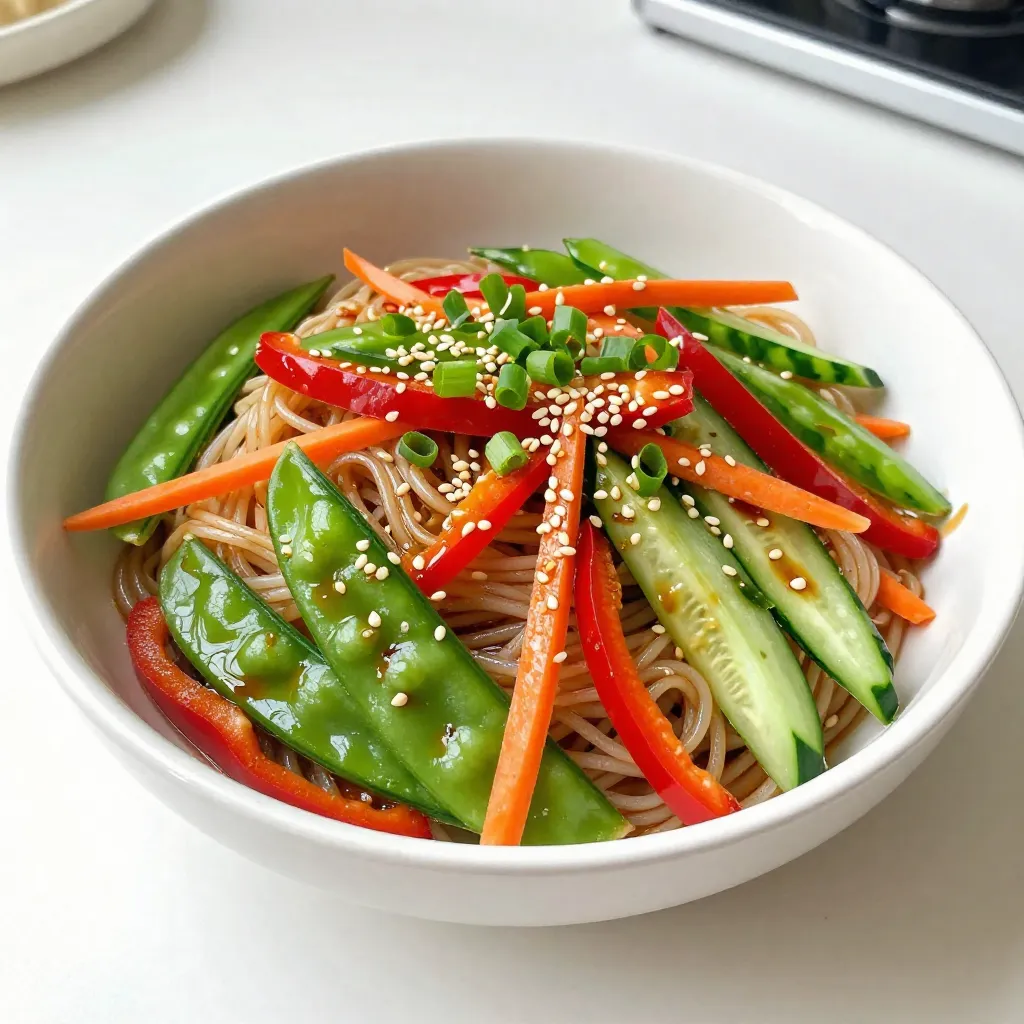
Savory Sesame Soy Noodle Salad Fresh and Flavorful Dish
Are you ready for a dish that’s both fresh and packed with flavor? My Savory Sesame Soy Noodle Salad is a perfect choice for any
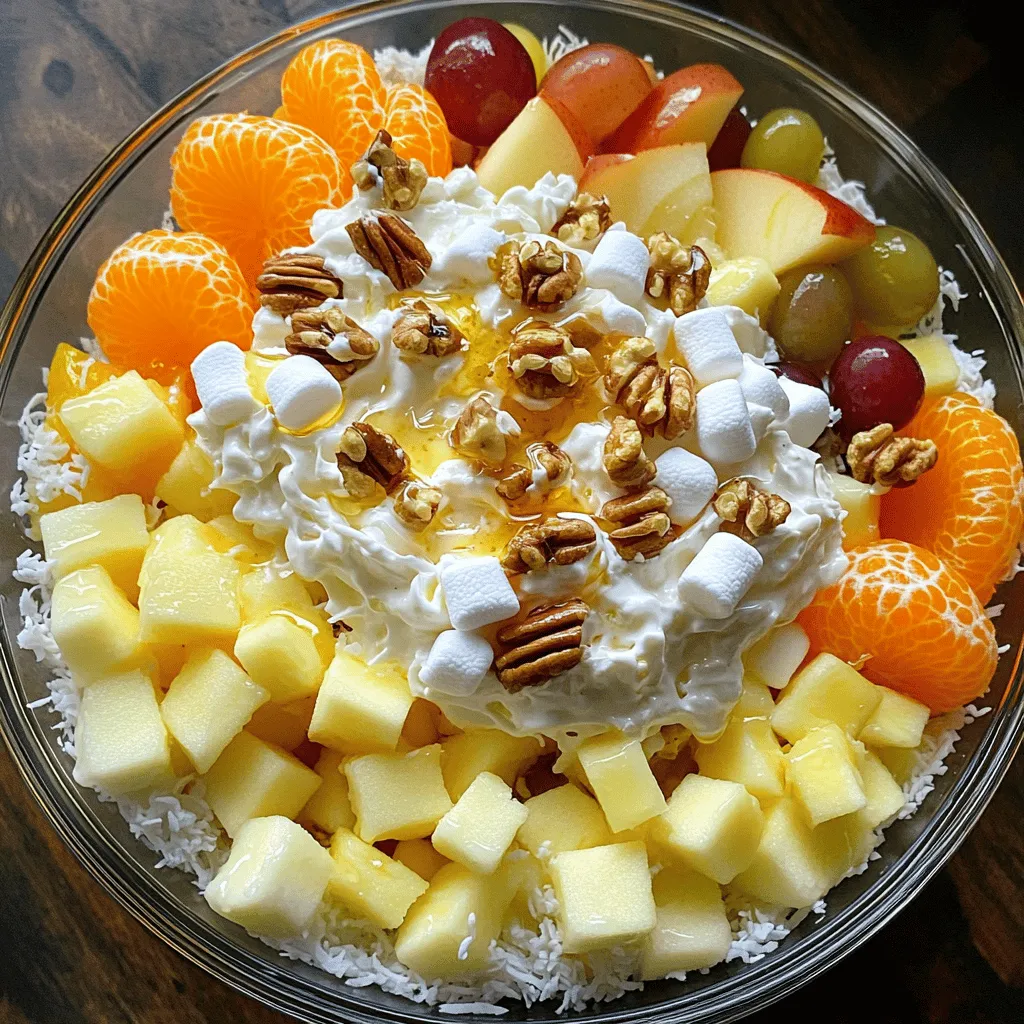
Ambrosia Salad Simple and Tasty Fruit Delight
Are you ready to create a bright and tasty treat? Ambrosia Salad is the perfect mix of fruit and fluff. It’s sweet, creamy, and very
![To make a tasty spaghetti salad, gather these key items: - 8 oz spaghetti - 1 cup cherry tomatoes, halved - 1 cucumber, diced - 1 bell pepper (red or yellow), diced - 1/2 red onion, finely chopped - 1/4 cup black olives, sliced - 1/4 cup feta cheese, crumbled - 1/4 cup fresh basil, chopped - 3 tablespoons olive oil - 2 tablespoons balsamic vinegar - 1 teaspoon garlic powder - Salt and pepper to taste These ingredients work well together. The pasta offers a filling base. Fresh veggies add crunch and color. You can change the recipe to match your taste. Here are some great options: - Avocado for creaminess - Spinach or arugula for extra greens - Grilled chicken for protein - Sun-dried tomatoes for a tangy kick - Different cheeses like mozzarella or parmesan Feel free to mix and match. These options let you create a salad just for you. Using fresh ingredients makes a big difference. Here are some tips: - Look for bright, firm tomatoes. They should smell sweet and ripe. - Choose cucumbers with smooth skin. Avoid any with soft spots. - Select peppers that feel heavy and crisp. Color should be bright and shiny. - Pick fresh basil that is vibrant green. Avoid any that looks wilted. Fresh ingredients lead to a better taste. Spend time selecting the best items for your salad. Start by boiling water in a large pot. Add a pinch of salt to the water. Once it boils, add 8 oz of spaghetti. Cook it according to the package instructions until it is al dente. This usually takes about 8-10 minutes. When done, drain the spaghetti in a colander. Rinse it under cold water to stop cooking. This helps keep the pasta firm. While the spaghetti cooks, wash and chop your vegetables. Slice 1 cup of cherry tomatoes in half. Dice 1 cucumber and 1 bell pepper. Use either red or yellow bell peppers. Finely chop 1/2 of a red onion. Slice 1/4 cup of black olives. You can mix and match veggies based on what you have. Fresh vegetables add crunch and flavor to your salad. In a large mixing bowl, combine all the chopped vegetables. Add the cooked spaghetti to this bowl. In a small bowl, whisk together 3 tablespoons of olive oil, 2 tablespoons of balsamic vinegar, and 1 teaspoon of garlic powder. Season it with salt and pepper. Pour this dressing over the spaghetti and veggies. Toss everything gently to mix well. Sprinkle 1/4 cup of crumbled feta cheese and 1/4 cup of chopped fresh basil on top. Toss lightly one more time to distribute the cheese and basil. Taste the salad and adjust the seasoning if needed. For a nice presentation, serve it chilled in a big bowl or individual plates. Garnish with extra basil leaves and a bit more feta for a pretty touch. Enjoy your quick and delicious spaghetti salad! For the complete recipe, see the [Full Recipe]. To make the best spaghetti salad, start with al dente pasta. This means the pasta should be firm but not hard. Rinse it with cold water to cool it down. This helps keep the salad fresh. Use fresh veggies for vibrant flavor and color. Always chop them into similar sizes for even bites. The dressing is key, so whisk it well. Taste it first and adjust if needed. A common mistake is overcooking the spaghetti. This makes it mushy and unappetizing. Another mistake is not cooling the pasta. Warm pasta wilts the veggies. Make sure to mix the salad gently. This keeps the ingredients from breaking apart. Lastly, avoid too much dressing. It can drown the salad and make it soggy. Serve your spaghetti salad chilled for the best taste. Use a large bowl for family style or individual plates for guests. Garnish with extra basil and feta cheese. This adds a pop of color and flavor. Pair it with grilled chicken or bread for a complete meal. Enjoy it at picnics, potlucks, or as a side dish. For the full recipe, you can check back for all the details. {{image_2}} You can easily make this spaghetti salad vegetarian. Just skip the meat. Focus on colorful veggies. Swap in roasted red peppers or artichoke hearts for extra flavor. You can also add more cheese. Try mozzarella or goat cheese for a creamy touch. If you want some protein, consider adding chicken, tuna, or shrimp. Grilled chicken works well. Use canned tuna for a quick fix. Shrimp adds a nice twist too. Just cook the shrimp until pink, then toss them in. This makes your salad hearty and satisfying. Need a gluten-free version? No problem! Use gluten-free pasta. Many brands offer great alternatives. You can also use spiralized veggies, like zucchini or carrots. They add crunch and flavor without gluten. This keeps the dish light and fresh. For more details, check out the Full Recipe for all the steps and tips. To keep your spaghetti salad fresh, use an airtight container. Glass or plastic containers work well. Store it in the fridge. This helps maintain flavor and texture. If you have leftovers, let the salad cool first. Place it in the container and seal it tightly. It can last up to three days in the fridge. If you notice any extra moisture, drain it before sealing. Spaghetti salad is best enjoyed cold. You don’t need to reheat it. If you prefer it warm, heat it gently in the microwave. Use a low setting to avoid cooking the veggies. For complete details, check out the Full Recipe. Yes, you can make this salad ahead of time. It tastes even better after chilling. Just prepare it a few hours before serving. Store it in the fridge in an airtight container. This makes it great for parties or quick lunches. If you want a change, you can use other pasta shapes. Bow ties, rotini, or penne work well. You can also try gluten-free pasta if needed. For a low-carb option, use zucchini noodles or spaghetti squash. Each choice gives a unique twist to the salad. To boost flavor, try adding herbs like oregano or parsley. You can also include some red pepper flakes for heat. A squeeze of lemon juice adds freshness too. Experiment with different dressings, like ranch or Italian, for variety. Each addition can make the salad taste different and exciting. Absolutely! This salad is perfect for meal prep. It stores well and lasts for several days in the fridge. Just keep the dressing separate until you’re ready to eat. This way, the noodles stay firm and the veggies stay fresh. For the full recipe, check the details below. This spaghetti salad serves four and is quick to prepare. It takes just 15 minutes from start to finish. Each serving is packed with flavor and nutrients, making it a healthy choice for any meal. You now know how to make a quick and tasty spaghetti salad. We covered the key ingredients, from essential to optional, and tips for choosing the best fresh items. The step-by-step guide gives you all you need to cook and mix the salad perfectly. Remember to avoid common mistakes to make it shine. You can customize it with proteins or make it gluten-free. Proper storage keeps leftovers fresh and tasty. Enjoy your salad today or prep it for later!](https://grilledflavors.com/wp-content/uploads/2025/06/06ef1fd9-f432-4cdd-ae8a-45e14220eb01.webp)
Quick & Delicious Spaghetti Salad Easy Recipe Guide
Are you ready to whip up a tasty dish in no time? This Quick & Delicious Spaghetti Salad is your new go-to meal. Packed with